As an Amazon Associate, I earn from qualifying purchases.
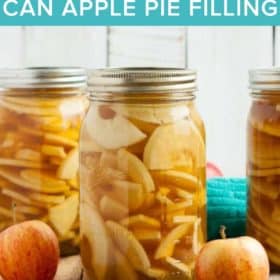
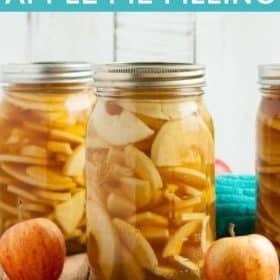
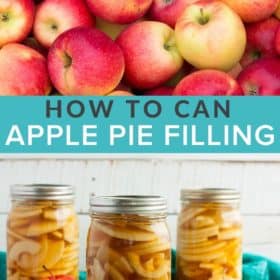
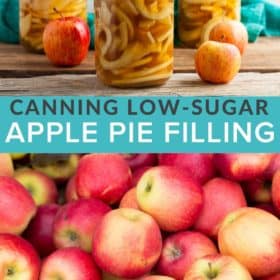
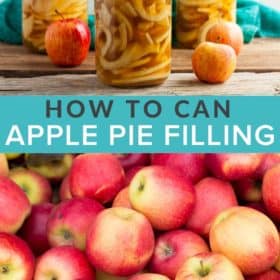
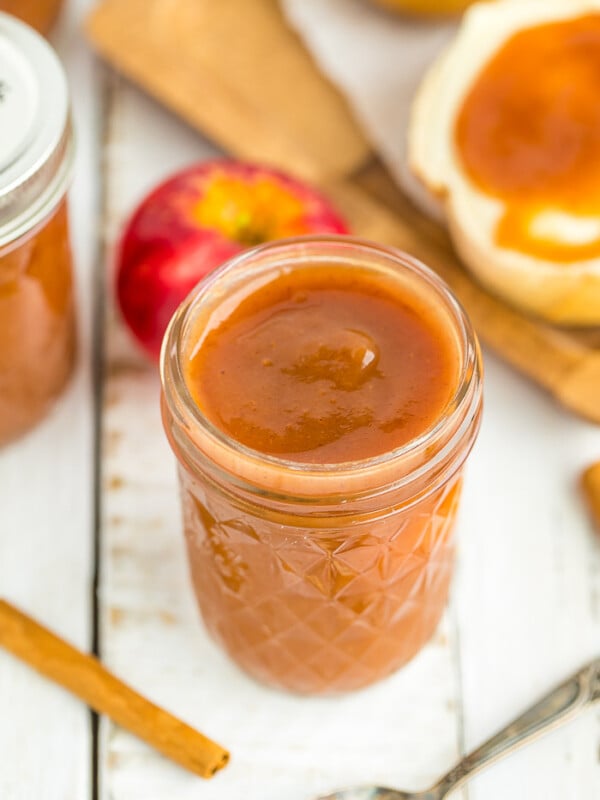
An easy step by step tutorial for beginners on Canning Apple Pie Filling. This simple guide teaches you how to preserve a low-sugar apple pie filling recipe in a water bath canner.

I’ve reached the tail end of canning for this season, and I’m so excited that it’s almost over. For reals yo. Just a few batches of this canned apple pie filling, and I’m done!
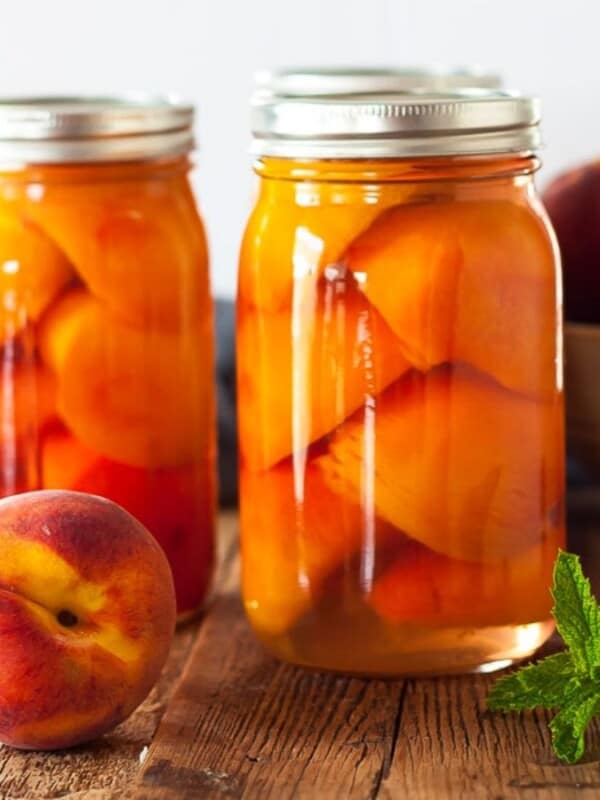
Just like Canning Peaches or Canning Tomatoes screams “it’s summer”, canning apples heralds the starts of fall.
Can You Can Apple Pie Filling?
Yes, and there are many different ways to do so. Recipes for canned apple pie filling used to include flour or cornstarch, but the canning experts have determined that is an unsafe canning practice. You cannot use flour, cornstarch, arrowroot, or potato starch for your pie filling prior to canning.
For people who prefer a pre-thickened pie filling, you can use Clear Jel to create a traditional filling. Follow these steps for a safe and tested recipe.
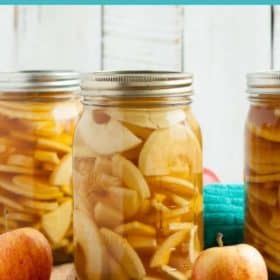
The recipe I am sharing today is for a mostly unsweetened filling that hasn’t been thickened. My preference is to keep the apples as close to their fresh state as possible. Doing so gives you more options for how to use them at a later time.
What Kind of Apples Are Best For Pie Filling?
Due to the nature of how the apples will be cooked during the canning process, you want to use a firm apple that will hold its shape. Fuji, Cortland, Jonagold, or Winesap are all solid choices.
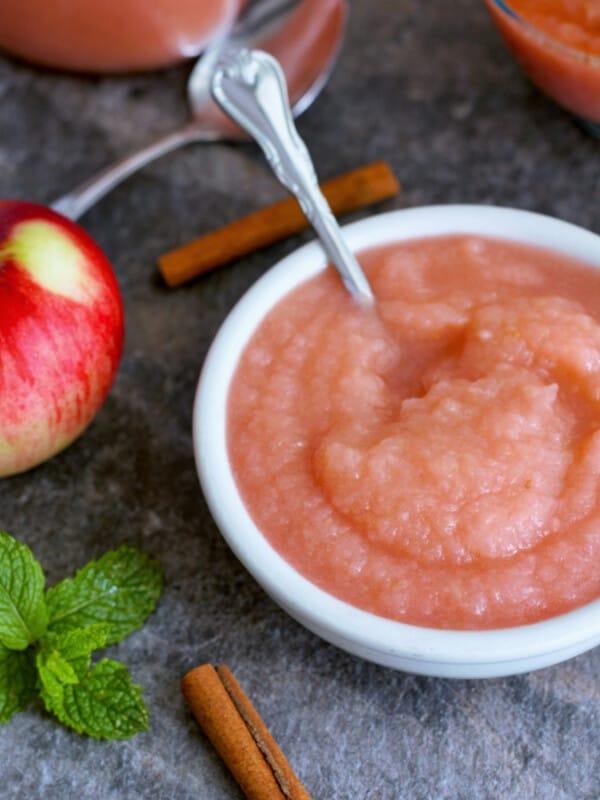
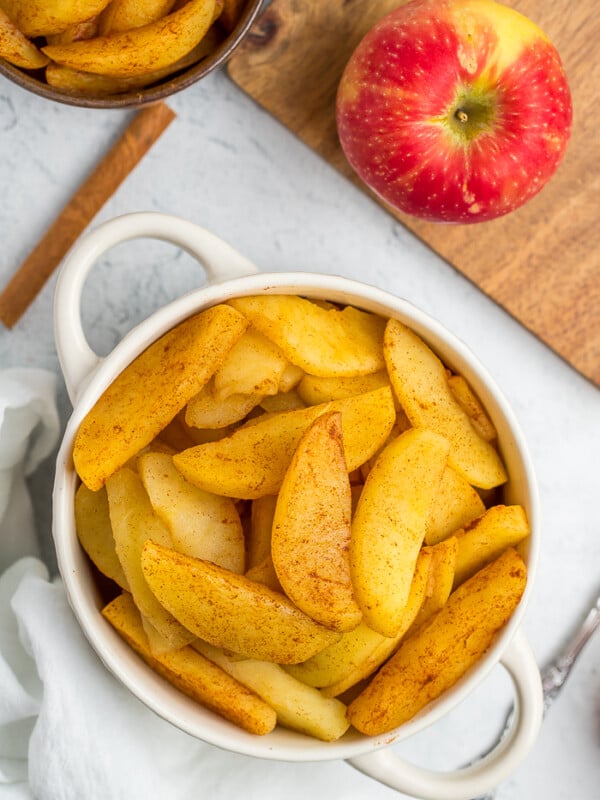
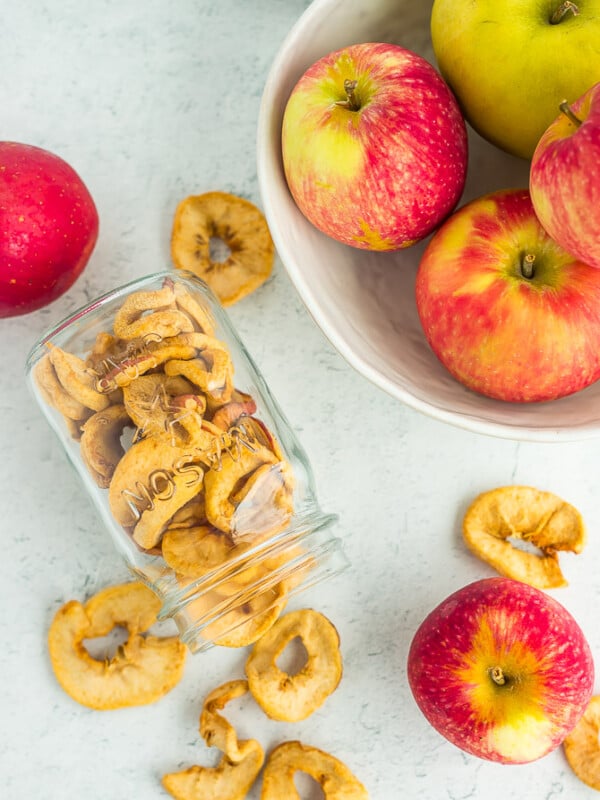
If you have leftover apples (yay!), try your hand at Canning Applesauce, freeze apples, learn about dehydrating apples, or make a quick batch of Cinnamon Apples.
How to Use Home Canned Pie Filling
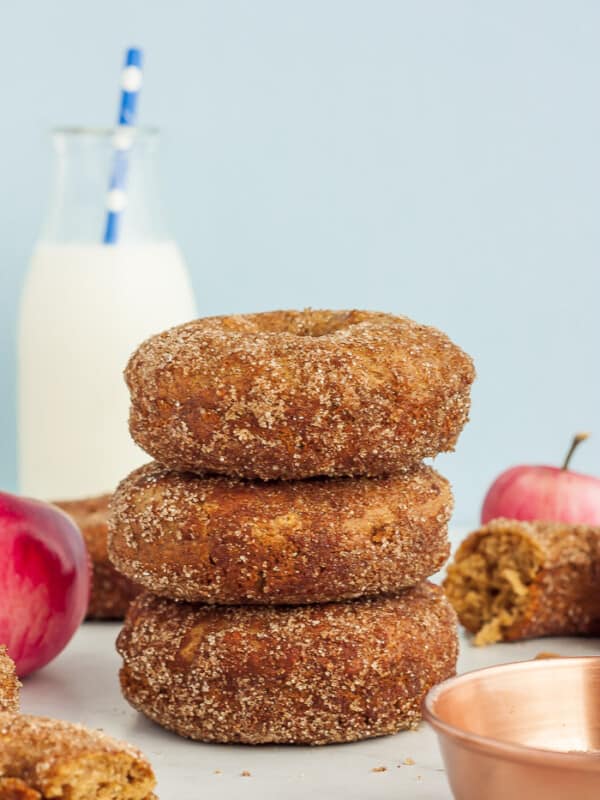
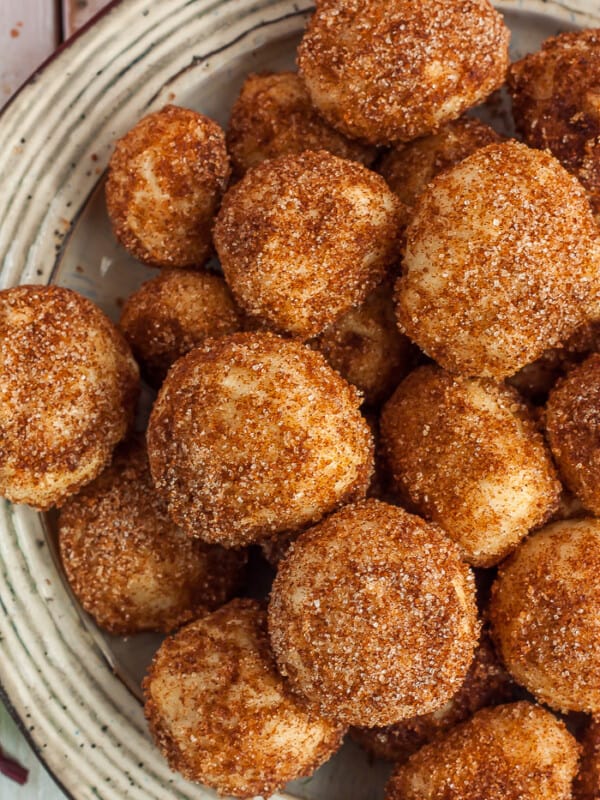
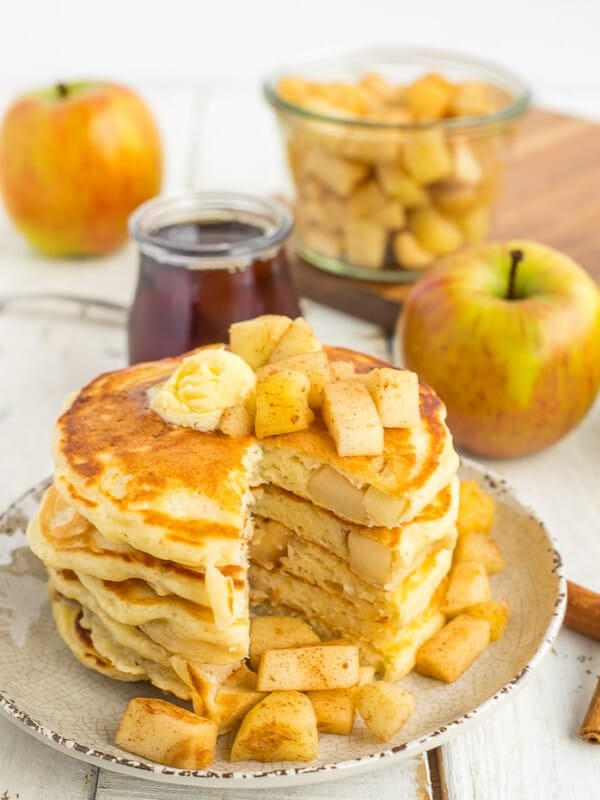
The possibilities are endless! You can make apple pie (obvs), use it for apple crisp, as a topping for instant pot yogurt, as the starring ingredient in Cinnamon Pretzel Bites With Apple Syrup, apple pie egg rolls, apple pie pancakes, or whole wheat muffins. Add it to fresh oatmeal or sprinkle some granola over the top for a sweet and crunchy breakfast.
Two quarts of the homemade canned pie filling will fill a 9-inch pie. To use: drain the apples, toss with your preferred pie seasonings (I use 1/2 cup brown sugar (related: how to make brown sugar), 1 tablespoon of organic cornstarch, 2 teaspoons of cinnamon, and a pinch of nutmeg) and bake as normal.
How Long Does Homemade Apple Pie Filling Last?
I use my home canned goods within one year of canning. Of course, use common sense and monitor your jars for signs of spoilage, unsealed jars, etc.
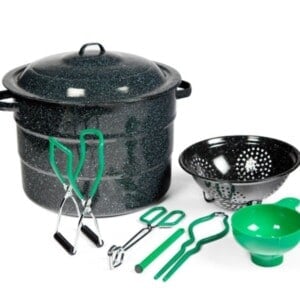
Canning Supply List
Check out this in-depth post for a complete list of canning supplies.
- Apples! You’ll need about 21 lbs per 7 quarts.
- At least two large bowls.
- Large pot of water for parboiling the apples
- Canner: simple water bath canner, or even a huge stockpot with a rack in the bottom.
- Canning tongs/jar lifter
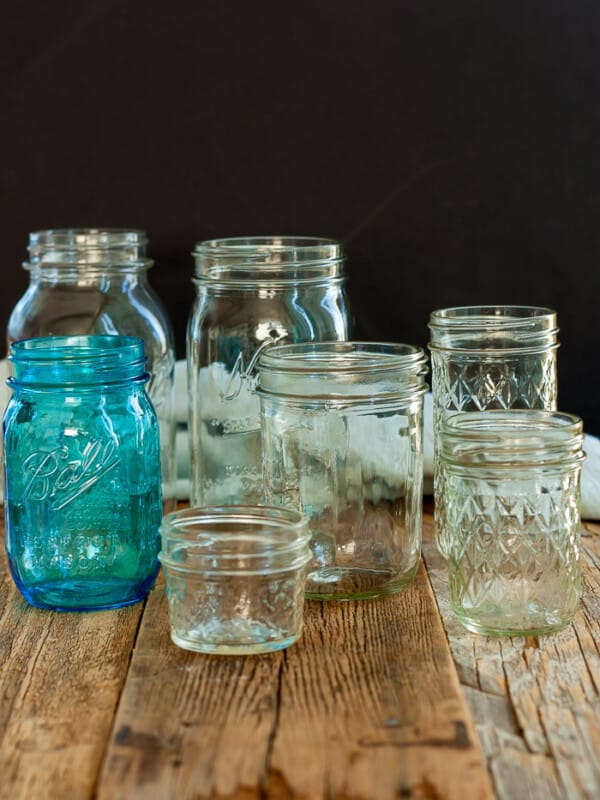
- Jars – quarts or pints.
- Lids and rings
- Wide mouth funnel
- Cutting board
- Lemon juice or citric acid
- Slotted spoon
- Strainer/colander
- Chef’s knife
- Ladle
- Butter knife or plastic chopstick
- Comfortable shoes. Don’t do this barefoot. Your back will hate you.
- Clean washcloths and at least one thick clean towel.
Here’s How to Make It {Step by Step}:
*A printable and detailed recipe card is available at the bottom of the post.
Canning Prep
Prepare your water bath canner by filling it with water. You just need to have enough water to cover the jars by 2 inches once the water is boiling.
Set the canner on the stove. Turn the burner to high. Once it reaches a boil, reduce it to a simmer. You want to keep the water hot so that everything is ready when the apples are.
Wash and gently heat your jars. You’ll want to keep them warm to avoid having them crack when placed in the canner. You can fill them with hot water, or place them on a tray in the oven at 170 degrees F.
Wash your lids and set aside in a clean place. You no longer need to simmer lids in water to keep them sterile. Woot!
Apple Prep
Fill a bowl with cold water and 1/4 cup of lemon juice (or 2 tsp of citric acid). Set up your workstation with a peeler, cutting board, sharp knife, and a bowl for the peels and cores.
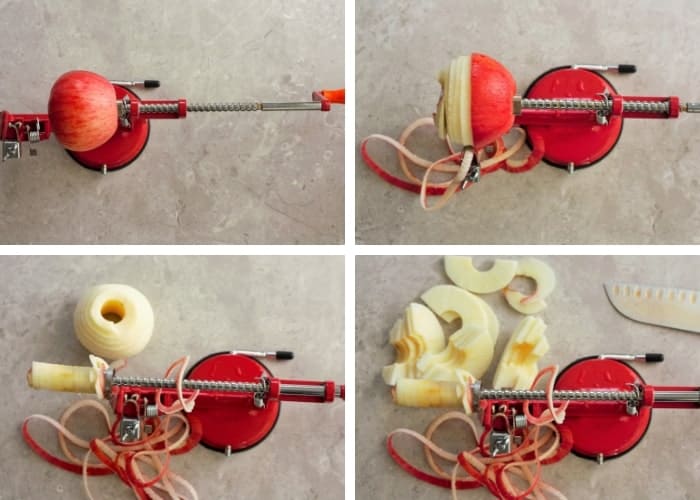
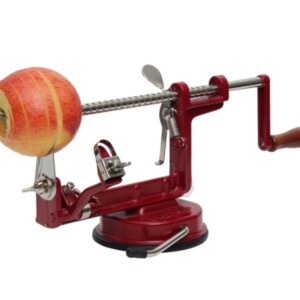
Clean your apples, and peel, core, and slice the apples thinly. If using a hand-cranked peeler, put the apple on the spikes and lock the peeler into place. Turn the crank slowly, and the peeler will begin to remove the skin.
Place the peeled apple on a cutting board and cut down once the middle. You’ll now have perfect apple slices.
Using a normal vegetable peeler? Cut the top and base off of the apple and remove the peel. Core the apple and make thin uniform slices.
Place the slices in the water/juice mixture.
Once you have a bunch of slices soaking, combine water and sugar (optional) in a large saucepan and bring to a low boil.
Cook the apple slices in batches in the hot syrup, and boil for 2 minutes, stirring constantly.
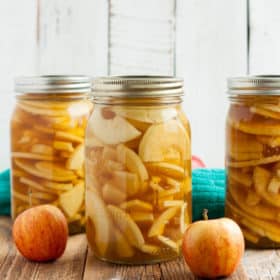
Transfer the cooked apples into your hot and sterile canning jars. Pro tip: I found that tongs worked the best for this.

Return the canner back to high on the stove and bring the water back to boiling.
Cover the apples with some of the hot water or syrup, allowing for 1/2 inch of headspace. Headspace is defined as the space between the top of the food and the top of the jar.
Use a wet clean rag and wipe the rim of the jars to make sure it is free of any food.
Place a clean lid on the jar and tighten the ring to fingertip tight (tight enough that it won’t come off, but not so tight that a normal person couldn’t budge it).

Once the water in the canner is boiling, gently place your jars in one at a time using tongs (I prefer canning tongs, but you can use any rubber-tipped tongs).
Once your jars (typically 6-7 quart jars can fit in the canner) are completely covered with the boiling water, put the lid on and boil for 20 minutes (pints or quarts). For canning at different altitudes, check out this guide for adjusted processing times.
When the time is up, turn off the stove and let the jars sit for 5 minutes in the canner and then lift them out with canning tongs. Place on a towel where they can sit undisturbed for 12 hours.
Pretty soon you’ll start hearing some “pops and pings” which are the sounds of the jars sealing. Yay!! You did it!
After a few hours, to check for sealing, gently press down in the middle of the lid. If the lid has no give, it’s sealed. If you can press the lid in and it pops a bit, your jars are not sealed. You can reprocess them or store them in the fridge or freezer (only freeze jars that are wide mouth).
PRO TIPS/RECIPE NOTES
- You’ll need about 21 pounds of apples for canning 7 quarts.
- This canned pie filling can be frozen in wide-mouth canning jars. Leave 1.5 inches of headspace in the jars to allow for expansion during freezing. Allow to fully cool in the jar before freezing.
- If you don’t have enough jars to fill the canner, consider Canning Water in a few jars to stock your emergency drinking water supplies.

MORE RECIPES LIKE THIS
Pin this recipe for later
Canning Apple Pie Filling
Ingredients
- 21 pounds apples
- 12 cups water
- 2 cups sugar
- 1/4 cup bottled lemon juice
Instructions
- Fill a bowl with cold water and 1/4 cup of lemon juice (or 2 tsp of citric acid). Set up your workstation with a peeler, cutting board, sharp knife, and a bowl for the peels and cores.1/4 cup bottled lemon juice
- Clean your apples, and peel, core, and slice the apples thinly.21 pounds apples
- Once you have a bunch of slices soaking, combine water and sugar (optional) and bring to a low boil.12 cups water, 2 cups sugar
- Cook the apple slices in batches in the hot syrup, and boil for 2 minutes, stirring constantly.
- Transfer the cooked apples into your hot and sterile canning jars. Pro tip: I found that tongs worked the best for this.
- Cover the apples with some of the hot water or syrup, allowing for 1/2 inch of headspace.
- Use a wet clean rag and wipe the rim of the jars to make sure it is free of any food.
- Place a clean lid on the jar and tighten the ring to fingertip tight.
- Once the water is boiling, gently place your jars in one at a time using tongs. Once your jars are completely covered with the boiling water, put the lid on and boil for 20 minutes (pints or quarts).
- When the time is up, turn off the stove and let the jars sit for 5 minutes in the canner and then lift them out with canning tongs. Place on a towel where they can sit undisturbed for 12 hours.
- After a few hours, to check for sealing, gently press down in the middle of the lid. If the lid has no give, it’s sealed. If you can press the lid in and it pops a bit, your jars are not sealed. You can reprocess them or store them in the fridge or freezer (only freeze jars that are wide mouth).
Notes
Nutrition
Nutrition information is automatically calculated, so should only be used as an approximation.


Good grief, lady! You make me laugh!
i love you description of the canning hell…here in mississippi, it does get hot as hell while canning that is for sure…and God help you if you visit the kitchen on a dark night-your’re liable to break a toe on one of those big canners stowed on the kitchen floor. i peel and slice apples and pears using the thinga majig you have photoed here..and i use it even when preparing for applesauce….those sliced apples are wonderfully convenient…we go to a lot of trouble for convenience but lordy it sure is worth it. i cooked up the years worth of applesauce today and while doing that i got to thinking about roasting a huge pork roast to serve up with a helping of that applesauce. applesauce or sliced apples are great to serve up with the pork chops too.
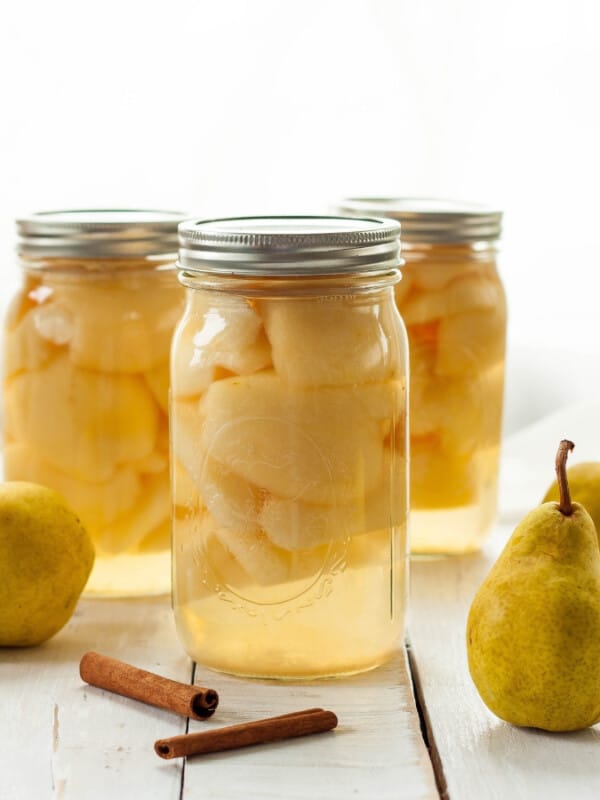
I’ve thought about using the thinga mig for pears, but haven’t tried it. Does it core them too without making them in to mush?
That is awesome. I hope I get canning items for Christmas or at least this Summer so I can join in the hell of canning.
So glad you and your family didn’t die after you ate the fly.
I hope you get them too. Everyone deserves to be miserable by their own choice. LOL
Too bad the fruit fly was already cooked….or you could have waited a couple hours and he’d have had some friends to throw in there!!
But hey…PROTEIN!
Well…growing up, the fun rule when we had a big pot of chili or spaghetti with 1 bay leaf, whoever got the leaf in their bowl (by chance) got a kiss!
So I say that should work with the fruit fly. 🙂
Ours is similar, but the winner “gets to do the dishes,” though we usually don’t hold them to it. 🙂
I’ve never heard of these traditions, but I LOVE them!
Ours was whoever got the bay leaf had to do the dishes lol
Look at you and your “ol thing” (the table). It still looks fantastic. Oh, the apples do too! Makes me hungry for some apple crisp and vanilla ice cream… Sorry, can’t help you with divving up the fruit fly. I always eat for 1, so I don’t have to divvy my meals a lot… maybe play rock-paper-scissors, and last one standing gets it?
I love reading this blog. I’m not a mum, and I have zero time for the fabulous canning and creating that you showcase. (Just started back at Uni as an older student) But it always reminds me I can do it again in summer, and when i graduate. Thanks for the motivation to get to summer! (and for usually making me hungry)

Thanks Cara! Best of luck to you in school.
I love your post. They always make me smile. Fruit fly in that simple syrup I bet was Yummy!
Hands down the best fruit fly I’ve ever had!
Thanks for this post – I see a lot of canned apples in my future with the wee one at home. And, I would have done the same thing with the fruit fly jar 🙂
I love reading your canning posts. You have inspired me to start canning. Your canning posts are so easy to follow. Thank You!
Kim, thanks so much for that. I’m glad I can help entice you in to the hell that is canning. ;-D