As an Amazon Associate, I earn from qualifying purchases.


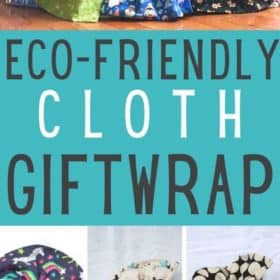


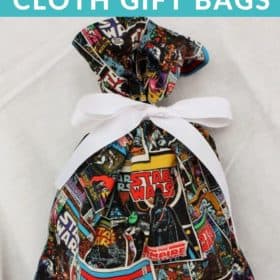

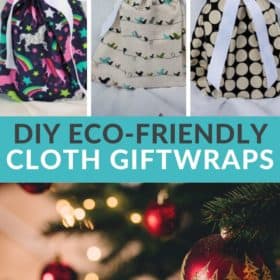
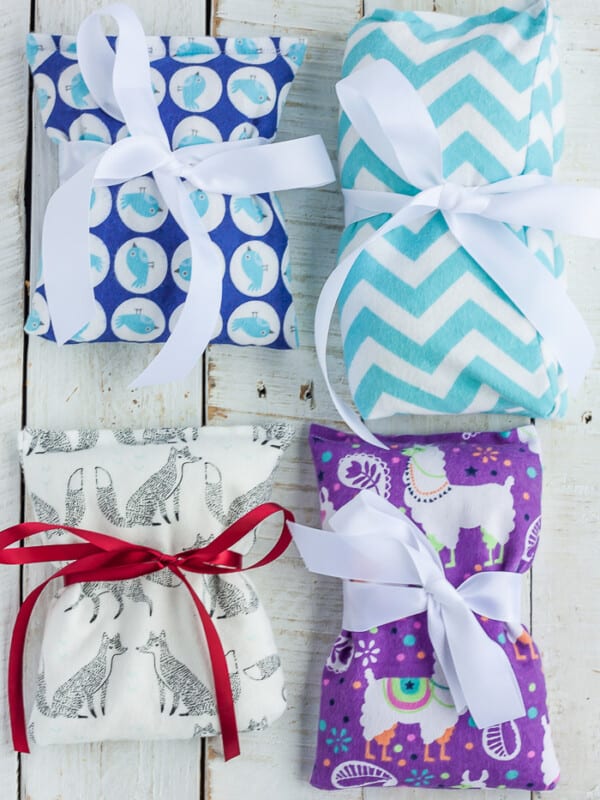
Learn how to make fabric gift bags. This eco-friendly Christmas, holiday, and birthday reusable wrap is so easy, that your only challenge will be picking fabrics!
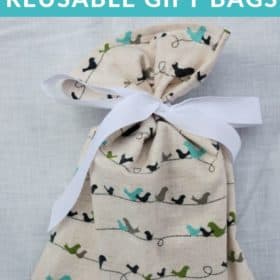
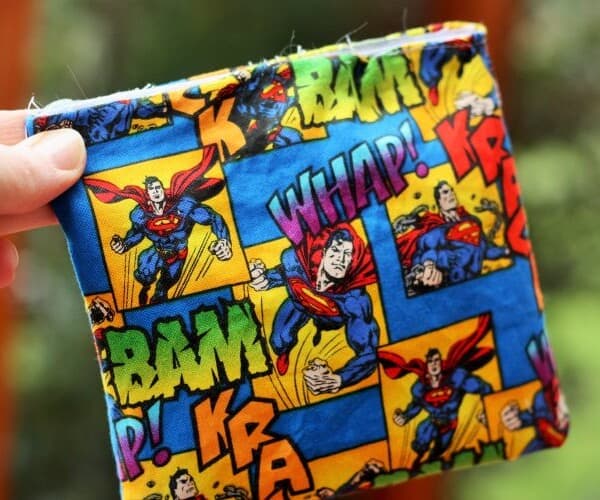
These DIY fabric gift bags are a great project for all those random scraps of fabric most crafters have. You can also repurpose old shirts or even pillowcases.
These easy sew gift bags are a simple project for sustainable gift-giving and will help you give presents in style.
Homemade Fabric Gift Bag Supplies
- Fabric – the sky is the limit! It is easiest to work with cotton and flannel fabrics.
- Sewing machine (I have this one)
- Ribbon (optional – I use this brand)
- Scissors
- Ruler
- Straight pins
- Iron
- Thread
But How Do I Get My Cloth Gift Bags Back?
A valid concern, but I think in 10 years of making these, I have only had a handful of them disappear. Most people automatically hand them back after talking about how pretty they are.
I have also trained my oldest son to get them back when he (used to) go to birthday parties. And make sure you get the ribbon back too. 🙂
I keep ours in a plain plastic tub and it takes up much less room than different tubes of paper gift wrap or bags and tissue.
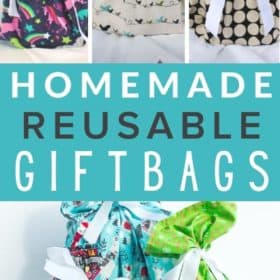
How to Make Fabric Gift Bags
You’ll notice I don’t make our cloth gift wrap in any specific sizes. I think limiting yourself to certain measurements limits the gifts you give.
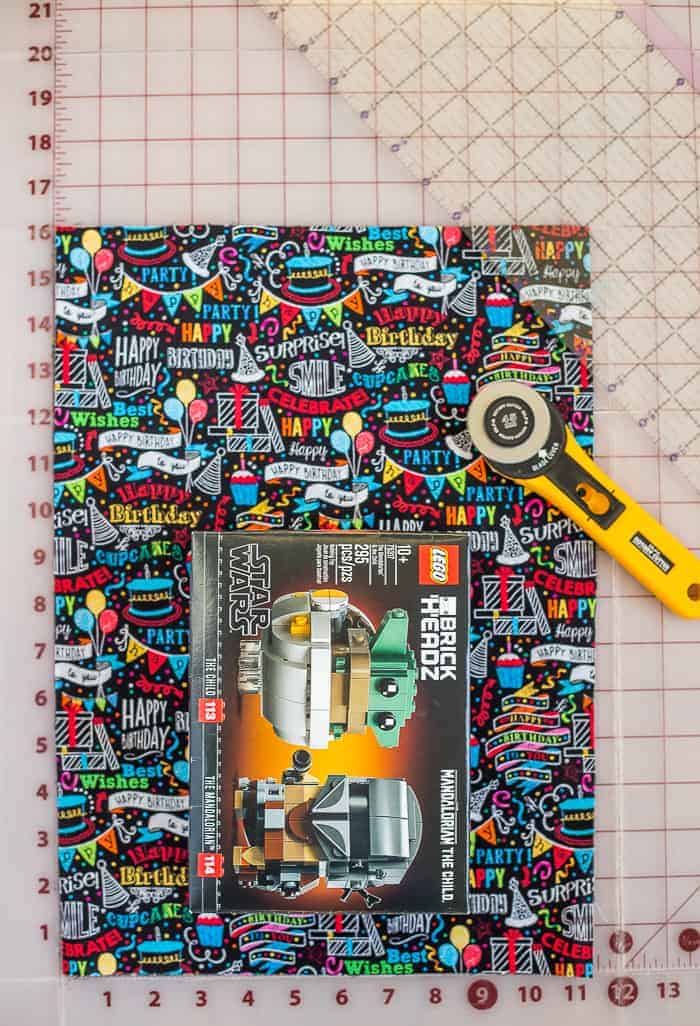
1) Double your cloth, and lay your present over it. You’re gauging how much fabric you need. Cut it about 7 ish inches above the top of the present. I totally eyeball this and the key is to not stress about making it perfect. It will still be gorgeous even if you cut it a little big or a little too small. Relax!
2) Place the fabric with the wrong side (the back of the fabric) facing you. Identify the part that will be the top of the bag. Then fold a seam about 1/2 inch, and then fold it again. Press with an iron and pin. Pro tip: the fabric is so much easier to fold for making the seam if you lightly spritz it with water.

3) With the fabric facing face up, sew a simple hem, double stitching at each end of the fabric.

4) Fold the bag in half so that the right side (pretty side) of the fabric is facing itself, and make a basic stitch around the sides and bottom like you’re creating a pocket, leaving the hemmed edge open.

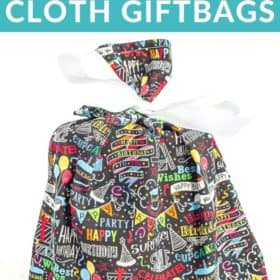
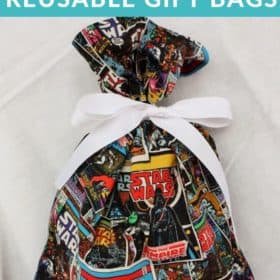
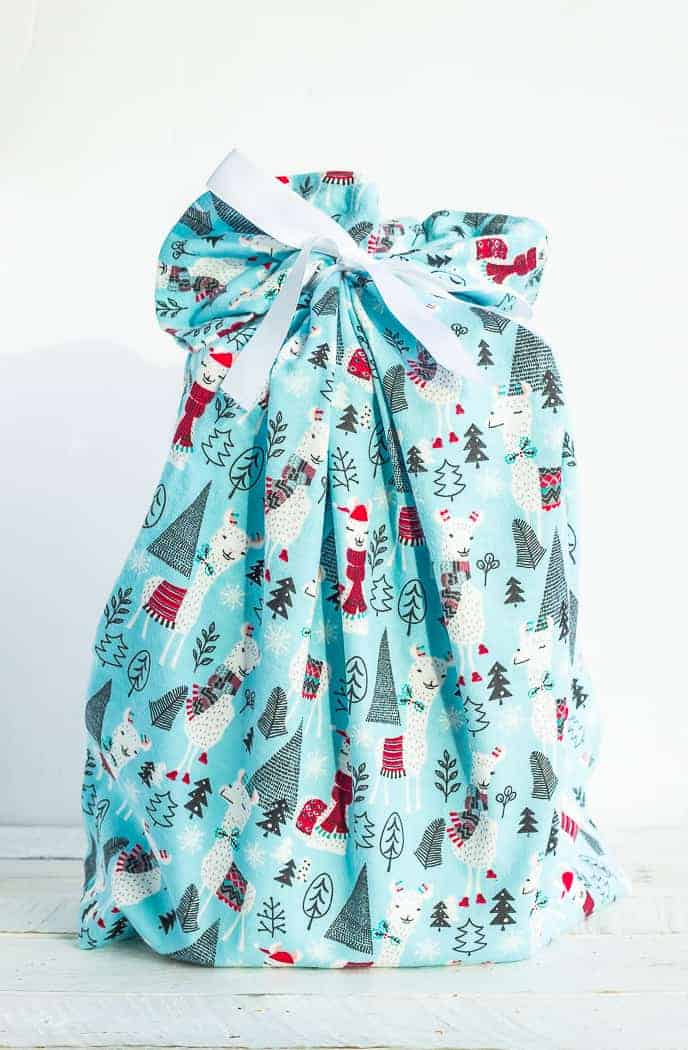
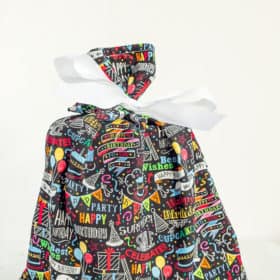
5) Fold it right-side-out, and voila, a gift bag. Pat yourself on the back for being freaking awesome and not creating a bunch of paper waste.

Tie a pretty bow, and decorate with gift tag.

Pro Tips
- Make a handful of bags at once to avoid having to create cloth gift wrap at the last minute.
- I like to precut and press the fabric at night while I’m doing something mundane like watching TV. It’s great busy work while Dateline is on the screen. 🙂
- If your fabric has a pattern that only goes in one direction, be mindful of how the finished product will look before you cut it. I’ve too often finished a bag only to realize the pattern is upside down.
- For most sewing projects you should wash and dry the fabric before cutting to avoid weird puckering if you ever launder the finished product. But I mean, c’mon, these are gift bags. How often are you washing gift bags?
I am so happy to have pretty wrapping that can be used year after year. Also, I’m happy that wrapping a gift takes just seconds now. Seriously, me wrapping with paper is straight-up ugly. Watching me wrap a present would make you want to kick a small bunny.
Save the bunnies. Make homemade fabric gift bags.
MORE EASY SEWING PROJECTS

How to Make Fabric Gift Bags
Ingredients
- fabric
- scissors
- thread
- ribbon
- sewing machine
Instructions
- Double your cloth, and lay your present over it. You’re gauging how much fabric you need.
- Place the fabric with the wrong side (the back of the fabric) facing you.
- Identify the part that will be the top of the bag. Then fold a seam about 1/2 inch, and then fold it again. Press with an iron and pin
- With the fabric facing face up, sew a simple hem, double stitching at each end of the fabric.
- Fold the bag in half so that the right side (pretty side) of the fabric is facing itself, and make a basic stitch around the sides and bottom like you’re creating a pocket, leaving the hemmed edge open.
- Fold it right-side-out, tie a pretty bow, and decorate with gift tag.


After seeing you do this a few years ago, I finally got off my butt and did it and I AM NEVER GOING BACK!
I love the sustainability. When we finish unwrapping gifts, I just pick them up and can use them next year if people don’t want them. Super easy to do and it really helps take presents to the next level.
I agree, it’s the best and super addicting when you realize how quickly and easily you can wrap a gift! So glad you found it helpful/inspiring. 🙂
I made some of these following your directions a year or so ago and they turned out wonderfully! Besides being super fast when you need to wrap a present, it also helps keeps sustainability top of mind for the recipient. 🙂
I fully agree with all of this! Don’t forget, after holiday fabric sales are amazing for further building your stash!
I bet you could sew the middle of the ribbon to the bag ensuring you always get the ribbon back also
I’m on a tear lately sewing stuff so I’ll add this to the easy list!
I made some for a friend that had the ribbon sewn on them. I think it limits what you can put in there though.
I’m so glad I was able to buy some from you back in the day!
Not that we are great about giving gifts, but they are handy to have ????
My 12-year-old started a Home Ec club at her middle school (nerd alert in the best way possible) that now has a very enthusiastic membership. This would be such a fun and useful project for them! I work at all three schools in our little district so I’m going to have to see if I can find some teachers with sewing machines who would bring them in!
It would be a perfect project for that age group!
Great ideas love them
I love your gift bags
Thank you! They’re so fun to see all wrapped up for birthdays and holidays.