As an Amazon Associate, I earn from qualifying purchases.
One of the easiest DIY garden projects ever, Raspberry Supports are an affordable way to grow raspberries in your home garden. Homemade raspberry trellises to will save you so much money at the grocery store.
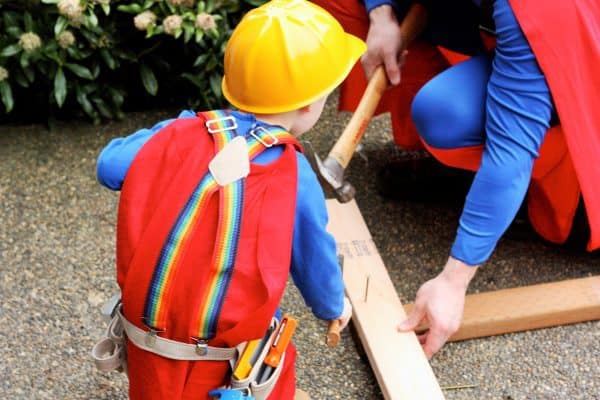
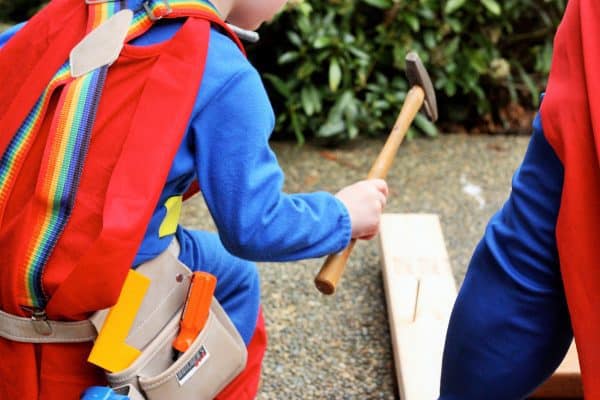
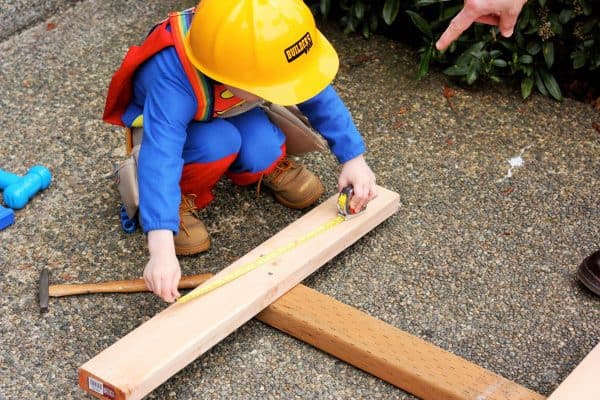
When you come home from Lowes with gardening building supplies to find your husband and son in Superman costumes, you immediately direct them outside to the front yard with a camera in hand and demand they build your DIY raspberry supports.
Right then and there. In costume. I’m nice like that.
Fresh Raspberry Recipes
So, here is how our family builds DIY raspberry supports. In “super” style.
Supplies for Building Raspberry Supports
Two 2x4x8s (weather treated, or painted)
One untreated 2x4x8
8 eyebolt thingys (Troy assures me those are real words)
2 bags of pea gravel
Wire
4 nails
Drill
Hammer
Saw of some kind
How to Build Raspberry Supports/Raspberry Trellis
Saw the untreated 2x4x8 into four pieces. Two of the pieces should be longer than the other two. These will be the boards that connect the wires to contain all the raspberry canes once they start to grow.
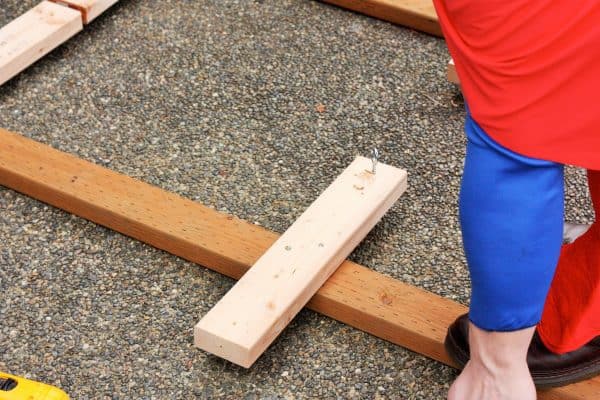
At the top of one of the treated 2x4x8, hammer two nails to connect one of the larger untreated pieces on to the top of the treated piece (creating a “t”). Add the shorter untreated piece about 2-3 feet below that. Repeat for both treated 2x4x8s.
Check for quality control.
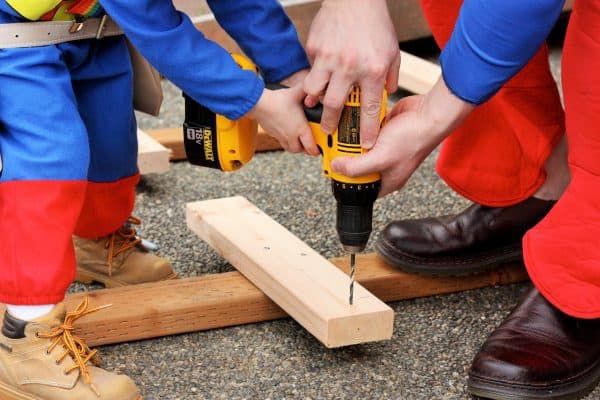
Using a power drill, drill 8 total holes into the untreated pieces of wood. One on each facing end of the wood.
Insert the eye bolts into the holes that were just drilled.
Installing Raspberry Supports/Raspberry Trellises
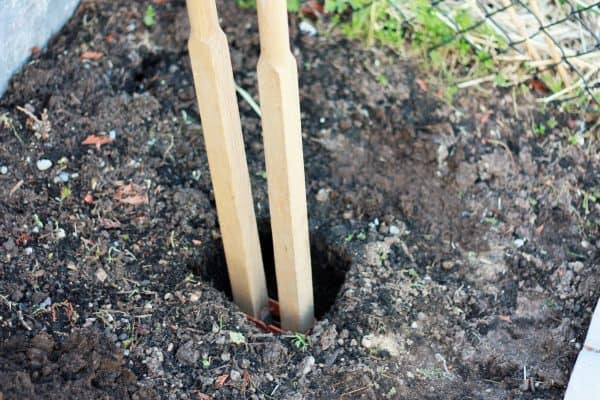
Using a post hold digger thing, dig two deep holes – at least 18-24 inches deep if possible. You’ll want to dig one at end of your raspberry planting area.
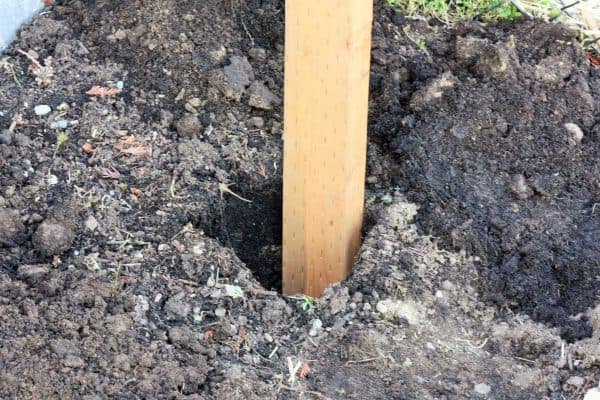
Put the treated post in the hole.
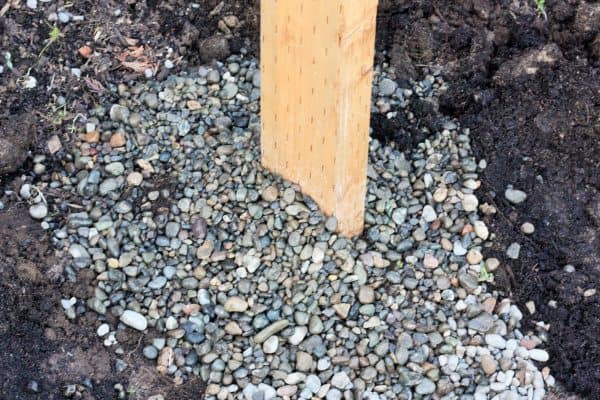
Steady the post with one hand, and while trying not to give yourself a hernia, fill the hole with pea gravel. Give it a good shake to help it settle, then add more pea gravel. Repeat with the other post.
How to Plant Raspberry Canes
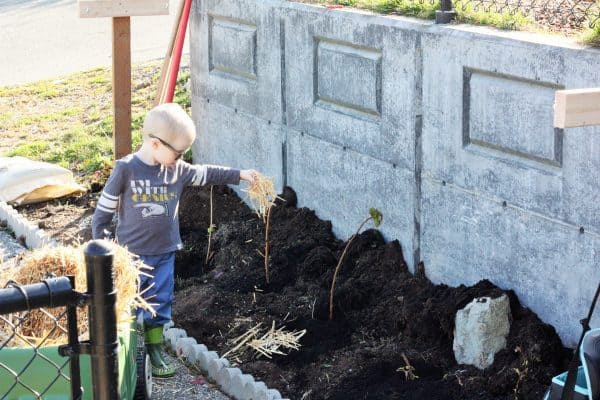
Dig your holes for your berry plants, add compost, then the plants, then fill the holes with compost. Water, and then cover with the mulch of your choice (I use straw).
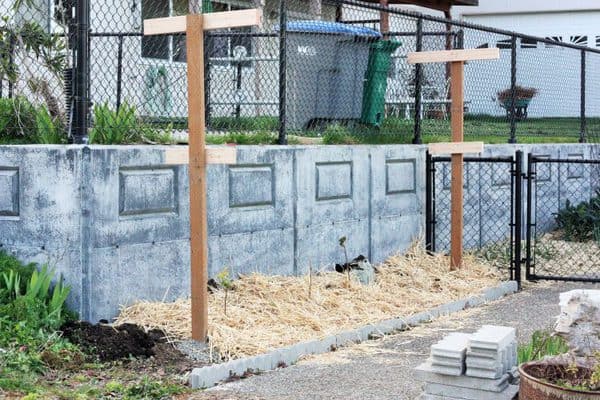
Voila. String the wire on the eye bolts once the berry canes add a bit of growth. The wires will be used to support the canes as they continue their upward growth.
Cost to Build Raspberry Supports
$43.40 (that includes 4 bags of compost even though I only used 1 in this bed). The raspberry bushes were free from my aunt and uncle from thinning their current patch. The cost of organic raspberries at the market? At least $4 per pint.
These DIY raspberry supports were the best $43 we ever spent and are still going strong seven years later.
MORE DIY GARDENING POSTS
- How to Plant Garlic Step by Step
- DIY Trellis – DIY Garden Trellis
- Seed Tape – Homemade Seed Tape
- Thinning and Replanting Strawberry Plants
This post on DIY raspberry supports was originally published in March 2012. I updated it in May 2017 and March 2019 to make the instructions more clear and to post better photos after a blogging platform transfer.




I got some raspberries last fall, and realized why people trellis them over the summer.
D’oh.
While searching for ideas/instructions online, you popped up and my search stopped!
My husband does not have a Superman suit. I hope my raspberry trellis still works! I am hoping he will make it this fall so it will already be in place in the spring, but realistically, I doubt it will get done until the spring.
It has been 12 years. Are yours still going strong? Any new tips?
12 years later and they’re still going strong! Given where ours are in a walkway, the other thing we have changed is a wire around the front this time of the year. The canes grow out and sag when they’re heavy with fruit.
Quick question – why untreated wood?
For a few reasons. One, so it doesn’t leach chemicals into the soil where the food will be growing. Two, so that the plants that will be growing up and around the posts won’t be exposed directly to the chemicals.
Hi! About how far apart were the posts? Thanks!
About 12-15 feet
Thanks!
Our raspberries are sooooo unorganized. I put stakes behind or near each one every spring once the ground thaws and do a loose tie with twine but come July it’s just a hot mess.
I’m not sure what zone you’re in, but if they haven’t started fruiting yet, building a trellis would work. Or do it at the end of the season after you’ve trimmed them back.
Just as I start thinking about what to do with my newly re-sited raspberries! Perfect timing!
I’ll send the boys over to help you build!
Excellent! How did you know I needed men who can build things while dressed as superman? Although the youngest nephew is good at knowing when stuff is broken, mostly ‘cause he broke it!
This is awesome and just what we need for the raspberry bushes we just bought! Love the costume! I’m sure Jerry will be jealous.
I think we still have it somewhere if Jerry is really called to try it on. HA!
I don’t feel the calling, and let Troy know I’m not sure if I’ll ever be able to look at him the same way again.
Ha! If you ever want to borrow the suit I’m sure we still have it somewhere.
My site filters out emoji for some reason.
I had a smiley on there that didn’t get posted, honest!
Okay I forwarded and pinned it!
Although, Why did you guys choose pea gravel instead of concrete?
Thanks!
It’s a rental house, so while we wanted something that would be strong and sturdy, we didn’t want something we couldn’t remove. If I had to go back and do it (and it was our house), I would use pea gravel all over again. I didn’t have to mix anything, it wasn’t messy, and it was cheap. Five years, multiple wind storms, lots of activity, and heavy raspberry bushes, and those post are still going strong!
Thanks for this! I was looking for raspberry supports but got so much more! 1: I totally love that they built in costume! & 2: I could absolutely imagine coming home to find my son and husband in costume like this!
Yes, now i truly have to admit… I desperately DO need to get myself a hubby somewhere…. (been single for 3 years now and though it was good to learn to be happily alone, i have seen the end of it (is that correct English? Im Dutch). And also, last but not least… garden-season is coming up! HAHA.
Love your blog!
Ive had 2 berries for 2 years now, first year in the lawn (whoever thought this was a good idea…??) and last year in pots, bit sad they are. So this year I want to give them a proper place where they can stay and happily grow me some nice fruits. Also I really need to make some good supports for not only these guys, but also for my 58171871 beans. I am not looking forward to do so, hubby-less as I am, but thanks to this blog, and also the amazing pictures (hehe), I feel “I can do this!” (Super-Woman-modus is ON). Thanks!
Oh gosh… you mean you’re supposed to try and restrain those stickery thingies? I planted a some in pots a few years ago, and thanks to the birds, etc., eating the berries and causing the seeds to travel, I’ve got raspberries springing up in all sorts of weird places!
(Nice to see your Superguys put shoes on before working with power tools!)