As an Amazon Associate, I earn from qualifying purchases.
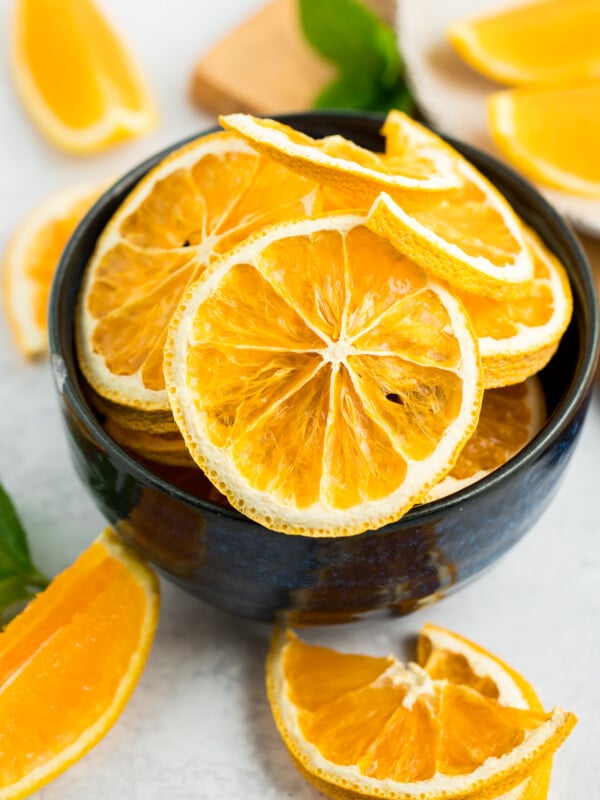
Learn all about drying limes in a food dehydrator or in an oven. This dried limes recipe is a simple project for adults and kids and makes amazing additions to sweet and savory dishes.
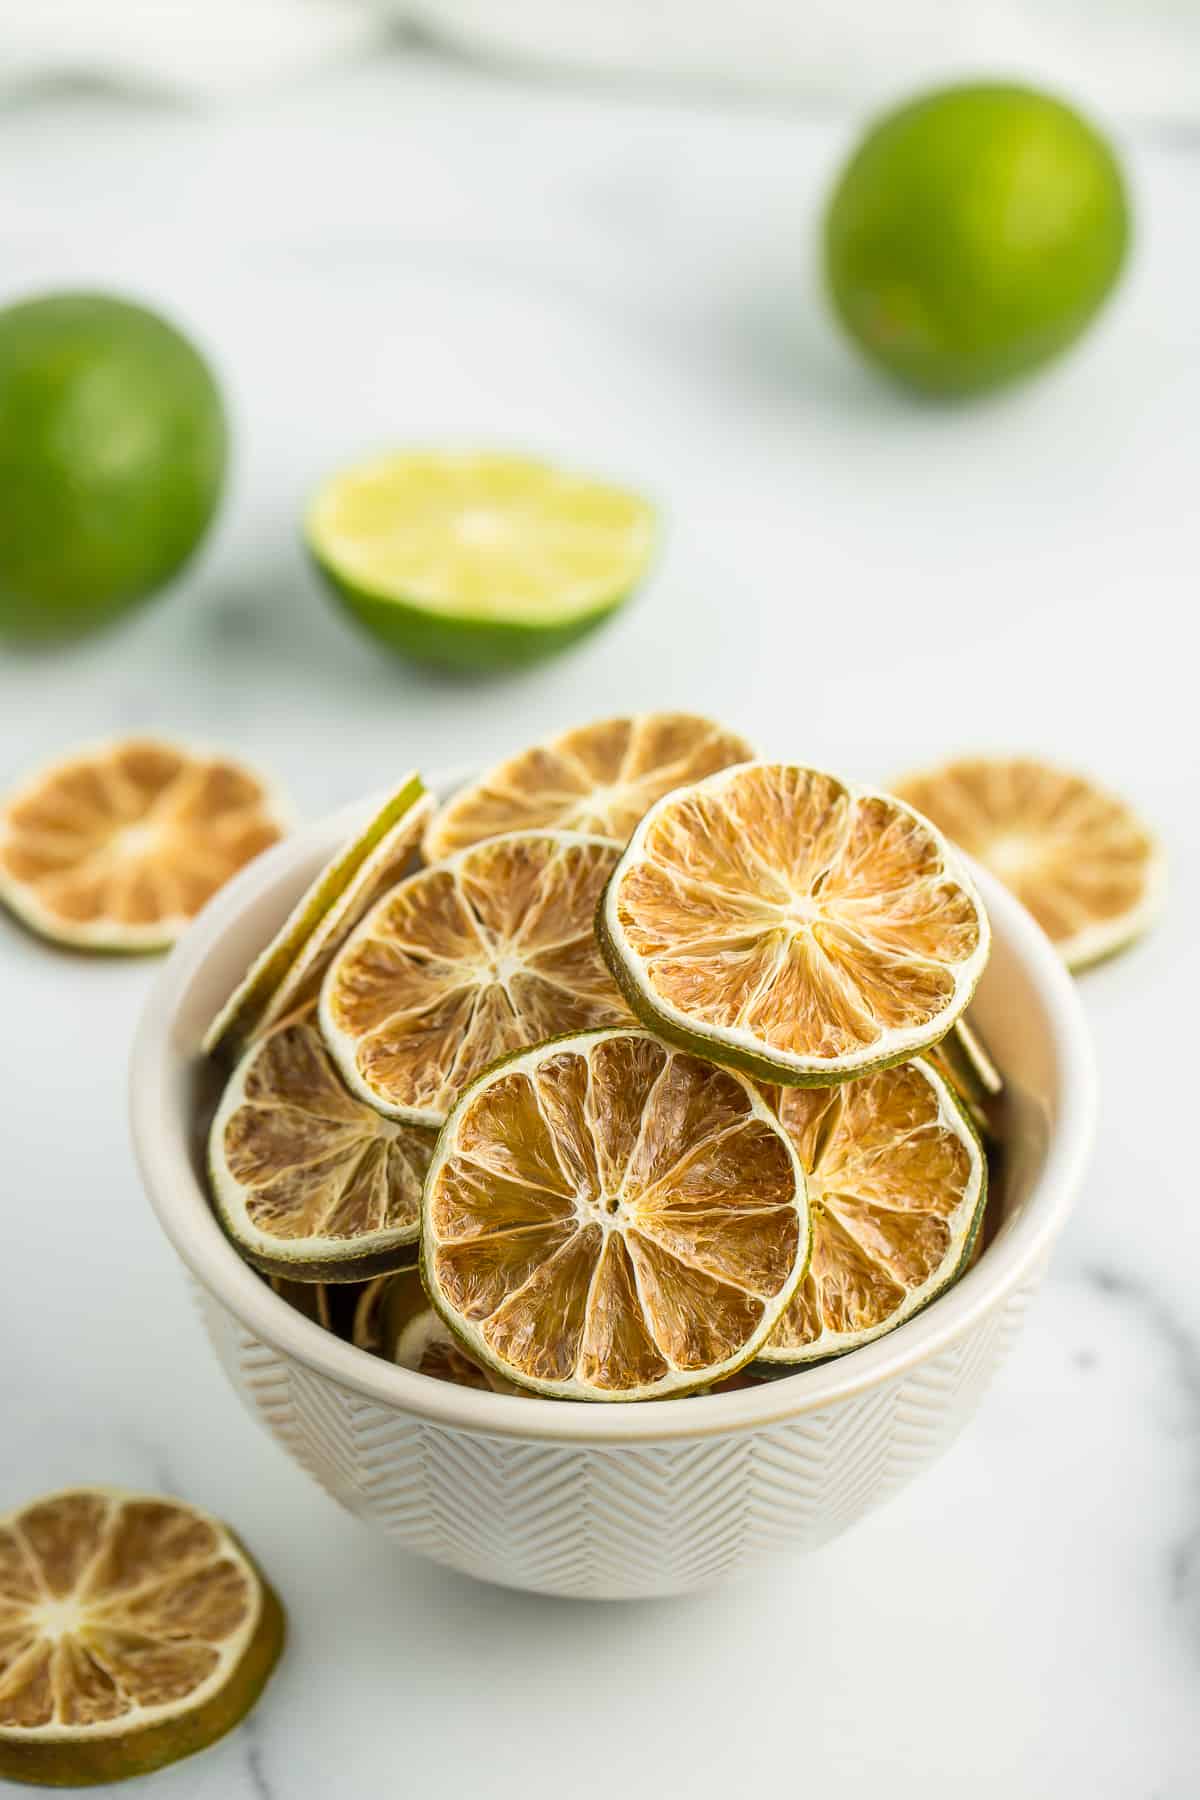
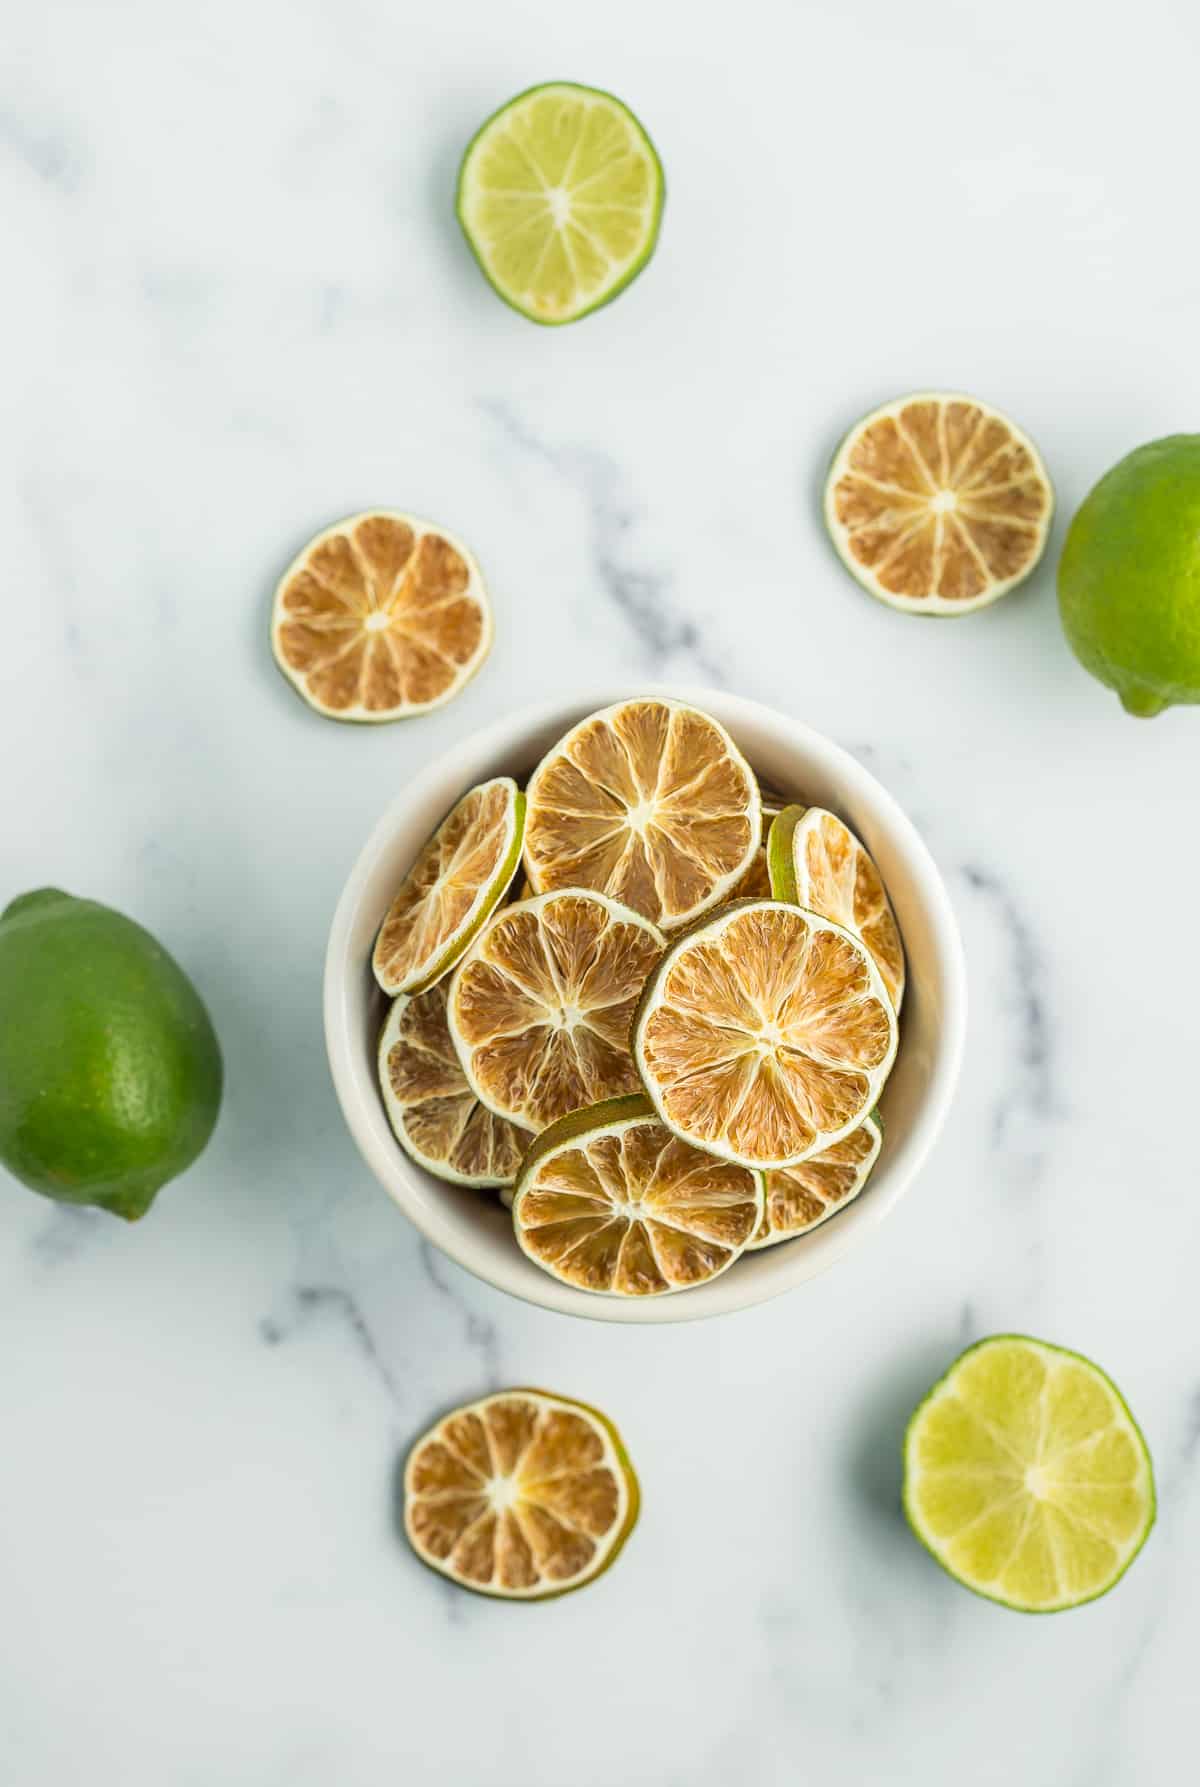
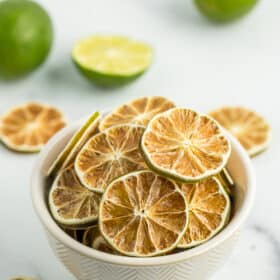
Dehydrated limes are a great ingredient to have on hand for sweet and savory dishes as well as homemade drinks.
The best part of drying limes yourself? The process is so simple, and you only need one ingredient – fresh limes!
Pro Tips/Recipe Notes
- For the evenest cuts, use a mandoline or a serrated bread knife. The serrated knife works much better than a chef’s or paring knife.
- Avoid the temptation to increase the heat on the dehydrator or oven to speed up the process. Low and slow wins in the race on this one.
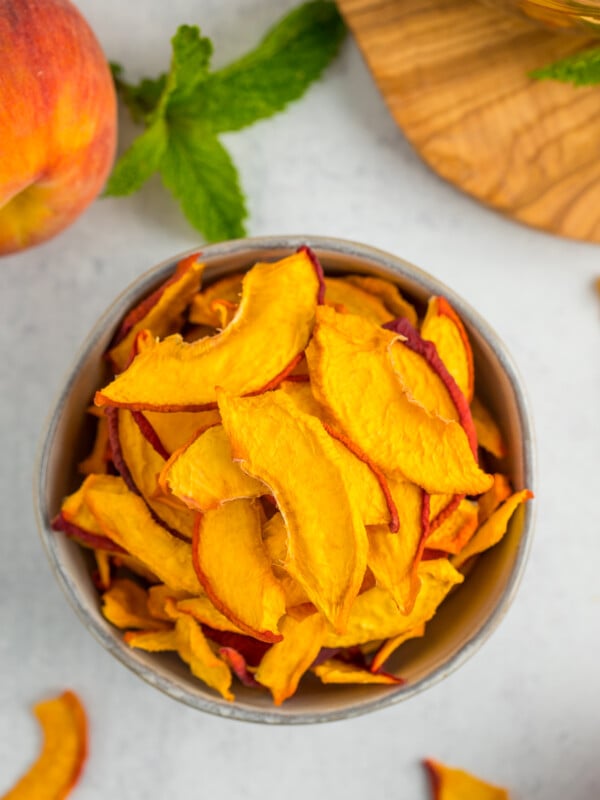
- Lime slices are done when they don’t feel wet anymore (2-12 hours) and they feel brittle. Some of the slices will finish before the others on the same tray. Remove those that are done and set them aside.
- Remove the seeds if you plan to grind the dried limes into powder. If you’re drying them for decoration or to flavor dishes, it is fine to leave the seeds in while drying.
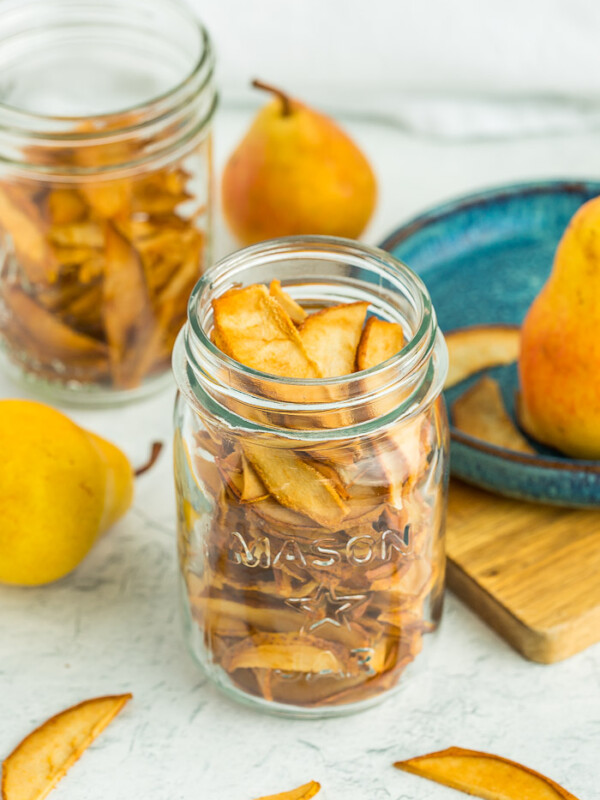
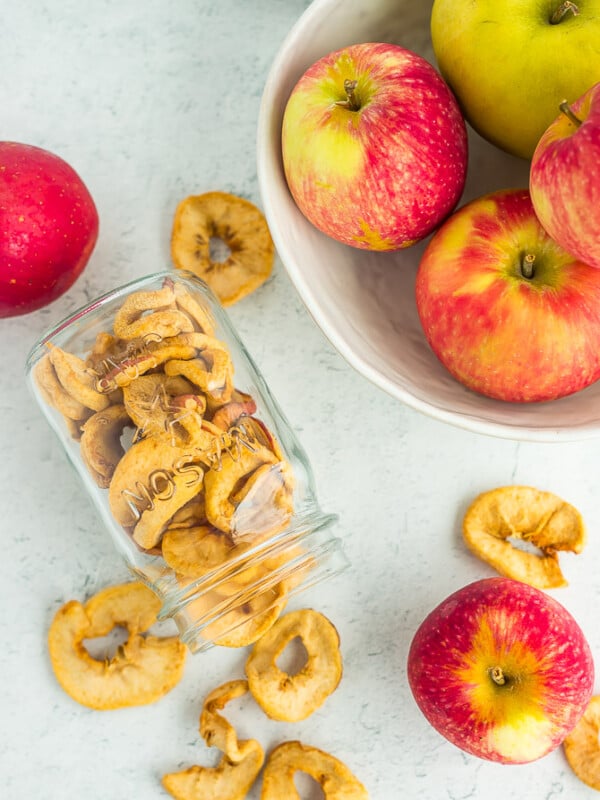
- Dried limes will last for 12-18 months if stored in a cool dry place. Please make sure the lime slices are fully cooled before putting them into an air-tight container.

Get my Canning e-book!
It’s 51 pages of every helpful tip and trick you could want as a brand new canner, AND it includes 13 ad-free canning recipes that are designed to take you from novice to pro.
Dried Limes Recipe (2 Ways)
Instructions
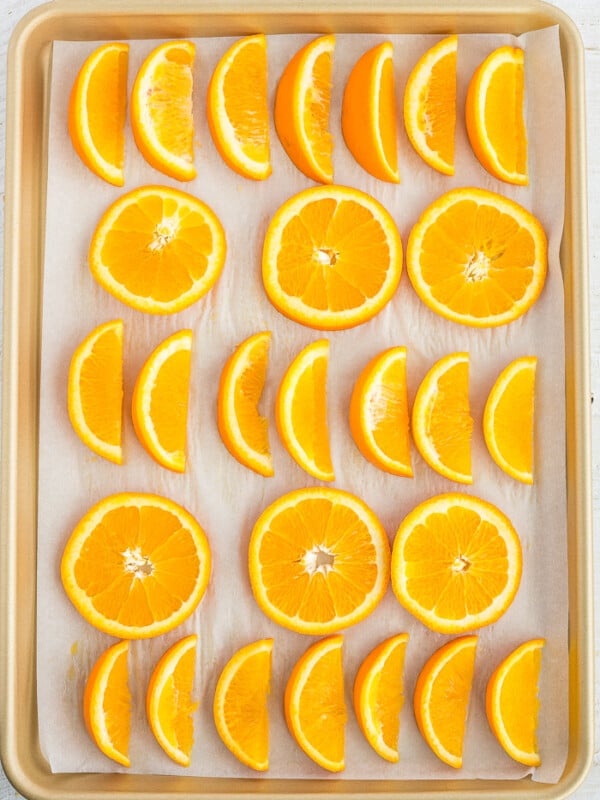
- Clean whole limes with warm soapy water. Rinse and pat dry.
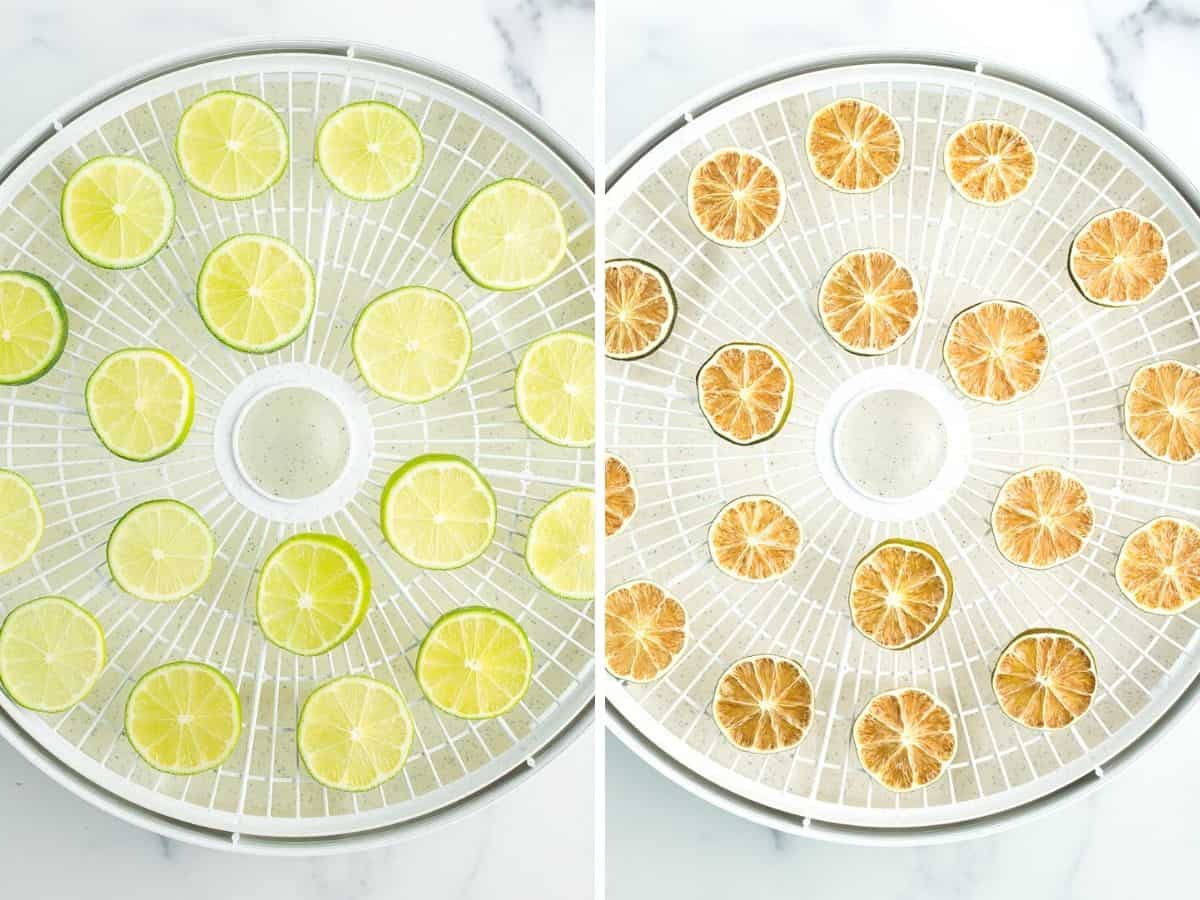
- Using a serrated (bread) knife or mandoline, carefully slice thinly (~1/4 in).
- Arrange the slices on dehydrator trays so that there is space around each slice, and the slices are not touching.
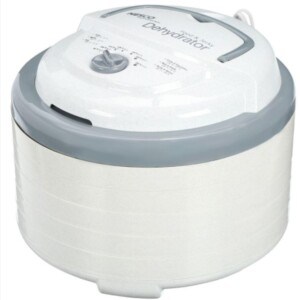
- Set dehydrator to the "fruit/vegetables" setting (135˚F or 57˚C degrees) and dry for 2-12 hours. Rotate trays every few hours.
- The length of time they need to dry out will vary based on how many trays you have going on at once, and how thick the lime slices are.
- Lime slices are done when they don’t feel wet anymore (2-12 hours) and they feel brittle. Some of the slices will finish before the others on the same tray. Remove those that are done and set them aside.
Notes
- Avoid the temptation to increase the heat on the dehydrator or oven to speed up the process. Low and slow wins in the race on this one.
- Dried limes and other citrus will last for 12-18 months if stored in a cool dry place.
- To rehydrate dehydrated limes, cover dried lime slices in cool water and soak for 1-2 hours.
- Follow the cleaning and slicing instructions above and then place lime slices on baking drying racks set into baking sheets.
- Place in the oven at the lowest temperature possible (usually 140-170 degrees F) and prop open the door with the handle of a wooden spoon. This allows condensation to escape instead of just settling back onto the limes.
- Bake for 3-6 hours.
Nutrition
Nutrition information is automatically calculated, so should only be used as an approximation.