As an Amazon Associate, I earn from qualifying purchases.
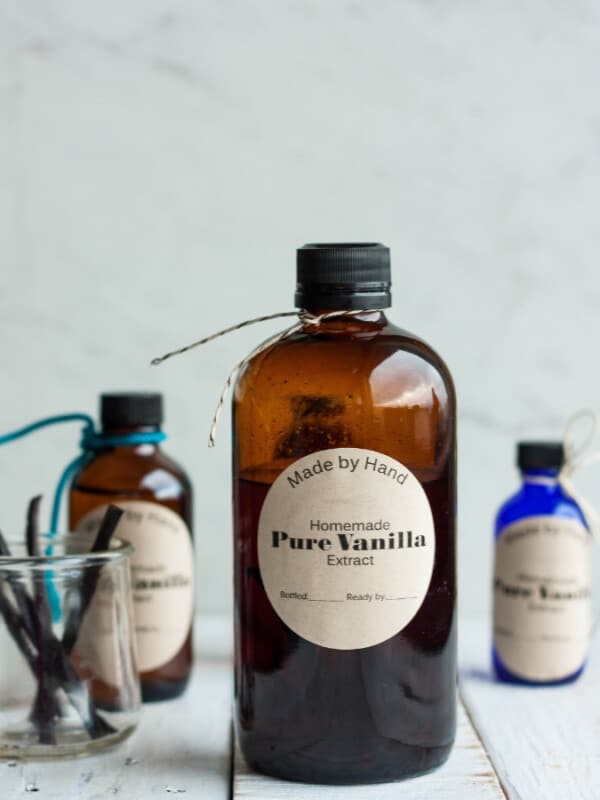
Learn how easy and affordable it is to make your own homemade peppermint extract with my easy-to-follow recipe! This homemade mint extract recipe also makes wonderful gifts. If you have a pressure cooker, I’ll even teach you to make it in the Instant Pot.

It starts innocently enough. Plant some mint in your garden with good intentions, and boom, within a few weeks, you’ll be a full-fledged mint farmer.
Trying to decide what to do with some of that excess? Homemade peppermint extract is the answer you have been looking for.
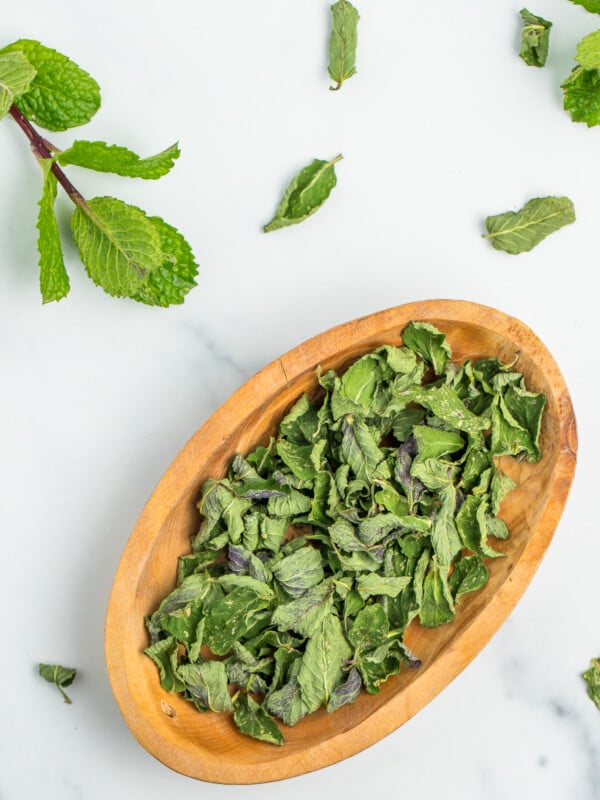
If you have mint left over after making the extract, try your hand at freezing mint, drying mint, or making mint syrup to keep a delicious stash in your freezer.

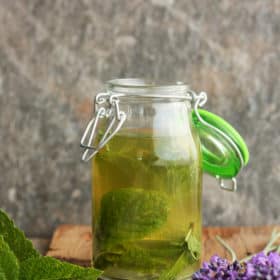
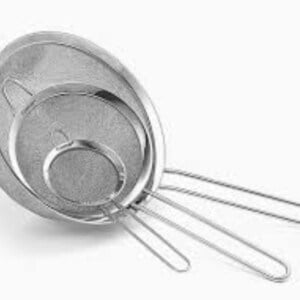
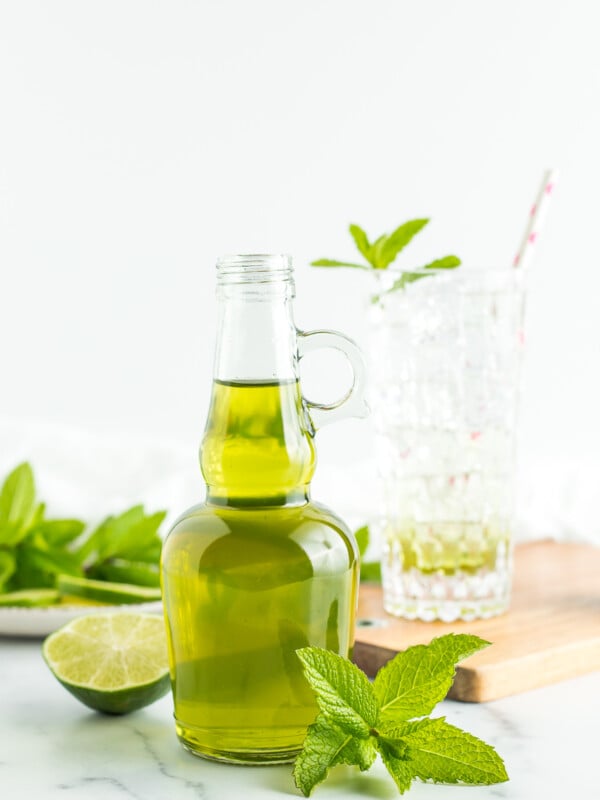
Can we be frank about appearance here for a minute? The pressurized leaves are butt-ugly after they have been processed. When giving this mint extract as a gift, I like to strain the finished extract from the old leaves, decant it to another bottle, and add a few fresh mint leaves.

If you’d like some labels for your mint extract bottles, click this link to get and print the template I made. Labels print to Avery print to edge round labels in kraft brown (Avery 22808).
Sarah’s Cheat Codes:
- Once you’ve finished the extraction process, you may notice that the Instant Pot extract still smells of alcohol. This is totally normal, and the alcohol smell should fade over the next few weeks.
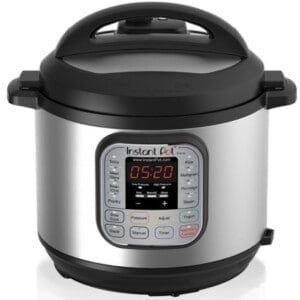
- I have an 8-quart Instant Pot and chose to use two 8-oz jam jars for this process.
- Some homemade mint extract recipes will have directions to place the jars in the Instant Pot uncovered. During testing, I find this causes too much evaporation of the vodka during the pressure cooking process.
- I made multiple batches of this to test it out and found that a longer processing time in the Instant Pot did not result in a more “minty” flavor. It just cuts time off the overall steeping process.
Easy Homemade Mint Extract (Two Methods)
Ingredients
- 3 cups mint leaves {packed, stems removed}
- 1 cup vodka
- 1 cup water {only needed for Instant Pot method}
Instructions
Traditional Method:
- Rinse mint leaves and add them to a canning jar. You may need to pack them in with a spoon to get everything to fit.3 cups mint leaves
- Pour vodka over the leaves. Put a lid on the jar and shake a few times.1 cup vodka
- Store in a cool dark place, shaking once a day for the first few weeks. After that, shake it whenever you think of it.
- The mint extract will be ready when the liquid smells strongly of peppermint and not alcohol.
Instant Pot Method:
- Rinse mint leaves and add them to a canning jar. You may need to pack them in with a spoon to get everything to fit.3 cups mint leaves
- Pour vodka over the leaves. Add the lid and ring and tighten to fingertip tight.1 cup vodka
- Place 1 cup of water in the Instant Pot and place a wire rack inside. Add the jars.1 cup water
- Put the lid on the Instant Pot, set the vent to “sealing” and press Manual>high pressure>30 minutes.
- Allow for a natural release. Carefully remove the hot jars from the Instant Pot and place on a towel to fully cool.
- Store in a cool dry place and use in a 1:1 ratio as store-bought extracts.
Notes
- You may notice that the extract still smells of alcohol after the Instant Pot extraction process. This is normal, and the alcohol smell should fade over the next few weeks.
- Fingertip tight means you tighten the lid and ring and then loosen it just a tiny bit. This should prevent the jar from forming an actual seal. If that does happen, use a bottle opener and pop it loose when it has cooled. There is no harm in it sealing.
Nutrition
Nutrition information is automatically calculated, so should only be used as an approximation.


Does the Instant Pot method make it ready instantly?
I find that it jumpstarts the process but still needs a few weeks or so to fully steep.
It cuts the process down by 6-8 weeks but it is not instant.
You mentioned something about how to do it with a pressure cooker. Is that the same as using the insta pot?
I have a pressure cooker but not an insta pot.
Hi Margaret, yes, it would be the same with a stovetop pressure canner as with an Instant Pot. 🙂
I noticed the recipe says 3cups of leaves and you used two 8oz jars—- did you split the 3 cups between the two jars or did you pack 3 cups into each?
Hi Corey, it depends on which kind of jars you’d like to use. If you were to use a pint or quart jar, they could all go into one. If you use half-pints (8 oz) jars, you’d need to split them evenly.
1 cup of vodka doesn’t completely cover the leaves. Is that okay?
Yep! You can push them down under if you’d like, but they’ll all eventually sink down under the liquid.
Thanks for sharing this recipe this content is very significant for me I really appreciate you
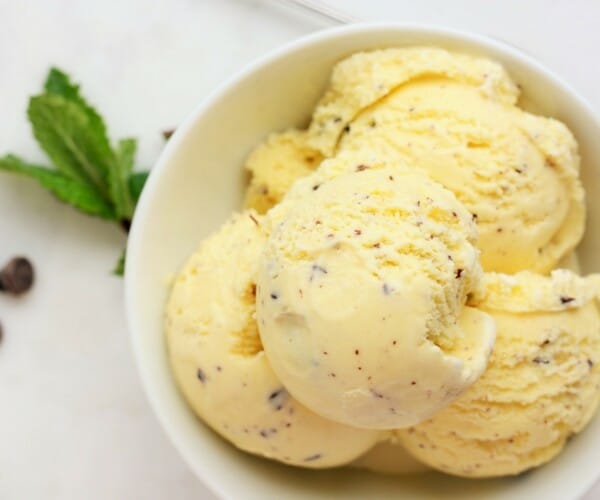
I am wondering if sugar could be added to the extract as a preservative. I plan to use the extract for ice cream.
The vodka itself is a preservative, but if you want it for ice cream a simple syrup might be a better fit for you.
I have a mint syrup recipe that is not yet published on the site. If you’d like to email me, I’d be happy to send you my notes. 🙂 [email protected]
Can anyone tell me why you don’t use the mint stems? They are very fragrant and flavorful.
They can become woody over time and discolor the extract.
Thank you Sarah for this – and your sense of humor!
– I just dutifully waited 3 months for my 1st batch… and sadly now I see how/why stems must be omitted – use leaves only! Borderline musty wet grass smell due to stems… not sure if will translate in baking projects. I may try to ‘save’ by adding 3 C more of *leaves only*
Thanks so much again! Love your site and am grateful for your wisdom!
Such a bummer, but I hope leaves only will work better for you.
Can rum be used instead of vodka
I haven’t tried it, but since rum has a flavor to it already, I’m not sure the mint will come through enough.
hello ,my I ask ? can you add Vodka to it when your jar gets low ?
You can, but without new mint being added, the flavor will be very watered down.
A variation on the theme! I had just bought a Hexcl individual coffee mug hot plate on Amazon that has 3 temperature settings, 131, 149, 165F, so I thought I’d try that. I harvested, washed, and stripped the leaves from all my peppermint, leaving 2-4 in stems on the plants. Then used the salad spinner and spread them out to dry a bit on a towel while I got organized. I chopped them up and stuffed them into a spaghetti sauce jar and filled it with Ever Clear up to 1/2 in from the top, and set it on the hot plate at 149F.
I set my kitchen timer and shook the jar about every 10-15 min for the first hour, until it was actually hot, then about every 20 min for 2-3 more hours. Since all the exposed parts of the hot plate are plastic, I felt comfortable wrapping a towel around it all to help keep the heat in – and use to shake it after it was hot.
When finished I let it cool on the stove top and then put it into the fridge over night to use the next day.
I poured it all through a coffee filter into a new jar and then rinsed the leaves – still in the original jar – with about a 1/2 cup more of EverClear, and discarded the leaves.
The extracted liquid was the most beautiful emerald green and very minty! (And done in just a few hours!)
Wow, that is such an interesting process! Thank you for sharing it. 🙂
Do you remove the leaves after the process is complete?
Thanks! I’ll be starting this over the weekend.
I tend to leave them in there!