As an Amazon Associate, I earn from qualifying purchases.
Learn how easy and affordable it is to make your own homemade peppermint extract! This homemade mint extract recipe also makes wonderful gifts. If you have a pressure cooker, I’ll even teach you to make it in the Instant Pot.

Innocently plant some mint in your garden and within a few weeks, you’ll be a full-fledged mint farmer.
Trying to decide what to do with some of that excess? Homemade peppermint extract is the answer you have been looking for.
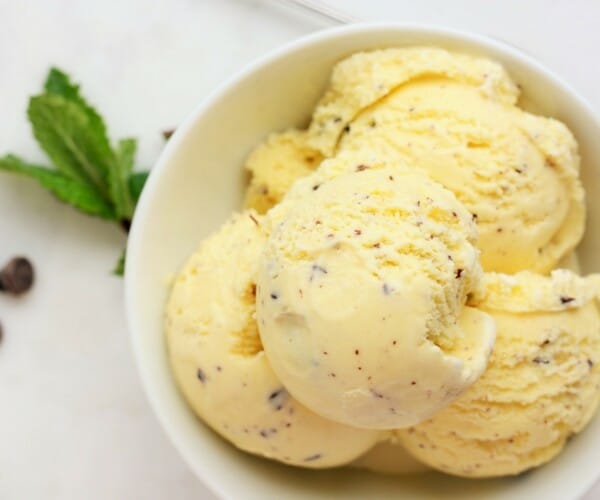
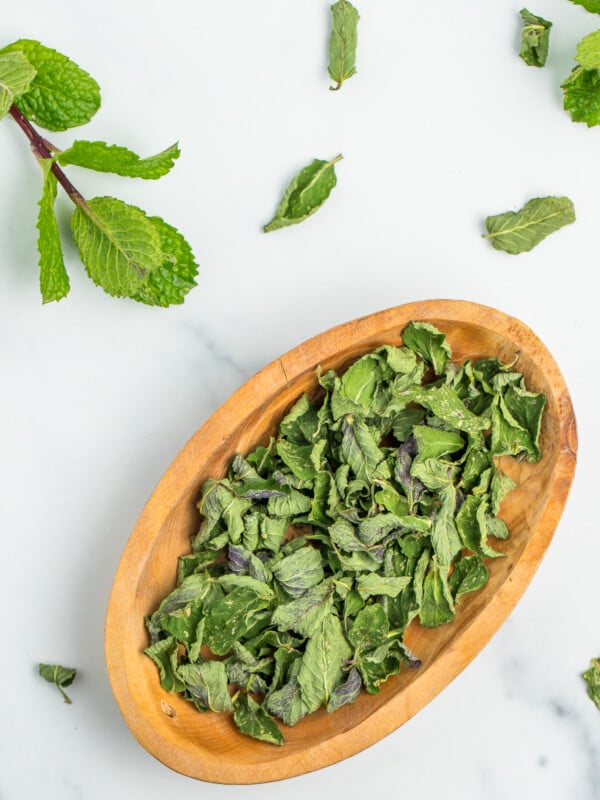
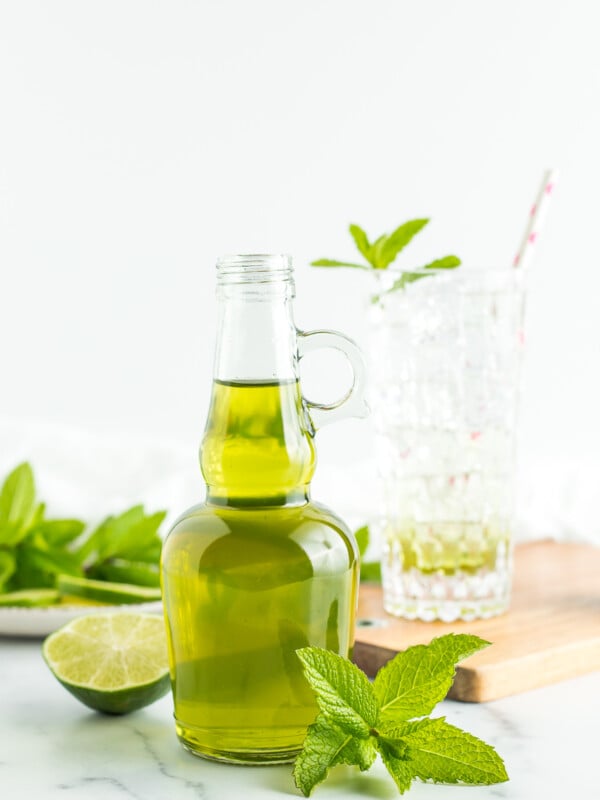
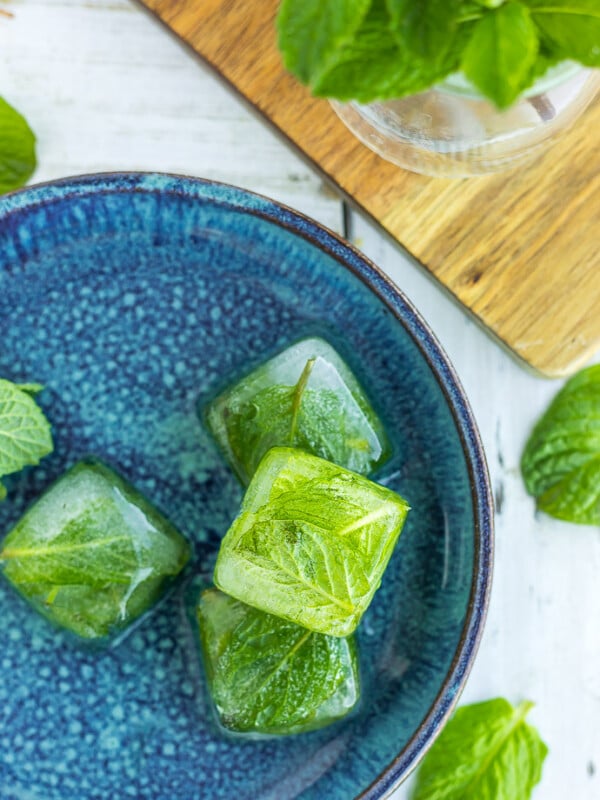
If you have mint left over after making the extract, try your hand at freezing mint, drying mint, or making mint syrup to keep a delicious stash in your freezer.

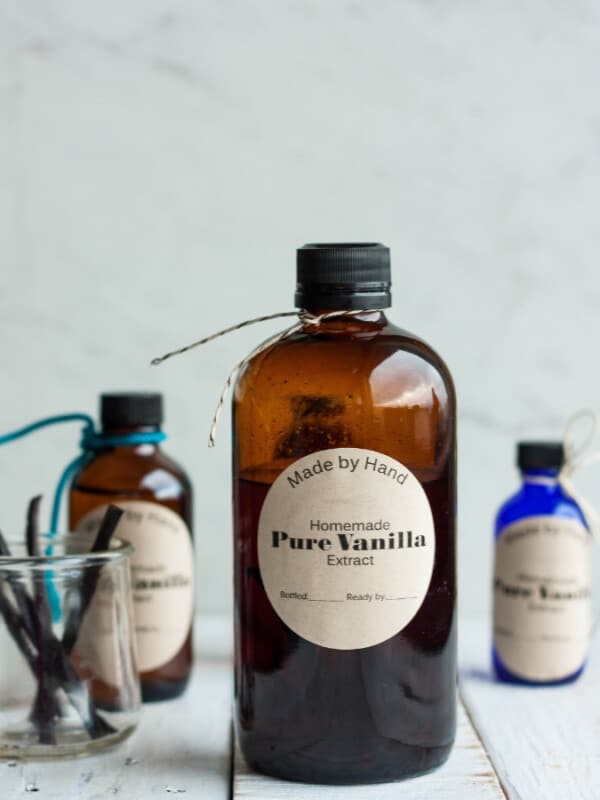
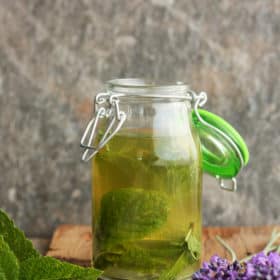
Can we be frank about appearance here for a minute? The pressurized leaves are butt-ugly after they have been processed. If giving this as a gift I like to strain the finished extract from the old leaves, decant it to another bottle, and add a few fresh mint leaves.

If you’d like some labels for your mint extract bottles, click this link to get and print the template I made. Labels print to Avery print to edge round labels in kraft brown (Avery 22808).
Pro Tips/Recipe Notes:
- You may notice that the Instant Pot extract still smells of alcohol after the extraction process. This is normal, and the alcohol smell should fade over the next few weeks.
- I have an 8-quart Instant Pot and chose to use two 8-oz jam jars for this process.
- Some recipes will have directions to place the jars in the Instant Pot uncovered. I find this caused too much evaporation of the vodka during the pressure cooking process.
- I made multiple batches of this to test it out and found that a longer processing time in the Instant Pot did not result in a more “minty” flavor.
Homemade Peppermint Extract (2 ingredients)
Ingredients
- 3 cups peppermint leaves {packed}
- 1 cup vodka
- 1 cup water {only needed for Instant Pot method}
Instructions
Traditional Method:
- Rinse mint leaves and add them to a canning jar. You may need to pack them in with a spoon to get everything to fit.3 cups peppermint leaves
- Pour vodka over the leaves. Put a lid on the jar and shake a few times.1 cup vodka
- Store in a cool dark place, shaking once a day for the first few weeks. After that, shake it whenever you think of it.
- The mint extract will be ready when the liquid smells strongly of peppermint and not alcohol.
Instant Pot Method:
- Rinse mint leaves and add them to a canning jar. You may need to pack them in with a spoon to get everything to fit.3 cups peppermint leaves
- Pour vodka over the leaves. Add the lid and ring and tighten to fingertip tight.1 cup vodka
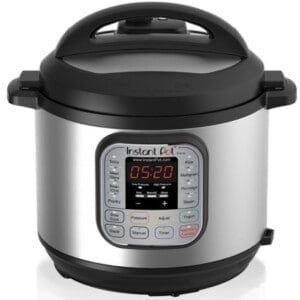
- Place 1 cup of water in the Instant Pot and place a wire rack inside. Add the jars.1 cup water
- Put the lid on the Instant Pot, set the vent to “sealing” and press Manual>high pressure>30 minutes.
- Allow for a natural release. Carefully remove the hot jars from the Instant Pot and place on a towel to fully cool.
- Store in a cool dry place and use in a 1:1 ratio as store-bought extracts.
Notes
- You may notice that the extract still smells of alcohol after the Instant Pot extraction process. This is normal, and the alcohol smell should fade over the next few weeks.
- Fingertip tight means you tighten the lid and ring and then loosen it just a tiny bit. This should prevent the jar from forming an actual seal. If that does happen, use a bottle opener and pop it loose when it has cooled. There is no harm in it sealing.
Nutrition
Nutrition information is automatically calculated, so should only be used as an approximation.