As an Amazon Associate, I earn from qualifying purchases.
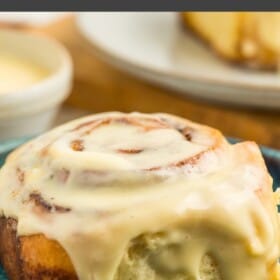

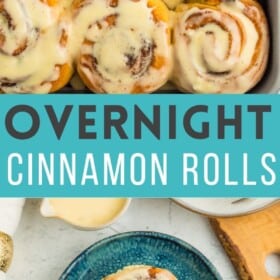
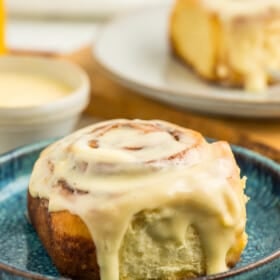
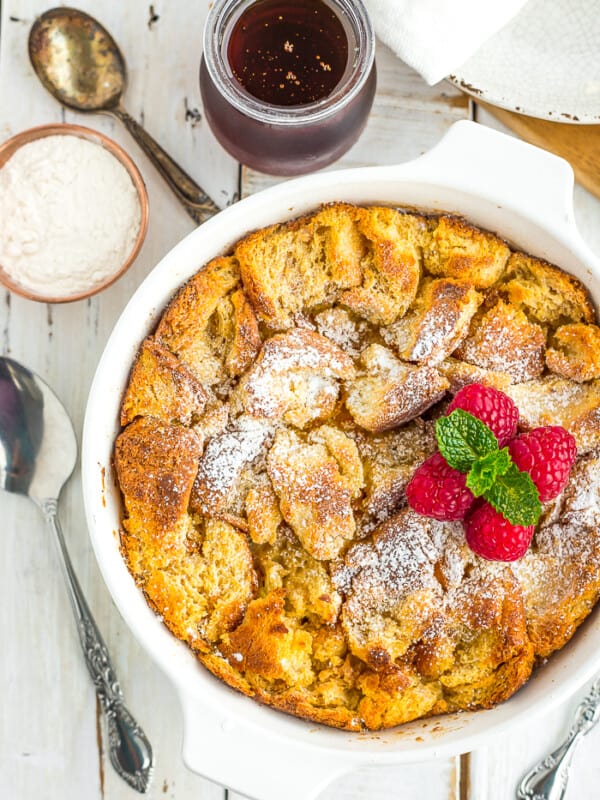
Imagine waking up to the amazing scent of soft, gooey, and delicious homemade Overnight Cinnamon Rolls baking in your oven. Spoil your family with these make-ahead cinnamon rolls with homemade orange cream cheese icing.

Imagine waking up on a cold morning with a pan of make-ahead cinnamon rolls ready to pop into the oven.
Even though I can’t be in your kitchen when you make them, I have packed so many tips into this recipe that you will totally ace it. Don’t be scared. I’m here, we’re in this together. You’re about to be the most popular person in your house.
Overnight cinnamon rolls. Let’s do this.
Need a smaller version of this recipe that could also be cooked in an air fryer? Check out our small batch cinnamon rolls. And if you don’t want to make your own dough, try our puff pastry cinnamon rolls.
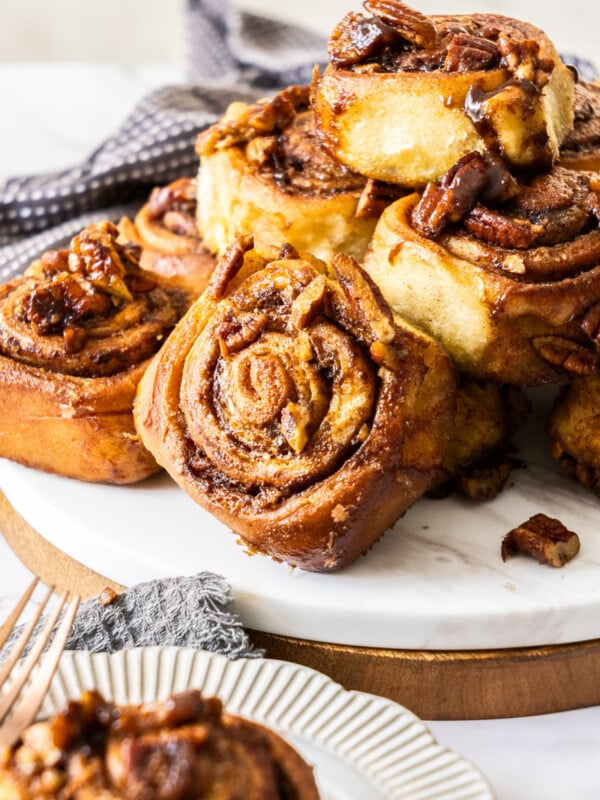
Try our pecan rolls if you’re looking for something with nuts.
Let’s Talk About Rise Times
If you’ve never worked with yeasted doughs before AND like exact directions, notations like “until doubled in size ~1 hour” might make your butt clench so tightly you could turn a grain of sand into a pearl. You want specifics. I get it.
But there are many factors that go into how your dough will rise. The temperature of your house is a huge part of it, as is the age of the yeast, how much the dough was kneaded, etc.
Pay attention to the cues I give you in the recipe (noted by “Looks Like”) and just embrace that sometimes, little things in life are out of our control. But hey, at least in this instance those things contain cinnamon and brown sugar.

Here’s How to Make Them
*I’ll walk you through it here with some photos and tips, and you’ll also find a printable recipe card at the bottom of the post with exact measurements, etc. You can also click “jump to recipe” to skip down.
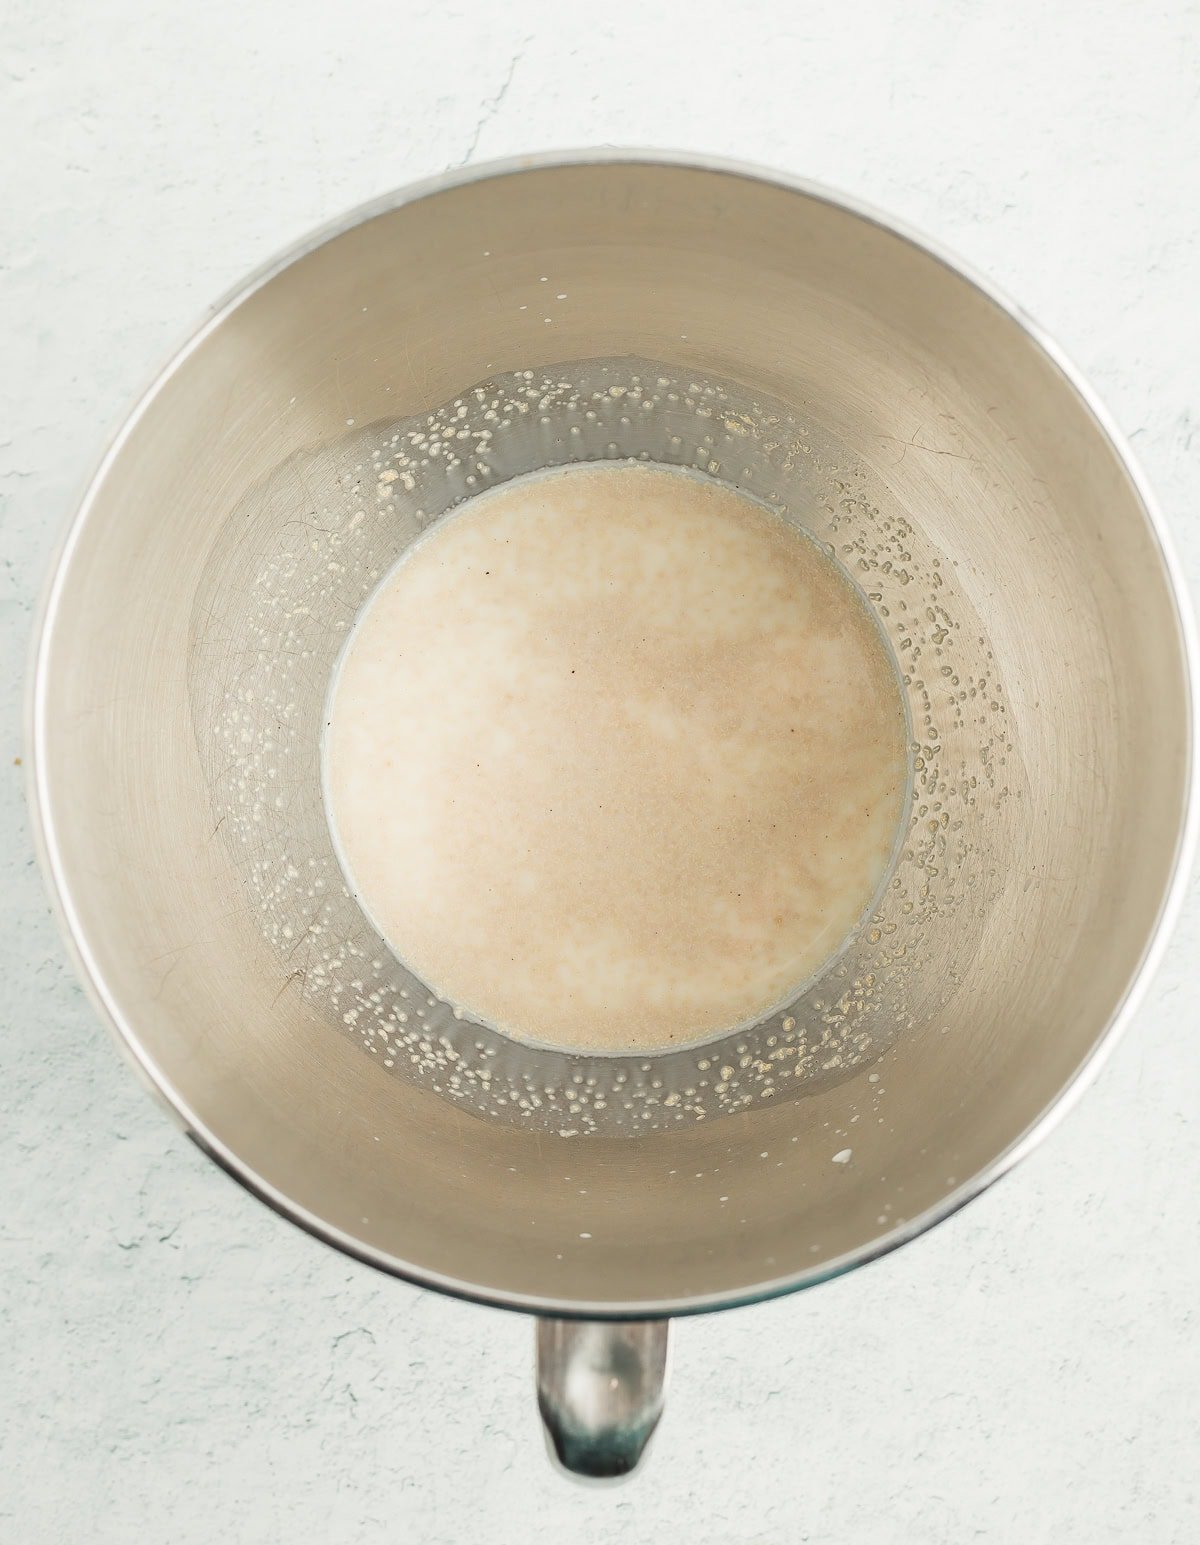
Proof the Yeast
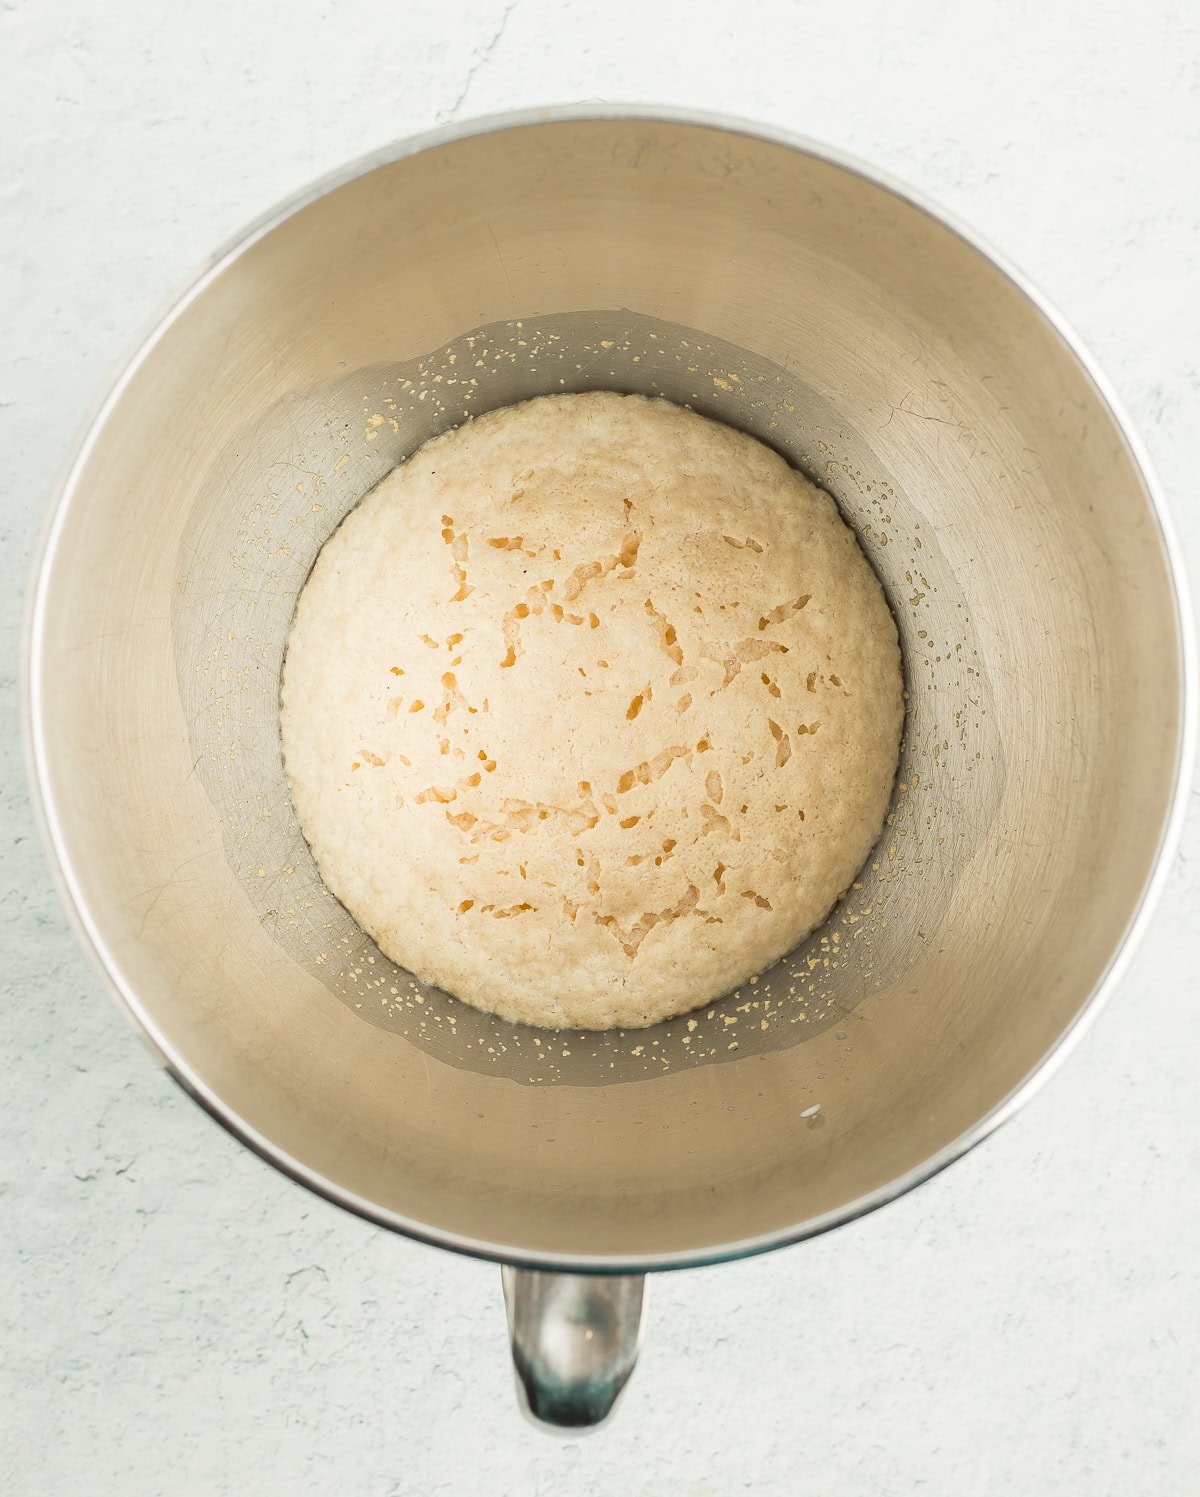
Whisk together warm milk, honey (or sugar), and yeast in the bowl of a stand mixer. Let it sit until foamy and doubled in size. Looks Like: the top of a super creamy root beer!
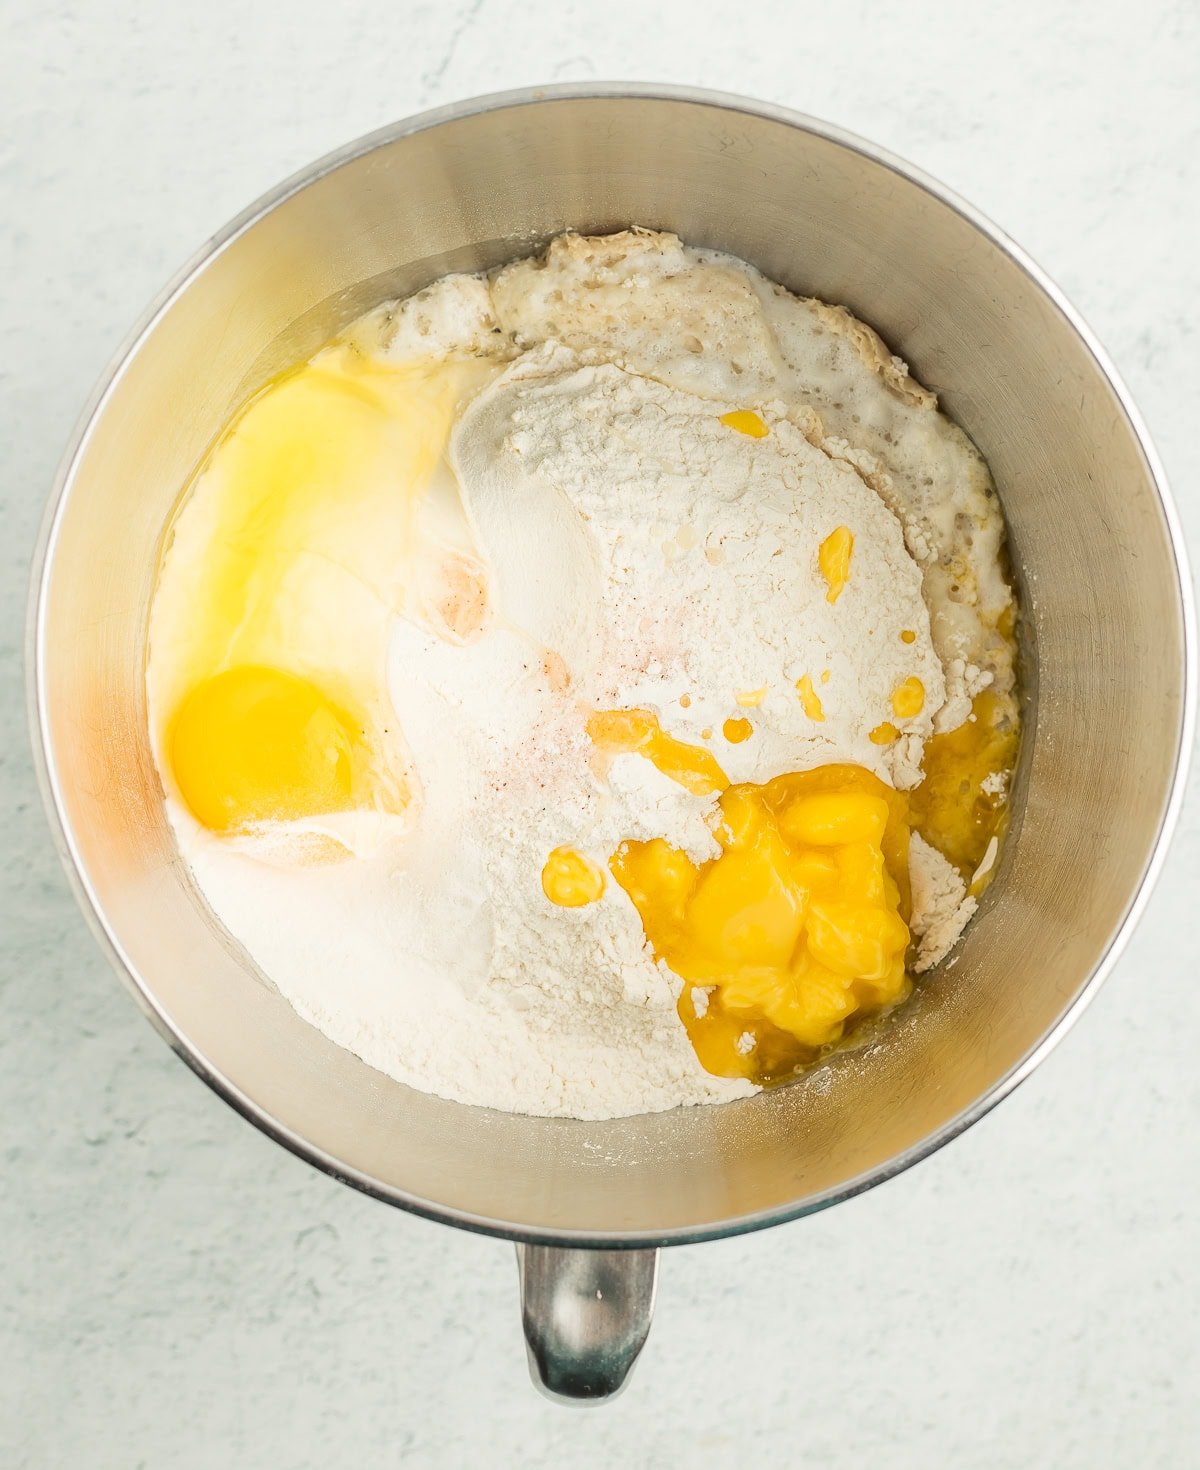
Make the dough
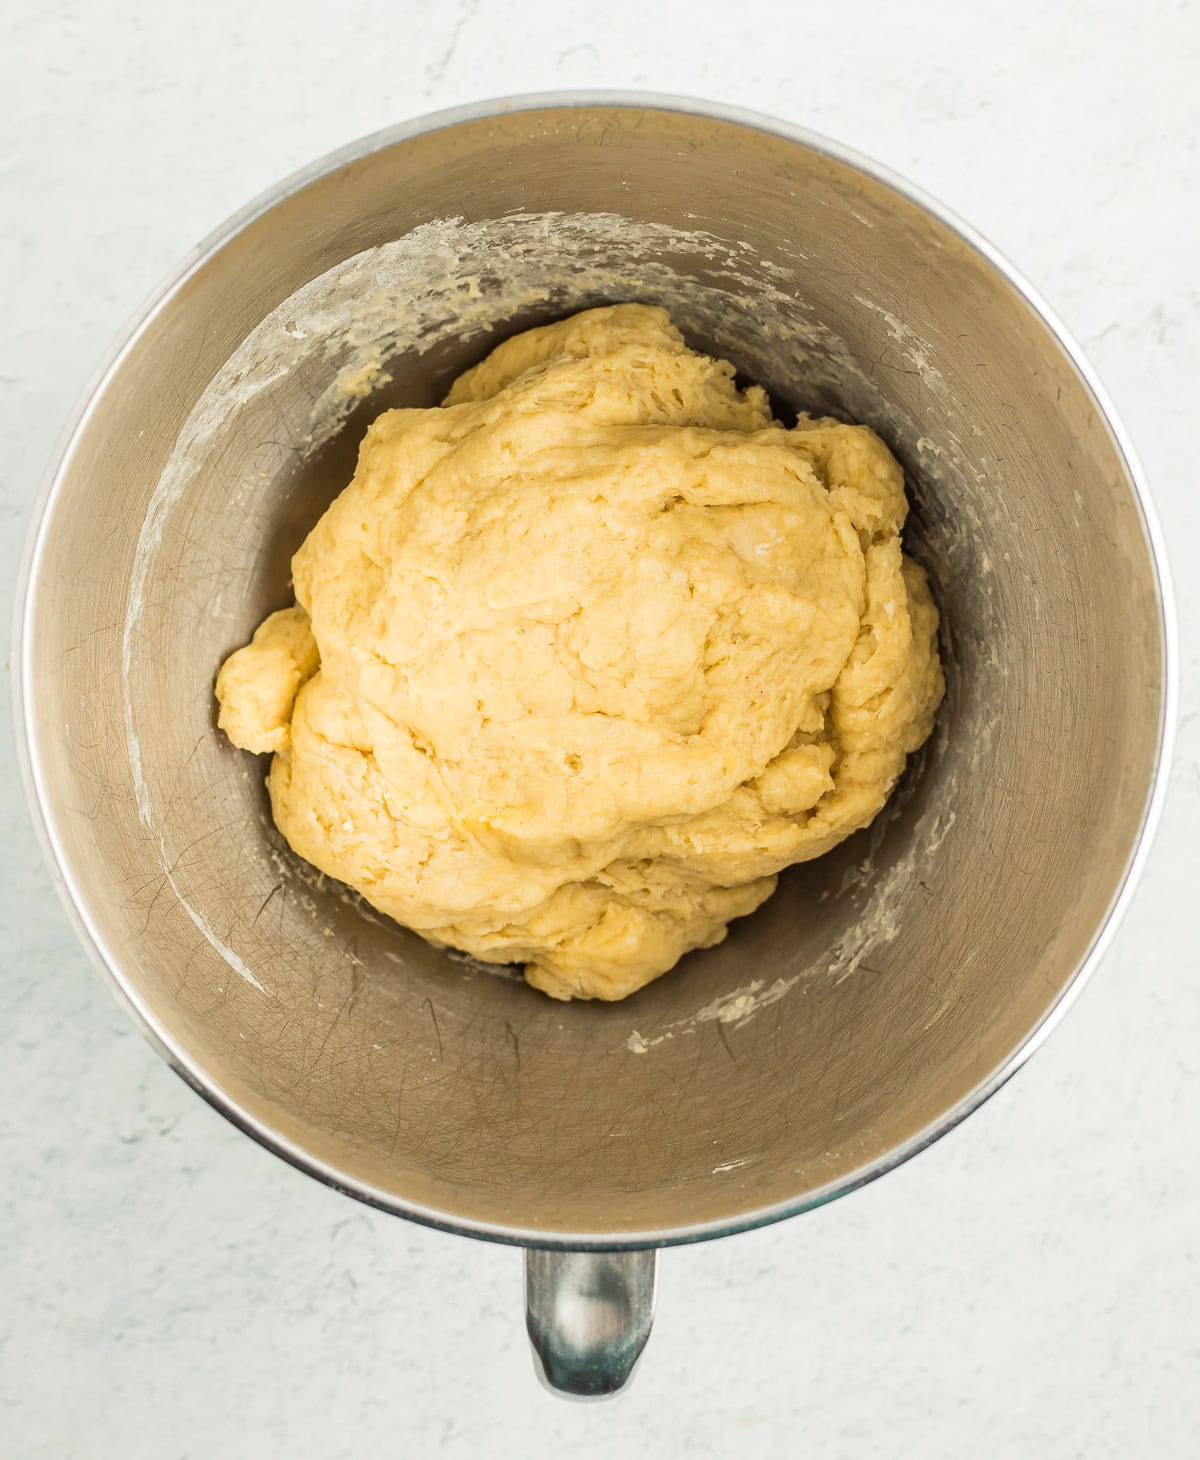
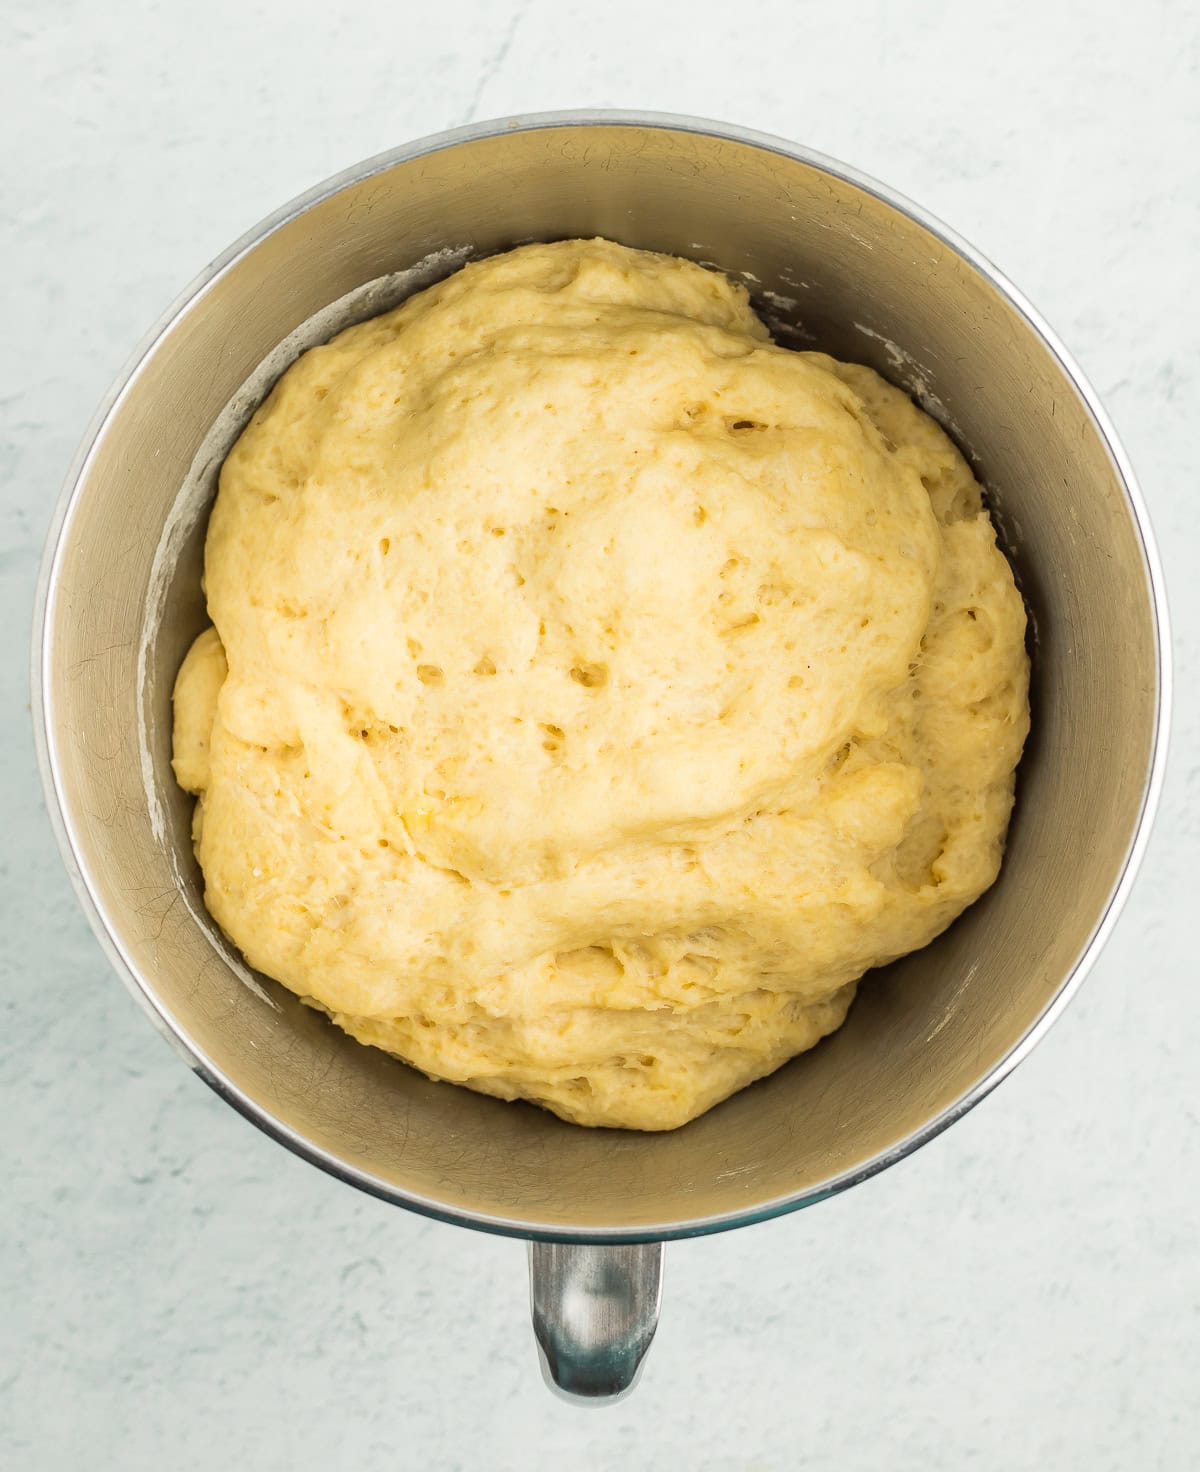
Add flour, sugar, eggs, salt, and butter. Using the dough hook attachment on the stand mixer, mix the dough until it is a solid mass and the sides of the bowl are clean (about 2 minutes). If the dough is still super sticky, add flour 1 tablespoon at a time until it is no longer sticking to the sides.
Gather the dough in one hand and quickly grease the bowl (I use a drizzle of olive oil). Place the dough back in and cover the bowl with a clean damp kitchen towel. Let it sit until the dough has doubled in size (about 1 hour). Looks Like: a puffed-up mass of dough with the top sides pulling away from the bowl. Feels like: the super-soft underside of your granny’s squishy arm. You know what I am talking about. Just go with it.
proofing dough in an Instant Pot (Cold Kitchen Tip):
If you have a colder kitchen (I do!) and you have an Instant Pot, you can proof your dough in an Instant Pot using the yogurt setting and a glass lid.
Drizzle a bit of olive oil into the Instant Pot insert and add the dough. Cover with the glass lid, press “Yogurt” and set the timer for 30 minutes. Check after 15. It took mine about 35 minutes to double in size.
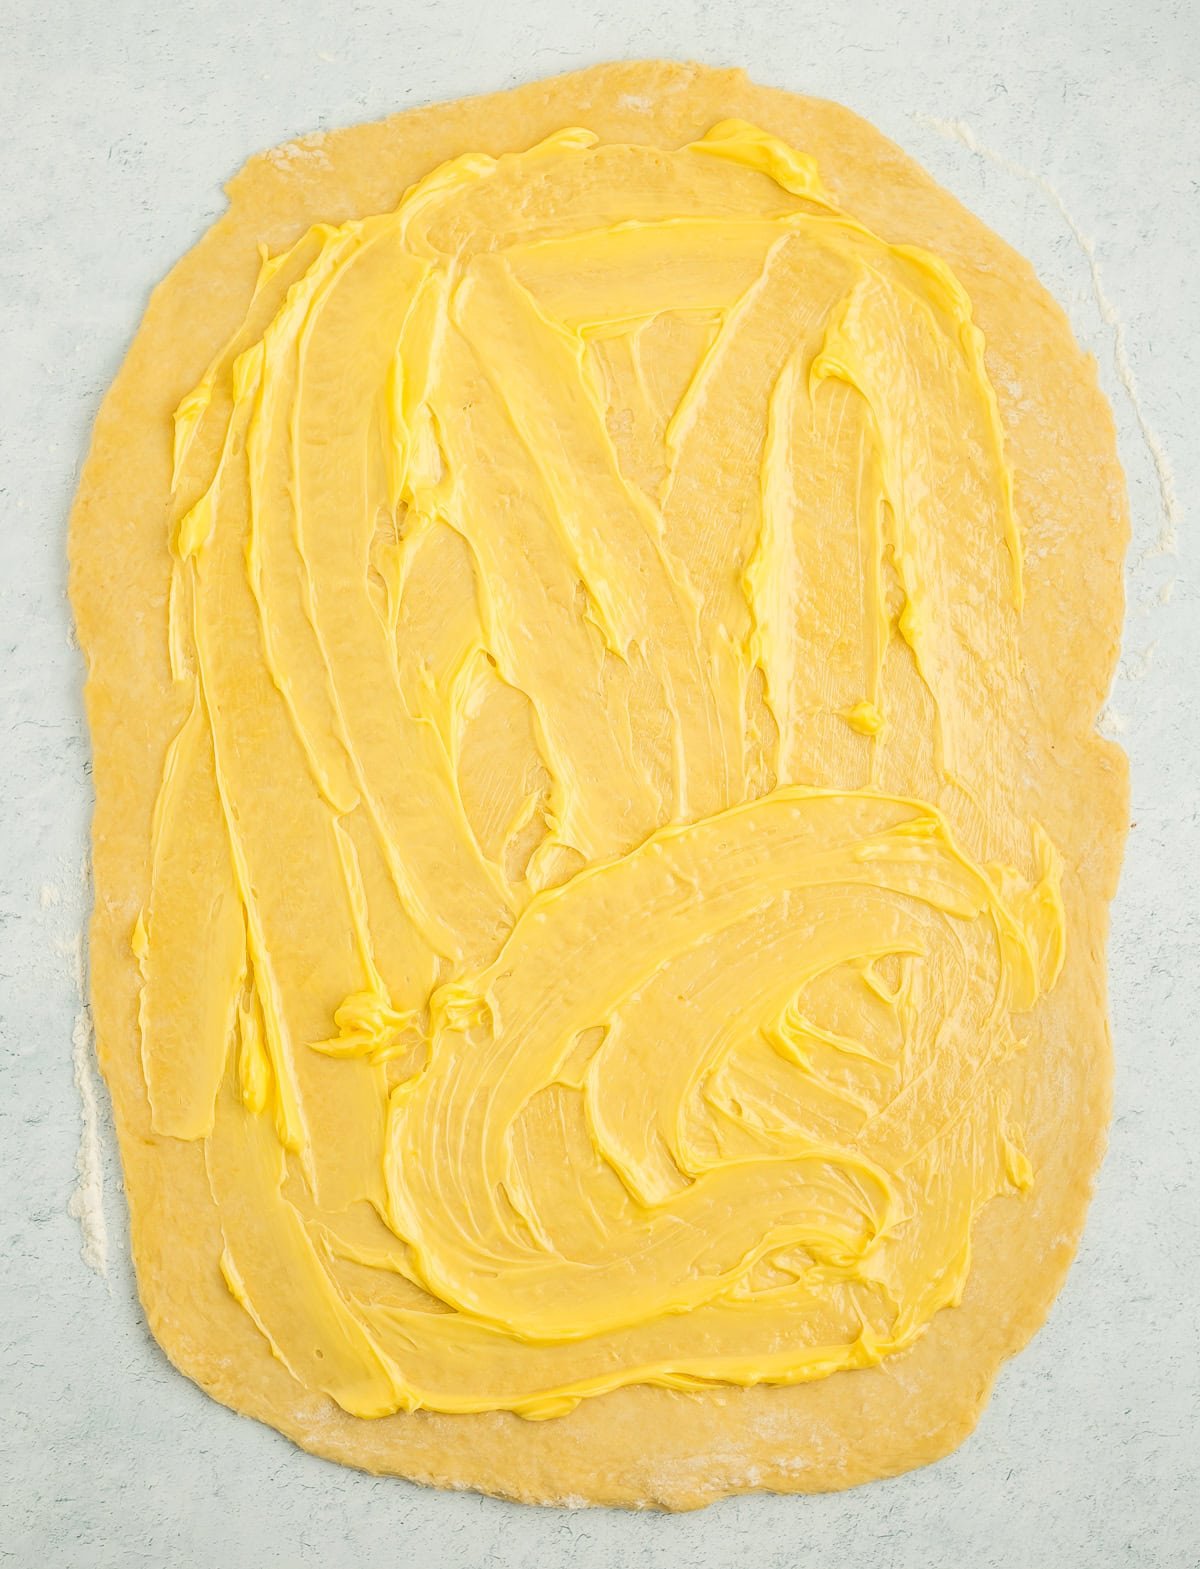
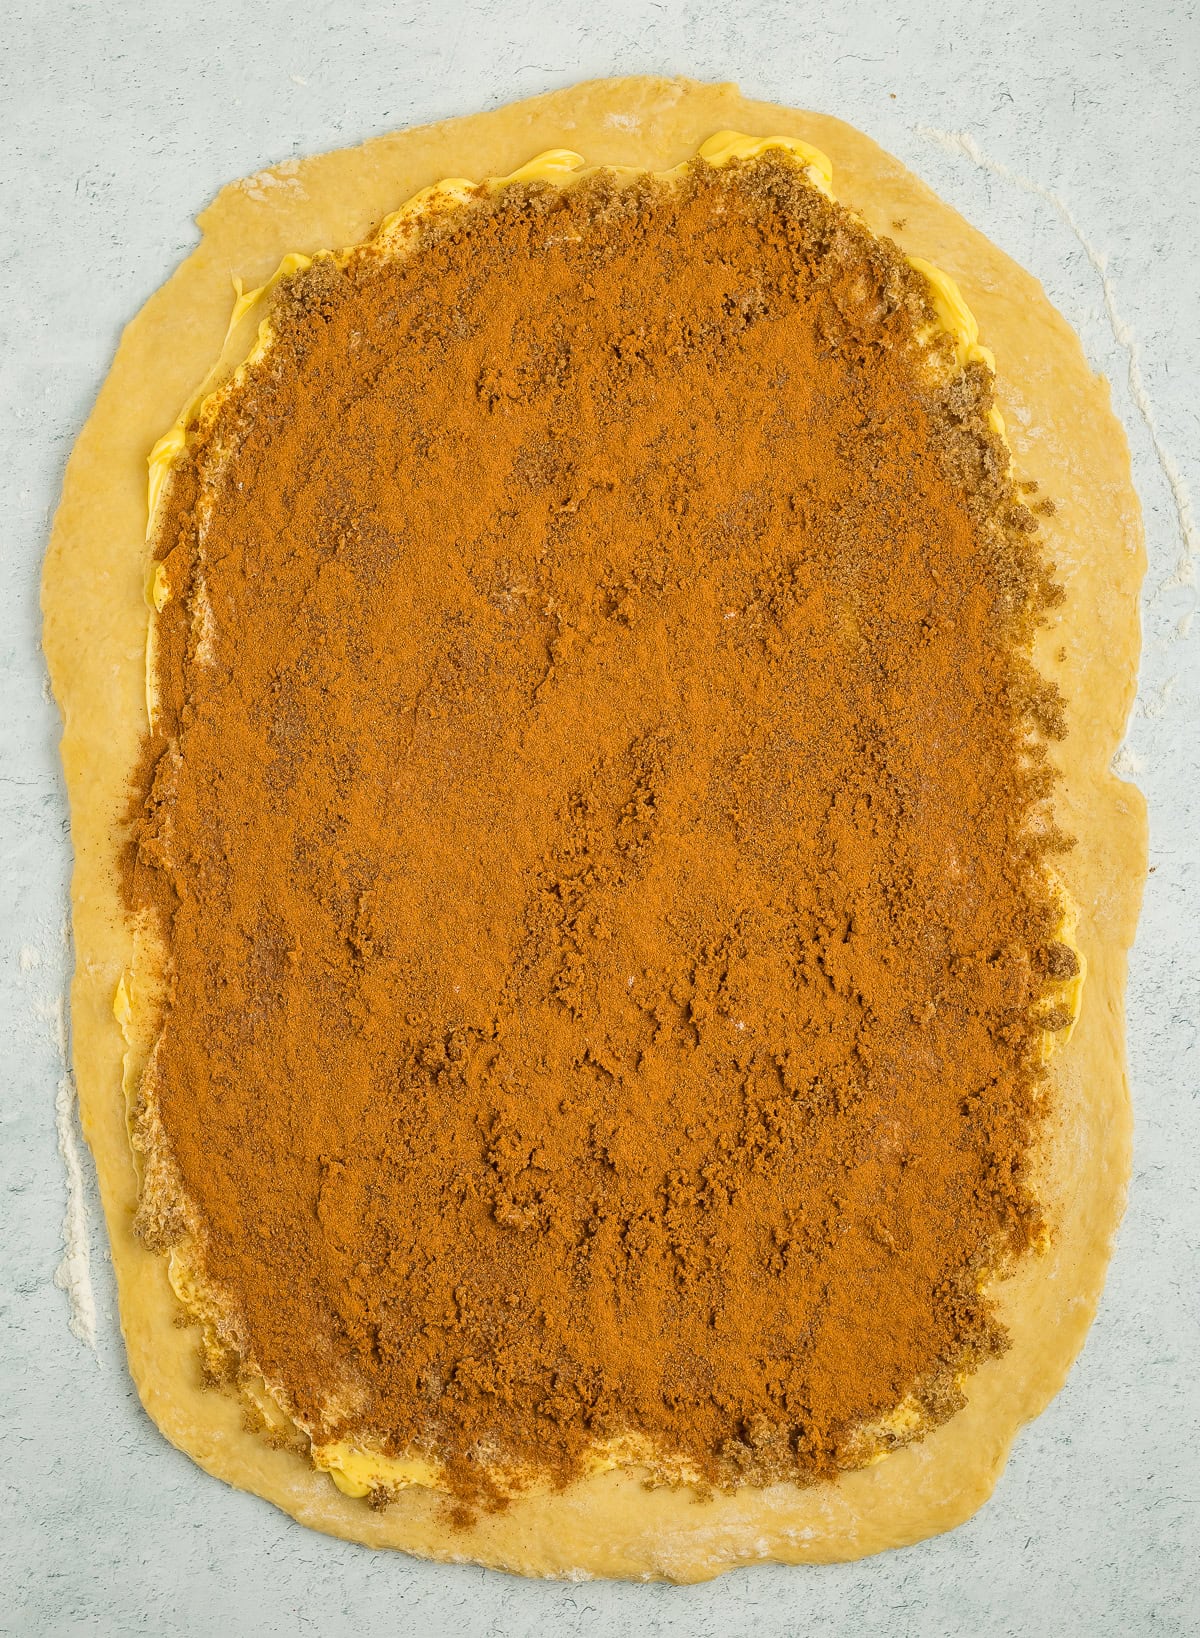
Sprinkle a bit of flour onto a clean surface. Make a ball out of the dough and gently press it with your hands to create a rectangle. Pro tip: using the palm of your hand before using a rolling pin will save you a lot of work. Roll out the dough to make a large rectangle (about 18×22 inches).
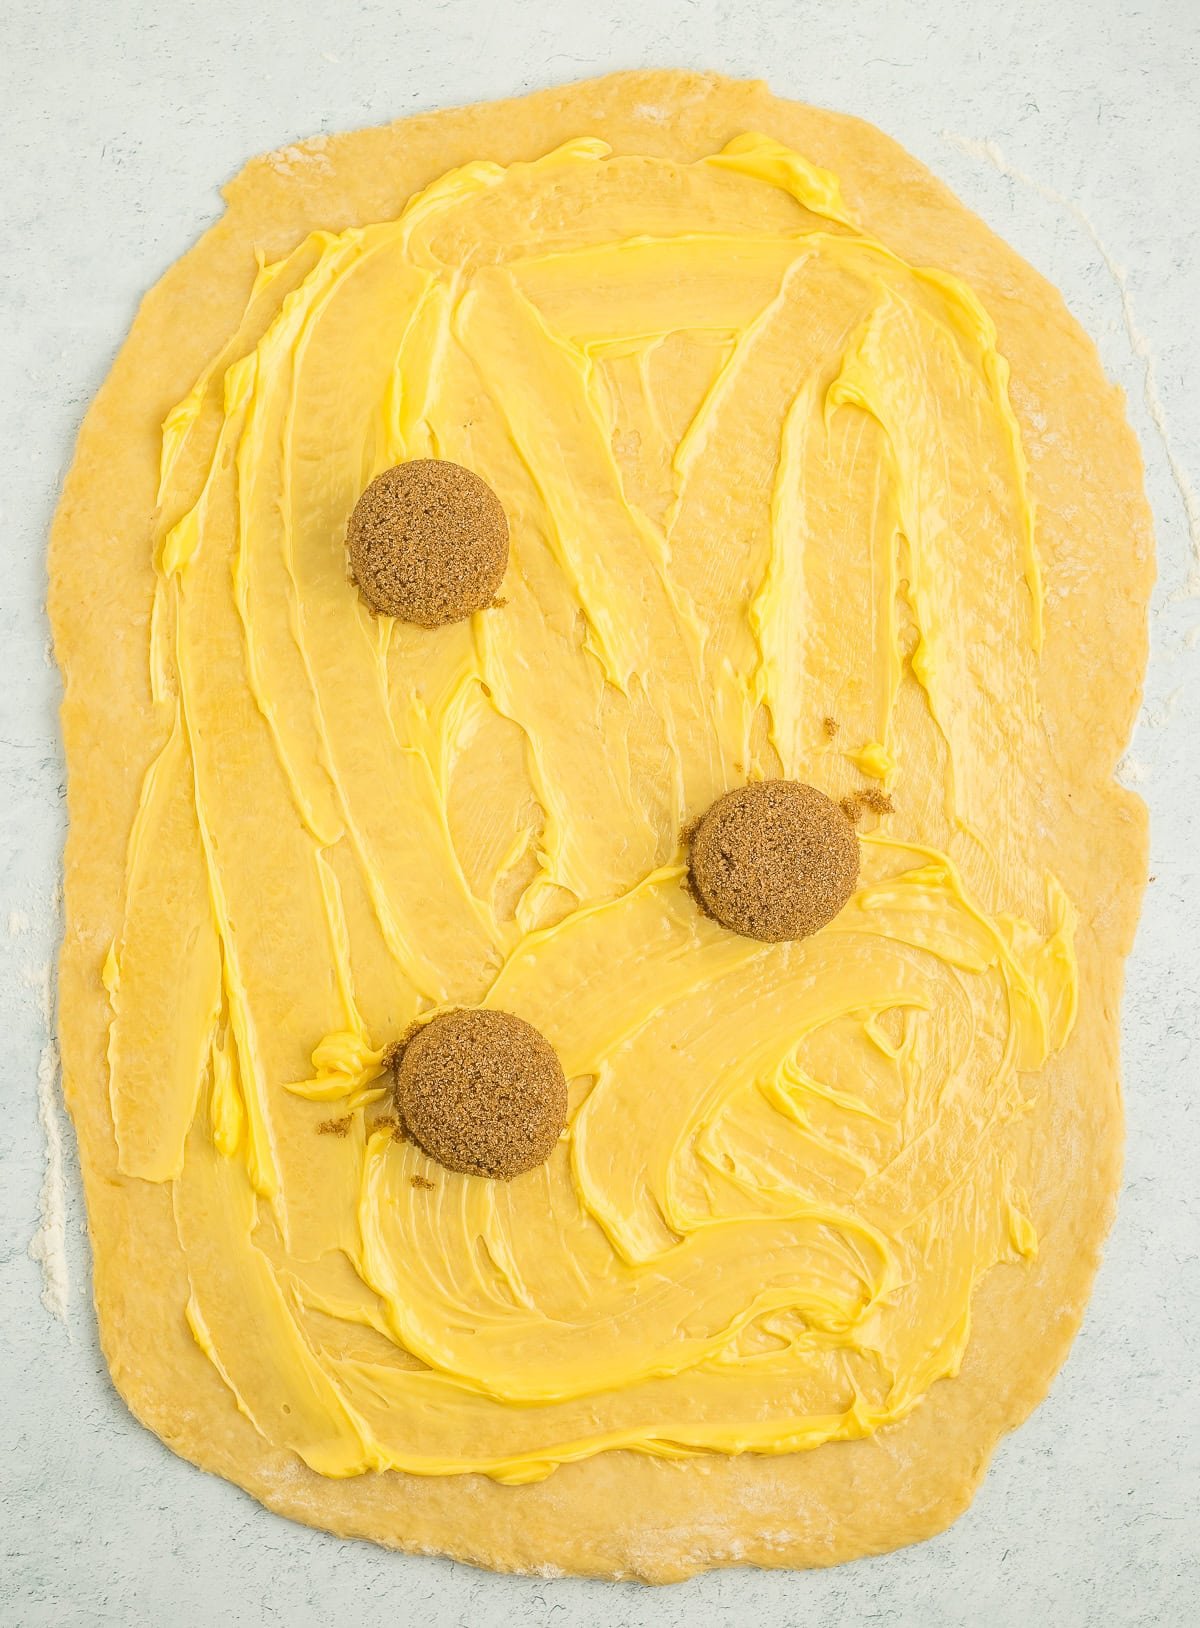
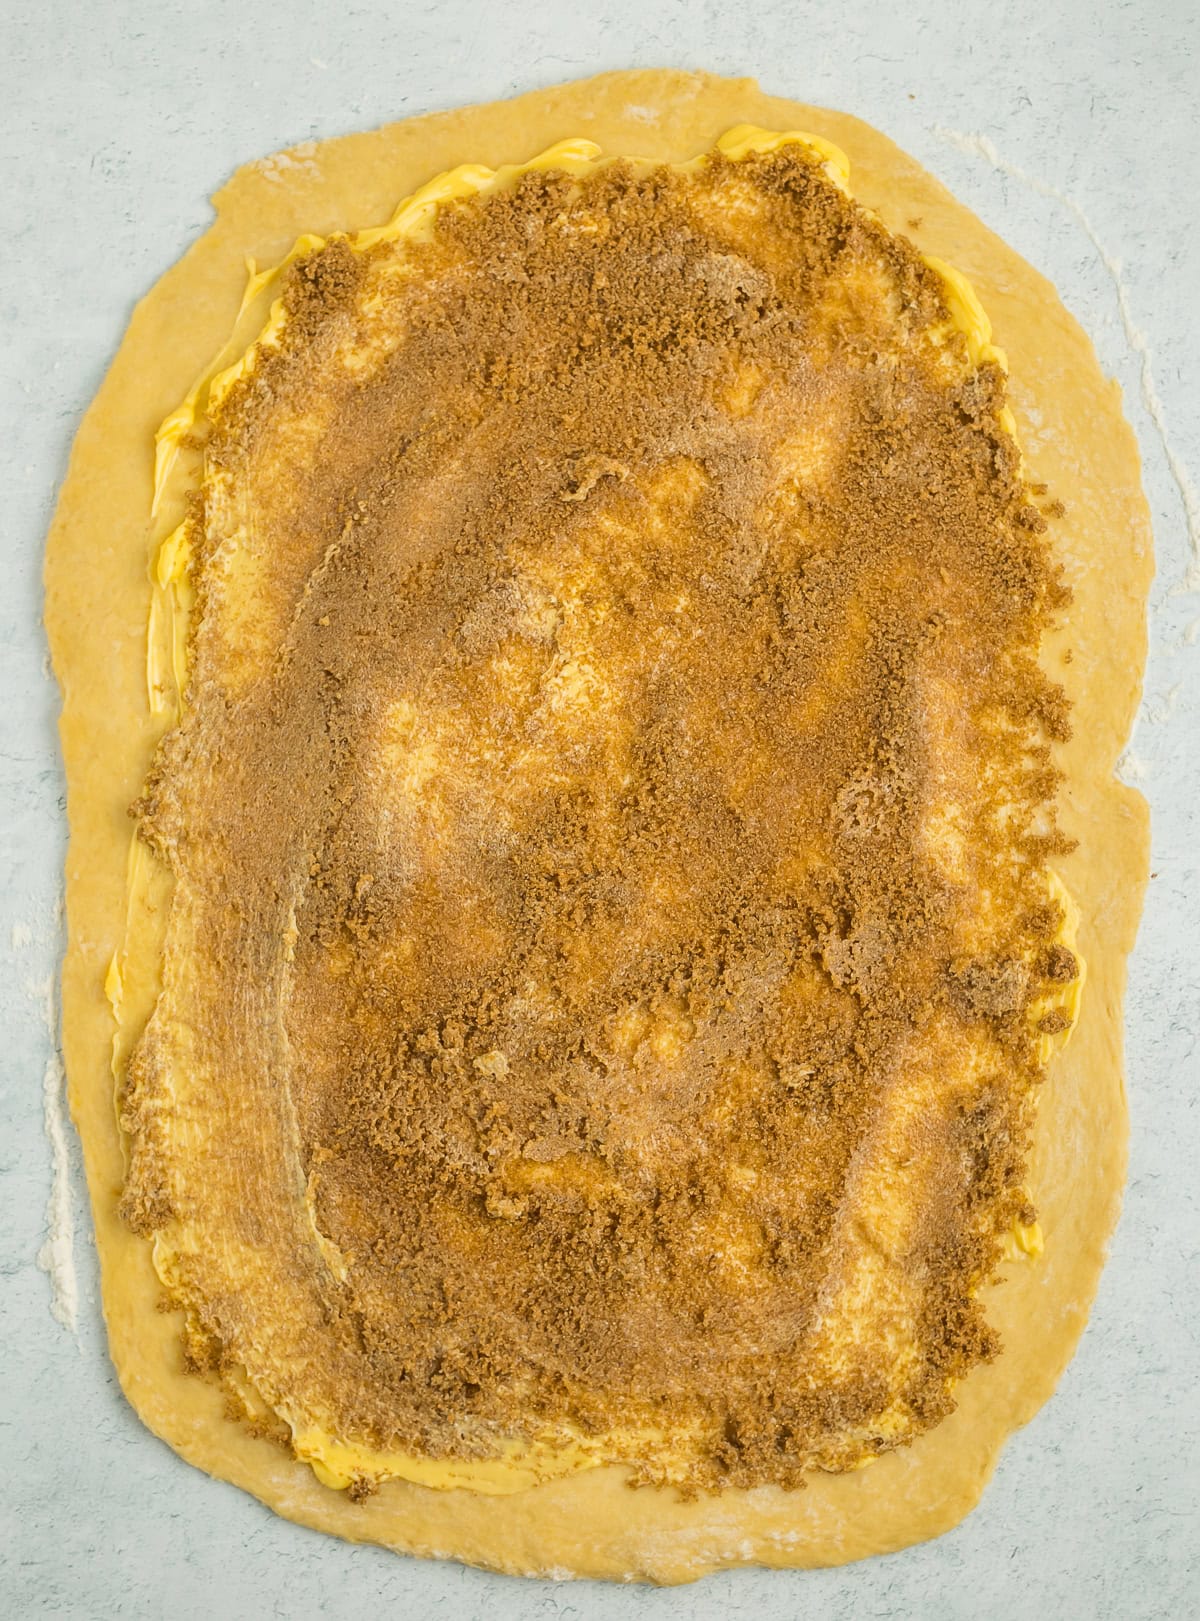
Spread softened butter over the dough, leaving a small butter-less perimeter around the outside. Cover with brown sugar and top with cinnamon.
Starting with the long edge of the dough furthest from you, tightly roll the dough towards you until you have a solid “roll”.
Cut into 12-15 rolls. Pro tip: using a bread knife (aka serrated knife) will create the cleanest cuts. Some people use dental floss, but I am totally pro-bread knife for this step.

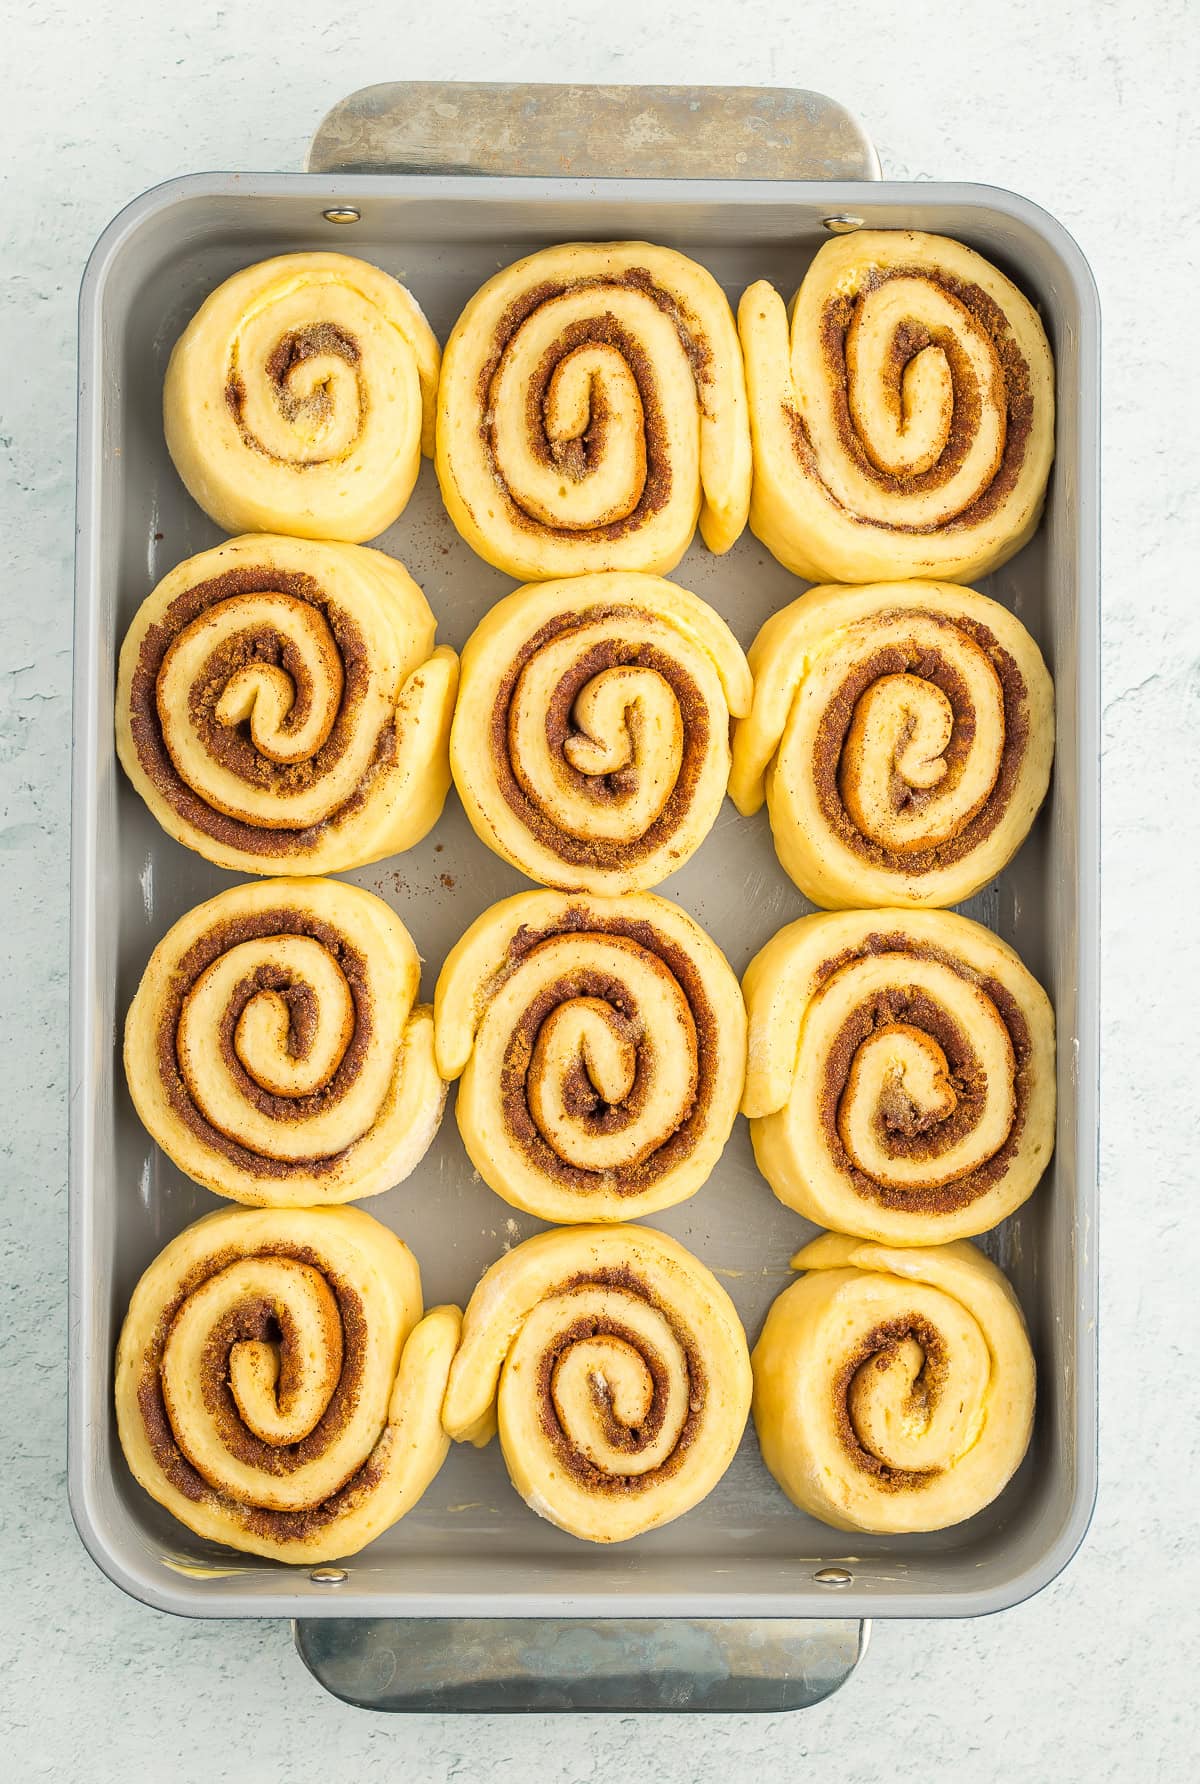
Grease a 9×13 baking pan and place the cinnamon rolls in the pan so that they’re close but not necessarily touching.
Set the baking pan aside in a warm place until the rolls have doubled in size (about 1 hour, depending on the temp of your kitchen). Looks Like: the dough will have “fluffed” u,p and the rolls are likely touching each other in the dish.

You can go ahead and bake them now if you’d like, but if you’re planning ahead, tightly cover the pan and store it in the fridge for up to 36 hours.
To bake: preheat the oven to 350˚F. Bake for 25-28 minutes! Smells like: heaven on earth.
Let’s Make the cream cheese icing
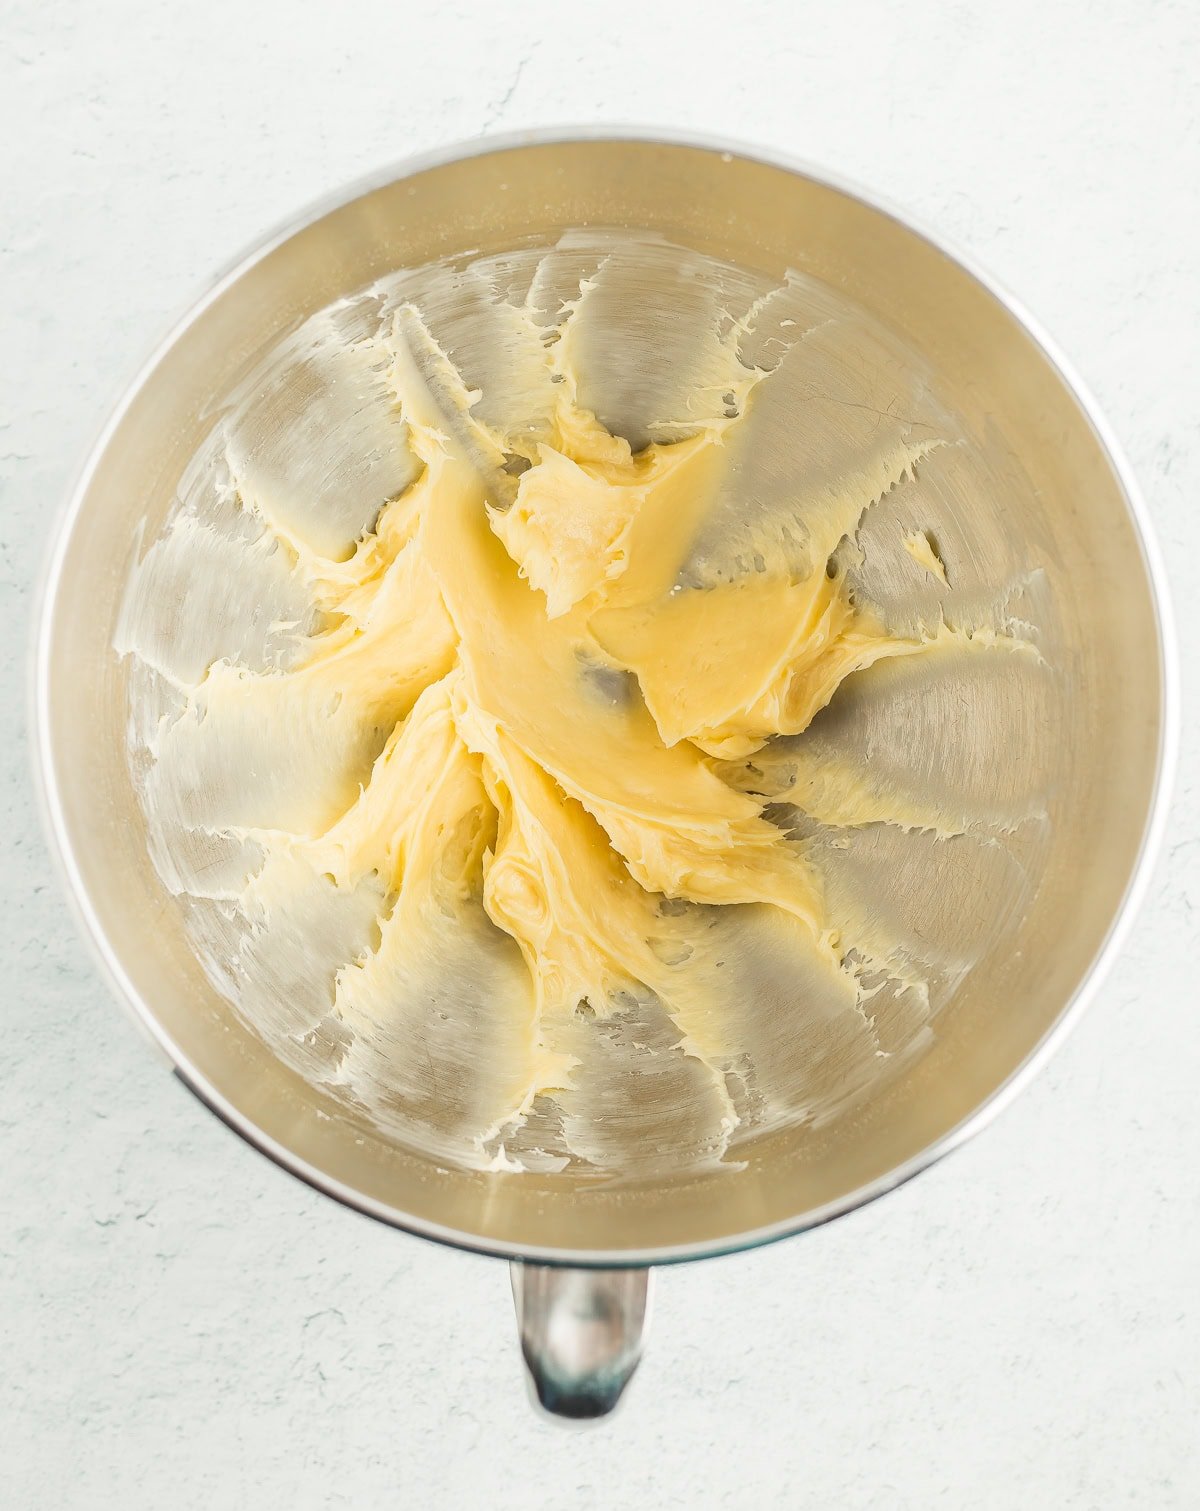
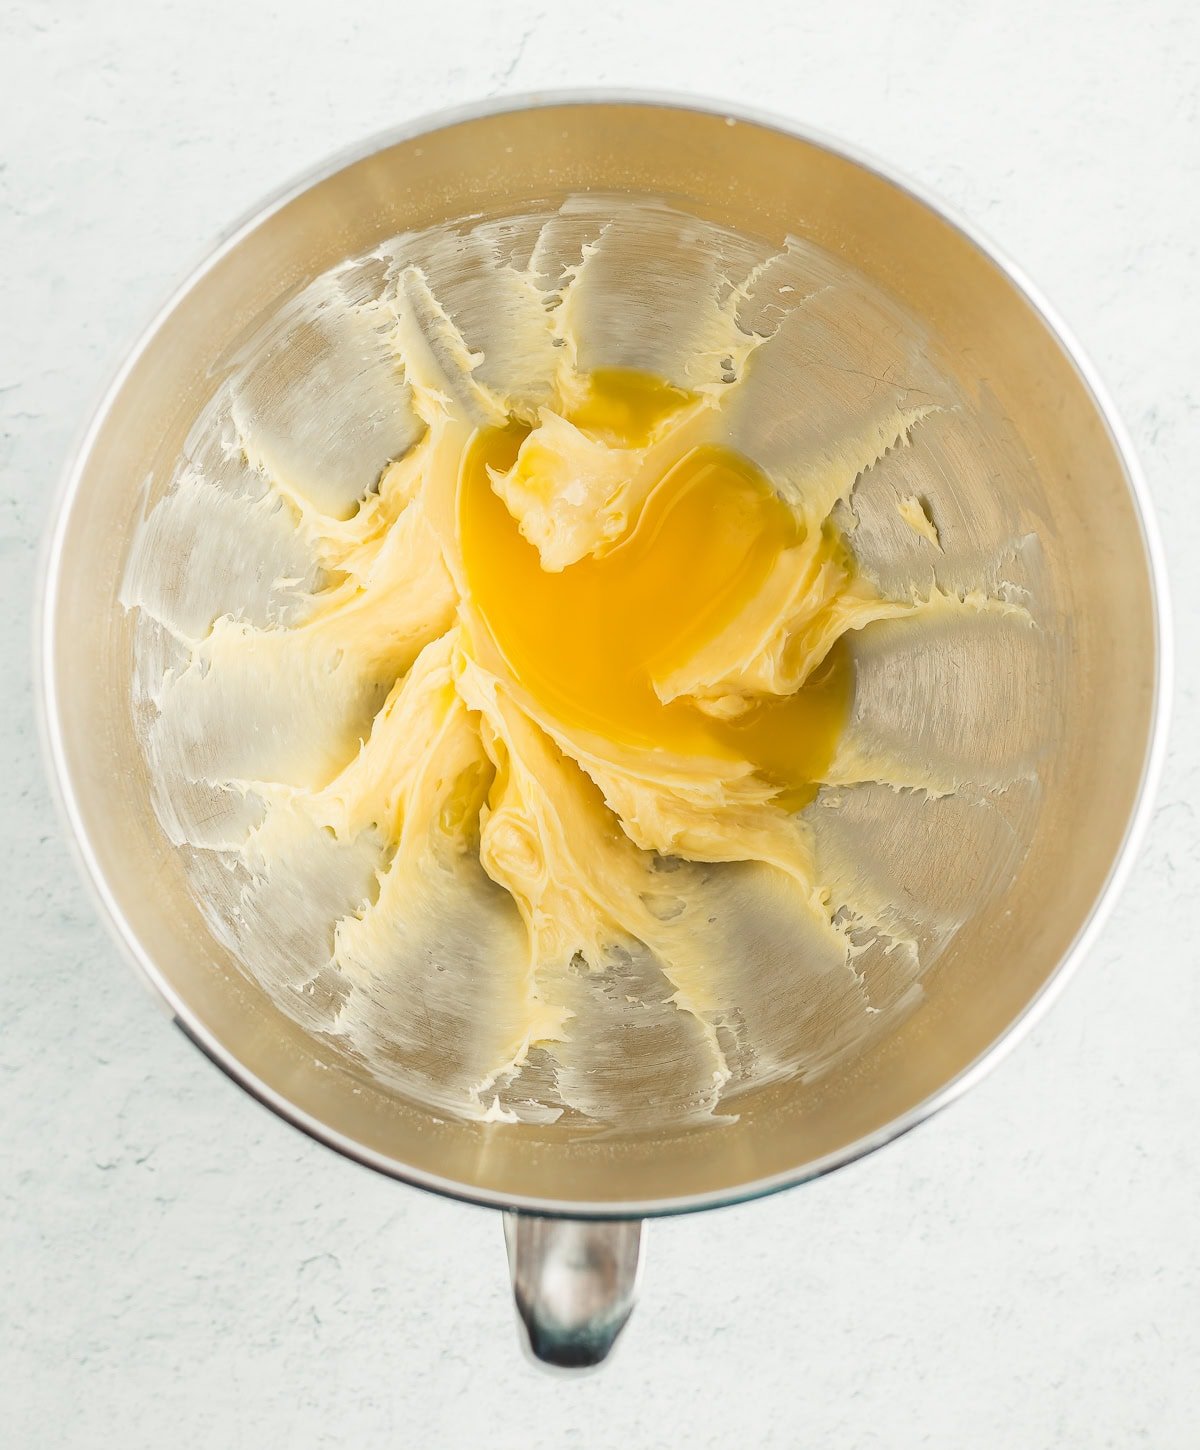
While the rolls are baking, combine room-temperature butter and cream cheese in a mixer fitted with a paddle attachment. Mix on medium until soft and fluffy. Looks Like: whipped butter.
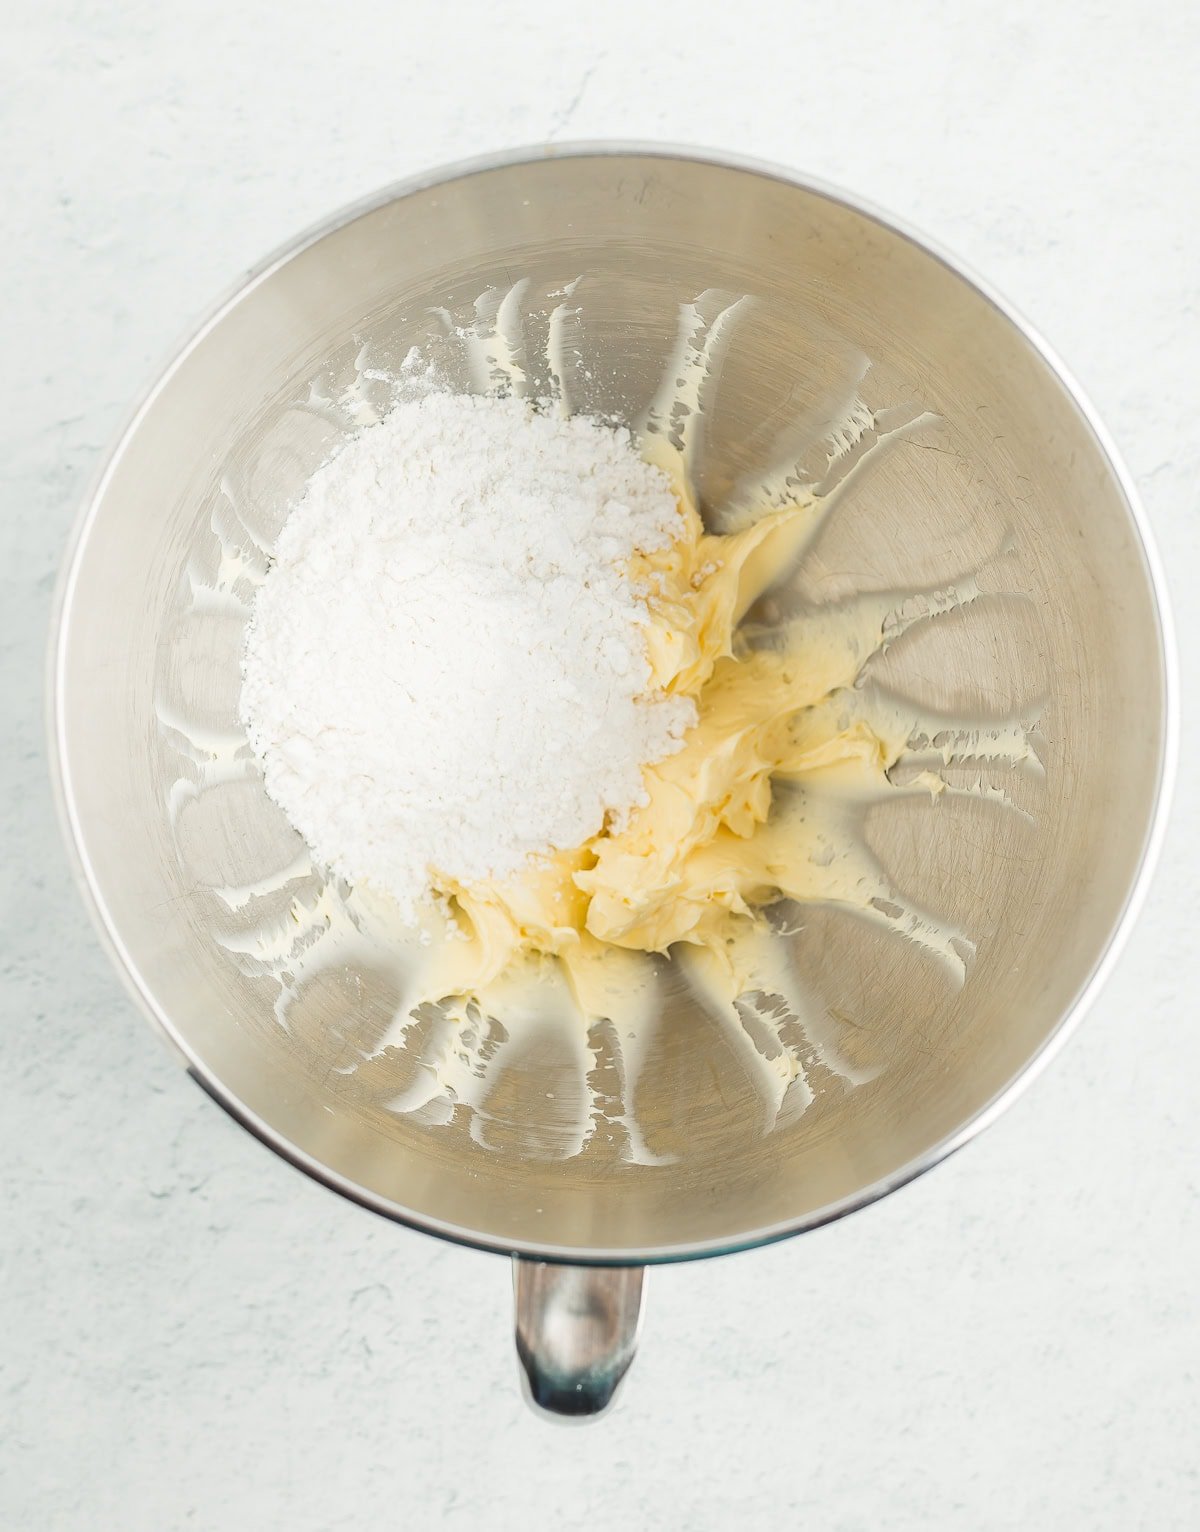
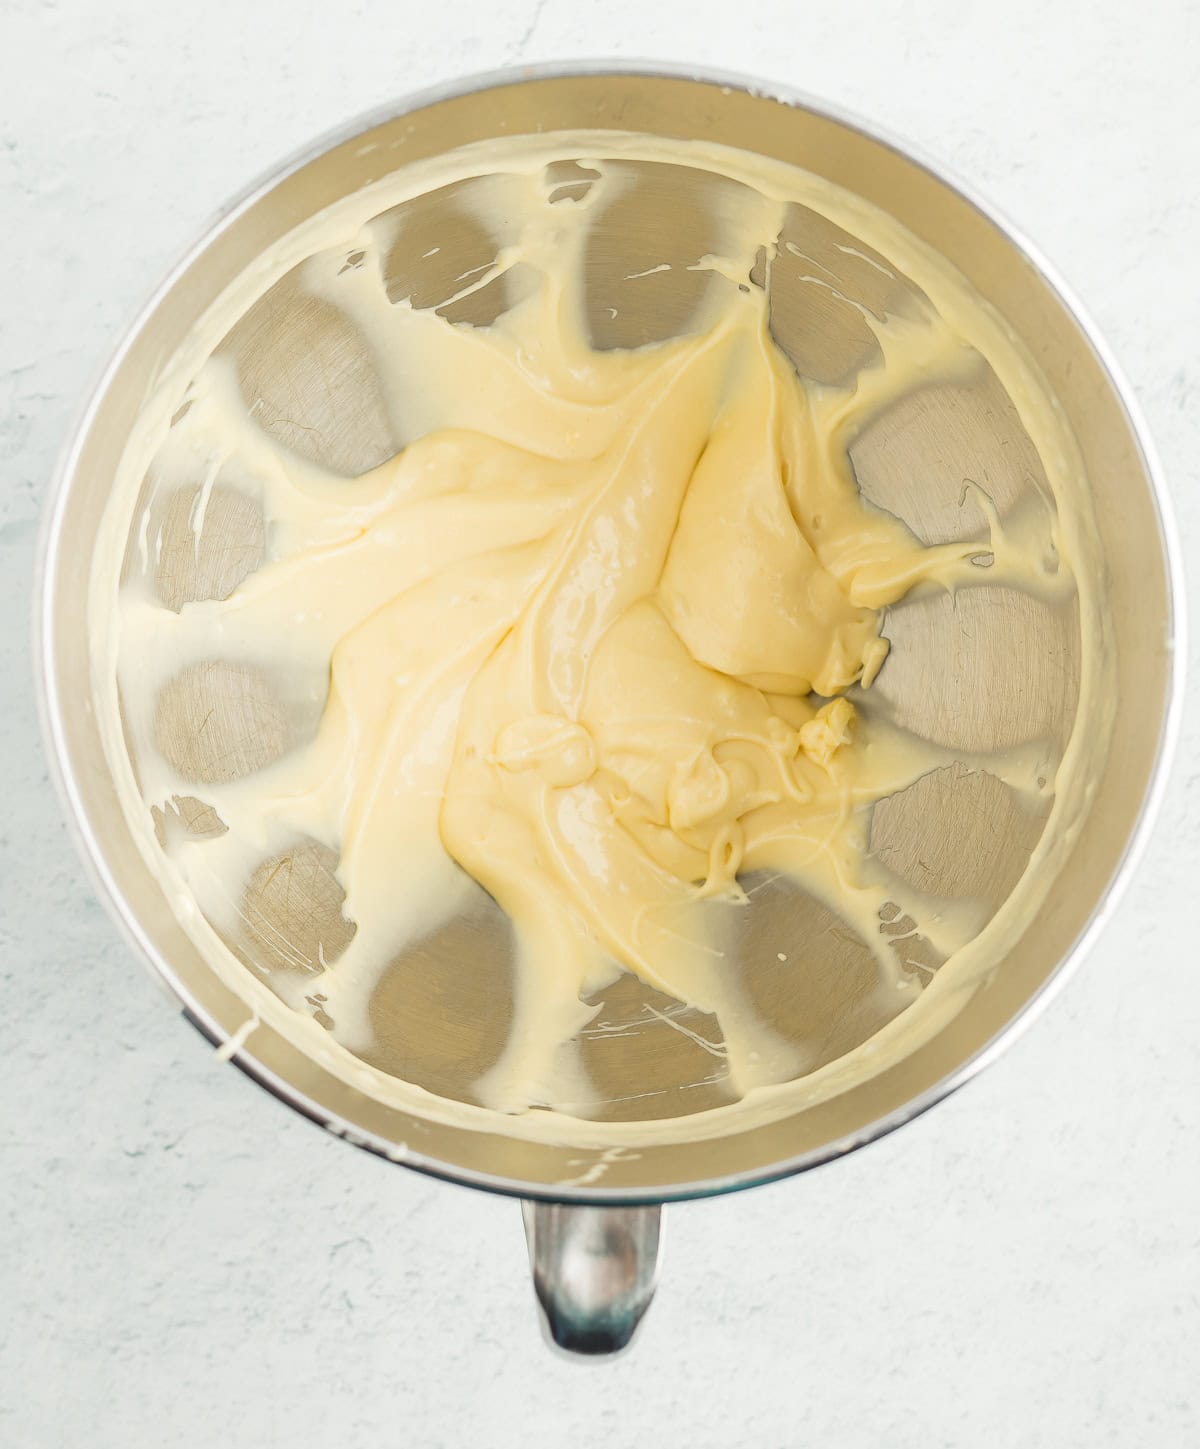
Reduce the mixer to low and add the powdered sugar 1/4 cup at a time (related: how to make powdered sugar). Pro tip: taste as you go because not everyone likes their frosting the same level of sweetness. Make this frosting YOURS.
Add in the vanilla, almond extract, and orange juice, and slowly increase the mixer speed to medium-high until well combined. Pro tip: if you want a spreadable frosting instead of a pourable icing, skip the orange juice. If you still want an orange flavor (you do!), add in 1 tbsp of orange zest with the vanilla.
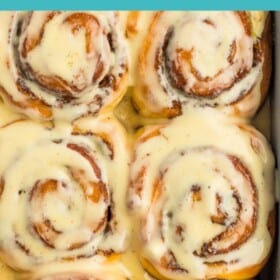
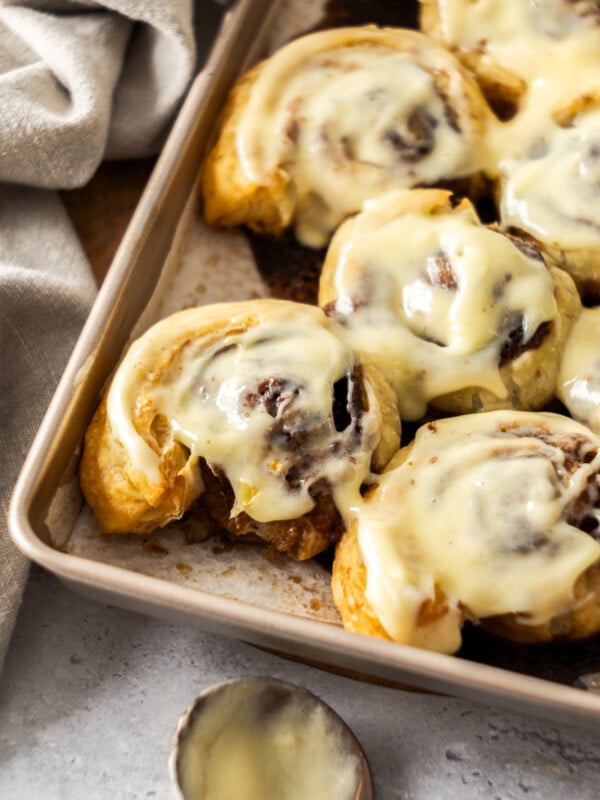
Pour/spread the icing over warmed rolls. Then stand back while your family rushes the kitchen and then starts to loudly chant your name and slow clap. It may look like the “Oh, Captain, my Captain” scene from Dead Poet’s Society. Maybe.

Pro Tips/Recipe Notes
- No stand mixer? You can technically mix the dough by hand but be prepared for it to take about 10 minutes and for your arms to get freaking jacked. Invest in tank tops to show off your new muscles.
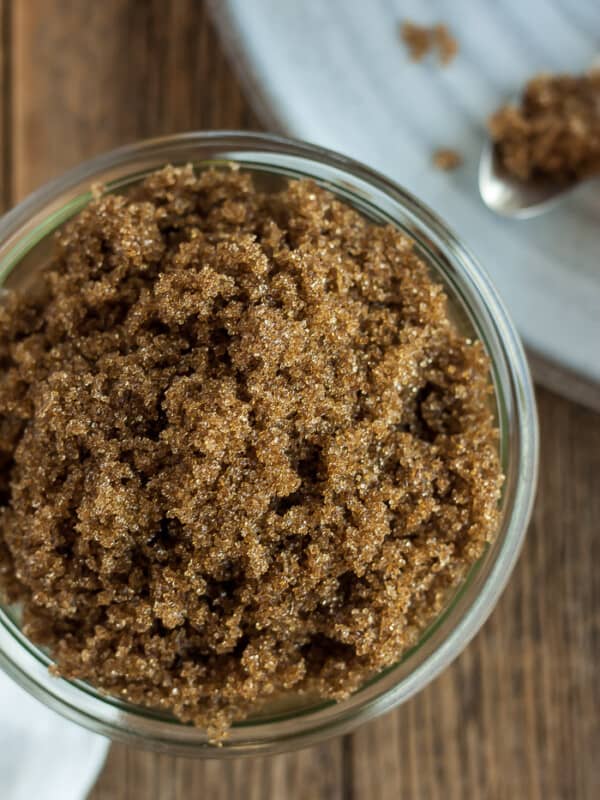
- Did you know you can make your own brown sugar? It’s true! Check out our post on Homemade Brown Sugar.
- This recipe has been written specifically for all-purpose flour because it is easy to find and economical. You’re welcome to use bread flour if you have any on hand. The extra gluten will create an even fluffier overnight cinnamon roll. If that’s even possible!
- Types of milk – I would recommend 2%, whole, or buttermilk. Results with 1% or lower are generally poor. I have not personally tested this recipe with non-dairy milk, but readers have noted success with almond milk.

Fluffy Overnight Cinnamon Rolls With Cream Cheese Icing
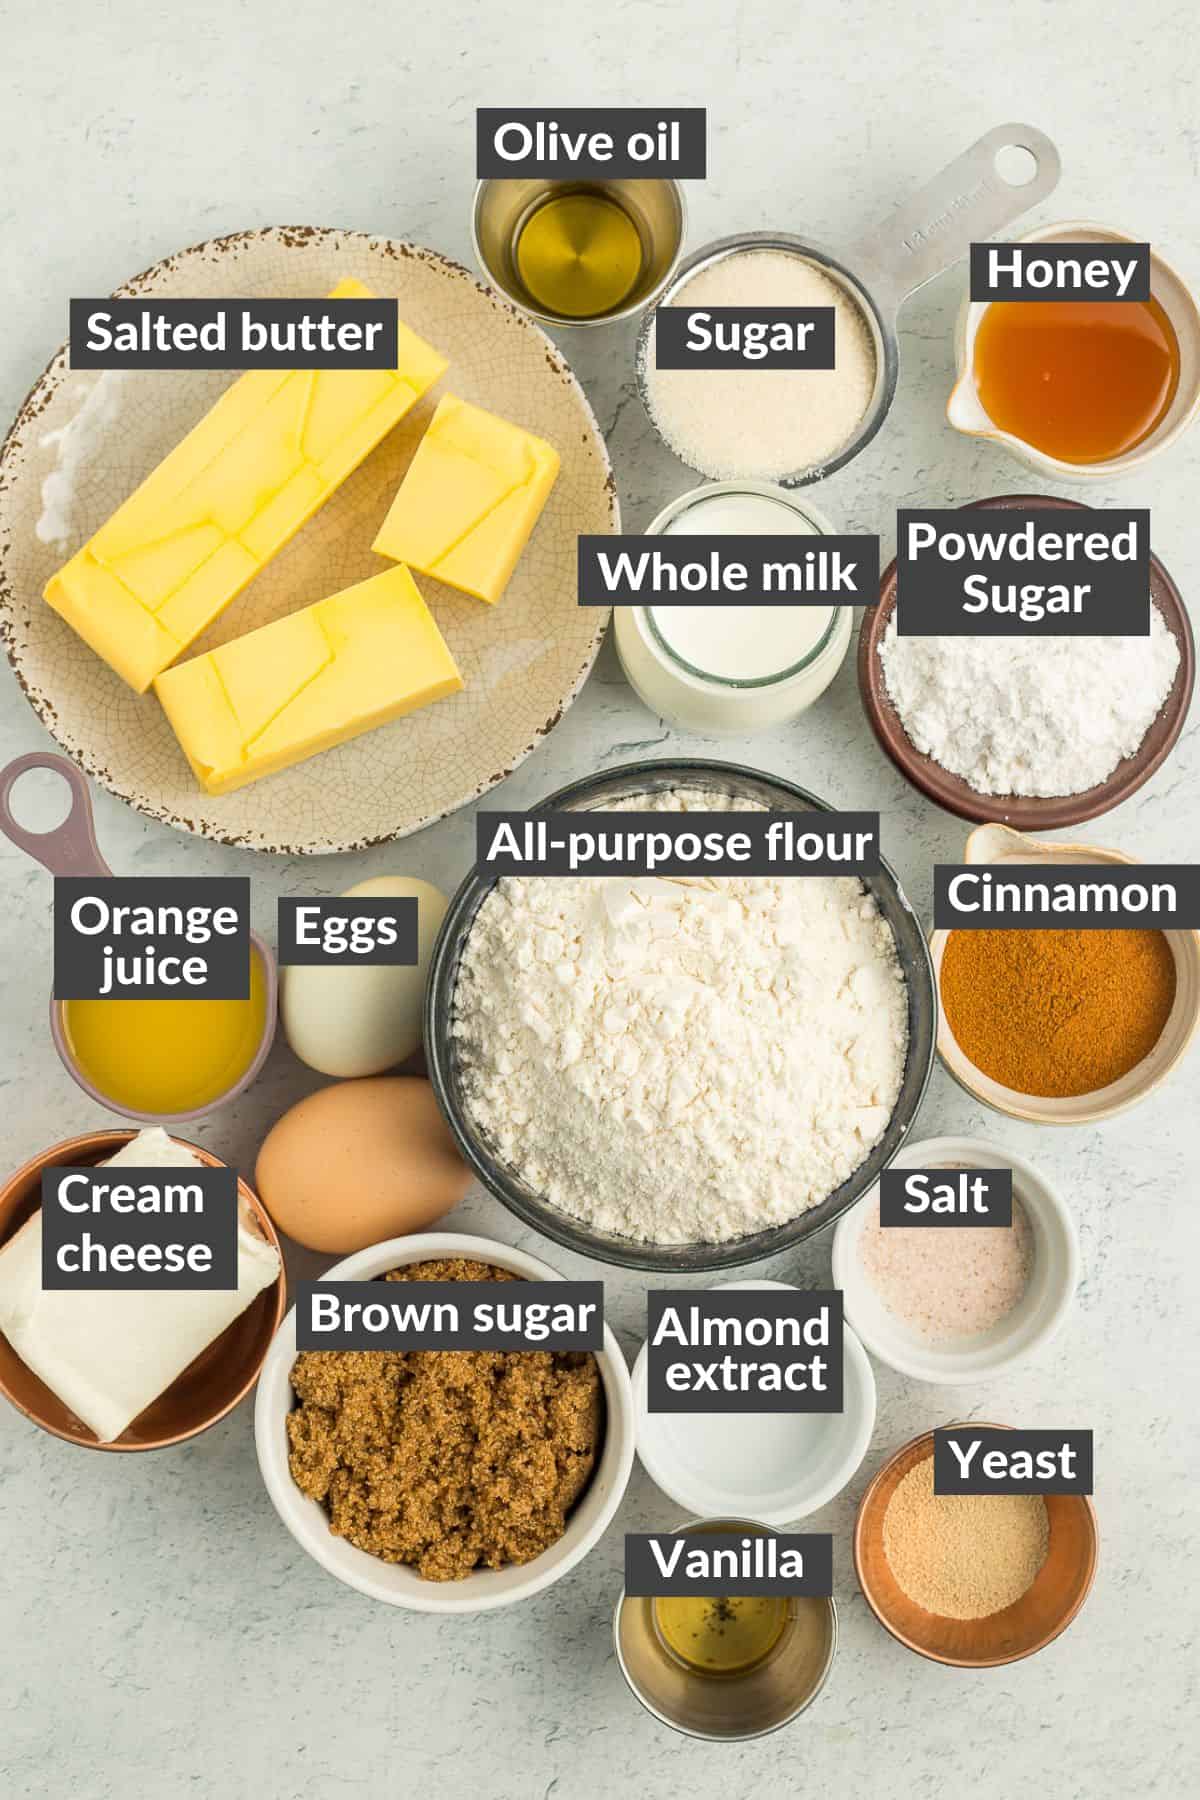
Ingredients
Dough
- 1 cup milk, warmed to 110˚F {recommend: 2%, whole milk, or buttermilk}
- 1/4 cup honey {or white sugar}
- 2 1/4 tsp active dry yeast
- 2 large eggs {room temperature}
- 1/3 cup salted butter {melted, slightly cooled}
- 1/3 cup sugar
- 1 tsp salt
- 4 1/2 cups all-purpose flour {spooned and leveled into the measuring cup}
- drizzle olive oil {for greasing the bowl}
Filling
- 1/2 cup salted butter {softened}
- 3/4 cup brown sugar, packed
- 3 tbsp ground cinnamon
- 2/3 cup heavy cream {optional}
Orange Cream Cheese Icing
- 3 oz cream cheese {softened}
- 3 tbsp butter {softened}
- 1 cup powdered sugar
- 1 tsp pure vanilla extract
- 1/8 tsp almond extract {optional}
- 1/4 cup orange juice {or 1 tbsp orange zest}{optional}
Instructions
Proof the Yeast
- Whisk together warm milk, honey, and yeast in the bowl of a stand mixer. Let it sit until foamy and doubled in size. Looks Like: the top of a super creamy root beer! If you have instant yeast, skip this step and combine the yeast, honey, and milk along with the dough ingredients together and follow directions in the next step (Step 1 under "Make the Dough".1 cup milk, warmed to 110˚F, 1/4 cup honey, 2 1/4 tsp active dry yeast
Make the Dough
- Add flour, sugar, eggs, salt, and butter to the proofed yeast in the stand mixer. Using the dough hook attachment on the stand mixer, mix the dough at "stir" or "2" until it is a solid mass and the sides of the bowl are clean (about 2 minutes). If the dough is still super sticky, add flour 1 tablespoon at a time until it is no longer sticking to the sides.2 large eggs, 1/3 cup sugar, 1 tsp salt, 4 1/2 cups all-purpose flour, 1/3 cup salted butter
- Gather the dough in one hand and quickly grease the bowl (I use a drizzle of olive oil). Place the dough back in and cover bowl with a clean damp kitchen towel. Let it sit until the dough has doubled in size (about 1 hour). Looks Like: a puffed up mass of dough with the top sides pulling away from the bowl.drizzle olive oil
- You can also proof your dough in an Instant Pot using the yogurt setting and a glass lid. Drizzle a bit of olive oil into the instant pot insert and add the dough. Cover with the glass lid and press "yogurt" and set the timer for 30 minutes. Check after 15. It will take 15-40 minutes to double in size.
Assemble the Cinnamon Rolls
- Sprinkle a bit of flour onto a clean surface. Make a ball out of the dough and gently press it with your hands to create a rectangle.
- Roll out the dough to make a large rectangle (about 18×22 inches).
- Spread softened butter over the dough, leaving a small butter-less perimeter around the outside. Cover with brown sugar and top with cinnamon.1/2 cup salted butter, 3/4 cup brown sugar, packed, 3 tbsp ground cinnamon
- Starting with the long edge of the dough furthest from you, tightly roll the dough towards you until you have a solid “roll”.
- Cut into 12-15 (~1.5-2 inches wide) rolls. Pro tip: using a bread knife (aka serrated knife) will create the cleanest cuts.
- Grease a 9×13 baking pan. Place the cinnamon rolls into the dish. Set aside in a warm place until the rolls have doubled in size (about 1 hour). Looks Like: the cinnamon rolls will have "fluffed" up and are likely touching each other in the dish.
- Tightly cover the pan and store in the fridge for up to 48 hours. (You can also bake them right away if desired).
- Preheat the oven to 350˚F.
- {OPTIONAL}: Five minutes before baking, pour 2/3 cup of heavy cream over the tops of the cinnamon rolls. You'll need to bake for an additional 2-5 minutes, and I highly recommend gently flipping each of the cinnamon rolls in the pan once they're out of the oven.2/3 cup heavy cream
- Bake uncovered for 25-28 minutes or until the tops are lightly golden brown.
Make the Icing
- While the cinnamon rolls are baking, combine butter and cream cheese in a mixer fitted with a paddle attachment. Mix on medium until soft and fluffy.3 oz cream cheese, 3 tbsp butter
- Reduce the mixer to low and add the powdered sugar 1/4 cup at a time.1 cup powdered sugar
- Add in the vanilla and almond extract and orange juice and slowly increase the mixer speed to medium or medium-high until well combined.1 tsp pure vanilla extract, 1/8 tsp almond extract, 1/4 cup orange juice
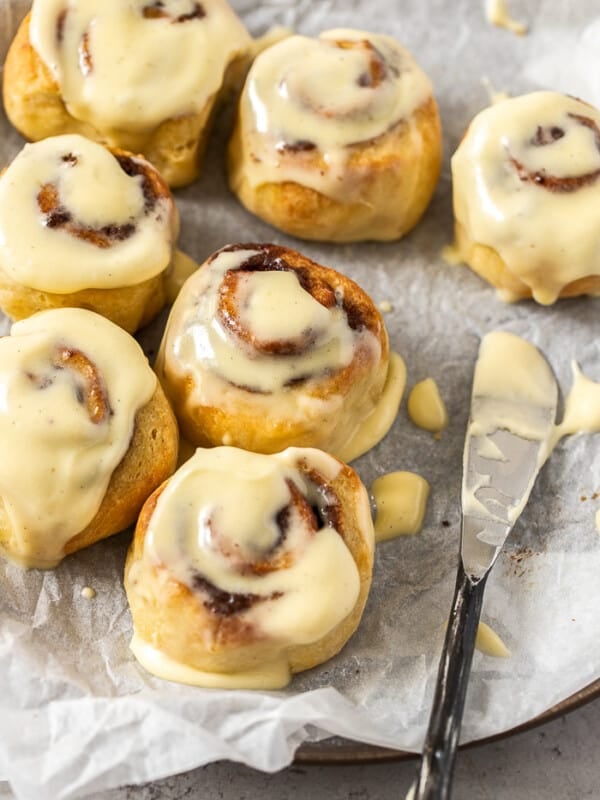
- Pour/spread the icing over warmed cinnamon rolls.
Notes
- If using instant/rapid yeast, you can skip step 1 of proofing the yeast.
- Types of milk – I would recommend 2%, whole, or buttermilk. Results with 1% or lower are generally poor.
- Make sure you spoon the flour into the cup, rather than scoop the measuring cup into the flour. This can pack the flour in, causing too much flour to be added, resulting in dry, dense cinnamon roll dough.
- No stand mixer? You can technically mix the dough by hand, but be prepared for it to take about 10 minutes.
- Five minutes before baking, pour 2/3 cup of heavy cream over the tops of the cinnamon rolls. This is optional, but it leads to amazingly tender cinnamon rolls. You’ll need to bake for an additional 2-5 minutes, and I highly recommend that you gently flip each of the cinnamon rolls in the pan once they’re out of the oven.
- To freeze: press a piece of plastic wrap over the cinnamon rolls after the second rise. Tightly wrap the pan in foil and freeze unbaked cinnamon rolls for up to two months. To thaw: place in the fridge overnight. Bake as normal.
Nutrition
Nutrition information is automatically calculated, so should only be used as an approximation.


Very delicious!! made exactly as recommended the family loved them! Will be making again.
Love hearing that, Lauren! I also made them today to prep for Easter tomorrow.
ummm i gave my sister my instant pot… and all i have left is the smokable kind… Can I still make this ;( ? ? ?
Hi Jordan, I don’t really understand your question. This recipe does not require an Instant Pot. I include an option for using one to proof the dough if your kitchen is cold. But you don’t need one to make this recipe.
I used to make cinnamon rolls cooked in liquid but cant find the receipe, does anyone know how to make them
Barbara, what was the liquid? Was it one ingredient, a syrup, etc.?
I do know that, due to tiktok, a lot of people started pouring heavy cream over their cinnamon rolls prior to baking them.
I use a mixture of Karo syrup, brown sugar, butter melted and cinnamon. I heat it in a saucepan and pour it in the dish I’am baking the cinnamon rolls in. I use a round cake pan. Then after they are baked I flip it over onto a plate and let it drip down over the rolls while they cool. They are gooey and so yummy. When I do this I don’t use the cream frosting.
The perfect recipe for Christmas morning cinnamon rolls! The texture of the dough was very easy to work with. Followed the recipe as written (except I used a different topping) and everyone loved them. I can’t wait to make this recipe again! Thank you for sharing the recipe!
So glad you enjoyed them! Thank you for taking the time to leave a review. 🙂
Christmas morning cinnamon rolls! Your recipe was easy to follow and turned out perfect! I wish I would have had this recipe YEARS ago! Thank you for sharing it!! I can’t wait to make them again!
I’m going to try these for my kiddos at work. Usually I do frozen whole wheat cinnamon rolls and bake them the day before, but I feel like if I make them mini I can put them on a sheet pan without too much overflow. Obviously I’ll use whole wheat flour, so I’ll update how that goes. Also, I feel like the orange frosting would pair well if you added some cardamon to the cinnamon sugar part. (I may be biased, it’s my favorite spice and I put it in most baked goods….)
I too love cardamon, so I can’t wait to hear how it goes!
If you use whole wheat flour, I recommend 1 tbsp of vital wheat gluten per cup of flour.
Hey Sarah – hope you’re feeling better.
Just wondering if you’ve tried the IG hack, that’s everywhere these days, of pouring some heave cream/milk over the rolls before baking.
People are swearing that addition makes the best cinnamon rolls.
Thanks and Merry Christmas.
Nope, haven’t heard a thing about it! Have you tried it?
Everytime I make these, I have to come back here and say how wonderful they are! I just made these for my aunts and they told me they are better than Cinnabon. The dough is an absolute dream to work with – soft, easy to roll, and not sticky at all. Overnight directions make these perfect for Christmas morning!
Emily, I’m always thrilled to hear how much people enjoy these. Thanks so much for making them and leaving a review!
I’m so excited to try this recipe for Christmas this year! I need to make them 2 days before we eat them on Christmas Day. Is it possible for them to sit in the refrigerator for 2 days prior to baking? Thank you!
Two days should be fine. I would make sure they’re tightly covered so they don’t dry out.
Question. If you put the rolls in the fridge to have ready for the next day. Do you have to bring them to room temp before baking? Wanting to try this for Christmas.
Nope; I bake them straight from the fridge. As long as they finished all the rises before they go into to fridge.
I thought I was gonna have to fight someone because the fact that these have a 4.9 rating is a TRAVESTY. They are so worth the wait and I have been asked for the recipe every time I make them. I have also split the dough in half to make mini cinnamon rolls. I just use two dishes and take them out and put them in cupcake wrappers before I frost them. Have also freezed them and as long as you let them sit in the fridge overnight to thaw you will get a similar rise in the oven as fresh.
I’m giggling at the idea of fighting someone over a 4.9 rating. Thanks for the smile this afternoon! 🙂
I hope it is okay to leave a review twice. I did something a little different and wanted to update. I made these a couple of years ago and loved them. This Christmas, I decided to make them again. The first time, I had made a note on my printed copy of the recipe to make a “half batch next time” as we (six people) did not eat all of them that day. Well, THIS time, I still made a full batch, even though there were only two of us eating them.
I placed four in a pan and I placed the remaining cinnamon rolls on a parchment lined cookie sheet (not touching each other) for their second rising. After the second rise, I placed my pan in the fridge and I placed the cookie sheet right in the freezer. Once they were frozen, I wrapped the rolls in “packs” of two. Last night, I took a pack out of the freezer, placed each roll it a tiny casserole dish and popped them in the fridge overnight. This morning, I took them out and let them warm up a little on the counter (I don’t like putting fridge-cold bakeware into a hot oven. I worry that will shock and break the dish), then cooked them in my toaster oven for 14 minutes.
AMAZING!!!!! Fresh-baked cinnamon rolls for one on a weekday morning! I will cook them a few minutes less next time because they were a little too browned for me.
So, if a full batch is too many rolls for you, try this. It works GREAT.
(Now, I am wondering if freezing the frosting in portions will work to go with it….)
That’s a great idea, Ange!
And yes, I think freezing the frosting in small portions would work great. As long as you have containers that small. 🙂
These did come out light and fluffy. I did double the recipe to bring to work, I may have over filled the pans… they took nearly an hour to bake. After 45 minutes the center buns were quite doughy… I kept hearing Paul Hollywood saying “it’s Raw”. Hahaha.
They were delicious when fully cooked, I frosted them while they were warm and they look lovely. I’m sure the nurses in the ER will be happy to devour them tonight.
Deana, I’m so glad you enjoyed them, and thanks for taking the time to leave a review!
Many thanks to you and the team in the ER for doing what you do. And at my last job, I worked with 10 RNs, so I can confirm they will be gobbled up. 🙂
Hi! I love this recipe and I make it every year for Christmas. As I prepare to make it this year, I wanted to ask, are all 12 rolls supposed to fit in the 9×13 pan? When I squish them all in there I always end up with 1 or 2 that are smooshed and I think they would all benefit from more room. I think 9 would fit better. Am I doing something wrong? Does anyone else have this problem?
Megan, I am able to fit all the rolls in 1 pan. Smooshing is fine unless you feel that they don’t rise or bake evenly. If that is the case, 9 rolls might be better for you. Or, try 6 rolls each in an 8×8 pan if you happen to have two of them.
If you cut them into 9 rolls, each individual roll will be taller. Watch the tops for uneven browning as you bake them. You may need to put a piece of foil over them in the last 5-10 minutes.
Hope this helps and happy baking!
I can’t say these cinnamon rolls were the best I have ever had …just okay. The dough wasn’t light and fluffy…more dense. I think there should have been another rise before making the dough into buns. They were not light and airy. On a positive note I loved your directions and comparisons…very well explained! I also loved that they could be made ahead right up to the baking and then refrigerated or frozen until needed. Very handy. I might try the recipe again but allowing a second rise before making them into buns…then the third rise once the buns are formed.
Elle, they should be light and fluffy with just the two rises noted in the recipe.
If you had issues with the rise, a few things to check: the age of the yeast and the temperature of the room they’re rising in. I often put my bowl on a heater vent to help during the rising process because my kitchen is COLD!
If you know your yeast is fresh, double-check to make sure the milk isn’t too hot in the beginning as that can scald the yeast.