As an Amazon Associate, I earn from qualifying purchases.
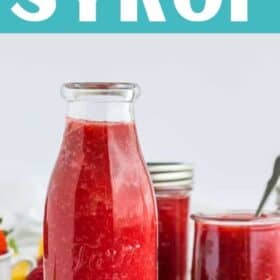
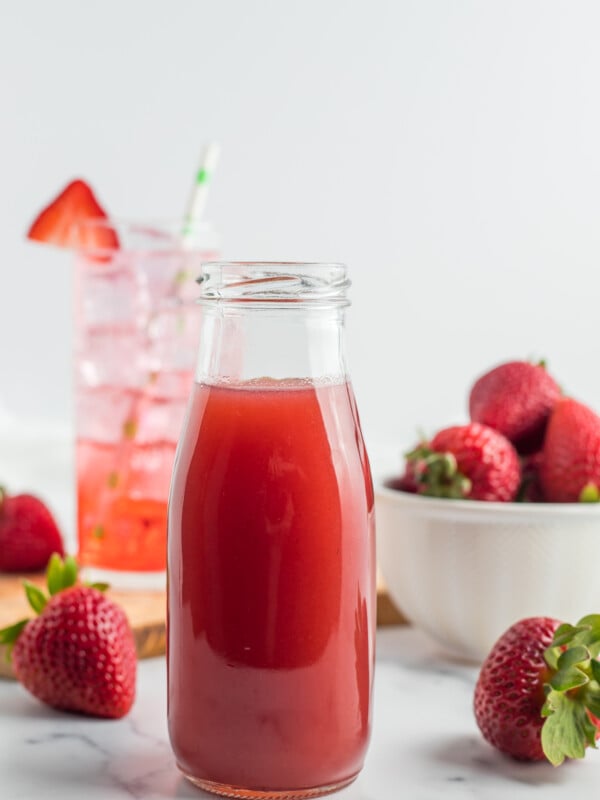
Made with fresh summer berries, you’re going to love this delicious Strawberry Syrup. This is a delightful homemade treat for pancakes, waffles, baked goods, drinks, and more.

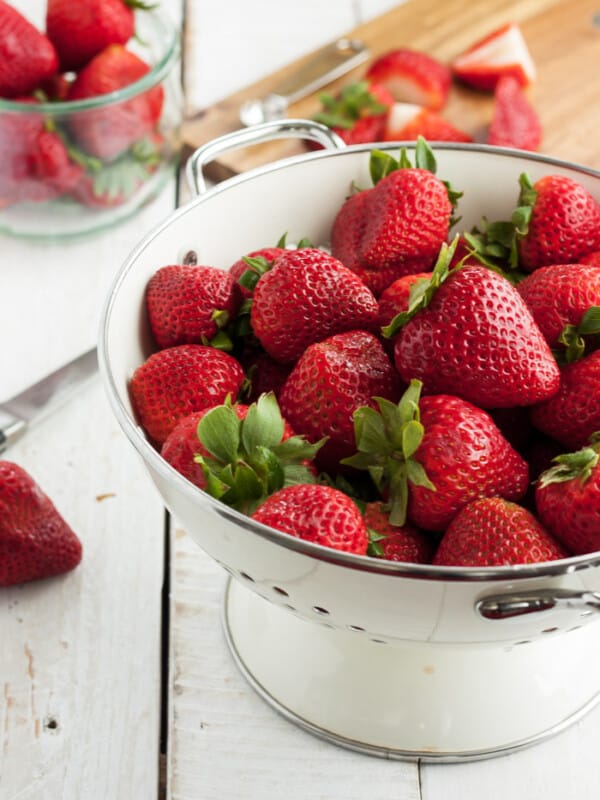
There is no such thing as too many fresh seasonal strawberries! These bites of sunshine deserve to be enjoyed in bulk. But there are days when you want to savor that taste longer than strawberry season lasts.
And that is where this easy strawberry syrup recipe truly shines. You can keep it in the fridge, freeze some for later, or even can it. You’ve got options. Go get some berries and let’s do this.
If you’re using fresh strawberries and want to save some of that goodness for later, check out this post on How to Freeze Strawberries.

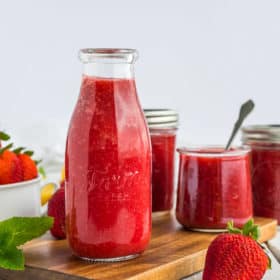
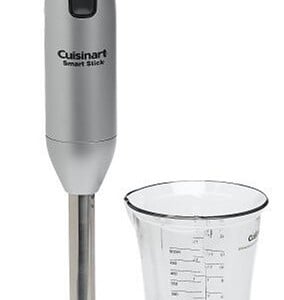
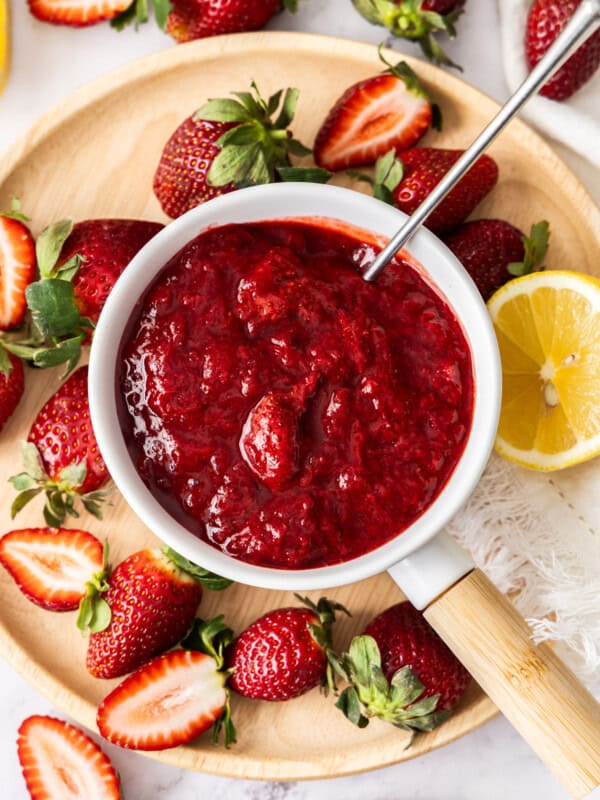
Your finished product can take on whatever texture you want. I prefer it mostly syrup with some berries in there for texture. If you want it completely smooth, use an immersion blender in the (cooled!) syrup, run it through a food processor or blender in batches.
HOW TO MAKE STRAWBERRY SYrup WITHOUT SEEDS
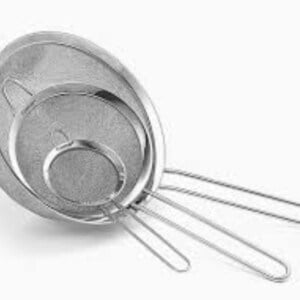
Do you want to remove all the seeds from your syrup? Place a fine-mesh strainer over a clean bowl and pour the blended berries into the strainer.
You may need to “push” the puree through with a silicone spatula or wooden spoon to get every last drop.
How Do You Thicken Strawberry Syrup?
You have three options: 1) cook it longer to reduce the water content 2) add more sugar 3) thicken it with a bit of cornstarch. Safety tip: It is not suitable for canning if you add cornstarch.
Pro Tips/Recipe Notes
- You can keep it in the fridge for up to two weeks, or freeze for 3-6 months.
- To thicken with cornstarch, combine 1 tbsp cornstarch with 2 tsp of cool water. Whisk until smooth and add to the syrup after you have finished the boiling process. Cook for an additional two minutes.
- You are able to can this strawberry syrup recipe as long as you don’t use cornstarch. The processing time and directions are the same as this Low-Sugar Strawberry Jam.
- If you want a completely smooth syrup, you’ll want to blend the berries before adding sugar. Cook in a saucepan for a few minutes until the syrup is warmed through. Place a fine-mesh strainer over a clean bowl and pour the berries into the strainer. You may need to “push” the syrup through with a silicone spatula or wooden spoon to get every last drop. Then add the filtered syrup back to the pan, add the sugar and lemon juice, and bring to a gentle boil for 2 minutes.

Get my Canning e-book!
It’s 51 pages of every helpful tip and trick you could want as a brand new canner, AND it includes 13 ad-free canning recipes that are designed to take you from novice to pro.
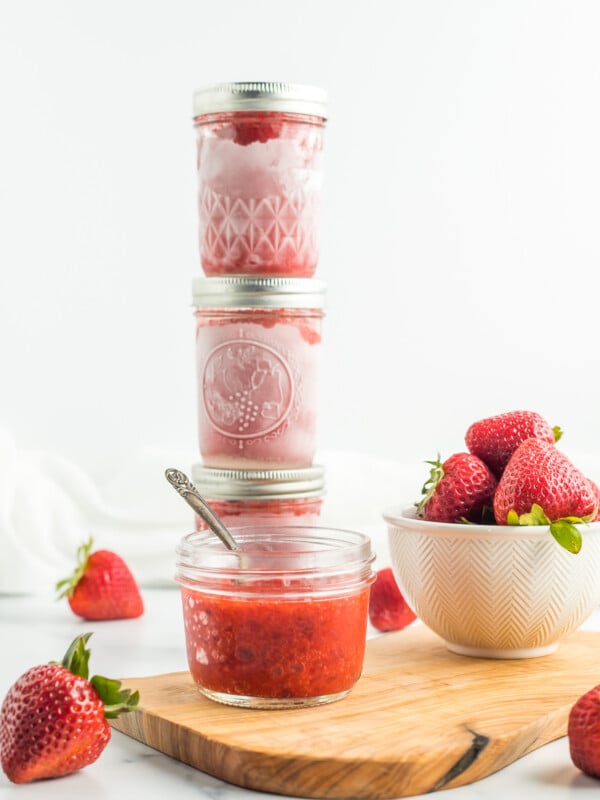
Homemade Strawberry Syrup
Ingredients
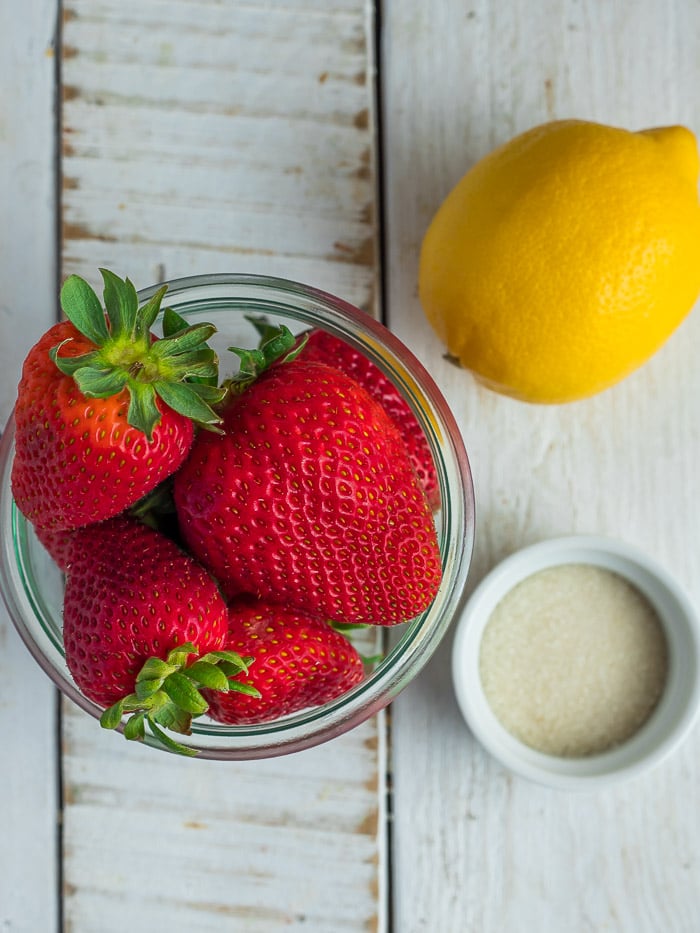
- 6 cups strawberries {tops removed and cut into quarters}
- 1/2 cup sugar
- 1 tsp lemon juice
Instructions
- Rinse and remove the tops of the berries.6 cups strawberries
- Cut berries in quarters (or eighths for big ones) and add them to a large saucepan.
- Cook berries over medium heat and gently mush them with a wooden spoon or spatula as they heat up.
- Add in the sugar and lemon juice, and continue to cook, stirring often until the syrup comes to a boil.1/2 cup sugar, 1 tsp lemon juice
- Cook at a boil for two minutes, stirring the whole time. You may need to lower the heat a bit to keep the syrup from boiling over.
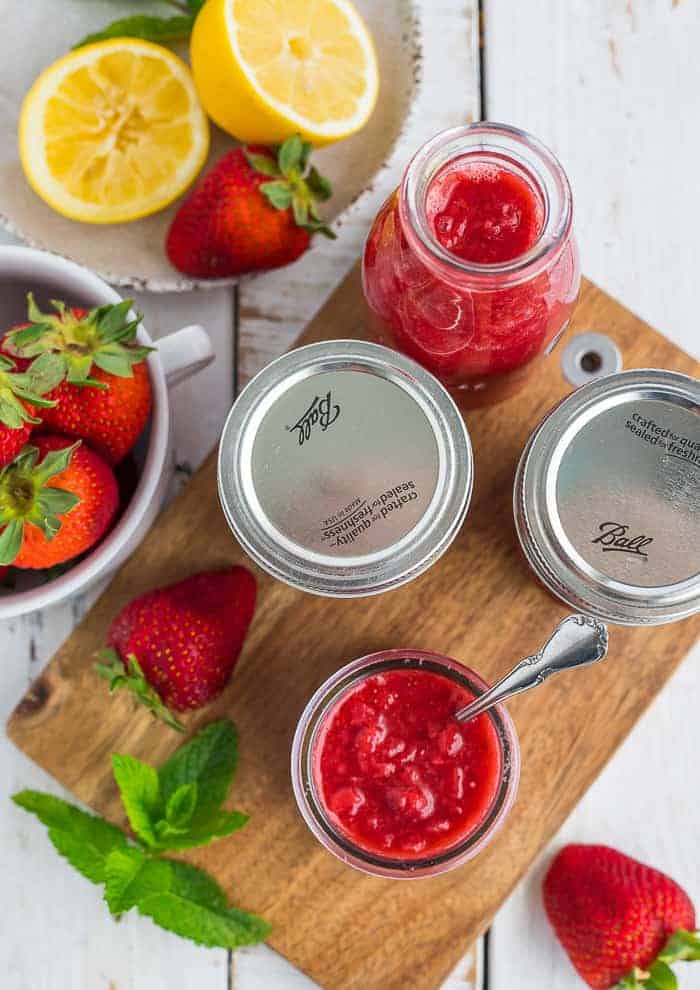
- Remove the pot from the heat and allow the syrup to cool before storing. It will thicken as it cools.
- Using a metal spoon, skim foam from the top of the syrup.
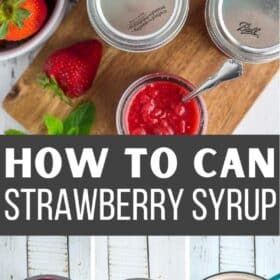
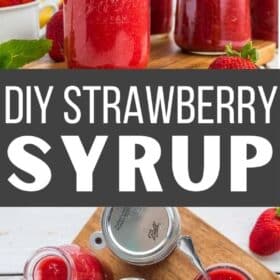
How to Can Strawberry Syrup
- Prepare your water bath canner by filling it with water. You just need to have enough water to cover the jars by 1-2 inches once the water is boiling.
- Set the canner on the stove. Turn the burner to high.
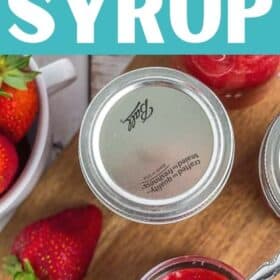
- Wash and sanitize your jars. You’ll want to keep them warm to avoid having them crack when placed in the canner. You can fill them with hot water, or place them on a tray in the oven at 170˚F.
- Wash your lids and set aside in a clean bowl.
- Ladle in the warm syrup into jars, leaving 1/2 inch of headspace. Remove any bubbles from the jar (I use a plastic chopstick).
- Use a wet clean rag and wipe the rim of the jars to make sure it is free of any syrup.
- Place a clean lid on the jar. Add a ring, and tighten to fingertip tight.
- Using canning tongs, place jars in the boiling water. Put the lid on the canner, and once the water is back to a rolling boil, process for 10 minutes.
- When the 10 minutes is up, remove the canner from the heat, remove the lid from the canner, and allow it to sit for 5 minutes.
- Using the canning tongs, remove the jars and place them on a thick towel in a place where they won't be disturbed for 12 hours.
- After 12 hours, check the seal on the jars by pressing down in the center of the lid. If there is any give, either refrigerate and use those jars in the next month or reprocess.
- Store in a cool dark place for 12-18 months.
Notes
- (NOT SUITABLE FOR CANNING) To thicken with cornstarch, combine 1 tbsp cornstarch with 2 tsp of cool water. Mix until smooth and add to the syrup after you have finished the boiling process. Cook for an additional two minutes.
- Store in the fridge for up to two weeks, or freeze for 3-6 months.
- If you choose to can it, you can store it in a cool dark place for up to 12 months.
- Makes 5 cups, or enough for five 8oz jam jars, or ~2 pints.
Nutrition
Nutrition information is automatically calculated, so should only be used as an approximation.


I made this today to use as a mocktail base for tomorrow. I used frozen berries, about 2 pounds was five cups. I saw another commenter used an immersion blender so I did the same. This is super simple and delicious! I will definitely make it again.
So glad you enjoyed it, Elaina!
Saw this recipe on your Insta hours after I brought home a pile of fresh fruit leftover from my kids graduation party- I knew where the majority of those berries were going to go! Made this earlier today and it is quite delish! I used my immersion blender to smooth it out. Might make its way onto some homemade pancakes.. but I am thinking this might make a great start to some adult beverages in the future!
So glad you enjoyed, Jess!! It’s delicious in drinks as well as desserts.
Just made this today and it was so delicious I had to write a review about it. This was such a simple recipe but it really captured the strawberries at their peak of freshness, not as though they have been processed and canned into jam. This really concentrates the strawberry flavour. Thank you for this simple recipe with full flavour.
Best illustration of how to make strawberry paste
I made blueberry simple syrup and added cornstarch to thicken. This is my normal recipe that I would have refrigerated and we slowly ate up. But on a whim I decided to use same recipe and canned the syrup. I just opened a jar and used on pancakes. Yum. So why not use cornstarch and can??
There are notes in the post on how to use cornstarch. I’ll copy and paste it below:
To thicken with cornstarch, combine 1 tbsp cornstarch with 2 tsp of cool water. Mix until smooth and add to the syrup after you have finished the boiling process. Cook for an additional two minutes.
Mine was very runny? What did I do wrong?
I’d be happy to help you troubleshoot! I’d need to know a few things: did you can it, has it already cooled, did you use sugar, were the strawberries frozen?
A few things that could be the cause: frozen berries were used and not enough water “cooked off”. It may not have cooked enough. If the strawberries were super ripe (yum), they may have been extra-juicy. It will thicken as it cools so do wait a few hours before determining the final consistency. If you canned it and the bottom was a bit too watery but the top was a decent consistency, it usually means it wasn’t cooked long enough before canning.
If you want to email me ([email protected]) to figure this out, I’d be happy to help! You could also send me pix that way.