As an Amazon Associate, I earn from qualifying purchases.
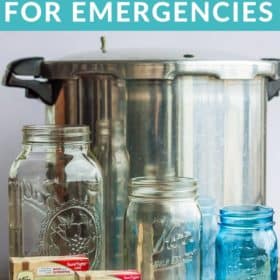
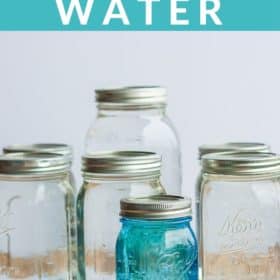
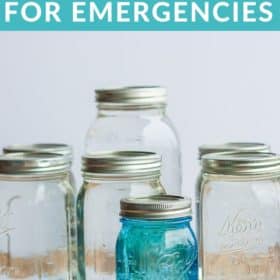


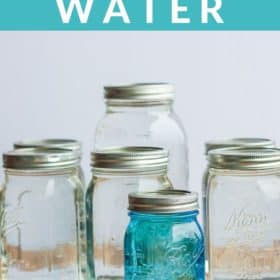
The simple task of Canning Water is great for emergency preparedness, power outages, or when you need easy access to sanitized water. Learning how to can water is a low-cost way to supplement your family’s drinking water needs.

My personal motto has always been “plan, don’t panic”. And something as simple as putting a few jars of water in the canner can help you plan for extended power outages, emergencies, or when you might need access to sanitized water.
This is one of the simplest canning projects you can do, making it perfect for beginners. Even better, it’s something that can be accomplished slowly.
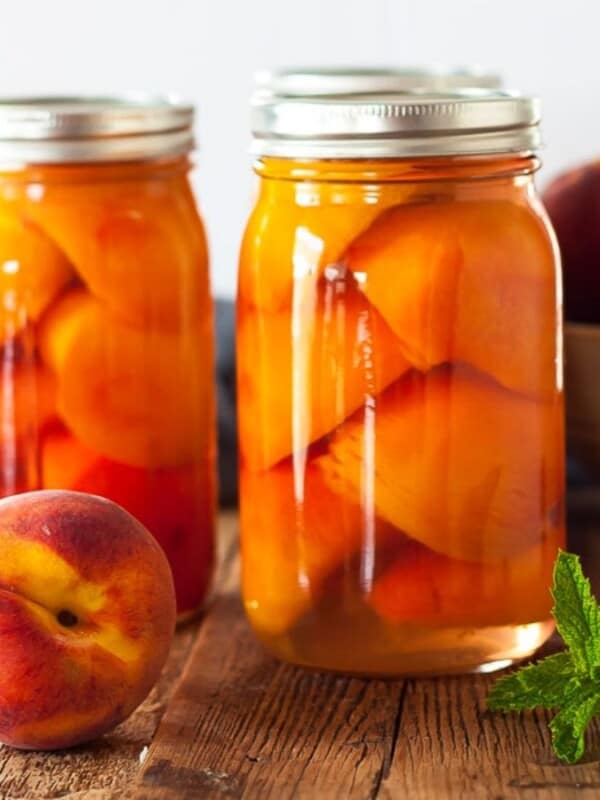
Let’s say you’re canning a batch of peaches and you don’t have enough jars to fill the canner. Pop in a few jars of canned water, and congrats, you just took one easy little step toward caring for yourself and family.
How Do You Can Your Own Water?
It’s incredibly simple! You take clean water and boil it for 10 minutes and then water bath can it for 20 minutes. Allow the jars to seal and store in a cool dark place. See the printable recipe card at the bottom of the post for additional details.
Pro Tips
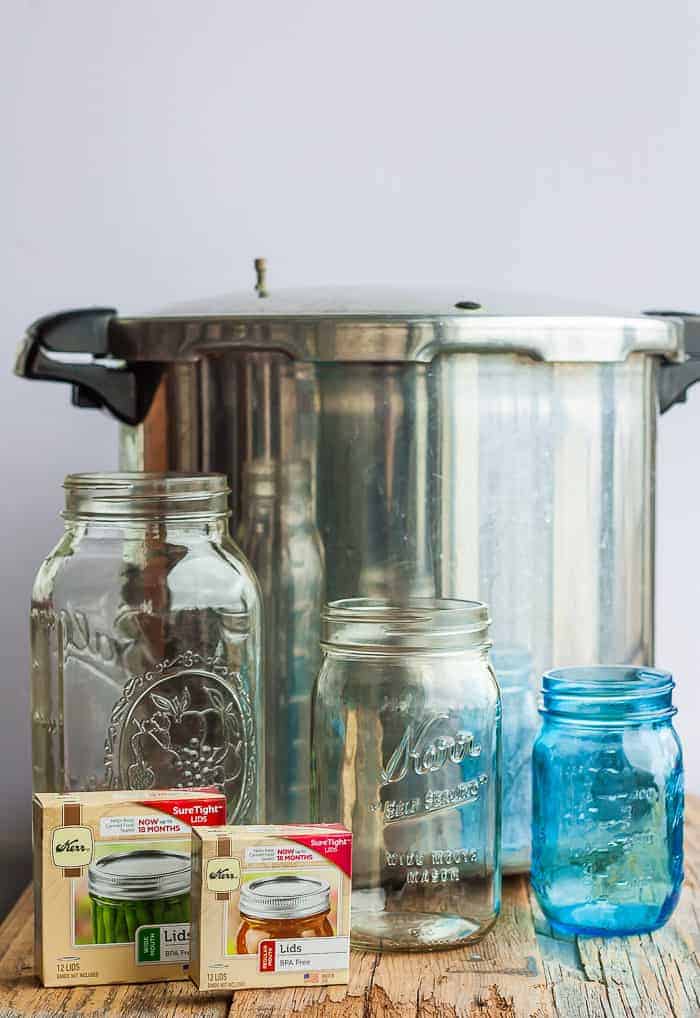
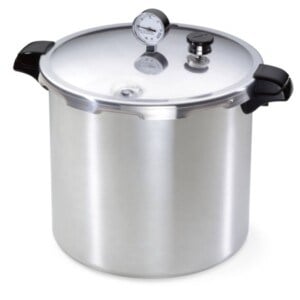
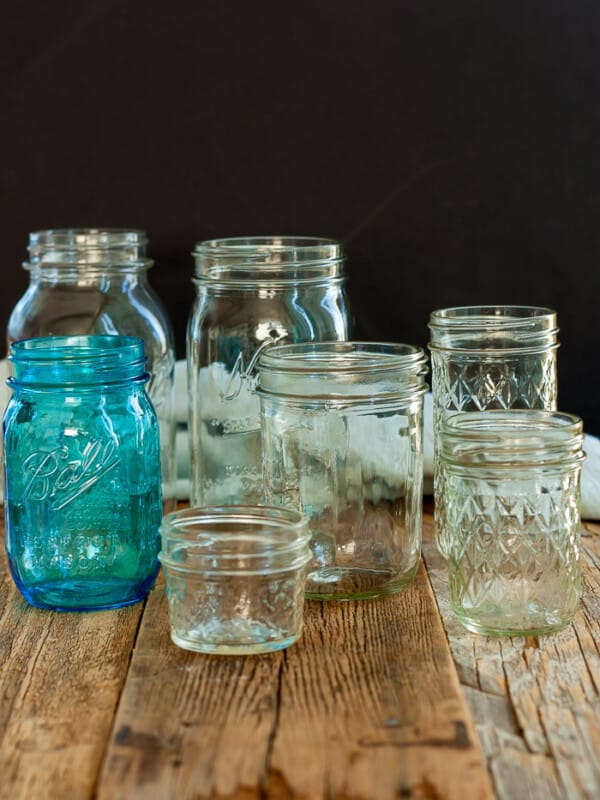
- Water in the canner must cover the jars by 1-inch the entire time they are processing. Half-gallon jars are most convenient for storage, but you must use a canner that can accommodate their size.
- You cannot reuse lids from jars of canned water for other canning projects. Save them for freezing jars of water or soup, or even for affordable dry goods storage (related: Pantry Essentials).
- You can technically store the water indefinitely, but to be honest, I would probably replace jars every 2-3 years.

Get my Canning e-book!
It’s 51 pages of every helpful tip and trick you could want as a brand new canner, AND it includes 13 ad-free canning recipes that are designed to take you from novice to pro.
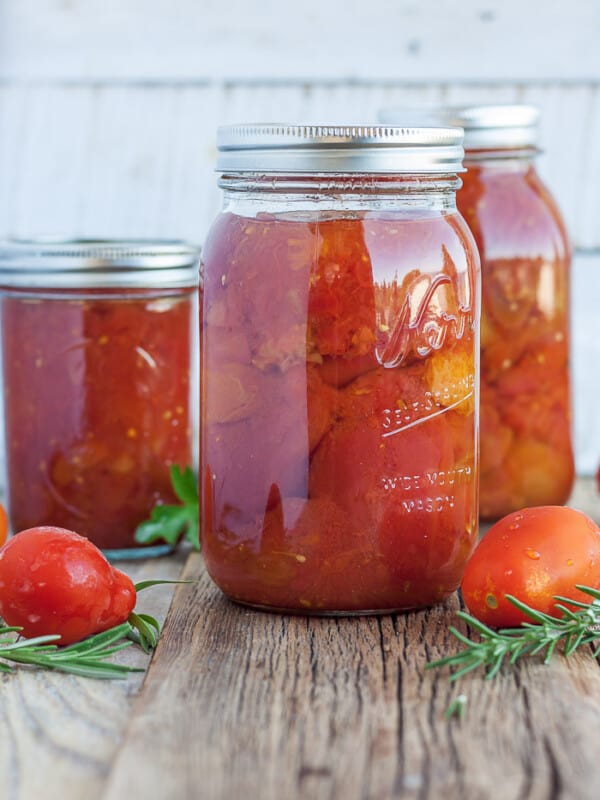
Canning Water {How to Can Water}
Equipment
- Clean washcloth
- Clean thick towel
Ingredients
- 7 quarts water {+ more for the canner}
Instructions
- Wash and clean your jars. Set aside.
- Wash your lids with hot soapy water and place them in a clean bowl for now.
- Prepare your water bath canner by filling it with water. You just need to have enough water to cover the jars by 1 inch once the water is boiling.
- Fill a clean stockpot with 8 quarts of water and bring to a rolling boil for 10 minutes.
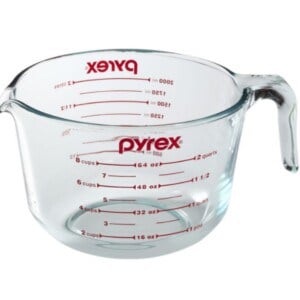
- Fit jars with a canning funnel, and using a glass measuring cup with a handle, carefully pour water into the jars. Leave 1/2 inch headspace.
- Wipe the rim of the jar with a dry rag.
- Place a clean new lid on the jar. Add a ring, and tighten to fingertip tight.
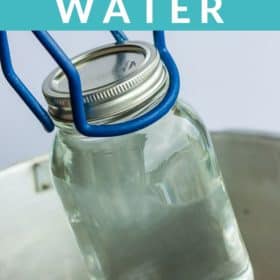
- Using canning tongs, gently place the jars in the canner.
- Put the lid on, and set your timer. Pints, quarts, and half-gallons should process for 20 minutes. Pro tip: the water must return to a boil in the canner before you can start the timer.
- Once the jars have processed, remove the canner from the burner, carefully take off the lid, and allow it to sit for 5-10 minutes. Pro tip: I tend to just slide it into the middle of my stove, as it weighs a ton.
- Carefully remove the jars, and place them on a thick towel in a place where they can be undisturbed for 12 hours. The lids should start to pop within 20-30 minutes of being removed from the canner.


“PLAN, don’t PANIC” is right! I truly wish that more people would think that way.
It’s the only way I can keep my head on straight, Marc! Some days I don’t follow my own advice, but most days I sure try. 🙂
Sarah – Thank you for this information.
I can see this as being really helpful for those of use who live in areas that can be hit by storms that can leave us without power for an undetermined length of time. No power, no pump for the well…and no water. And in the upper Midwest, bodies of water can be frozen pretty deep…and I wouldn’t want to drink that even if I did put it through my gravity water filter system.
This would ensure having extra water on hand for unexpected needs or a longer time than expected without power.
AND what a great way for a household of two to be able to put up canned goods. We don’t have a lot of space for a garden, so for the most part, I take advantage of sales and produce stands. But I rarely have enough of anything to process a full canner. This could be a game changer.
Thanks again!
Thank you. What is your take on using distilled vs boiling water. Also, I am at almost 1378 feet elevation. 20 minutes as well?
🙂
Either would work; I don’t have a preference either way.
And yes, 20 minutes for you. Most of the time, processing times adjust at 2k+ feet.
If I have my own well, will this process still work? Our water has not been tested for anything lately.
The process works for any type of water. It’s essentially just sanitizing and sealing water in a jar. As to the quality of the water that goes in, this process won’t impact that. Bad water that gets canned is still bad water. And good water that gets canned is still good water.
Thanks for the information
I don’t know if I missed something but can you tell me how long to process it in a pressure canner? Most of my canning is done this way.
Thanks for sharing your knowledge!
It’s not included in the post because I have not tested it. I believe the minimum safe time for processing anything in a pressure canner is 20 minutes at 11lbs per pressure.
I love your recipe and all your ideas this is a very easy site to navigate thank you
Lisa, I’m so glad it was helpful to you! 🙂
This is just a thought… Instead of canning water, I would (and do) store water in plastic gallon jugs. The water is filtered of course. When you need the water, and as it is stored in plastic, simply run it through your water filtration system (gravity style) again. LOTS less work, and the water actually tastes good, and if your filter system is a good one, you could filter water from a pond etc. and it would be good, and safe. I’m not mentioning the filter system as I do not sell them nor am I affiliated with any company. 🙂
Greg, I don’t have success keeping water in plastic jugs for very long. I get distilled or purified for appliances as our water is very hard and ruins them. So I always keep 2 or 3 gallons of jugged water on hand. Believe it when I say, the water evaporates…plastic is porous. It tastes awful and is not good to use as a steady source of water. Have you ever looked into what bottlers have to do or add in order to keep it tasting “fresh”? Or even what sources are used for the water? When I quit drinking water bottled in plastic, I got rid of my constant leg pain. Bottle water will only be a last resort for my household.
We have clean jars that we are sterilizing in canner. My question is, since we are bringing this water to a boil can we skip using another pot to boil water to can by just using the water we are using to sterilize the jars in as the water we can?
I would say as long as the jars you’re putting in that water to sterilize are already clean, and nothing else is going in that water, then it should be ok.
We use a distiller and always have 5 gals on hand. All drinking water is filtered before distilling. We have been doing this for years.
Hi I want to do my water in half gallon jars I have but my water canner or pressure canner are not y’all enough for me to have the water over the lids as needed. If I use a pot with a lid that gives me the space I need, does it need to have a rack of some sort for the jars to sit on or can they sit directly on the pot?
You need a rack on the bottom to keep the jars from cracking. If you don’t have a rack that fits in the pot, a super easy “DIY canning rack” is to zip tie a few canning rings together and place the jars on top of that.