As an Amazon Associate, I earn from qualifying purchases.
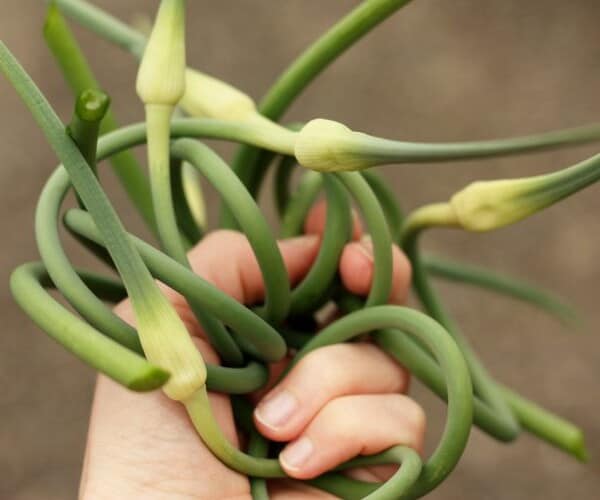
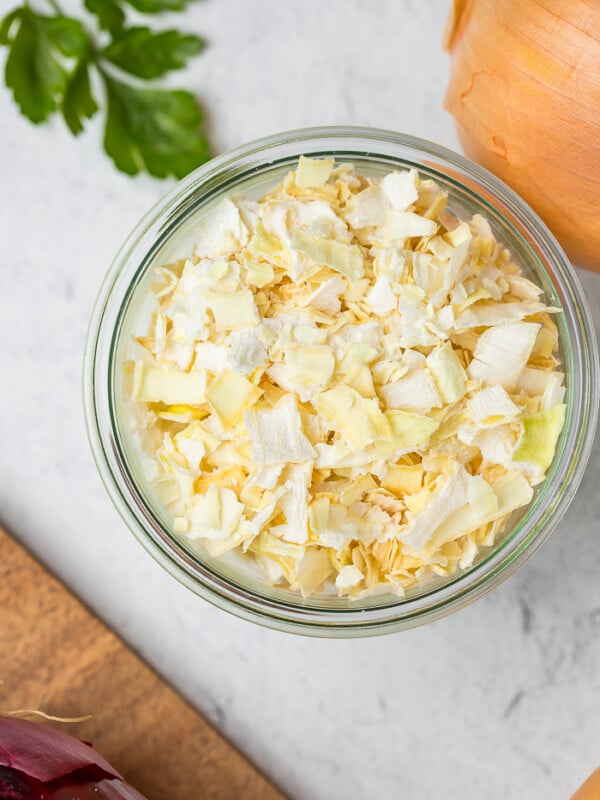
My easy tutorial on dehydrating garlic is such a simple way to preserve this delicious pantry staple! I’ll teach you how to make dried garlic in a food dehydrator or in the oven.

Garlic is a staple in my busy home kitchen for a reason. This incredible ingredient adds so much flavor to some of my favorite dishes.
While fresh garlic can last for a while, dehydrated garlic will extend the shelf-life tenfold.
And as a bonus, we can now all be immune from vampires.

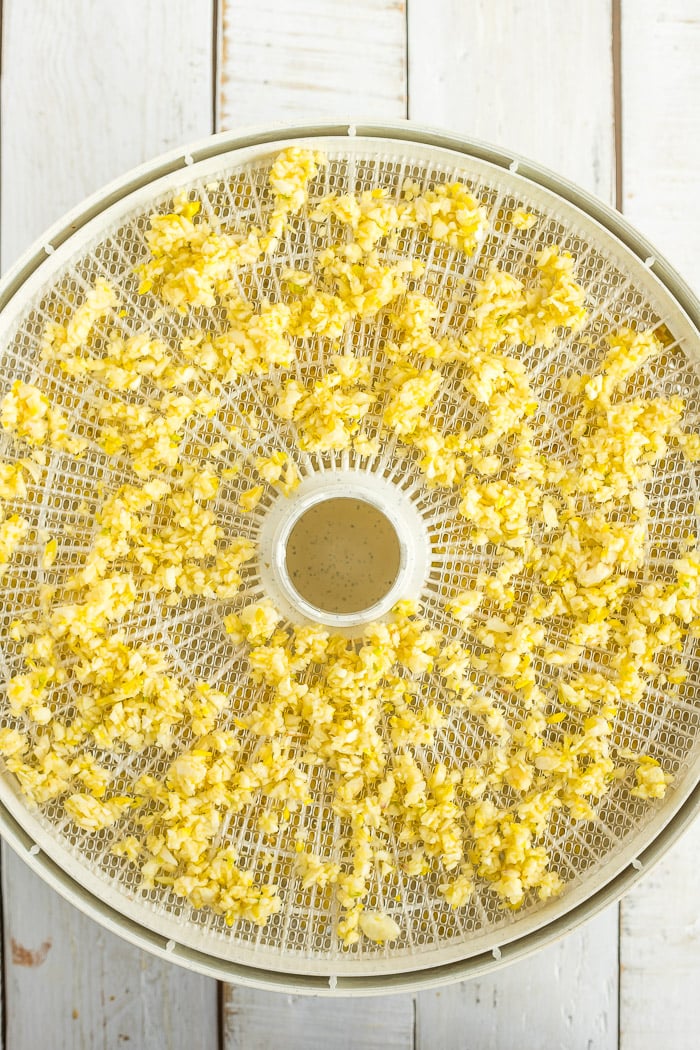
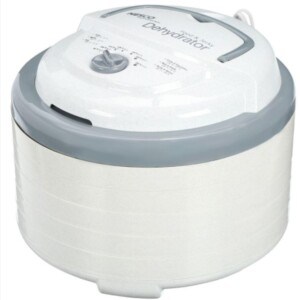
When I’m drying garlic in my dehydrator (this is the one I have), I like to use screen inserts to keep the minced garlic from falling through the grates.
After years of drying garlic, I have found that the best temp is 100-110˚F. On my model, this is the “herb setting”. Rotating the trays every few hours and breaking apart any clumps that have formed will give you evenly dried garlic.
Sarah’s cheat codes
- I know it is tempting, but avoid the temptation to increase the heat on the dehydrator or oven to speed up the process. During my testing, I noticed that this can burn the garlic as it dries. Burnt garlic results in a bitter finished product. #lame. Low and slow wins in the race on this one.
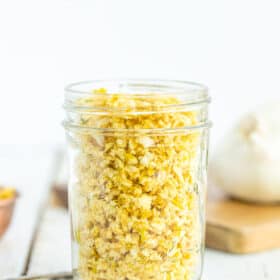
- Before storing my dried garlic in an air-tight container, I always make sure it is fully cooled. This prevents condensation from building up in the jar.
Dehydrating Garlic In a Dehydrator or Oven
Ingredients
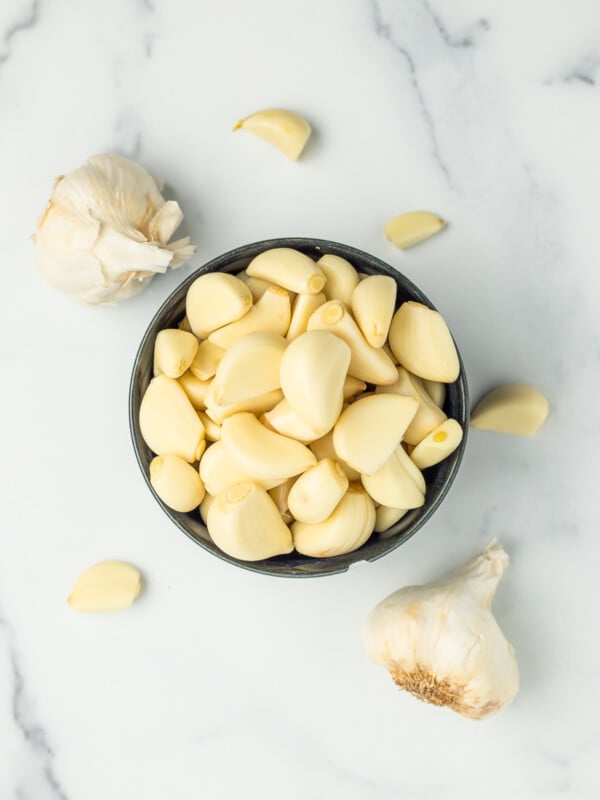
- garlic {peeled, root end removed}
Instructions
- Separate garlic cloves from the head. Remove papery skin.garlic
- Cut the root end off of each clove.
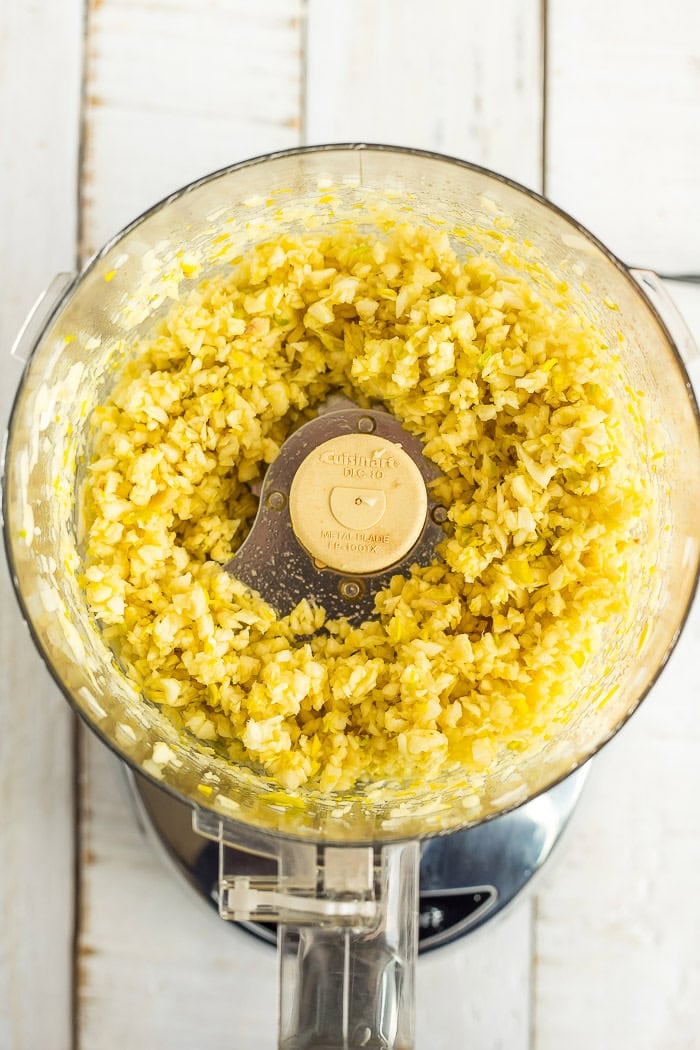
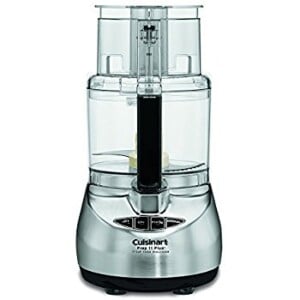
- For dried minced garlic: Chop cloves with a chef's knife or in a food processor until chopped in a mostly uniform size.
- For dried garlic slices: carefully slice the cloves as evenly and thinly as possible.
- Spread garlic on dehydrator trays. Use multiple trays for large batches.
- If your dehydrator has an herb setting, use that. If not, dehydrate between 100-110˚F.
- Rotate trays every few hours, and gently move garlic around on trays to break up any clumps.
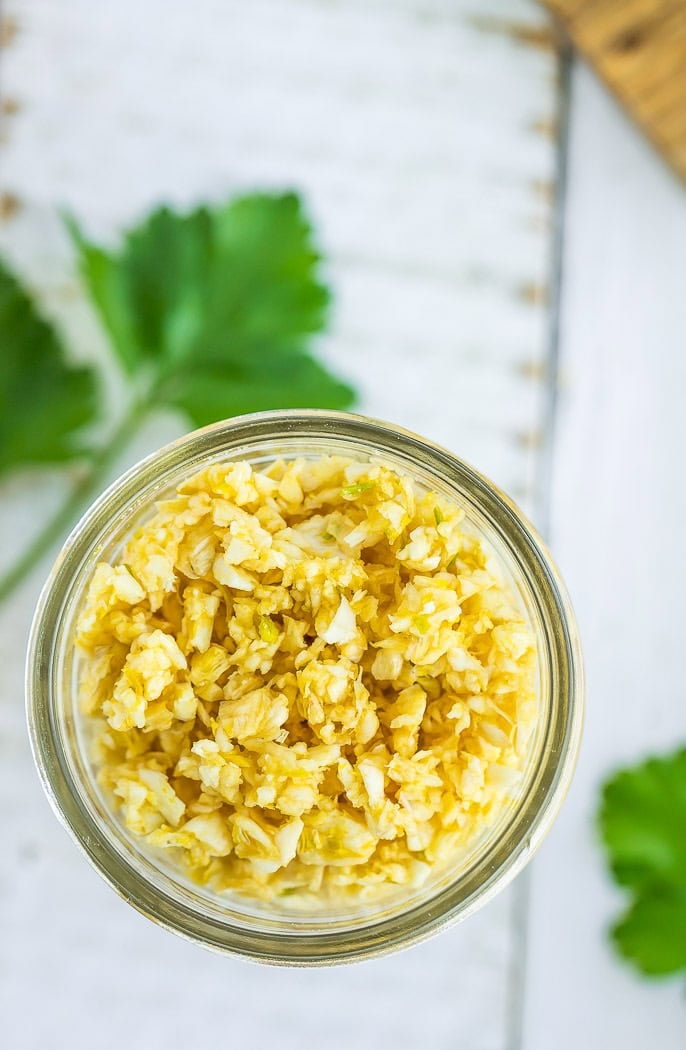
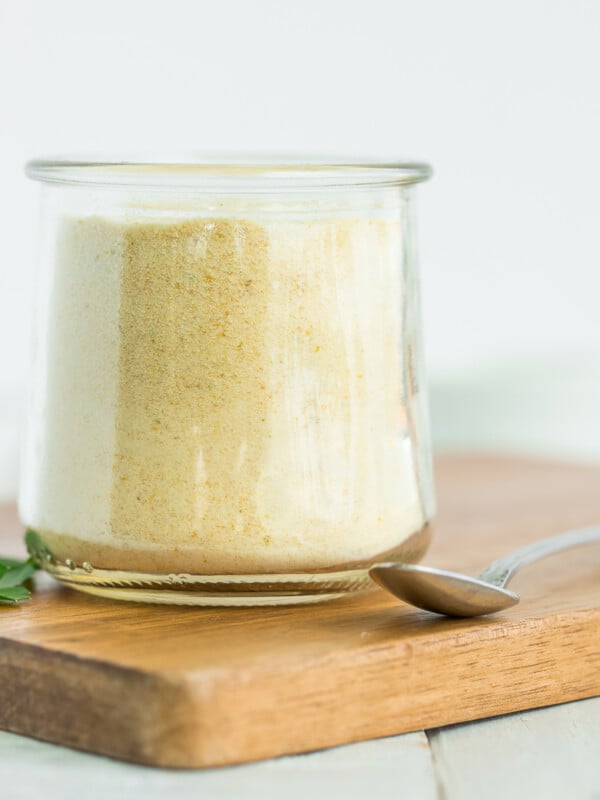
- Dry until garlic is dry to the touch and will break/snap instead of bend (~6-12 hours).
- Allow garlic to fully cool before storing in an air-tight container for up to two years.
Notes
- If possible, place your dehydrator outside in a covered area.
- Drying time will vary depending on the size of the garlic you’re drying, how many trays you are drying at once, and if you rotate the trays during drying.
Oven-Baking:
- Place chopped garlic on baking drying racks set inside baking sheets.
- Place in the oven at the lowest temperature possible (usually 140-170˚F) and prop open the door with the handle of a wooden spoon. This allows condensation to escape instead of settling back onto the garlic.
- Bake for 5-8 hours. Check every 2 hours, rotating trays and breaking apart any clumps that have formed.
Nutrition
Nutrition information is automatically calculated, so should only be used as an approximation.

Get my Canning e-book!
It’s 51 pages of every helpful tip and trick you could want as a brand new canner, AND it includes 13 ad-free canning recipes that are designed to take you from novice to pro.


I have an air fryer oven that also can be used as a dehydrator. Will the garlic make the air fryer smell like garlic and flavor foods cooked after dehydrating the garlic.
Is it an oven-style or basket-style air fryer? The basket style would be easy enough to soak to remove any lingering garlic smell.
If you have an oven style, I’d wrap a dish of water with some cinnamon with foil and place it on the racks. “Bake” at low heat for 5 minutes to remove any garlic smell.
I’ve been planning to buy bulk dehydrated garlic and store it in my pantry to save money because I keep on buying one bottle after the other. Thanks for the tip on how your dried garlic can keep for years if it is kept in a cold, dry area. I’ll also note that before placing the dried garlic in an airtight container, make sure it has completely cooled.