As an Amazon Associate, I earn from qualifying purchases.
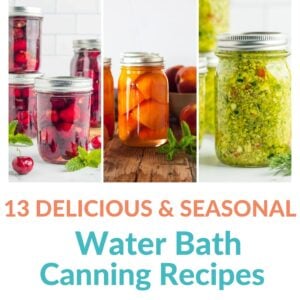
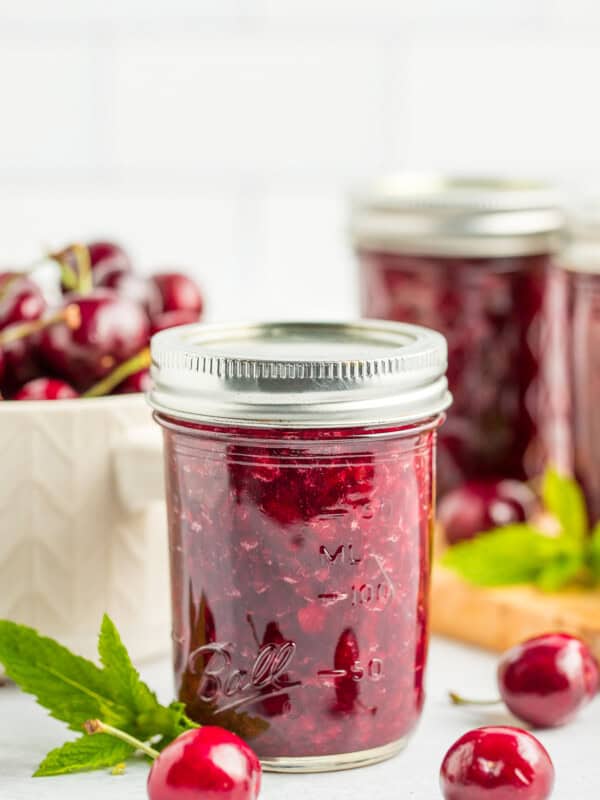
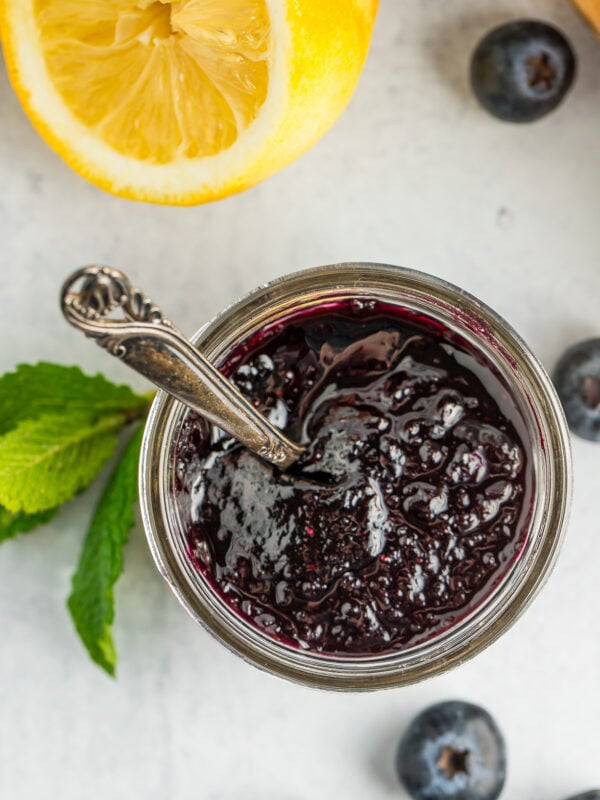
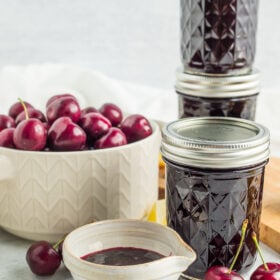
These easy old-fashioned cherry preserves are a delicious, lower-sugar, and fresh-tasting cherry spread, made without pectin. Canning homemade cherry jam is one of my favorite and simplest ways to preserve this amazing summer fruit. My easy cherry jam recipe can be made with fresh or frozen cherries.

Someone recently messaged me asking what I had against pectin. And the answer is NOTHING! Pectin is great! Pectin rocks! Tons of my other jam recipes use pectin.
But sometimes, you just want to make a simpler jam/preserves recipe, and the fruit you’re using already has loads of natural pectin.
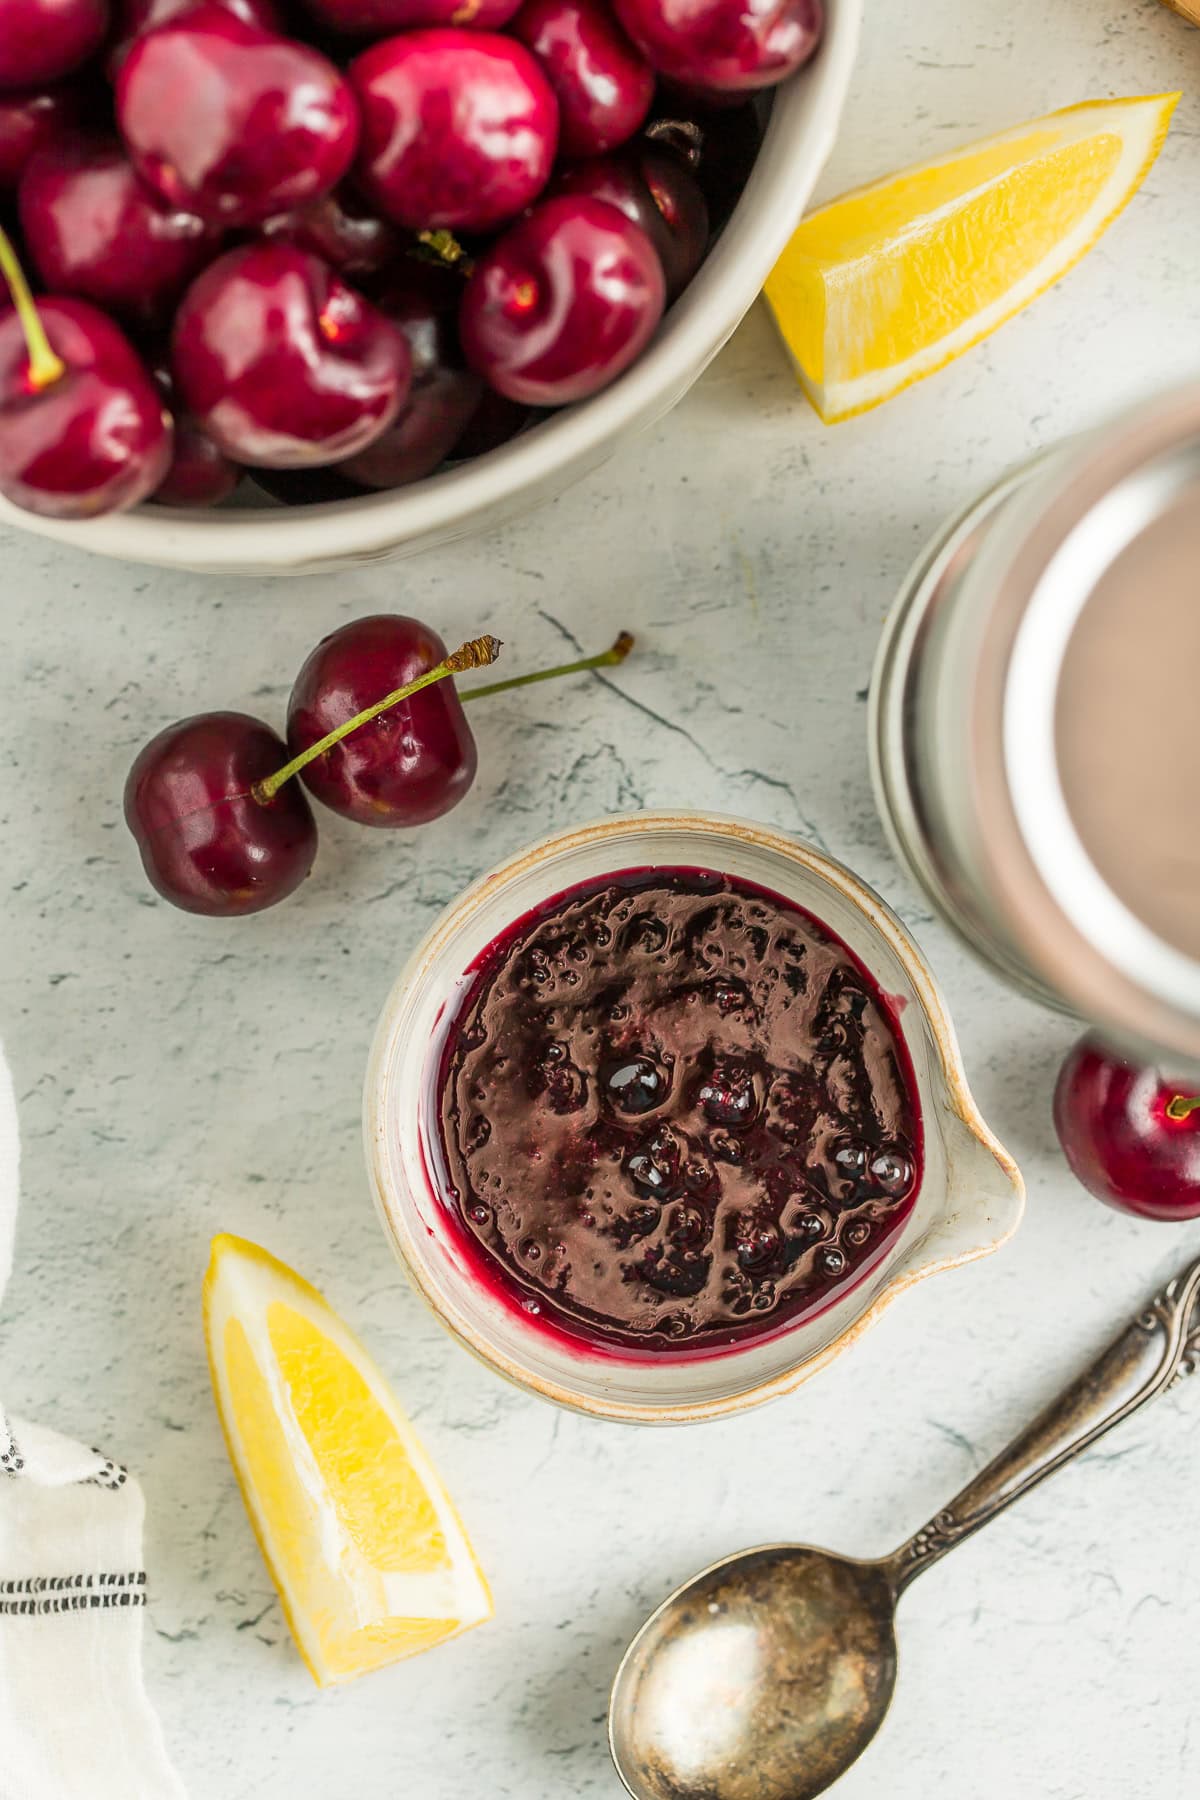
And friends, this cherry preserves recipe without pectin delivers everything that you want it to – fresh taste, low(er) in sugar, and bright lemony notes thanks to fresh lemon juice and zest.
Even better, it’s dead simple to make!
If you decide that you would like to use pectin, check out my low-sugar cherry jam recipe. It uses my favorite pectin, Pomona’s.
C’mon, let’s make some cherry preserves!
*I’ll walk you through it here with some photos and tips, and you’ll also find a printable recipe card at the bottom of the post with exact measurements, etc. You can also click “jump to recipe” to skip down.
Canning Prep
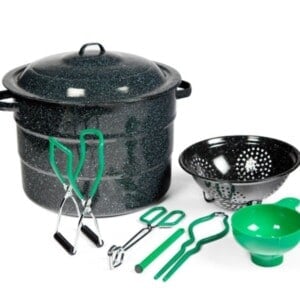
Prepare your water bath canner by filling it with water and setting it on the stove. Turn the burner to high. Once it reaches a boil, reduce it to a simmer. You want to keep the water hot so that everything is ready when the jam is.
Wash and sanitize your jars. You’ll want to keep them warm to avoid having them crack when placed in the canner. You can fill them with hot water or place them on a tray in the oven at 170˚F.
Wash your lids and set them aside in a clean place. You no longer need to simmer lids in water to keep them sterile. Woot!
Making the cherry preserves
My favorite kitchen tool for this part of the recipe is this heavy-bottomed pot. It will heat the preserves evenly, and it’s deep enough to avoid boil-over accidents. That being said, based on my testing, I don’t recommend you double this recipe unless your pot is 6 quarts or more.
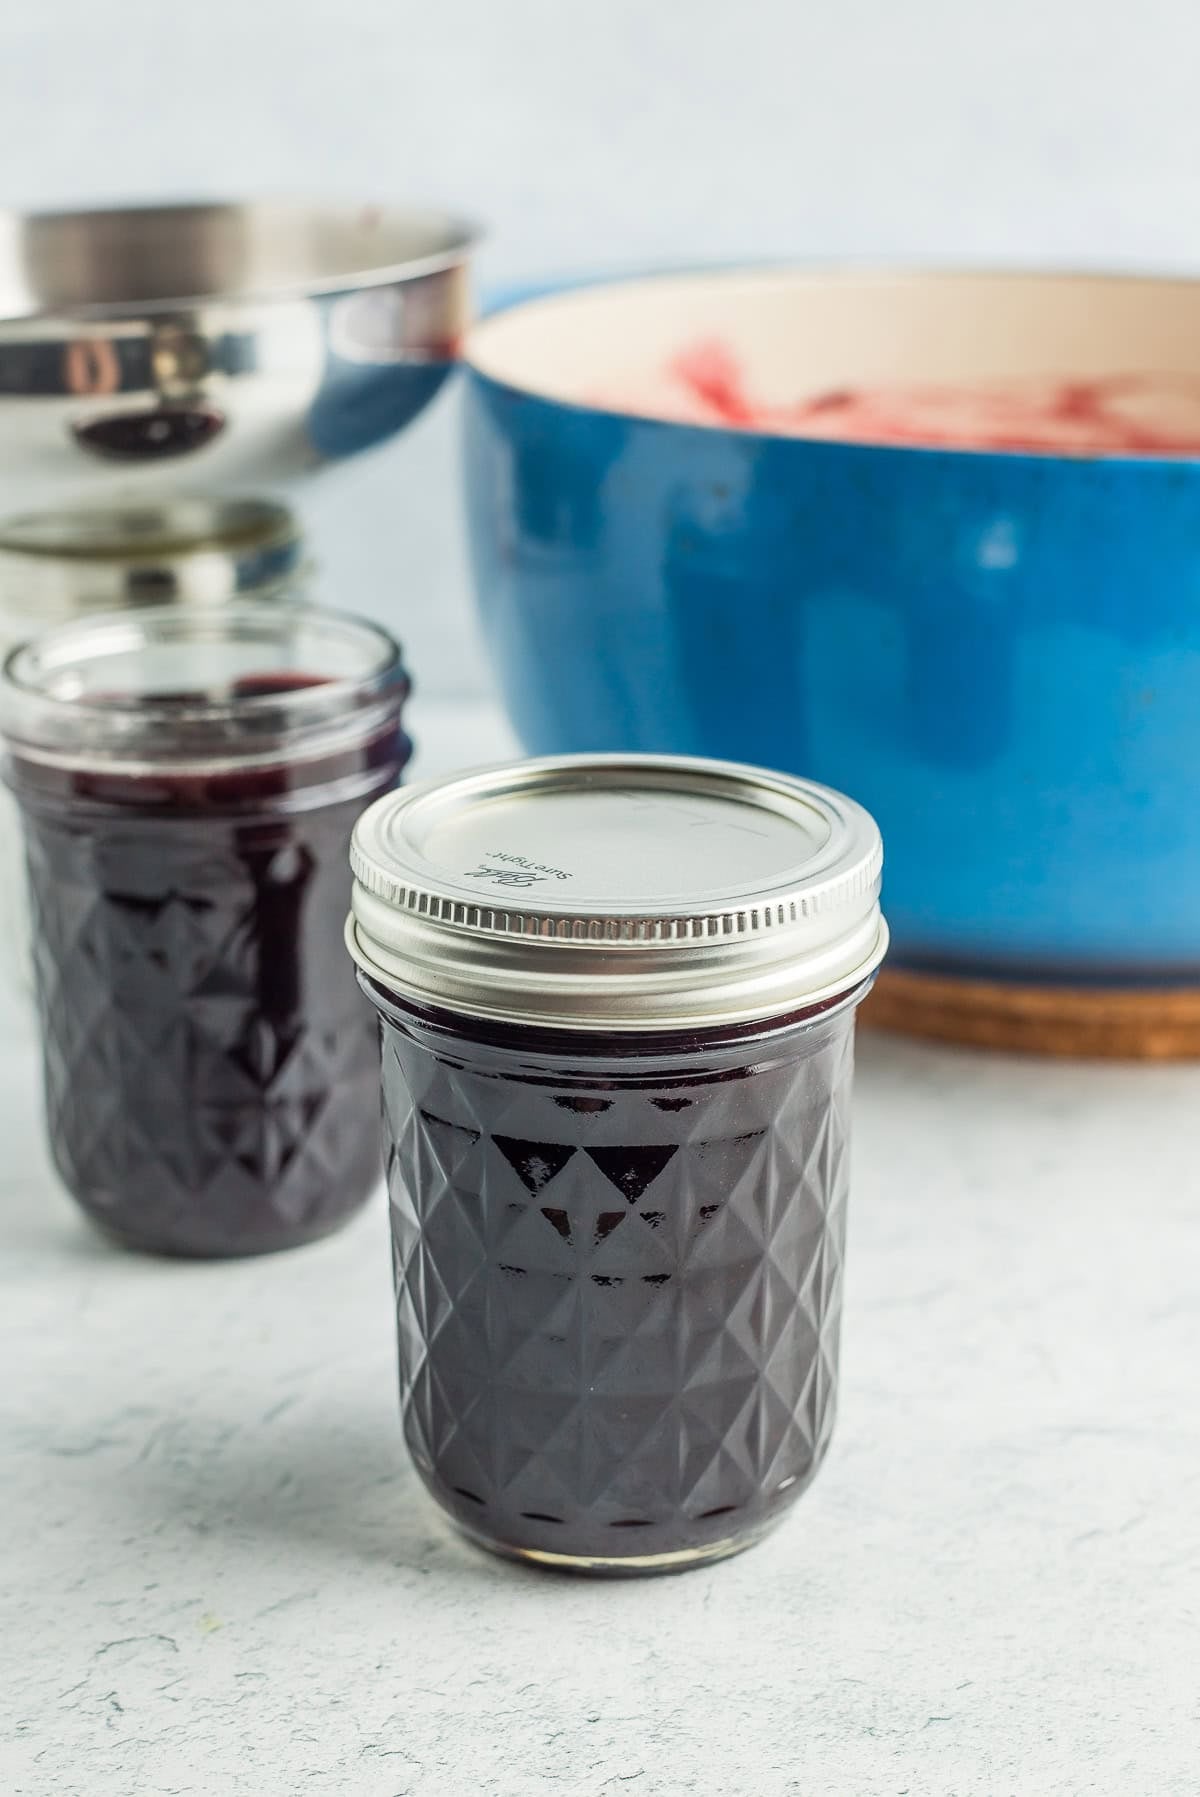
Canning the cherry preserves
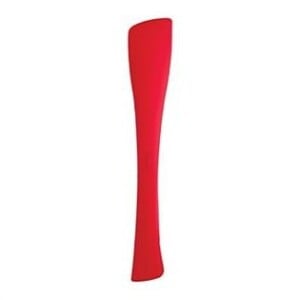
For this part of the recipe, you’ll want a funnel (this is my favorite) and canning tongs. In a pinch, I’ve used generic silicone cooking tongs, but your life is going to be much easier with actual canning tongs.
Processing Times for No-Pectin Cherry Preserves
| Processing Time for No-Pectin Cherry Preserves | ||||
| Process Times at Altitudes of: | ||||
| Style of Pack | Jar Size | 0-1,000 ft | 1,001-6,000 ft | Aove 6,000 ft |
| Hot | Half-Pints & Pints | 5 min | 10 min | 15 min |
| *Source: National Center For Home Food Preservation | ||||
Once the processing time is up, remove the canner from the heat, remove the lid of the canner, and let the canner sit for 5 minutes. Use canning tongs to remove the jars and place them on towels on the counter. Make sure you put them where they can be undisturbed for 12-24 hours.
The lids will likely start to pop within 20-30 minutes of being removed from the water. That popping sound is music to your ears, as it tells you that everything has been sealed. It’s a reward for all your work!
After the jars have rested for about 12 hours, press down in the middle of each lid. If it “gives” at all, the jar didn’t seal. Either enjoy it that day, put it in the fridge, or reprocess it using a brand new lid.
Old-Fashioned Cherry Preserves Without Pectin
Ingredients
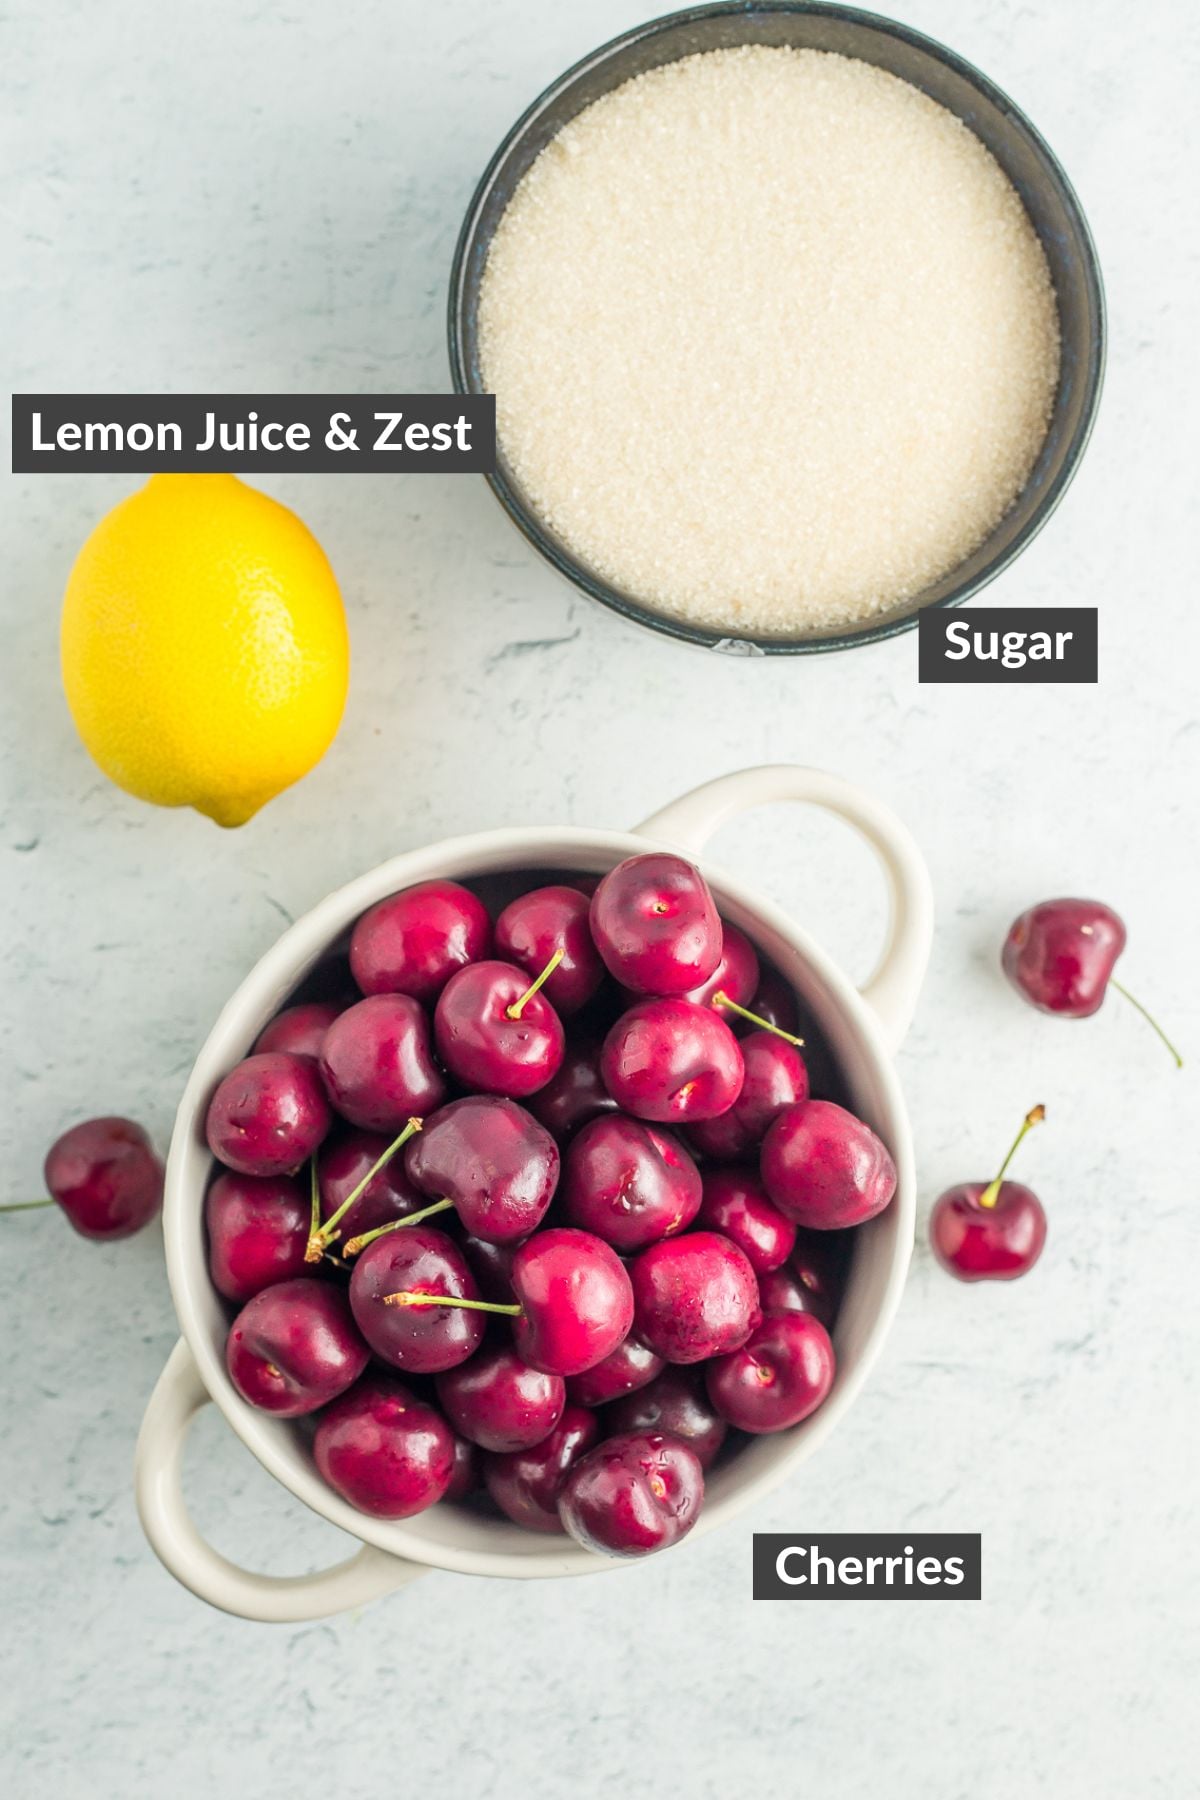
- 8 cups cherries
- 3 cups sugar
- 2 tbsp lemon juice
- 1 tbsp lemon zest
- water, if needed {added 1/4 cup at a time}
Instructions
Making the Cherry Preserves
- Rinse, stem, and pit the cherries.8 cups cherries
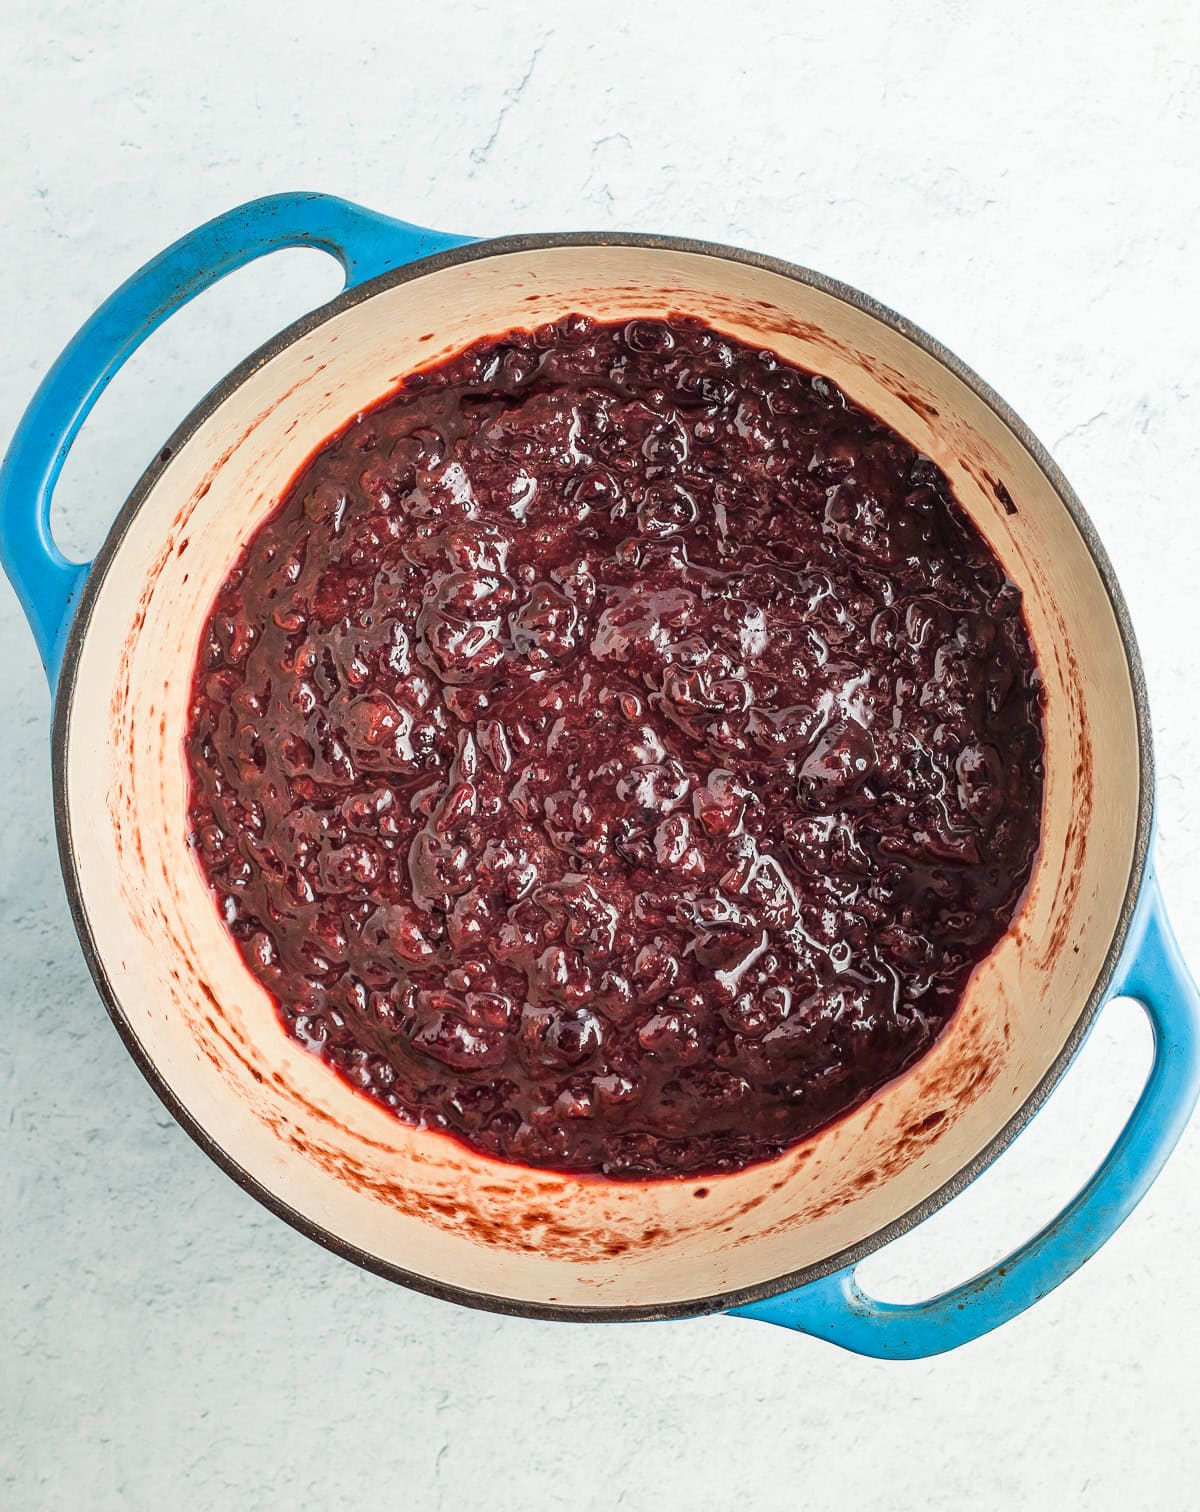
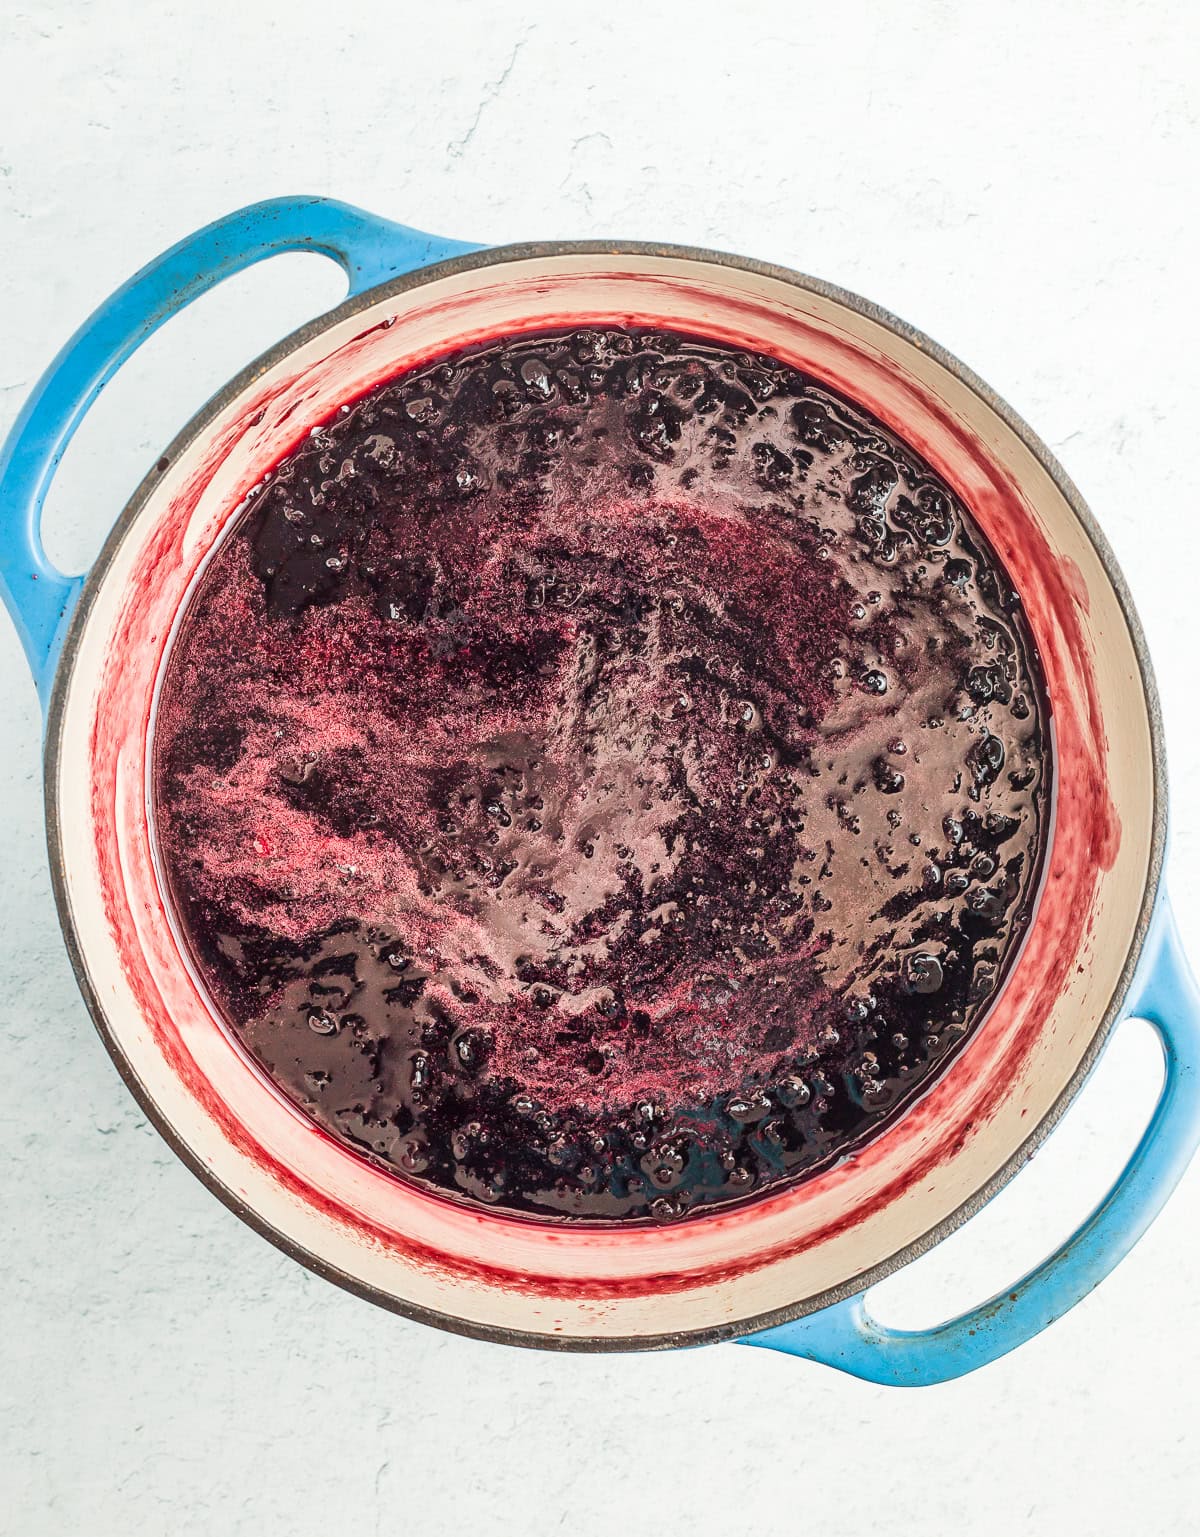
- Cook the cherries over medium-low heat. You can use a pastry cutter or potato masher to gently chop them while they cook.
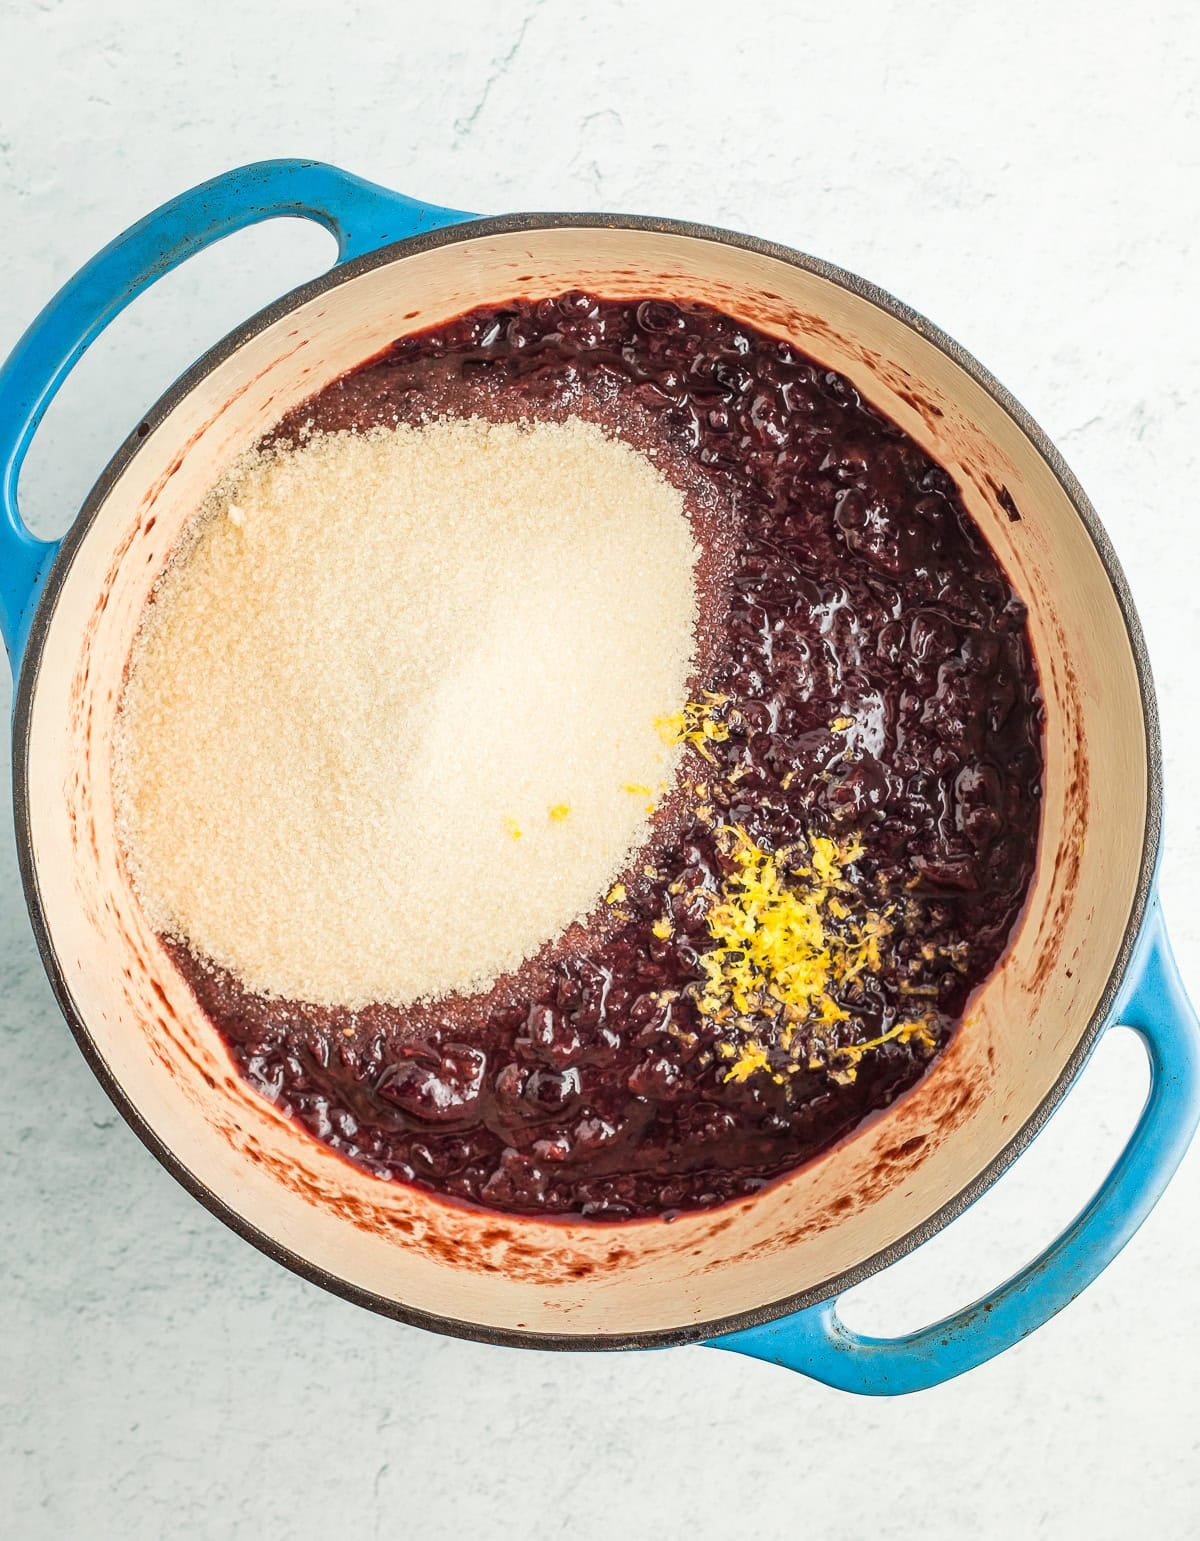
- Once the cherries are mashed to your preference, add the sugar, lemon juice, and lemon zest to a heavy-bottomed saucepan.2 tbsp lemon juice, 1 tbsp lemon zest, 3 cups sugar
- Cook on medium heat for 10 minutes, stirring often to prevent the cherries from burning. Add water if needed, 1/4 cup at a time, to prevent scorching.water, if needed
- Reduce the heat to a simmer, and cook the cherries down, stirring often, for 10-20 minutes or until the mixture has thickened and the volume has been reduced by about 20-30%. Skim any foam off the surface.
Canning Cherry Jam
- While the jam is cooking, start your canning prep.
- Prepare your water bath canner by filling it with water. You need to have enough water to cover the jars by 1 inch once the water is boiling.
- Set the canner on the stove with the lid on. Turn the burner to high. If it reaches a boil before you’re done making the preserves, reduce it to a simmer, keeping the lid on.
- Wash and clean your jars. You’ll want to keep them warm to avoid having them crack when placed in the canner. You can fill them with hot water, or place them on a tray in the oven at 170˚F.
- Wash your lids and set them aside in a clean place.
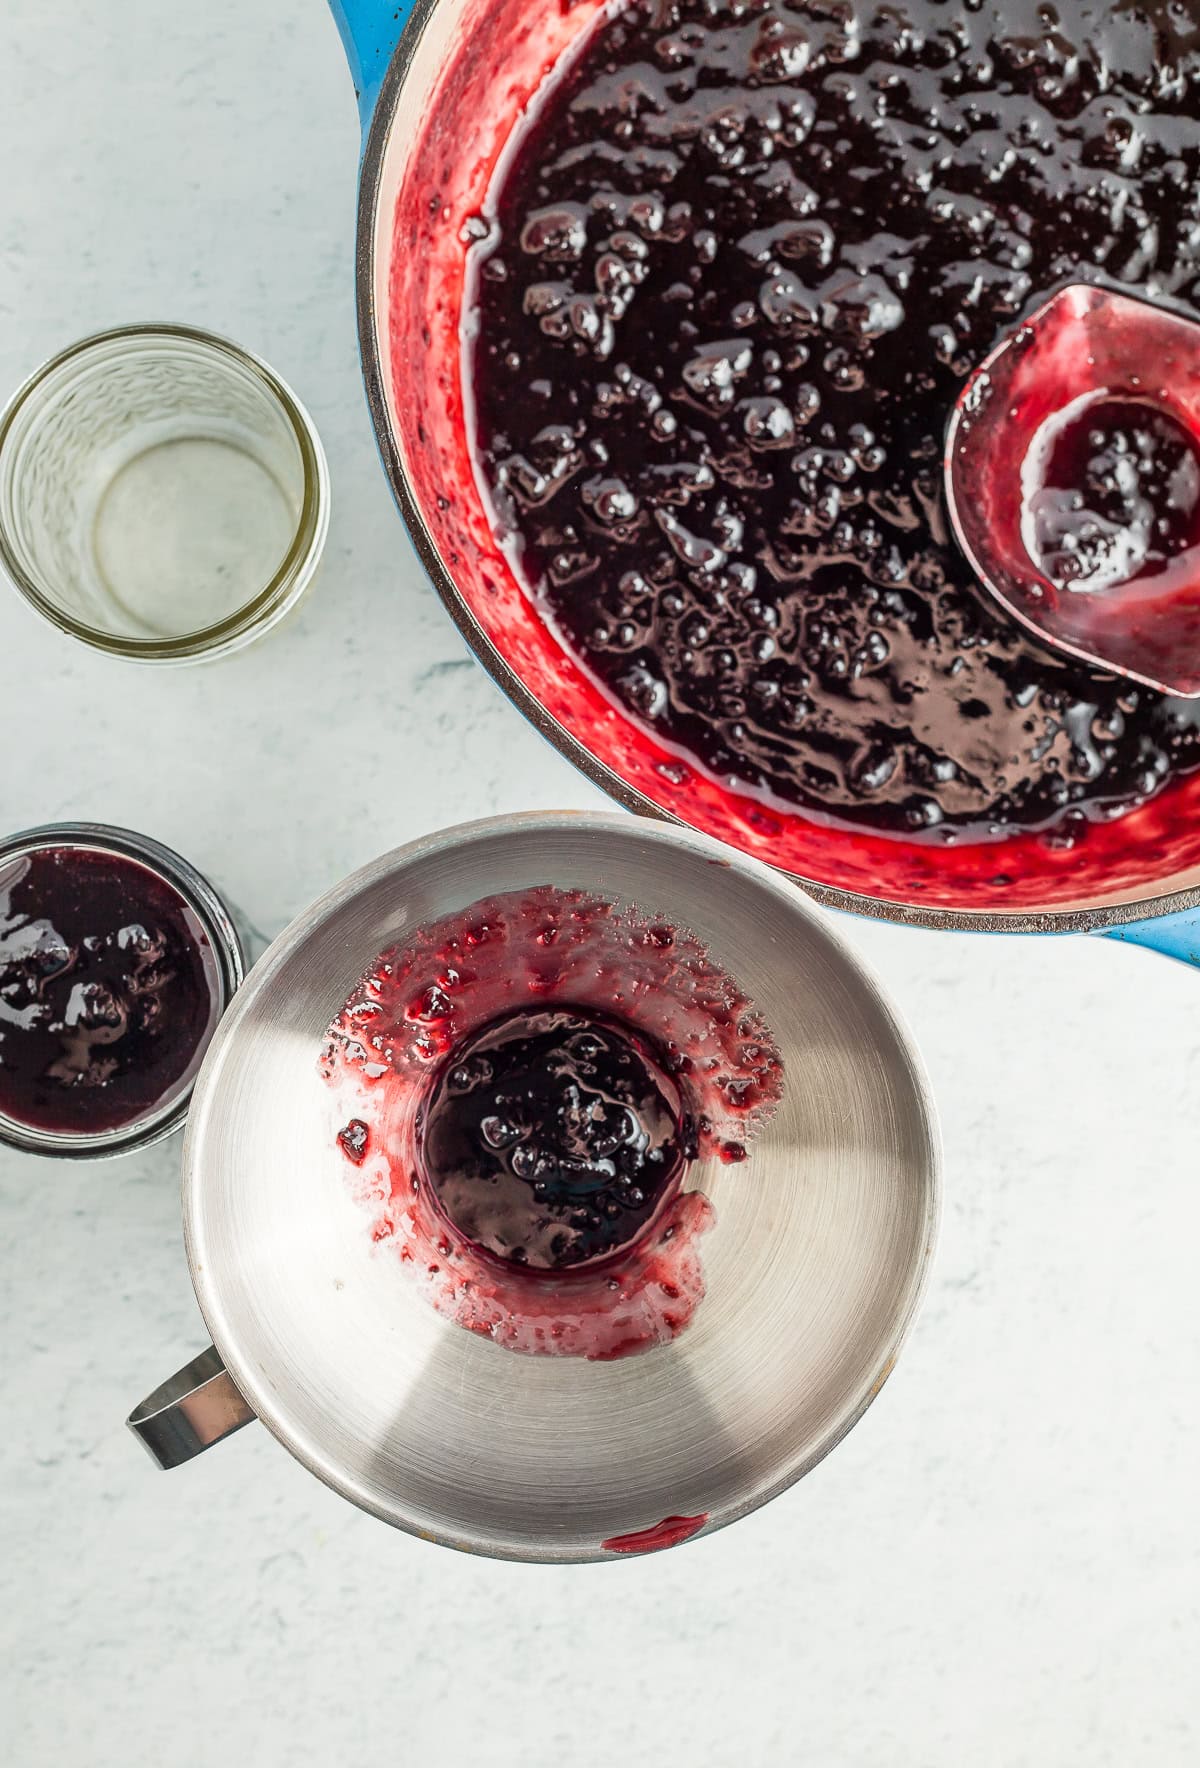
- Using a canning funnel, ladle the hot preserves into the jars, leaving 1/2 inch headspace. Headspace is the distance between the top of the food and the top of the jar.
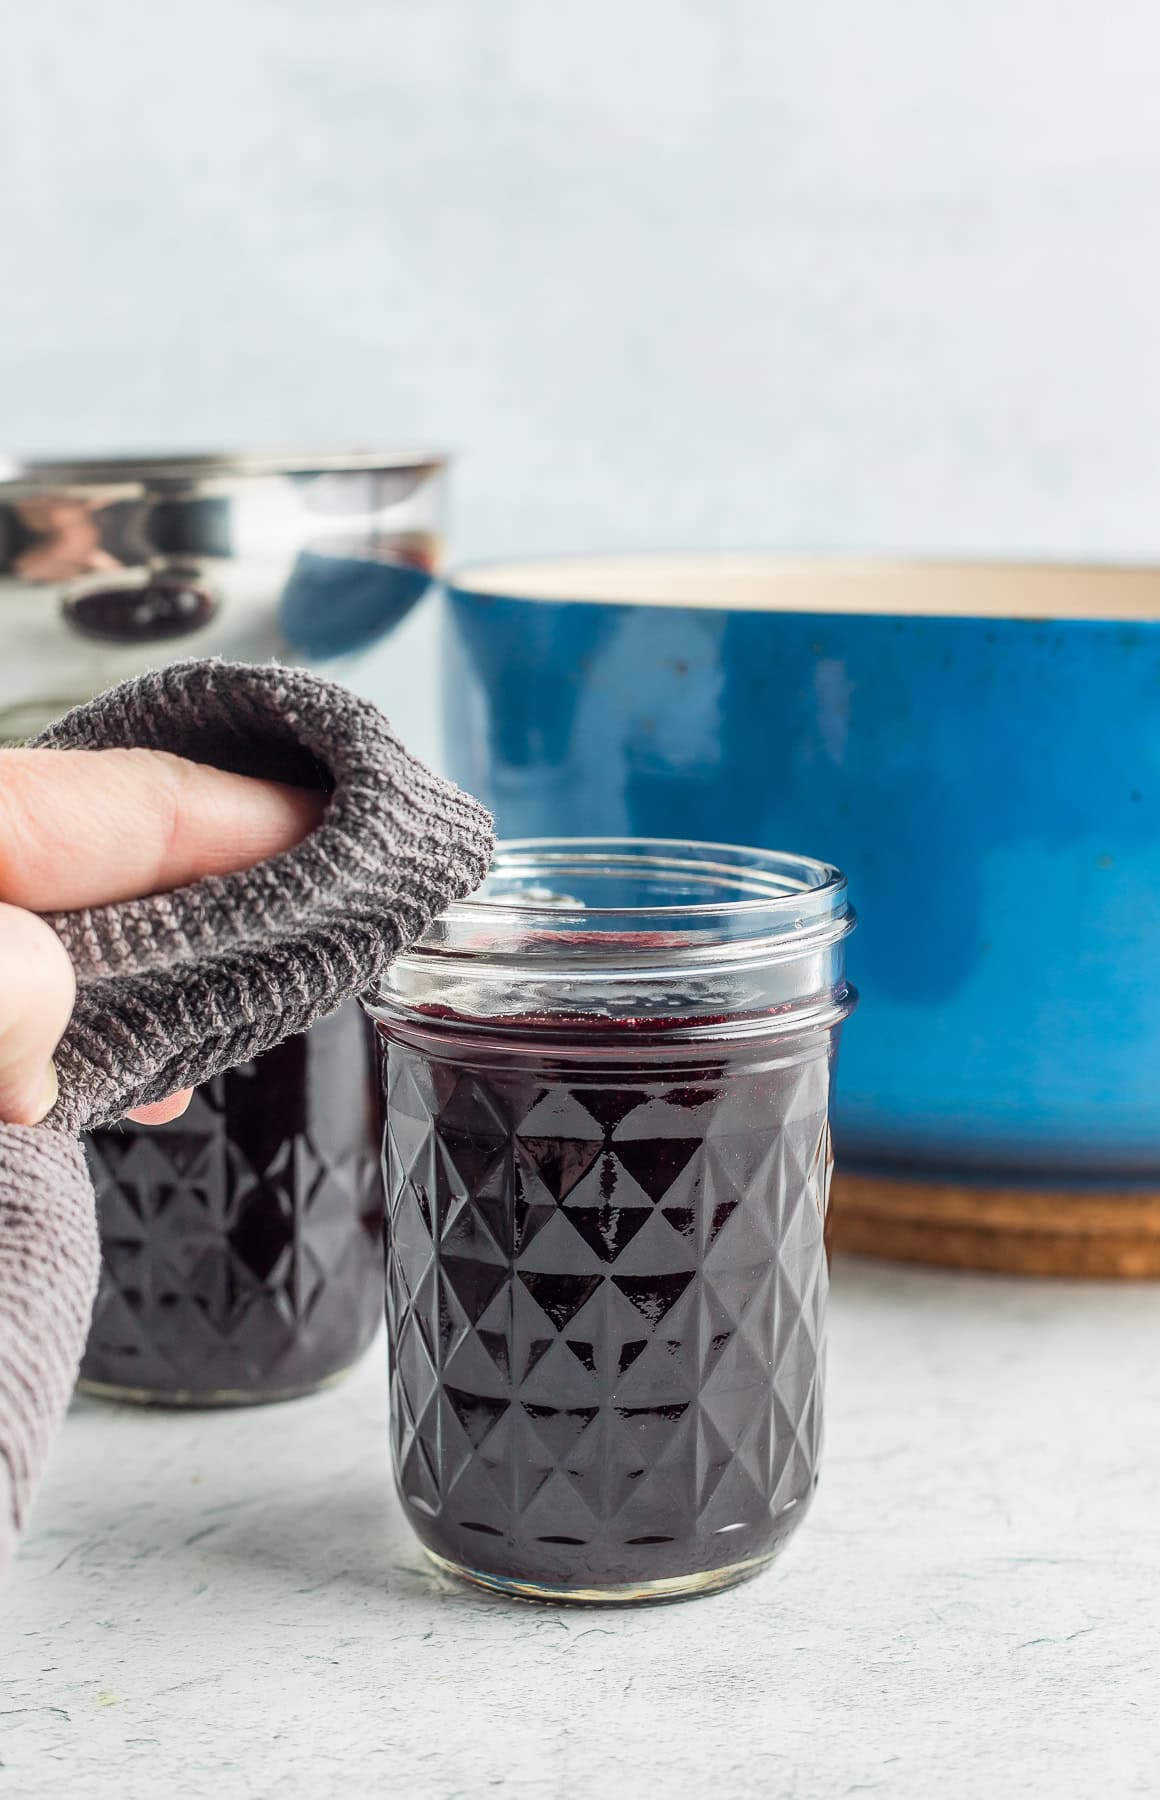
- Clean the rim of the jar very well with a hot damp rag.
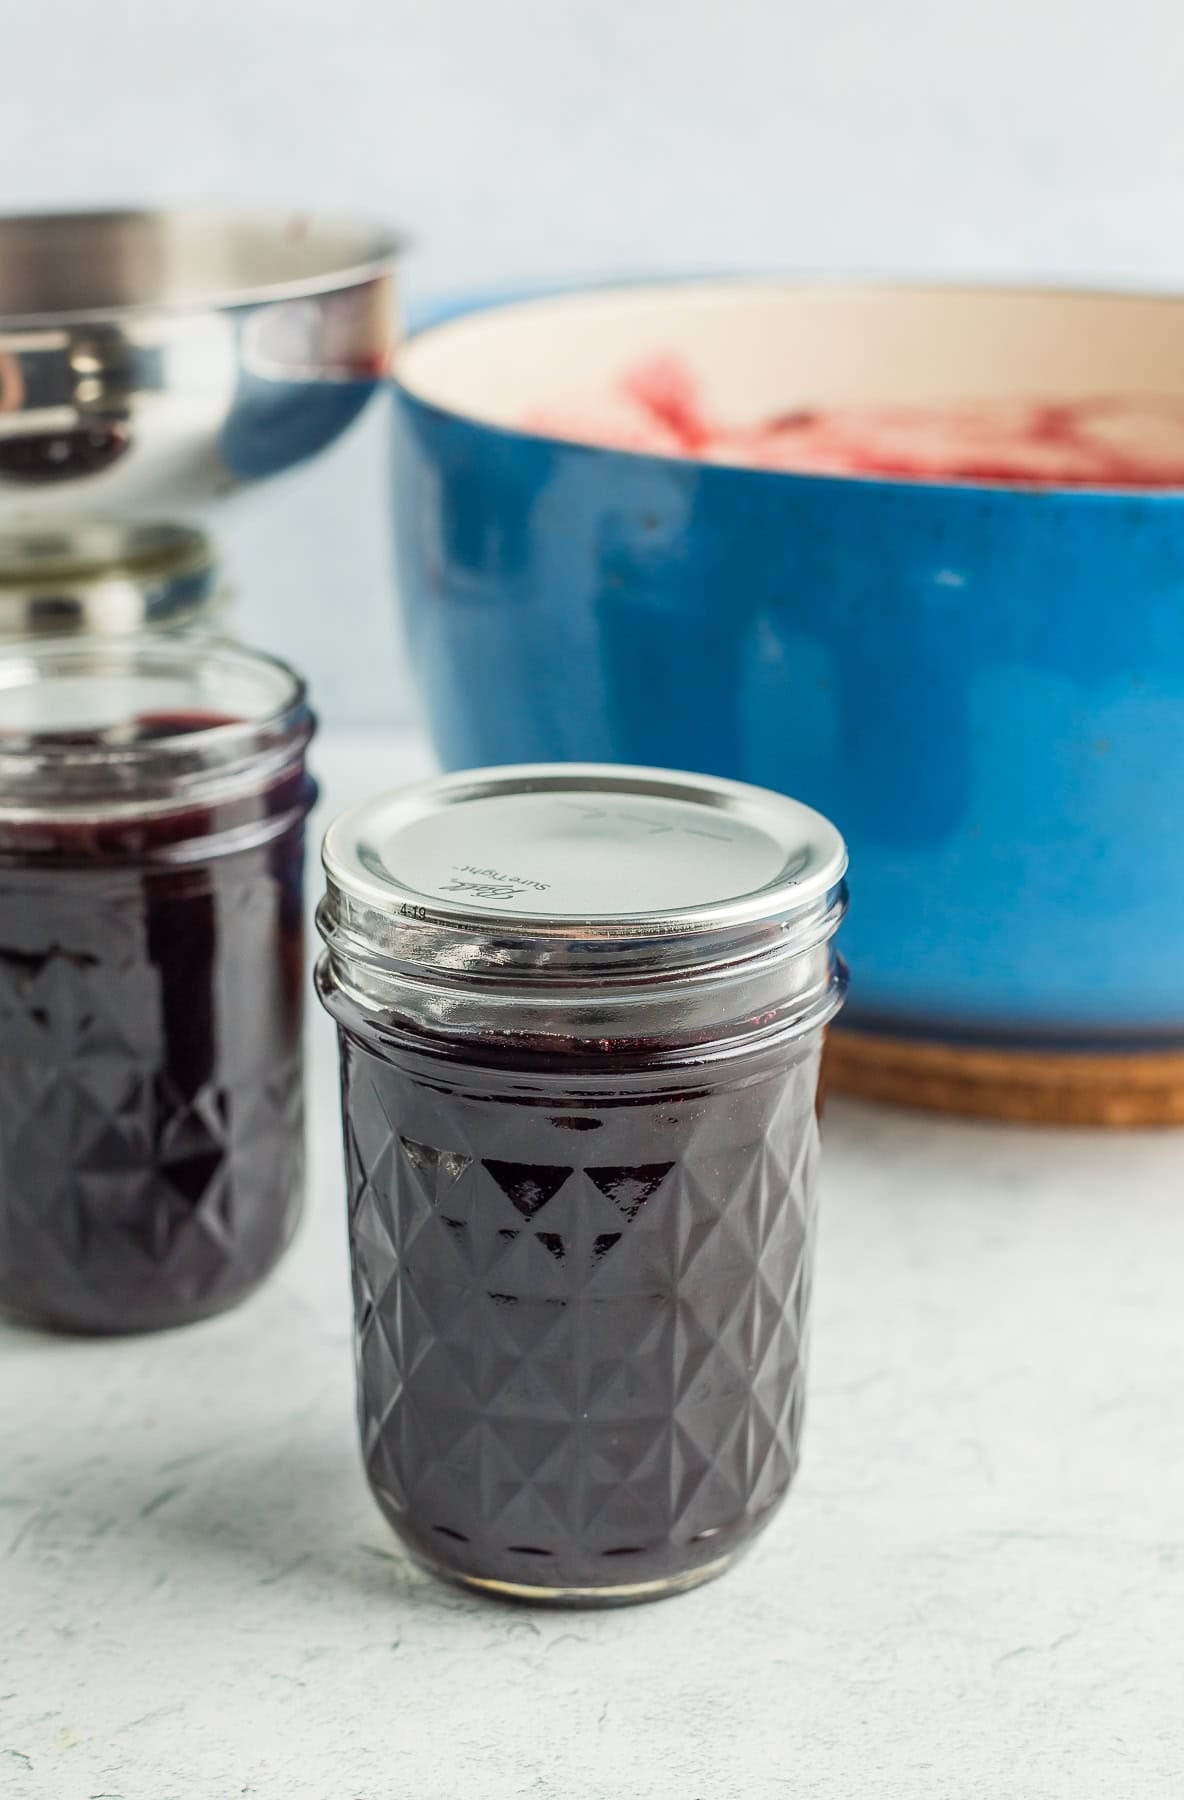
- Place a new clean lid on the jar. Add a ring, and tighten to fingertip tight.
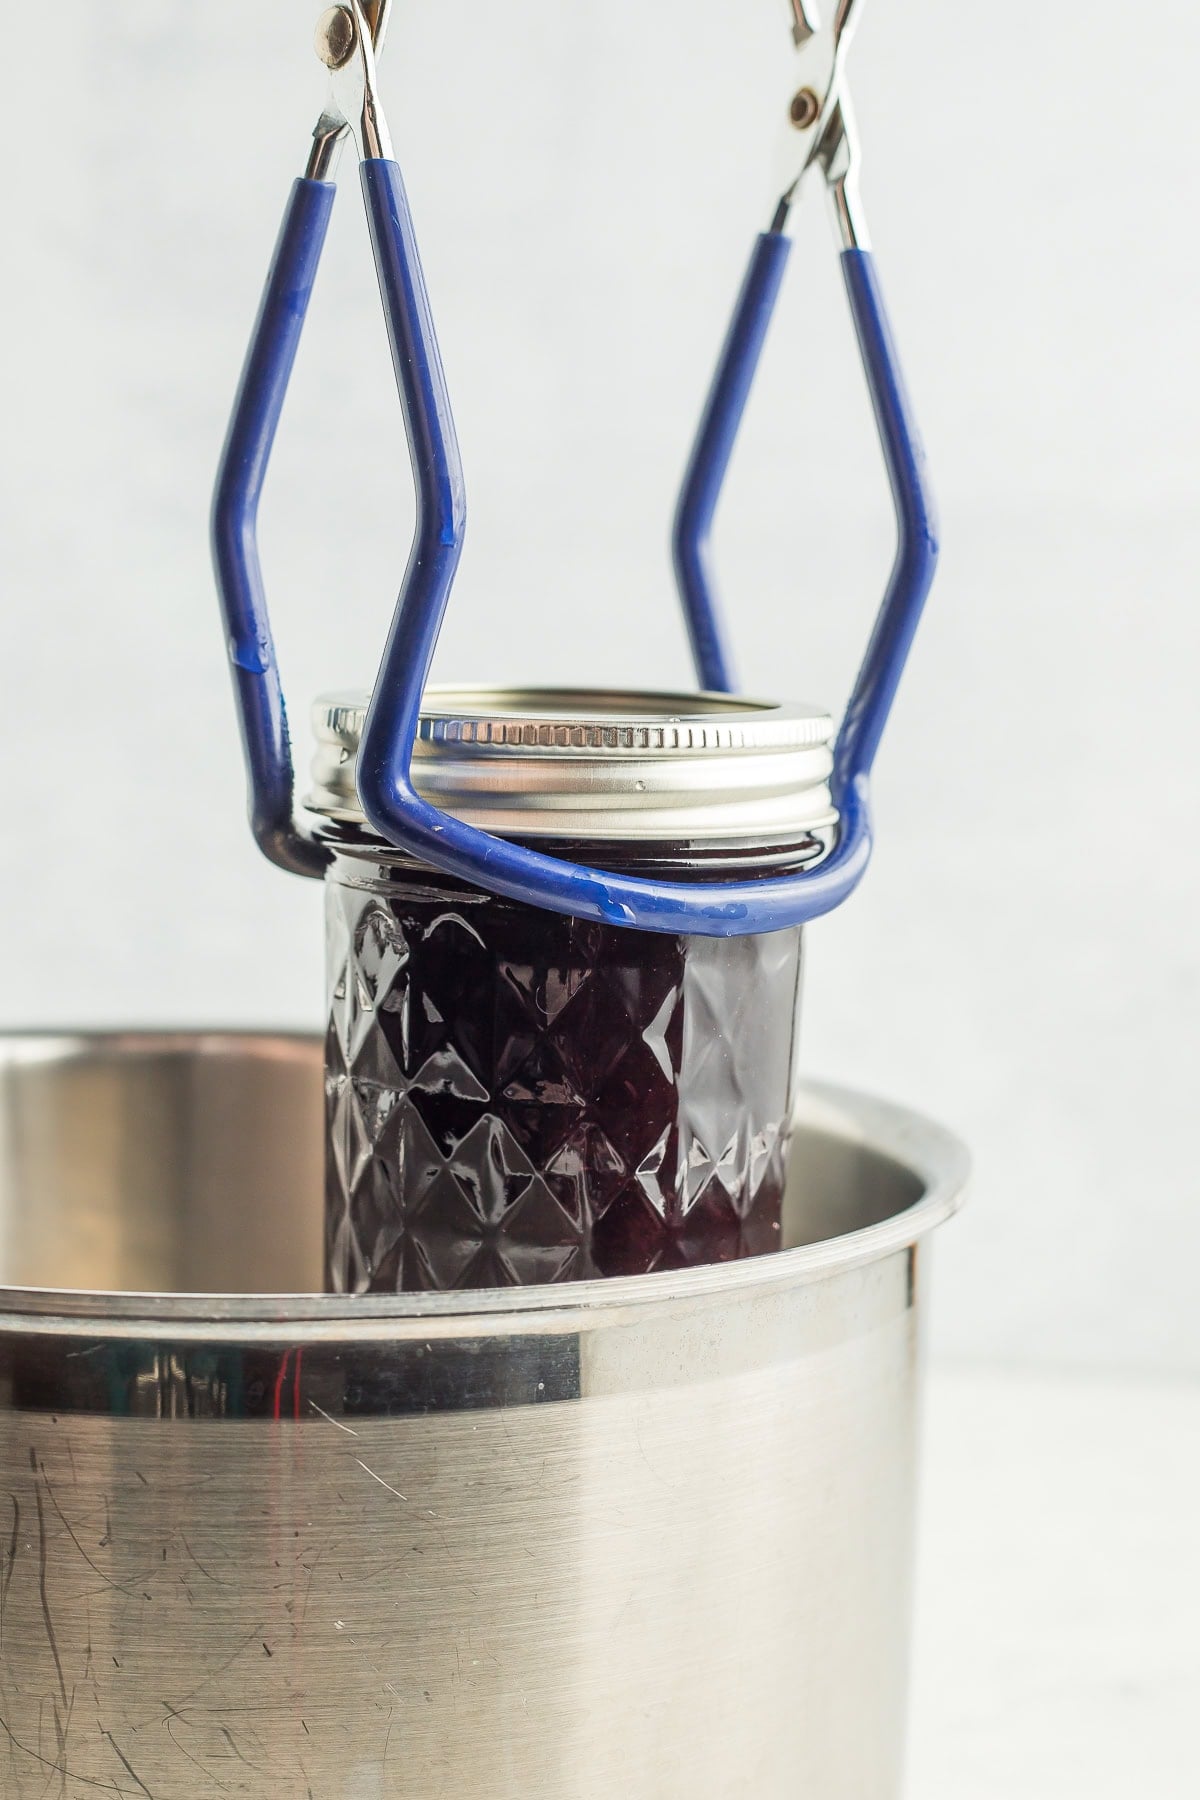
- Using canning tongs, add jars to the boiling water, and put the canner lid on.
- Process pints and half-pints based on the elevation guide below:*0-1,000 ft = 5 minutes*1,001-6,000 ft = 10 minutes*6,000 ft+ = 15 minutes
- Once the jam has processed for the appropriate amount of time, remove the canner from the burner, carefully remove the lid, and allow it to sit for 5 minutes.
- Using canning tongs, carefully remove the jars, and place them on a thick towel in a place where they can be undisturbed for 12 hours.
- After the jars have rested for about 12 hours, gently press down in the middle of each lid. If it "gives" at all, the jar didn't seal. Either enjoy it that day, put it in the fridge, or reprocess it using a new lid.
Notes
- You can use frozen cherries.
- Once the jars have sealed, remove the rings. Label and store sealed jars in a cool (best results are 50-70˚F) dark place for up to 12 months.
- Once you open a jar, refrigerate the jar for up to 3 weeks.
- Makes 4 half-pints.
Nutrition
Nutrition information is automatically calculated, so should only be used as an approximation.

Get my Canning e-book!
It’s 51 pages of every helpful tip and trick you could want as a brand new canner, AND it includes 13 ad-free canning recipes that are designed to take you from novice to pro.