As an Amazon Associate, I earn from qualifying purchases.
Learn all about dehydrating apples in a food dehydrator or in an oven. This dried apples recipe is a simple project for adults and kids and makes amazing snacks.

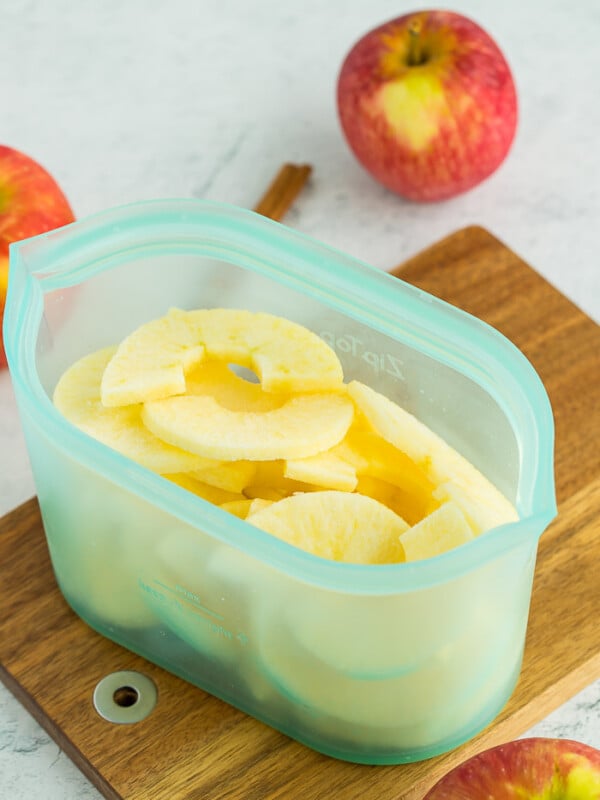
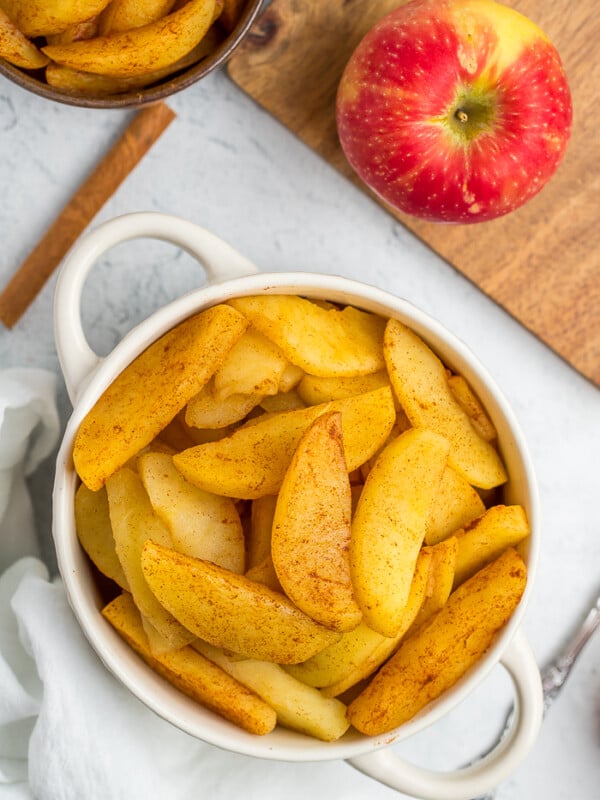
Dried apples are a favorite snack in our house. The best part of drying apples yourself? The process is so simple, and you only need two ingredients – apples and lemon juice.
Easy to find varieties such as Gala, Fuji, Gravenstein, and Honeycrisp are all great. Look for firm and flavorful apples that you would enjoy for fresh eating.
Even though the drying process concentrates the sweetness of the apples, sour apples still make sour dried apples.


How Do I Know When Dried Apples Are Done?
Apples are done when they don’t feel wet anymore (4-8 hours). Some apple slices will finish before the others on the same tray. Remove those that are done and set them aside to prevent them from getting too dry.
Even finished apples might feel a bit sticky when warm. Allow the apples to cool for an hour and then fold a slice between two fingers. If the apples aren’t sticky/tacky and there is some give when you fold one, they’re done.
If the apples fold in half like a piece of paper, they are overly dried. They’re still edible and delicious, but likely a little tougher.

Storage
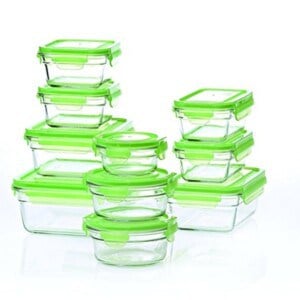
Allow the apples to FULLY COOL before storing them in an air-tight container like a mason jar for up to a year.
If you see any condensation inside the container after a day or so, the apples were not dried long enough.
The condensation can produce mold if left in the container. It would be best to store the dried apples in the fridge or freezer at this point.
Pro Tips/Recipe Notes
- Avoid the temptation to increase the heat on the dehydrator or oven to speed up the process. Low and slow wins in the race on this one.
- Dried apples will last for up to a year if stored in a cool dry place.
- You do not have to peel the apples, but the peels may get very hard during the drying process and could detract from the taste.


Get my Canning e-book!
It’s 51 pages of every helpful tip and trick you could want as a brand new canner, AND it includes 13 ad-free canning recipes that are designed to take you from novice to pro.
Dehydrated Apples Recipe {Dehydrator or Oven}

Ingredients
- 1/4 cup bottled lemon juice
- 10 apples {choose firm apples like Fuji}
Instructions
- Fill a bowl with cold water and 1/4 cup of lemon juice.1/4 cup bottled lemon juice
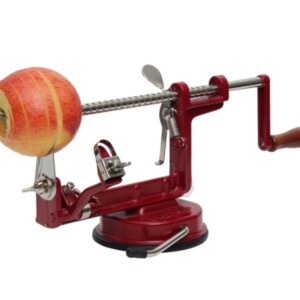
- Set up a workstation with a peeler, cutting board, sharp knife, and a bowl for the peels and cores.
- Clean apples, peel, core, and slice the apples thinly.10 apples
- Place the apple slices in the water/juice mixture.
Dehydrator Instructions
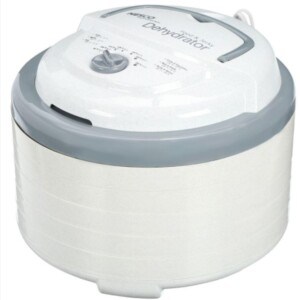
- Arrange the slices on dehydrator trays so that there is space around each slice, and the slices are not touching.
- Set dehydrator to the "fruit/vegetables" setting (135˚F) and dry for 4-8 hours. Rotate trays every few hours.
- The length of time the apple slices need to dry will vary based on how many trays you have going on at once, and how thick the slices are.
- Apples are done when they don’t feel wet anymore. Some apples will finish before the others on the same tray. Remove those that are done and set aside.
Oven Baking Instructions
- Place soaked apple slices on baking drying racks set into baking sheets.
- Place in the oven at the lowest temperature possible (usually 140-170˚F) and prop open the door with the handle of a wooden spoon. This allows condensation to escape instead of just settling back onto the apples.
- Bake for 5-8 hours.
Notes
- Avoid the temptation to increase the heat on the dehydrator or oven to speed up the process. Low and slow wins in the race on this one.
- You do not have to peel the apples, but the peels may get very hard during the drying process and could detract from the taste.
- Allow the dried apples to FULLY COOL before storing them in an air-tight container. They will keep for at least a year if not exposed to too much light or heat.
Nutrition
Nutrition information is automatically calculated, so should only be used as an approximation.