As an Amazon Associate, I earn from qualifying purchases.
Drying chives at home is a simple way to preserve this delicious pantry staple! My tutorial on how to dehydrate chives will teach you how to dry them in a food dehydrator, in the oven, via air drying, and even in the microwave.
Chives are so simple to grow in a home garden, and they come back year after year. You can trim back chives and dry them, and in a few short months, even more chives will grow! It’s plant *magic*!
My favorite way to use dried chives is in our no mayo chicken salad; it adds a special pizazz. But, given that we have backyard chickens (the ladies are laying!), the most common way I use them is in my Greek yogurt egg salad recipe.
Drying your own chives is both easy and affordable, and I’ll show you how.
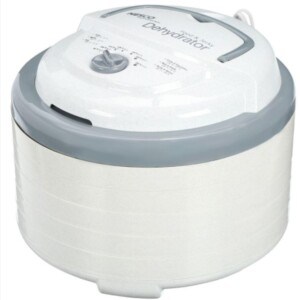
I have owned this dehydrator for almost 20 years, and it has held up beautifully. I’ve added additional trays over the years, and it is a workhorse in summer and fall. Once you find out how easy it is to dry your own herbs, check out my other dehydrator recipes for your next dehydrating adventure!
Sarah’s Cheat Codes
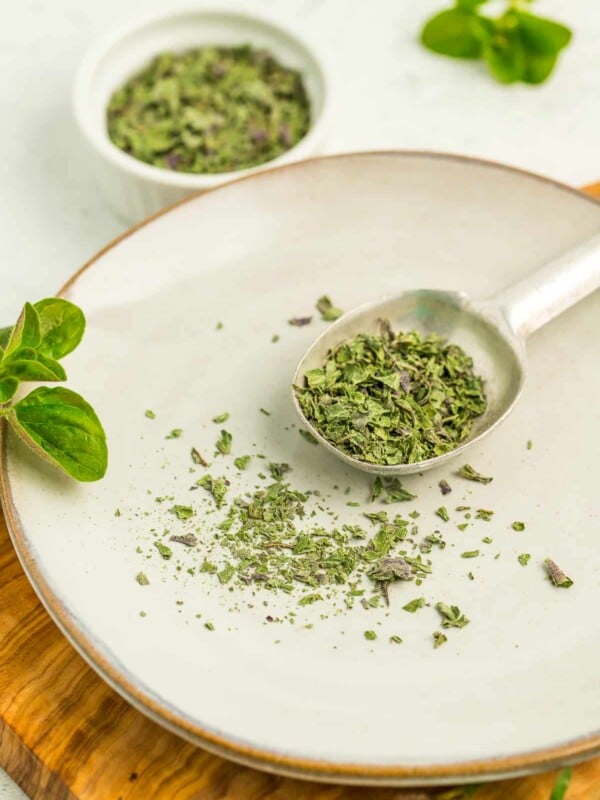
- Dried herbs are 2-3 times more powerful than fresh. I always start with a 1:3 ratio when I am using dried herbs.
- I prefer to leave the chives whole on the dehydrator tray, but if you have trays with a mesh screen, chopping them before drying also works well.
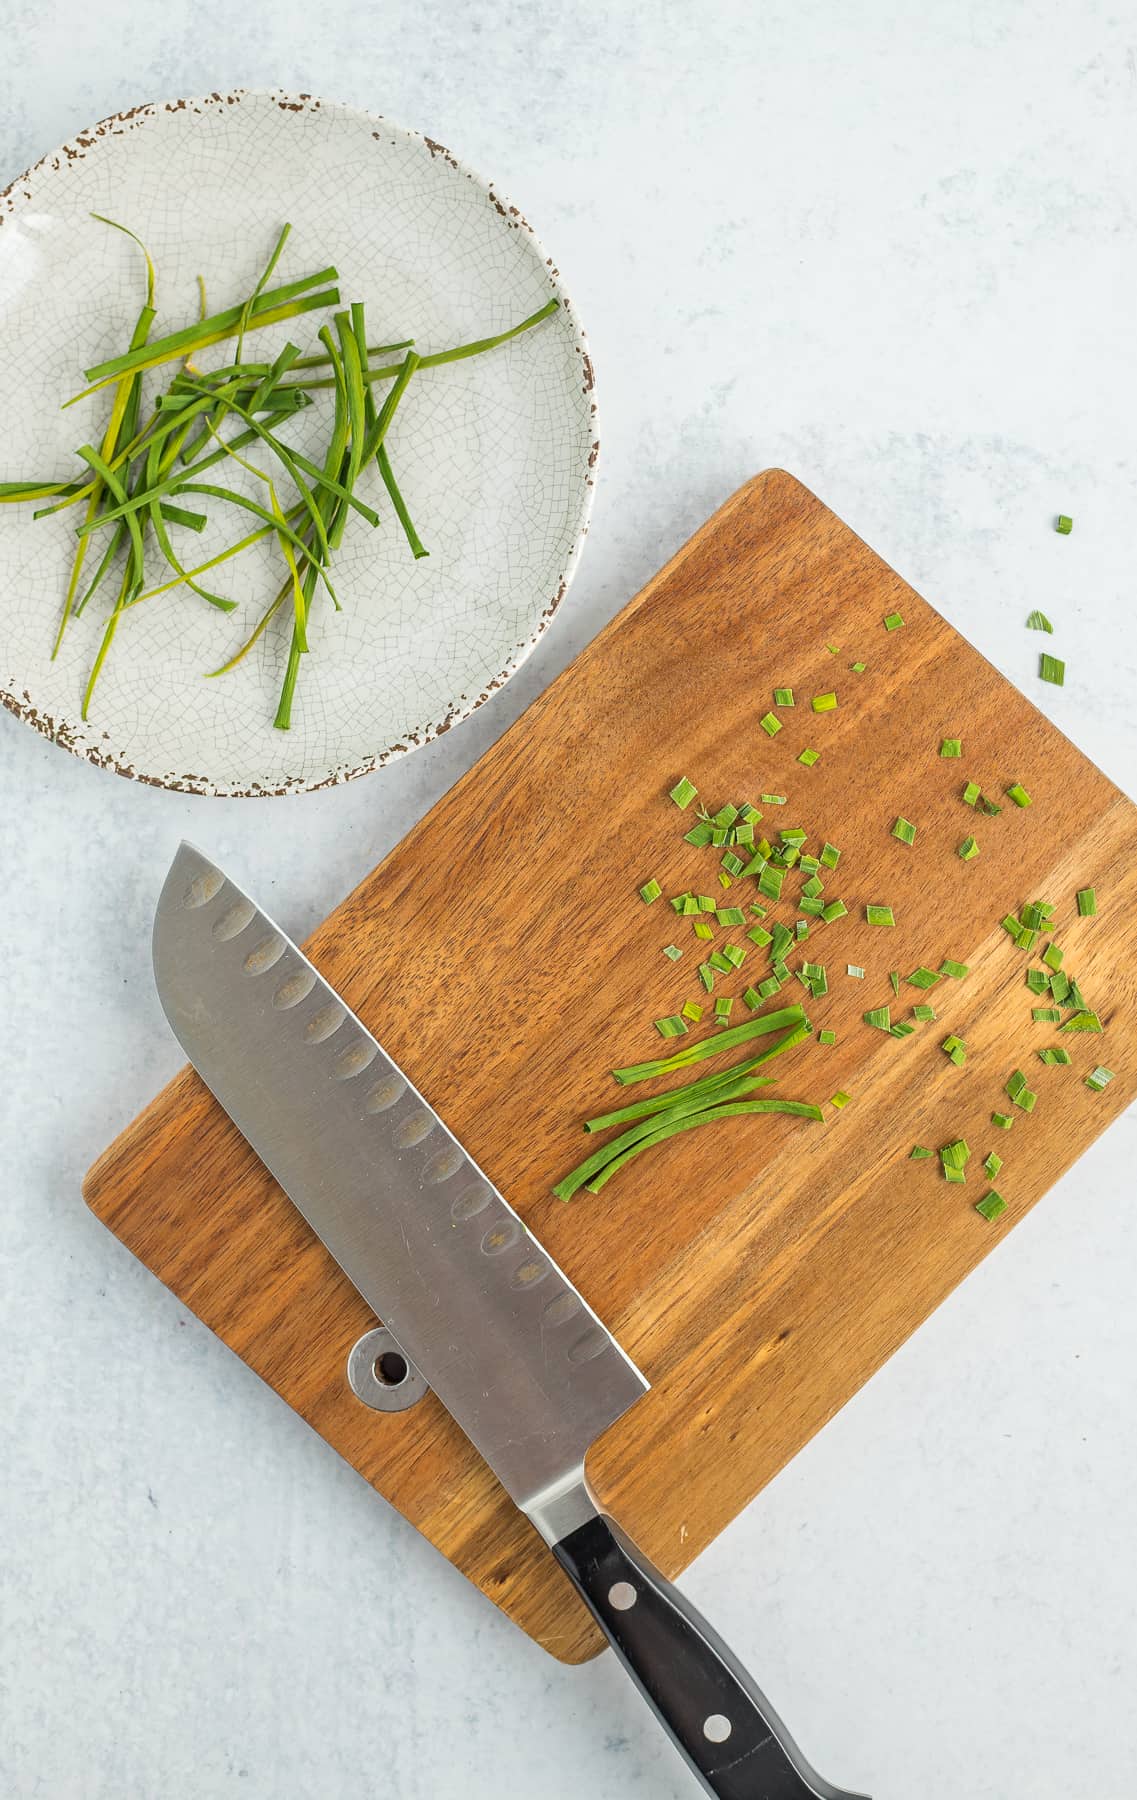
- As a super-busy home cook, I can’t be bothered to stand there, using a knife to chop the dried chives. Those suckers fly EVERYWHERE when you use a knife! Instead, I use kitchen shears positioned over a deep bowl to catch the chives as I cut them.
How to Dry Chives 4 different Ways
Ingredients
- 1 bunch fresh chives
Instructions
How to Dehydrate Chives in a Dehydrator
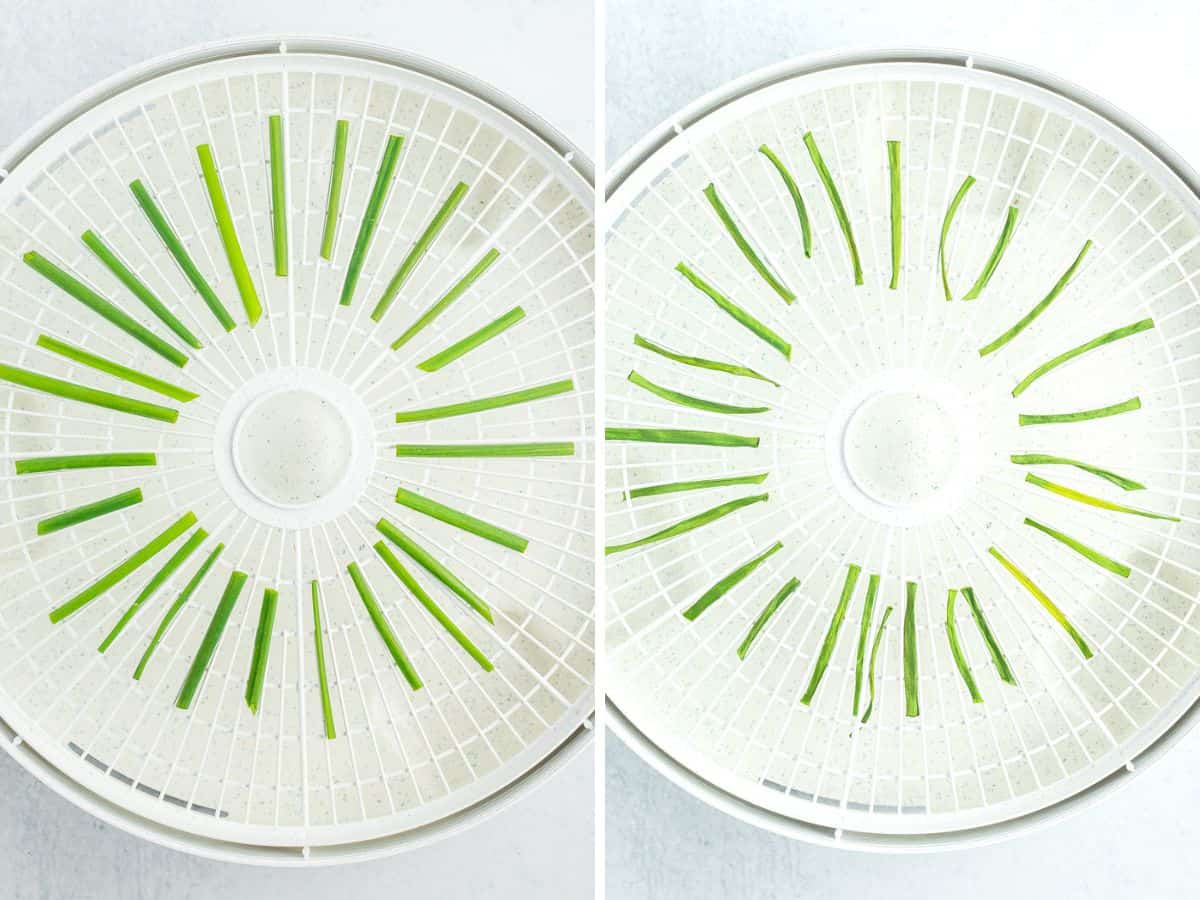
- Rinse the chive stalks/scapes in a bowl of water.1 bunch fresh chives
- Carefully dry stalks in a salad spinner or between layers of a tea towel/flour sack.
- Arrange the stalks on the drying racks so that they aren’t touching.
- Dry chives at 95˚F, rotating the trays every 2-3 hours.
- Chives are ready when stalks are dry to the touch and has the consistency of dried grass (~10-20 hours).
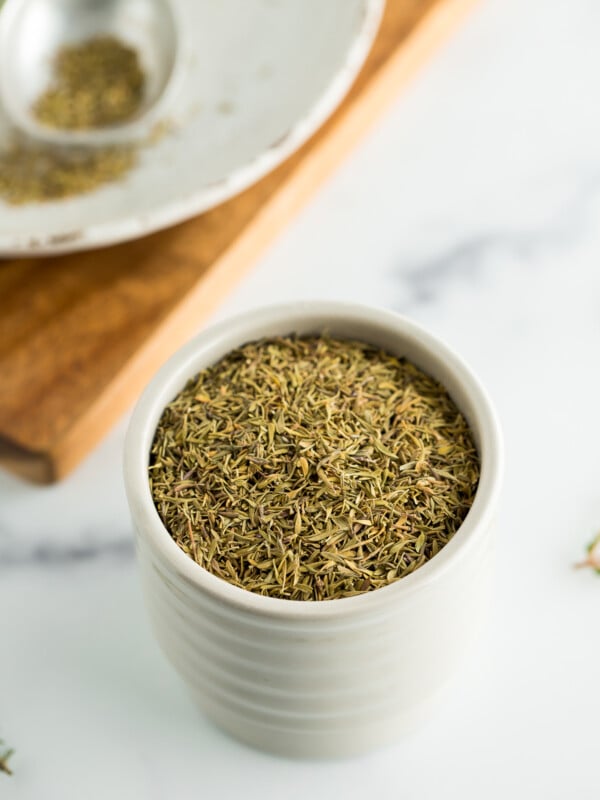
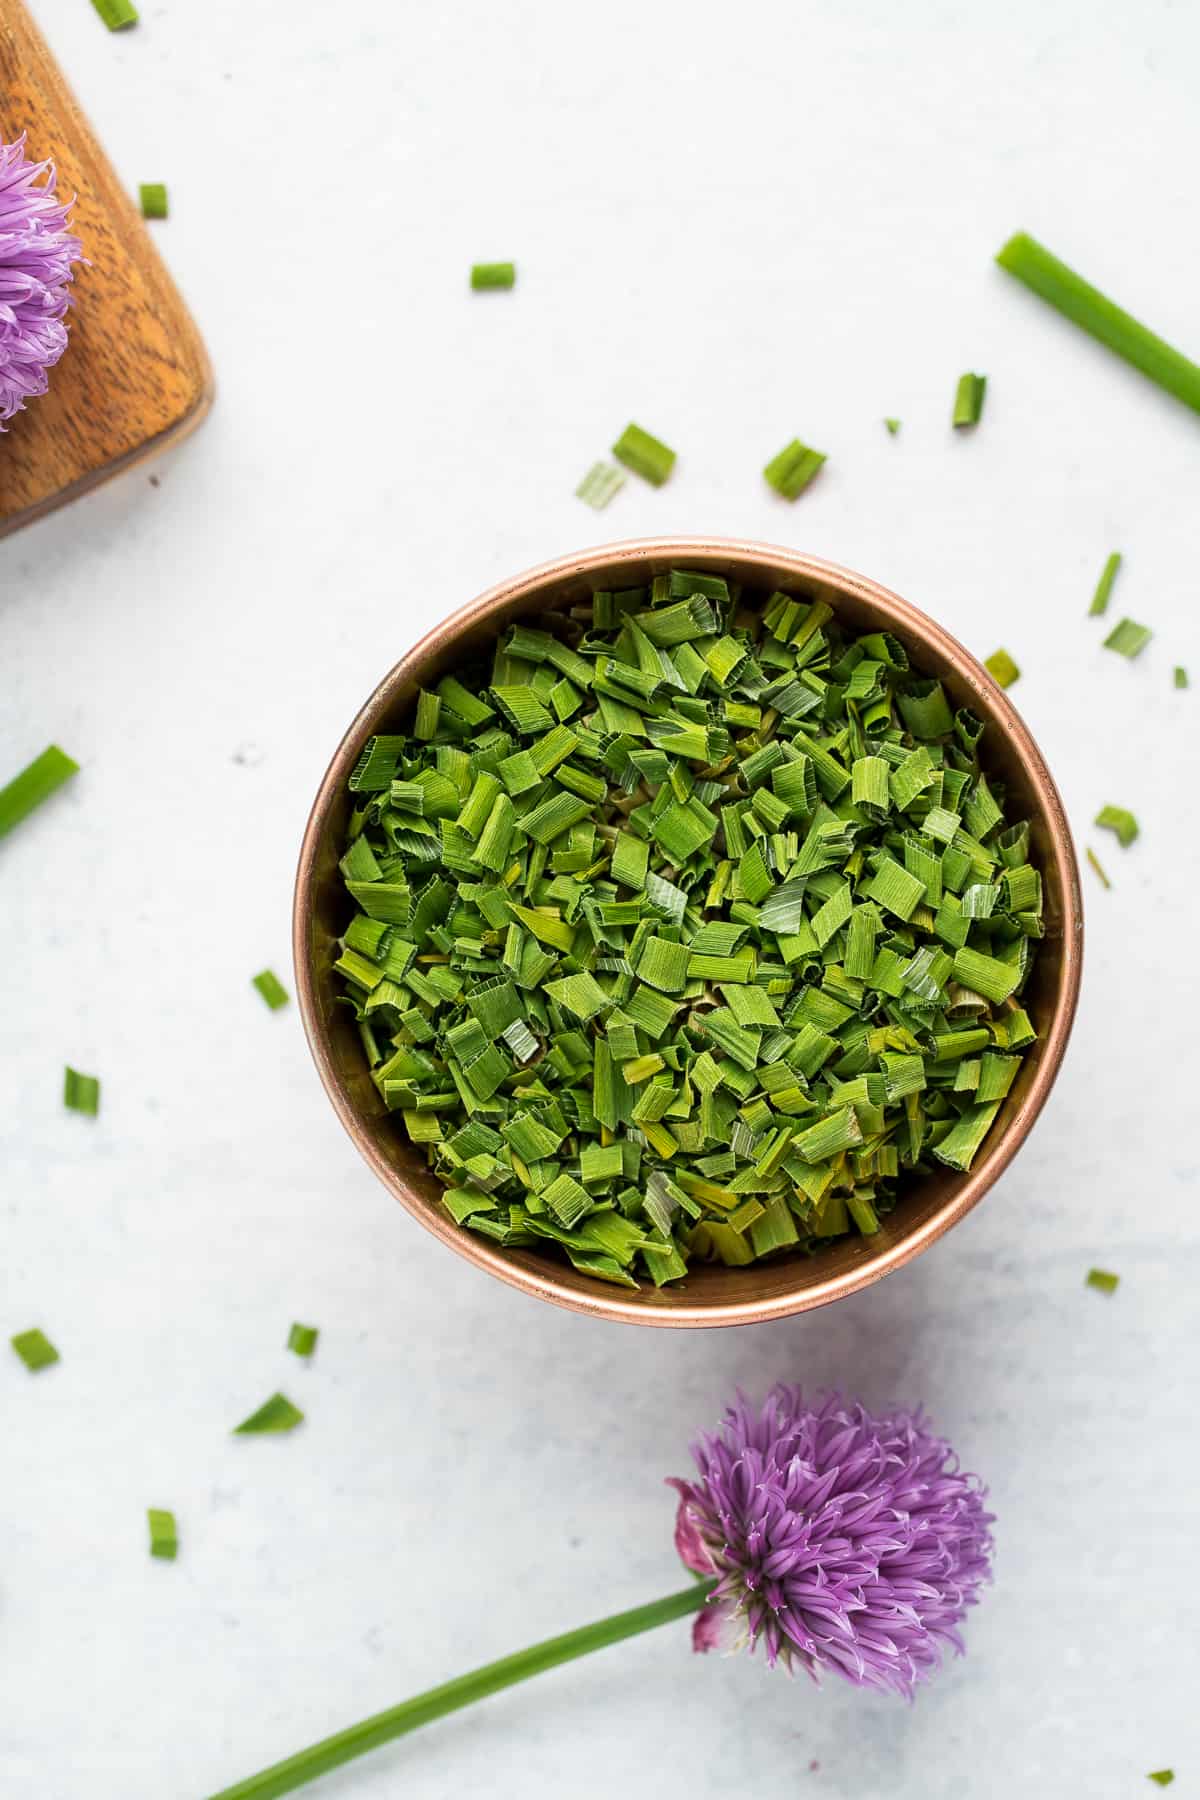
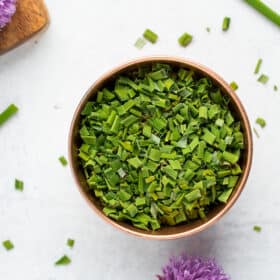
- Once cooled, chop into small pieces with a knife or kitchen shears.
- Allow chive pieces to fully cool before storing in an air-tight container.
How to Dry Chives in the Oven
- Chop clean dried chives into small pieces with a knife or kitchen shears.
- Place chives on baking sheets lined with parchment.
- Place in the oven at the lowest temperature possible (usually 140-170˚F) and prop open the door with the handle of a wooden spoon.
- Check at 30 minutes, agitating the chives to move them around.
- Continue to cook until fully dry, checking every 15-20 minutes.
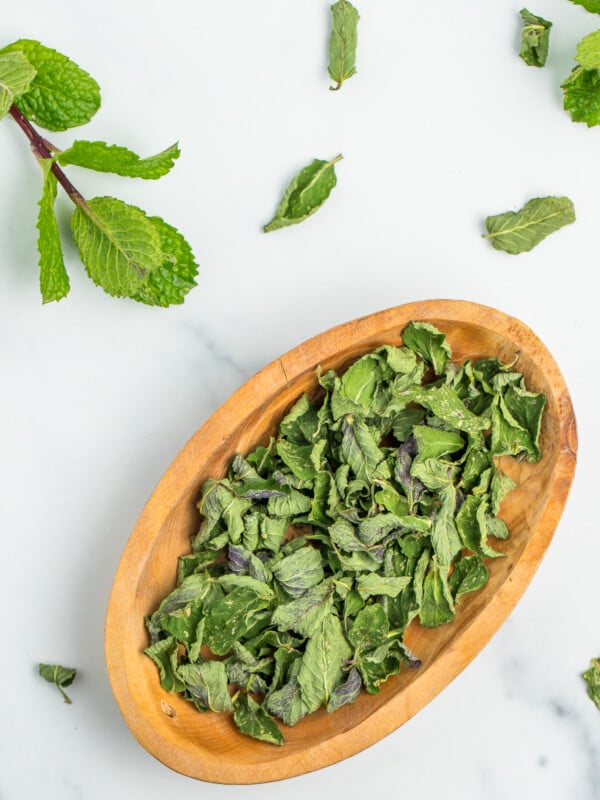
How to Air Dry Chives
- Suspend small amounts of chive stalks in a paper bag with holes punched in it and close the top of the bag with string, yarn, or a rubber band.
- Hang in a place where it can get air circulation.
- Peek in the bag daily. Drying time will vary depending on conditions.
Drying Chives in the Microwave
- Chop clean dried chives into small pieces with a knife or kitchen shears.
- Place chive pieces between two paper towels and microwave on high for 40 seconds.
- Move the pieces around and microwave in 20-second increments until the chives are dried and crunchy (~1.5-2.5 minutes).
- This method only works well in small quantities. Do not try to dry too much at once.
Notes
- Dried chives will last for a year in a cool dry place.
Nutrition
Nutrition information is automatically calculated, so should only be used as an approximation.

Get my Canning e-book!
It’s 51 pages of every helpful tip and trick you could want as a brand new canner, AND it includes 13 ad-free canning recipes that are designed to take you from novice to pro.