As an Amazon Associate, I earn from qualifying purchases.
Freezing corn on the cob is the easiest way to preserve the delicious taste of summer. Learn how to freeze corn on the cob for fast and tasty side dishes that you can enjoy all year long.
Fresh corn is peak summer deliciousness. Perfect on the grill, topped with creamy butter and salt, corn on the cob is a beloved summer tradition.
But it’s also possible to enjoy it all year long when you have a freezer stash full of frozen corn on the cob. Let me show you how easy it is to preserve this tasty treat!
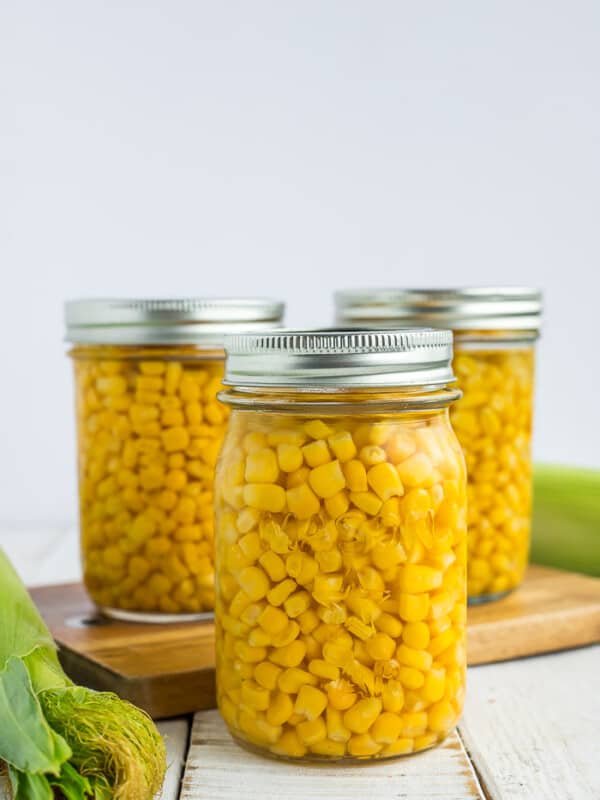
If you end up with more corn than freezer space, try your hand at canning corn, for a shelf-stable preservation method.
Pro Tips/Recipe Notes
- If you don’t fully cool the ears of corn in the ice bath before freezing, your frozen corn on the cob may have an earthy/”cobby” taste when you eat it.
- Prep the ears as you prefer to serve them. If your family prefers entire ears, then freeze them like that. For smaller portions, cut cobs in half BEFORE freezing.
- If the ears have been balanced and are stored in freezer-safe packaging, they’ll be good for 9-12 months. Ears of corn that have not been blanched are best used within 2-4 months.
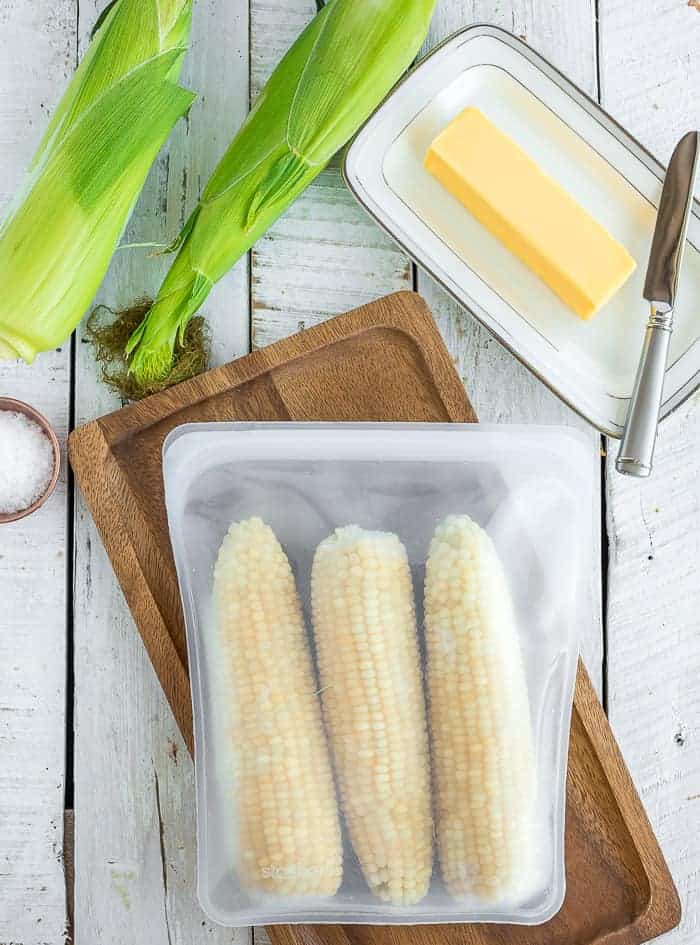
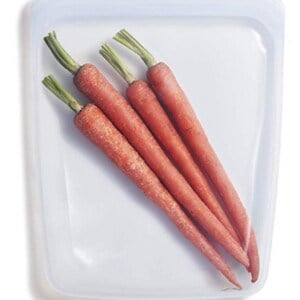
- Frozen corn kernels that have been blanched are good for 6-9 months. We love these reusable silicone bags for storing all our frozen produce.

Get my Canning e-book!
It’s 51 pages of every helpful tip and trick you could want as a brand new canner, AND it includes 13 ad-free canning recipes that are designed to take you from novice to pro.
How to Freeze Corn on the Cob
Equipment
- Clean towel
Ingredients
- whole ears of corn
Instructions
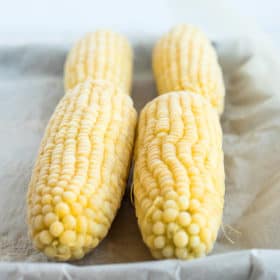
- Husk corn and remove silk. Set ears aside.whole ears of corn
- Fill a large mixing bowl with ice water.
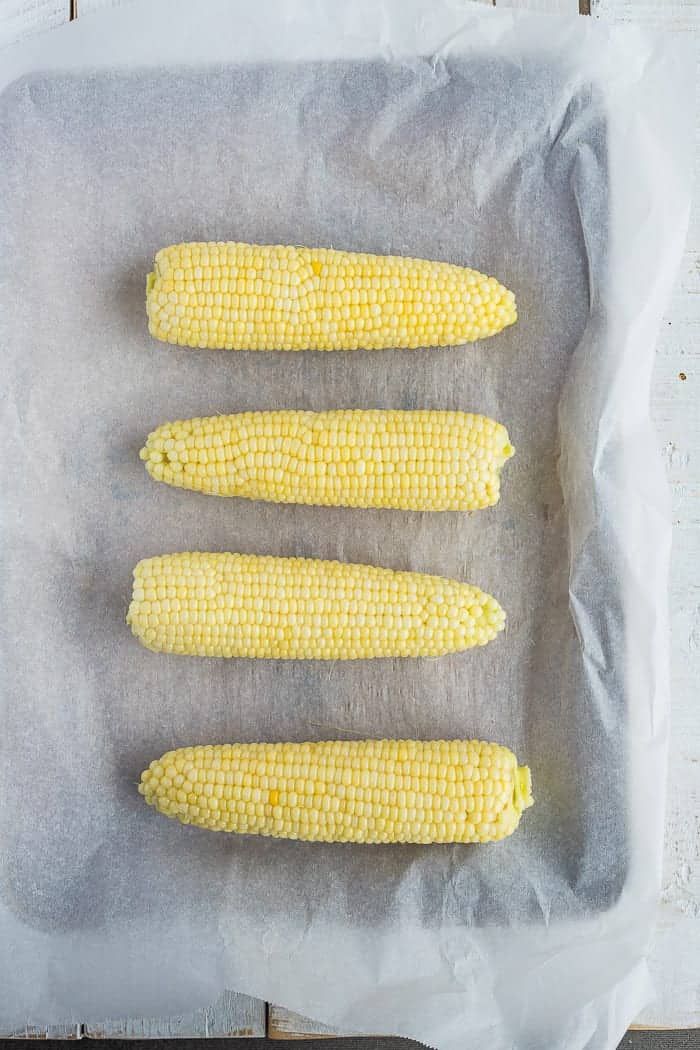
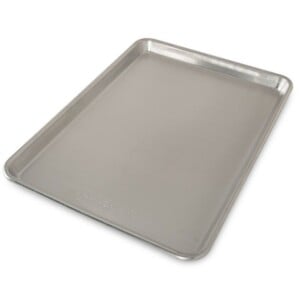
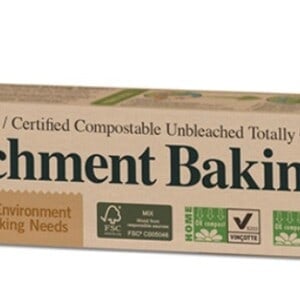
- Lay parchment or a silpat on a rimmed baking sheet.
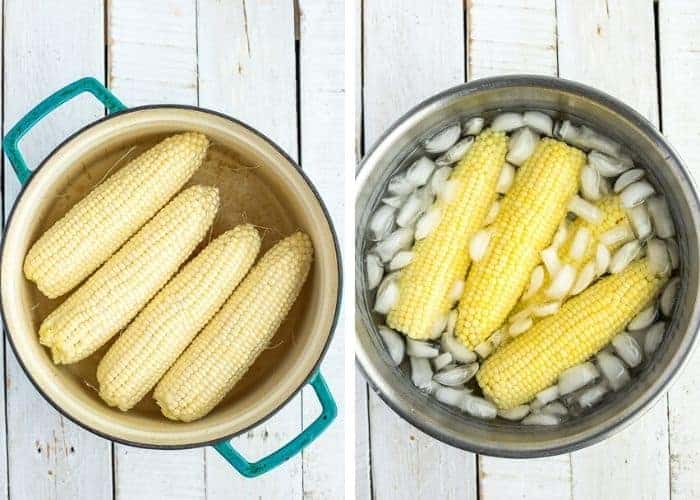
- Fill a large pot 3/4 full with water and bring to a boil.
- Boil corn for 7 minutes for small ears, 9 minutes for medium ears, and 11 minutes for large ears.
- Using tongs, remove ears from the boiling water and immediately place in the ice water. Allow to fully cool.
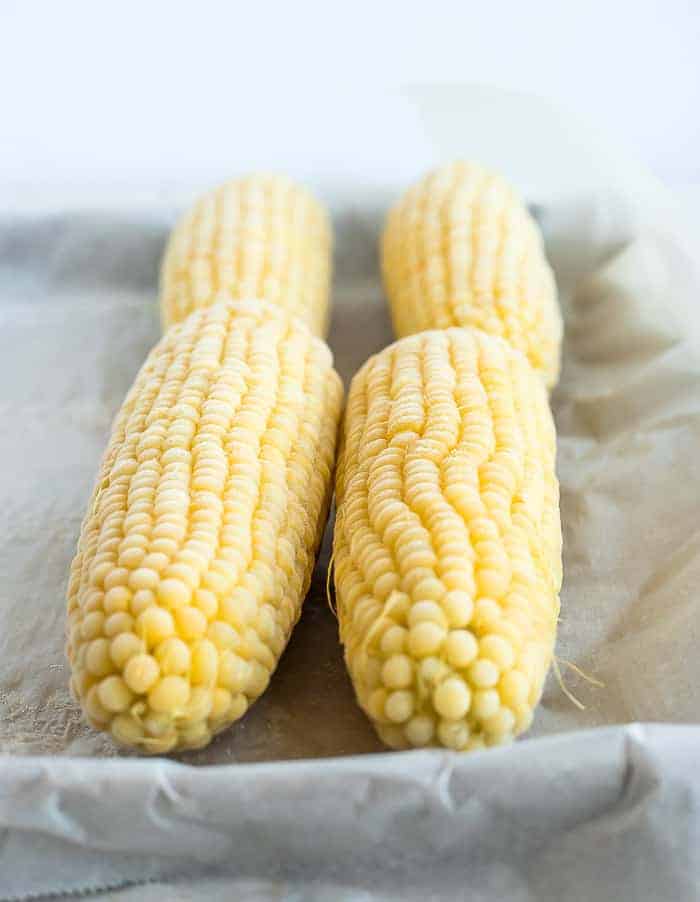
- Remove ears, blot dry with a clean towel.
- Place cooled ears of corn on the baking sheet and freeze for 3 hours.
- Transfer to a freezer bag and store for 9-12 months.
Notes
Nutrition
Nutrition information is automatically calculated, so should only be used as an approximation.


I don’t understand blanching. When I cook fresh corn on the cob for immediate consumption, I never cook it for more than 3 or 4 minutes. More than that makes it mushy. So why would I want to “blanch” it for 11 minutes before freezing, only to cook it even more before consumption?!
We must cook corn very very differently then, Robert. 3-4 minutes would make it still raw in my eyes.
That being said, 11 minutes is what is called for by the National Center for Home Food Preservation for safety.
With husk on instead of paper bag can I place the ears in a vaccine seal bag and freeze?
Dawn, that should work just fine!
Does the corn get soft and mushy when you cook it that long before freezing?
No it doesn’t. It “par-boils” it, which means it cooks it part of the way. The ice bath stops the cooking process before it is fully-cooked. This allows you to reheat it when you’re ready to eat it without it being mushy.