As an Amazon Associate, I earn from qualifying purchases.
Learn all the tips and tricks for how to blanch and freeze green beans to extend the harvest. Learning how to freeze green beans is a great way to preserve this delicious summer veggie.

If you’re the kind of person who wants to enjoy green beans all year long, it’s so quick and easy to preserve this tasty crop in your own freezer.
And I’ll show you how!
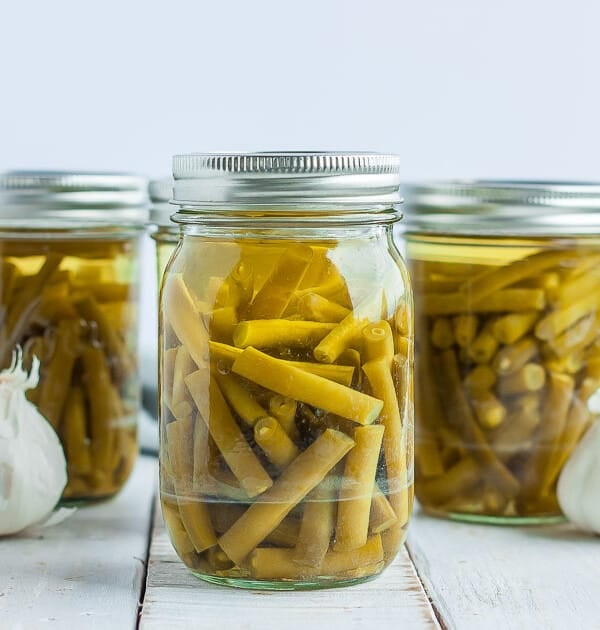
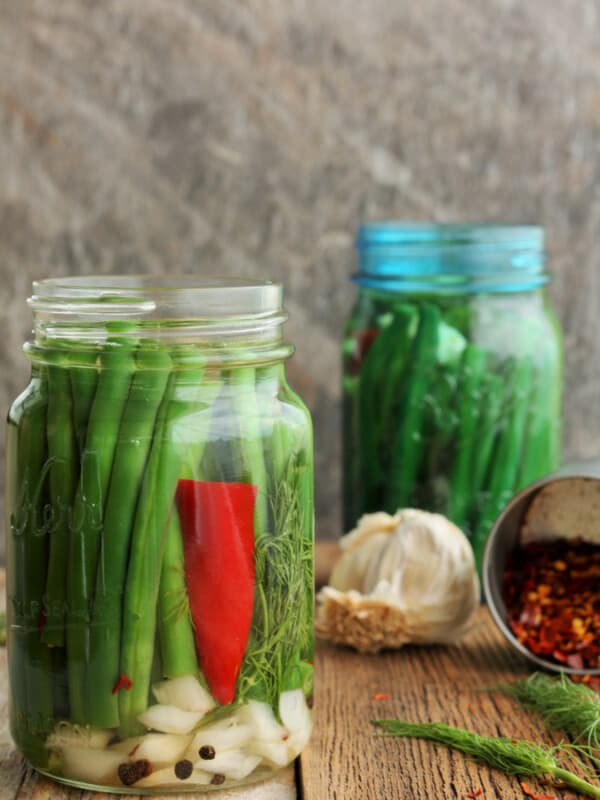
If you have leftover green beans and are running out of freezer space, check out this post about canning green beans for a shelf-stable option or refrigerator dilly beans for a no-can pickled bean recipe.
How To Blanch Green Beans
It is so easy to blanch green beans! Don’t let this step intimidate you at all.
Fill a large bowl full with ice water, and place a clean kitchen towel unfolded and flat on the counter.
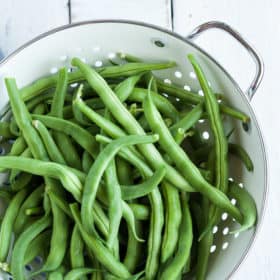
Rinse green beans, and remove the ends. If beans have a string, peel those by pulling them from the stem side down.
Bring a large pot of water to a rolling boil. Add beans to the boiling water and set the timer for 3 minutes. You don’t want to crowd the pot as the beans will cook unevenly.
Once the time is up, strain the beans through a colander or with a slotted spoon, and immediately place them in the bowl of ice water for two minutes. Strain again and set aside to drain.
After a few minutes, gently transfer the beans to the towel and cover with a second clean towel to absorb any additional water.

How To Freeze Green Beans
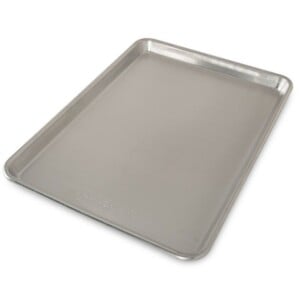
Line a rimmed baking sheet with parchment or a silpat.
Place the beans on the baking sheet in a single layer and place the tray in the freezer. Pro tip: If you have a lot of beans to freeze at once, lay another piece of parchment on top of the green beans and top with an additional layer of beans. Freeze the beans for three hours.
Break apart any clumps that have formed on the baking sheet and transfer the green beans to freezer-proof storage. If you’re using Ziploc-style bags, removing additional air from the bag will keep your beans safe from freezer burn.

Pro Tips/Recipe Notes
- If you store your frozen green beans in silicone storage bags, you can reheat them in the microwave or oven right in the bag!
- If you prefer a softer green bean texture, blanch for 4 minutes instead of 3.
- Think about how you intend to use the green beans once they are thawed. Cutting them into the appropriate sizes before freezing will make your future self really happy.


Get my Canning e-book!
It’s 51 pages of every helpful tip and trick you could want as a brand new canner, AND it includes 13 ad-free canning recipes that are designed to take you from novice to pro.
Blanched Green Beans For Freezing
Equipment
- clean kitchen towels
Ingredients
- green beans
- Ice
Instructions
How to Blanch Beans
- Set up a bowl full of ice water, and place a clean kitchen towel unfolded and flat on the counter.Ice
- Rinse green beans, and remove the ends. If beans have a string, peel those by pulling from the stem side down.green beans
- Bring a large pot of water to a rolling boil.
- Add beans to the boiling water and set the timer for 3 minutes. You don't want to crowd the pot as the beans will cook unevenly.
- Once the time is up, strain the beans through a colander and immediately add to the bowl of ice water for two minutes. Strain again and set aside to drain.
- After a few minutes, gently transfer the beans to the towel and cover with a second clean towel to absorb any additional water.
Freezing Green Beans
- Line a rimmed baking sheet with parchment or a silpat.
- Place the beans on the baking sheet and place the tray in the freezer. Pro tip: If you have a lot of beans to freeze at once, lay another piece of parchment on top of the green beans and top with an additional layer of beans.
- Freeze for three hours.
- Break apart any clumps that have formed on the baking sheet and transfer the green beans to freezer-proof storage.
- If you’re using Ziploc-style bags, removing additional air from the bag will keep your beans safe from freezer burn.
Notes
- You can keep your blanched green beans for four days in the fridge in an air-tight container.
- Frozen beans will last in a conventional freezer for six months. If you have a deep freeze/stand-alone freezer, you’re safe to keep them in there for up to a year.
- If you prefer a softer green bean once cooked, blanch for 4 minutes instead of 3.
- Think about how you intend to use the green beans when they are thawed. Cutting them into the appropriate sizes now will make your future self really happy.
Nutrition
Nutrition information is automatically calculated, so should only be used as an approximation.


This is always a question I have, which I think everyone who preserves food has. The water is boiling, you add the vegetables, the water is no longer boiling. Do you wait for the water returns to a boil before starting the prescribed time, or do you assume that the water is still hot enough to do the job? I try to use at least a 4:1 ratio of water: vegetable so that the temperature change isn’t enough to completely halt boiling, but it is not always possible.
Hi Myles, for blanching, you can start the timer as soon as you add the vegetables. The water will be hot enough to do the job it needs to do.
If you are canning, the water IN THE CANNER must return to a full rolling boil before starting your timer.
If I ever have an abundance of fruits or vegetables, I immediately come to your blog to find out how to freeze them. You have been a lifesaver…and food-saver. ????????
Awwww, always happy to help, Mary!