As an Amazon Associate, I earn from qualifying purchases.
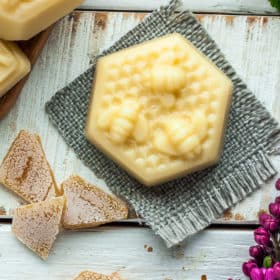
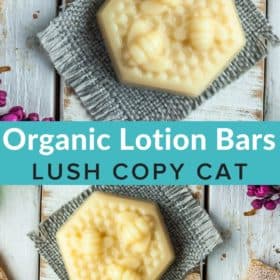

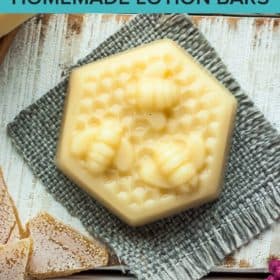
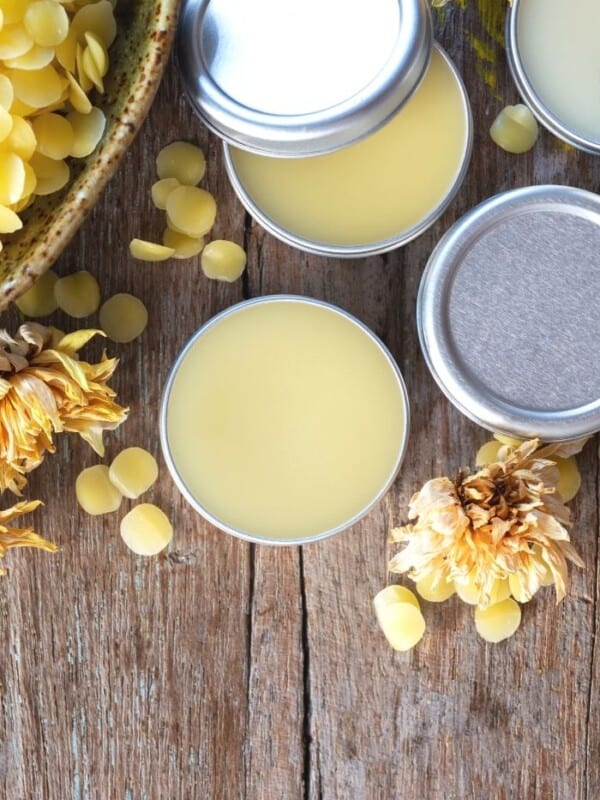
This three-ingredient Lotion Bar Recipe makes incredible and moisturizing DIY lotion bars. They are so easy to make and can be prepared in only 10 minutes!

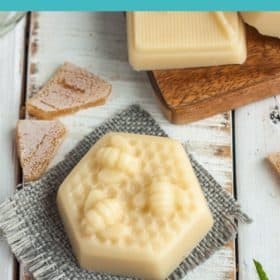
These homemade lotion bars will make you feel like you’re at a fancy spa. But instead of spending tons of money, you can make them in your own kitchen in about 15 minutes.
What Are Hard Lotion Bars?
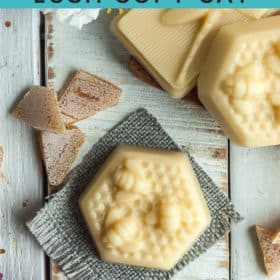
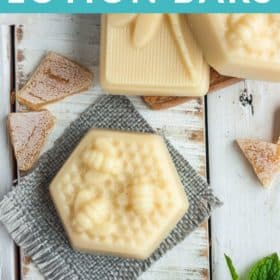
Ohhh, my friend, you haven’t lived until you have used a hard lotion bar. It looks like a bar of soap but contains ingredients that are nourishing and moisturizing to your skin.
It is not soap so you wouldn’t bring it into the shower or bath, but you can put it on right after showering.
How Do You Use a Hard Lotion Bar?
The best part is how easy they are to use and store! You simply rub the lotion bar on your skin until the heat from your skin warms the bar up and releases the moisturizer.
How Do You Store Them?
Anything air-tight will work. Old mint tins, squat mason jars, or even a ziploc bag will work. Coconut oil is liquid at 76 degrees F or above, so keep them out of direct sunlight and in a cool dry place for best results. You can also gift it to someone in a pretty homemade DIY fabric gift bag.
How Long Do Lotion Bars Last?
If stored properly (see above) they should last for five-plus years. The lotion bar may develop a harder coating from the wax but they are still perfectly safe to use.
Helpful Lotion Bar Recipe Supply List
- Coconut oil
- Double-boiler
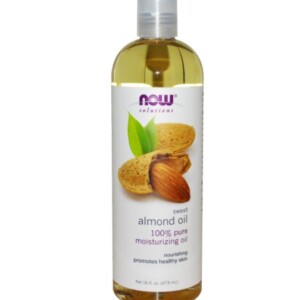
- Sweet Almond Oil
- Cosmetics-grade beeswax
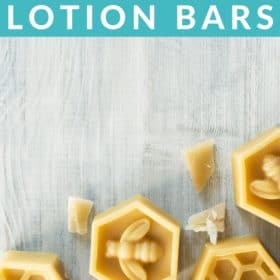
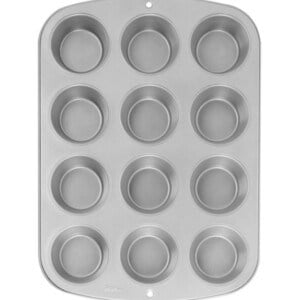
- Silicone baking mold
- Or a cutesy soap mold like thisor this.
- An old spoon that you can dedicate to just use with beeswax
Many of these same ingredients and supplies can be used in our Homemade Chapstick recipe and Natural Homemade Deodorant.

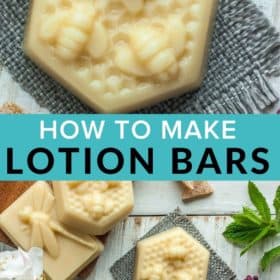
How to Make This Lotion Bar Recipe – Step by Step
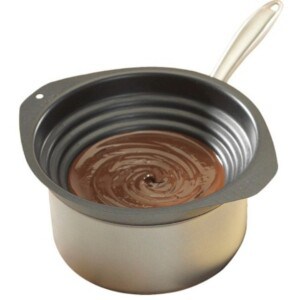
- Place 2 cups of water in a medium-sized pan fitted with a double boiler. Place beeswax in the double boiler and allow it to fully melt.
- Add the coconut oil and sweet almond oil, and stir gently until the coconut oil is melted.
- Using an oven mitt, remove the double boiler from the pan and wipe the water off of the bottom of the boiler. Pour the melted mixture into your molds, and allow it to set for a few hours, or overnight.
Pro Tips/Recipe Notes
- Having a double-boiled dedicated to just wax crafts means you don’t have to spend a ton of time cleaning it in-between recipes. You could also use a mason jar in a pot of simmering water.
- Vegans can use carnauba wax in lieu of beeswax.
- If you have a coconut allergy you can sub in shea butter.
- If you have a nut allergy you can sub in olive or avocado oil for the sweet almond.
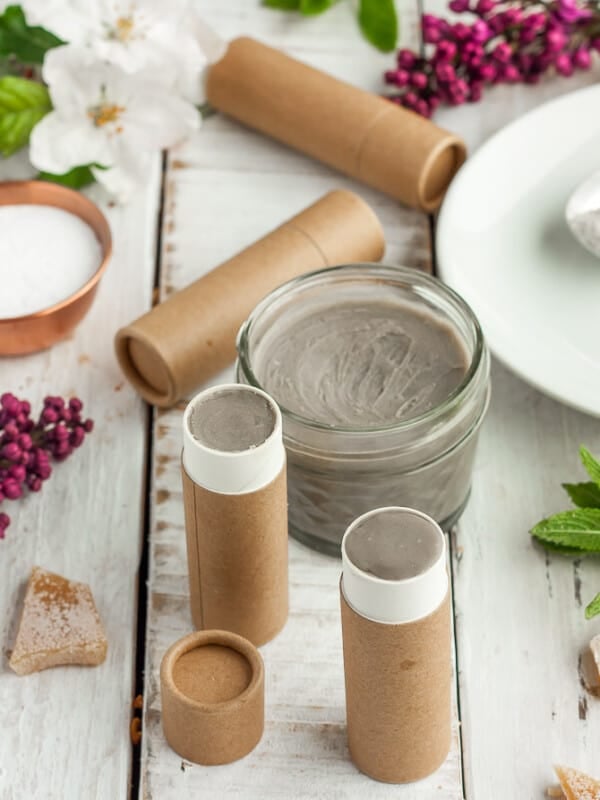
- Using an empty deodorant tube makes it super easy to apply this lotion bar recipe and makes it kid-friendly for them to apply themselves.
Variations
Want a scented lotion bar? Add 10-15 drops of your favorite essential oils in step 2 with the sweet almond oil. Please note, I don’t sell essential oils or anything but I do use them myself around the house.
- Lavender is a calming scent that many people love, but not great for males to use long-term.
- Bergamot is great for when you want to chill out.
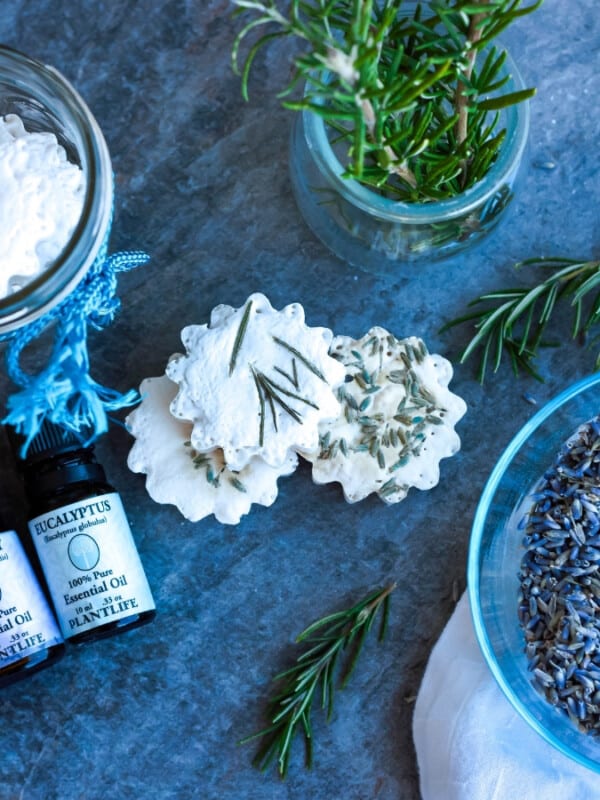
- A mixture of peppermint and eucalyptus smells clean and can be very energizing.
- You could even add a sleepy blend of oils (this is the one I use) for a night-time lotion bar recipe.
- Want something that smells like the holidays? Try a holiday seasonal blend.
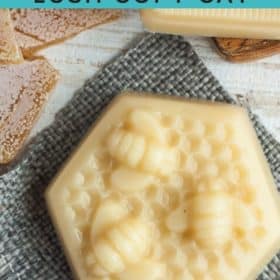
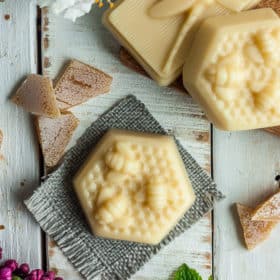
These bars smell so clean and natural even without essential oils, and they work amazingly well. They have become one of my most requested handmade holiday gifts from friends and family.

Lotion Bar Recipe {Homemade Hard Lotion Bar}
Ingredients
- 1 part beeswax (melted)
- 1 part sweet almond oil
- 1 part coconut oil (melted)
Instructions
- Note: by "equal parts" for the ingredients, it would mean you use the same measurements of all the ingredients. Let's say you want to use 1/3 cup of beeswax, you'd then want to use 1/3 cup of the almond oil and the coconut oil. This allows you to use scale the recipe up to your preferred amount for your molds.
- Place 2 cups of water in a medium-sized pan fitted with a double boiler. Place beeswax in the double boiler and allow it to fully melt.
- Add the coconut oil and sweet almond oil, and stir gently (with a spoon dedicated solely to beeswax crafts) until the coconut oil is melted.
- Using an oven mitt, remove the double boiler from the pan and wipe the water off of the bottom of the boiler. Pour the melted mixture into your molds, and allow to set for a few hours, or overnight.
Notes


Can I use a mason jar instead of a double boiler, I’m worried about the cleanup of the beeswax from the pots, I don’t want to ruin anything. Or is cleanup not as bad as it sounds?
I don’t see why not! Mason jars are so cheap and if it doesn’t work out, you’re out less than $1. I now have a dedicated double boiler just for wax crafts, but a mason jar would be great.
Made these beauties today…absolutely love it!! My husband has terrible psoriasis- he is about to be my case study!!
Thank you for sharing, I will be attempting a few of your recipes as soon as my essential oils come in!
Ps- Hobby Lobby has a 1 lb beeswax bar for $10.99, today I was able to use a 50% off coupon from their website!!! I found the bar very difficult to cut though.
I have made these twice before. I find they keep best if kept in the fridge. The last batch I made I added a little peppermint essential oil and absolutely loved it even more! I am going to prepare some as part of gift baskets this Christmas for the gals I work with and my kid’s teachers!
I am like you, I am on a budget, but I enjoy crafts. I am going to make these tomorrow, I can’t wait. Thanks,
Happy Thanksgiving,
Rosie
I get that you use equal parts of each mixture
1 cup/part beeswax
1 cup/part almond oil
1 cup/part coconut oil
but is that 1 cup/part melted (liquid) wax or 1 cup/part soild wax
because 1 cup of solid wax does NOT melt into 1 cup of liquid wax.
Or could you just use a 1/4 wax, and once you melt it use the amount of wax liquid to determine how much of every other part to use? Because it seems to me that measuring 1 cup of solid wax would be difficult to get exact in a measuring cup.
Sorry for being so technical I am just trying to figure out how many oz. solid wax does it take to make 1 cup ( 8 fluid oz.) of melted wax so that I could determine the yield of bars per 1 solid pound of wax.
:)))
I have just been making lotion bars for the first time, and going by instructions found on many various blogs (lotion bars sure are popular DIY items!) I weighed ingredients unmelted.
I am using a small inexpensive kitchen scale with glass ramekins to weigh each part of the recipe. Put the glass dish on the scale, zero it, and start adding your ingredients. So long as each category of ingredient weighs the same, it should work out.
If you were to use 2 oz. of wax, then weigh another dish with a total of 2 oz. of butters, and another dish with 2 oz. of oils. I’m combining different waxes and butters, but keeping the ratio of 1-1-1 for the wax-oil-butter.
You will find that if you use soy wax instead of beeswax, you have softer bars, so you might use harder butters (cocoa or shorea) or more coconut oil (solid at room temp) than other oils that stay liquid.
What you choose to use will affect the softness/hardness and meltability of your bars. I’ve used soy wax so far, because I had that already, and it’s lovely, but be aware that it’s much softer. You could almost just pour the melted ingredients into containers and call it balm! I will definitely get beeswax to use once my soy wax is used up. I’m not sure that softer bars will be a good idea here in the south, where they might just melt being in a purse or pocket.
Hope that helps!
This looked like such a cool item to make for Christmas gifts, so I had bookmarked the page. Over the past weekend I scored 2.5 pounds of raw beeswax from a local beekeeper, so I just had to try the lotion bars. I used beeswax, olive oil, coconut oil, and a little lavender essential oil. I’m so NOT Martha Stewart, so all I have are disposable aluminum muffin tins and cupcake papers. The bars turned out great and the ridges from the cupcake papers make them look a little fancy. LOL I clean house professionally on a part time basis, and I am so going to be keeping one of these in my bag for my hands, not to mention that a whole bunch of my friends are getting some for Christmas. 🙂
Did you have a problem with them popping out of the muffin cups? Just curious before I buy them or a silicone mold! 🙂
Sarah, how do you package them for gifts? Do they melt too easily? (I would like to make them for gifts, but I am in CA so it is warm even in December sometimes).
I put them in little ziplocs (from JoAnn fabrics) and they do not melt quickly. They need the heat from hands to even be used, and I’ve left them in my purse for months, and they’re a-ok!
So I found this post in Pinterest yesterday when I was out of town and wanted to try it so bad. So when I got back home tonight I ran to the closest store and bought some overpriced beeswax and almond oil. It was a bit of an impulse buy but I just had to make them and see if they actually worked! I just finished and used one of my cupcake silicone.molds so it’s a big larger of a bar but I used the little droplets of the mixture that dropped in the pan on my hands and they are already so much softer! I took one out after about 2 hours because I was two impatient but it turned out beautiful! Thank you so so so so so much for posting this!! Next up is the vapor disks for my sinuses and allergies! 🙂
I have a bee in my bonnet to try these in lip balm tubes for portability.
I’ve arrive straight from pinterest.
thanks.SO.much. for this post!