As an Amazon Associate, I earn from qualifying purchases.


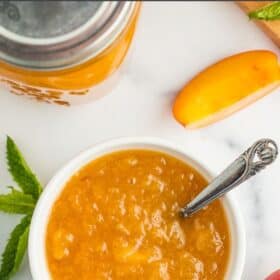
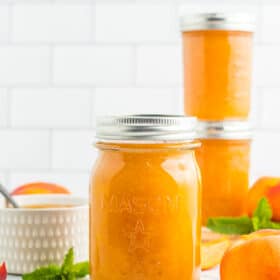
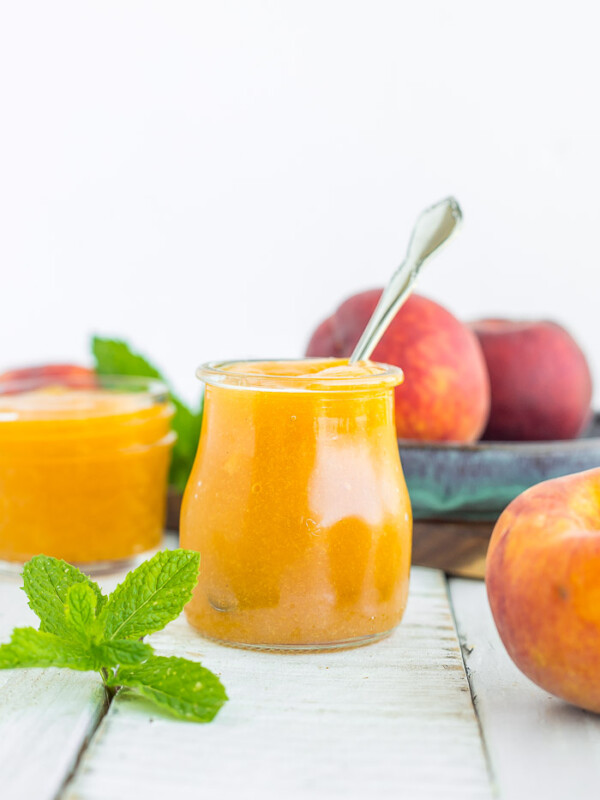
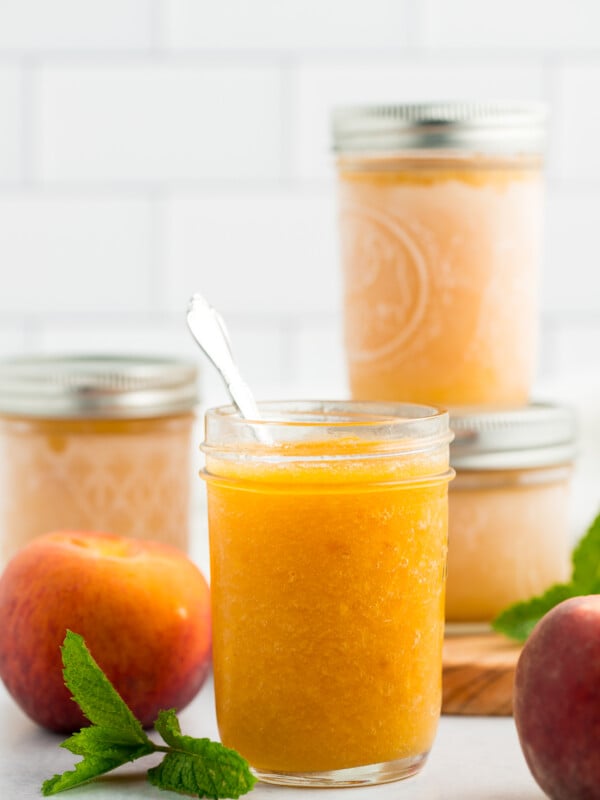
Homemade Peach Preserves is a delicious spread for toast, yogurt, or dessert recipes. Made without pectin and lower in sugar than traditional recipes, this recipe can be frozen or canned in a water bath canner.
Peaches are the stars of the summer fruit, and peach preserves are an absolutely delicious way to enjoy them all year long. Made with or without pectin, you’re going to love this tasty spread.
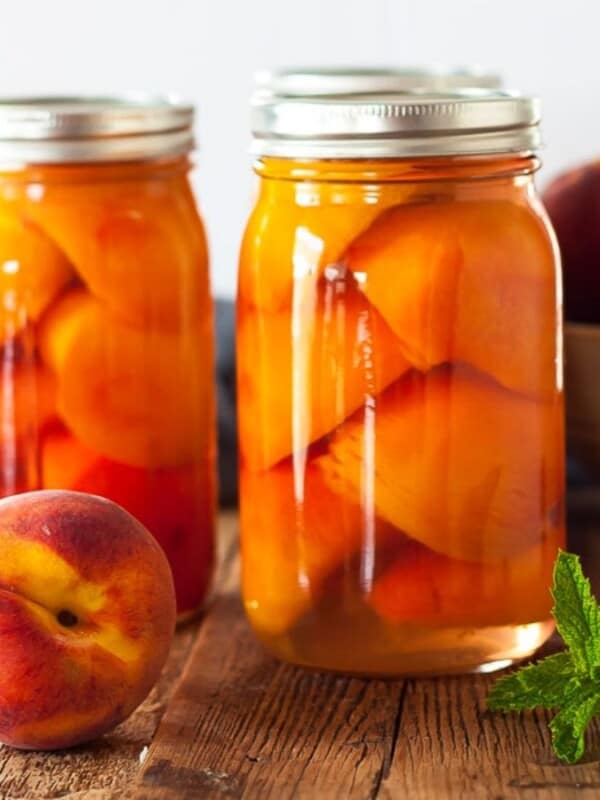
If you’re looking for more peach recipes, check out our tutorials on canning peaches and homemade peach ice cream.

How to Make Peach Preserves
*I’ll walk you through it here with some photos and tips, and you’ll also find a printable recipe card at the bottom of the post with exact measurements, etc. You can also click “jump to recipe” to skip down.
This recipe is broken down into three parts – 1) peeling the peaches 2) making the peach preserves and 3) canning the preserves. If canning is not for you, don’t worry, I’ll walk you through alternative storage methods later in the post.
How to Peel Peaches
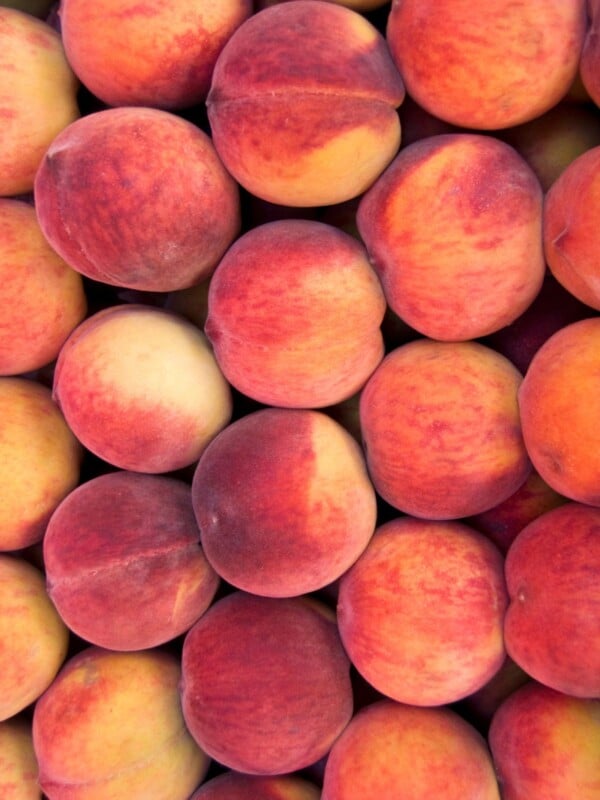
Choose fresh, ripe peaches that are heavy for their weight. They should have a slight give when you gently press a thumb into the area around the stem.
Peaches come in two main varieties – cling and freestone.
Freestone – when cut in half, the peach will separate easily from the pit. These make cutting so much easier!
Cling – the peach flesh will “cling” to the pit, making it very challenging to cut them in half. But don’t worry, they’re easy to cut once you learn the shortcuts.
For help with tackling the task of working with the cling variety, check out this post on How to Cut a Peach.
Wash your fruit. I just run them underwater and rub my hands on them to give the outside a scrub.
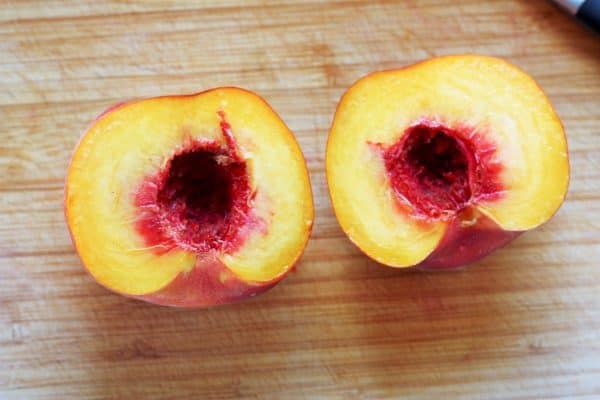
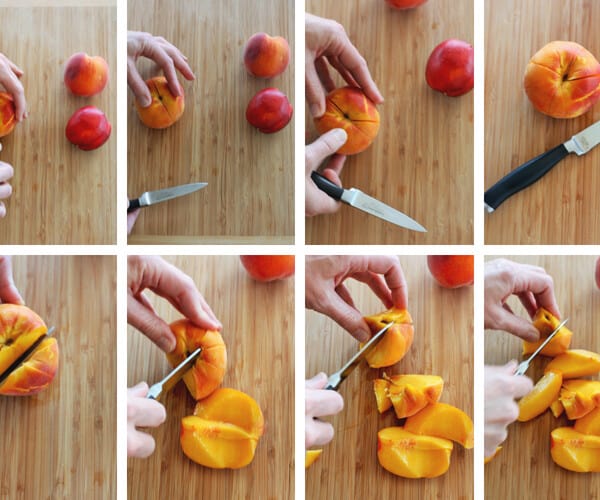
Use a paring knife and cut the peach around the middle to separate it.
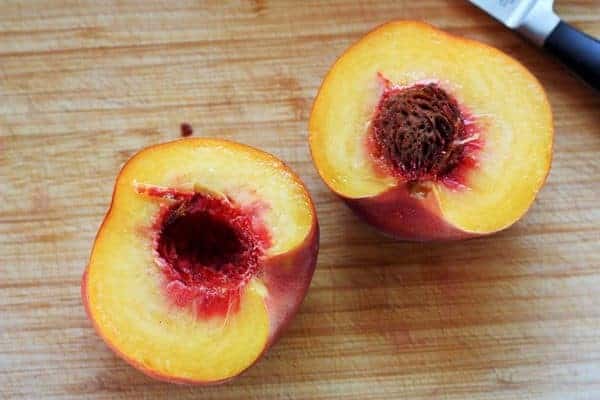
Remove the pit. Put the halves in a large bowl of water treated with lemon juice or citric acid.
Add one layer of peaches at a time to a pot of boiling water for about 60 seconds. Once you can see the skin starting to come away from the flesh, it’s time to take them out.
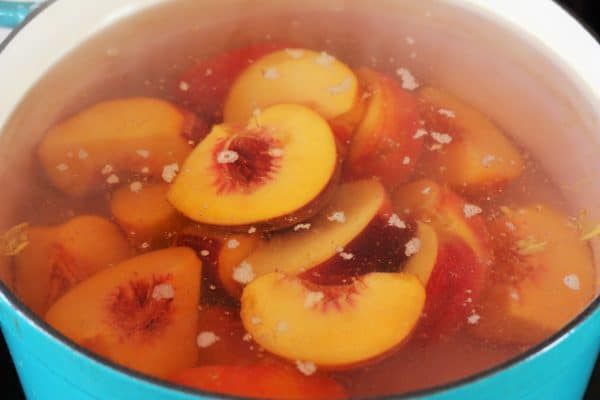
Remove using a slotted spoon and place in an ice bath for 1 minute.
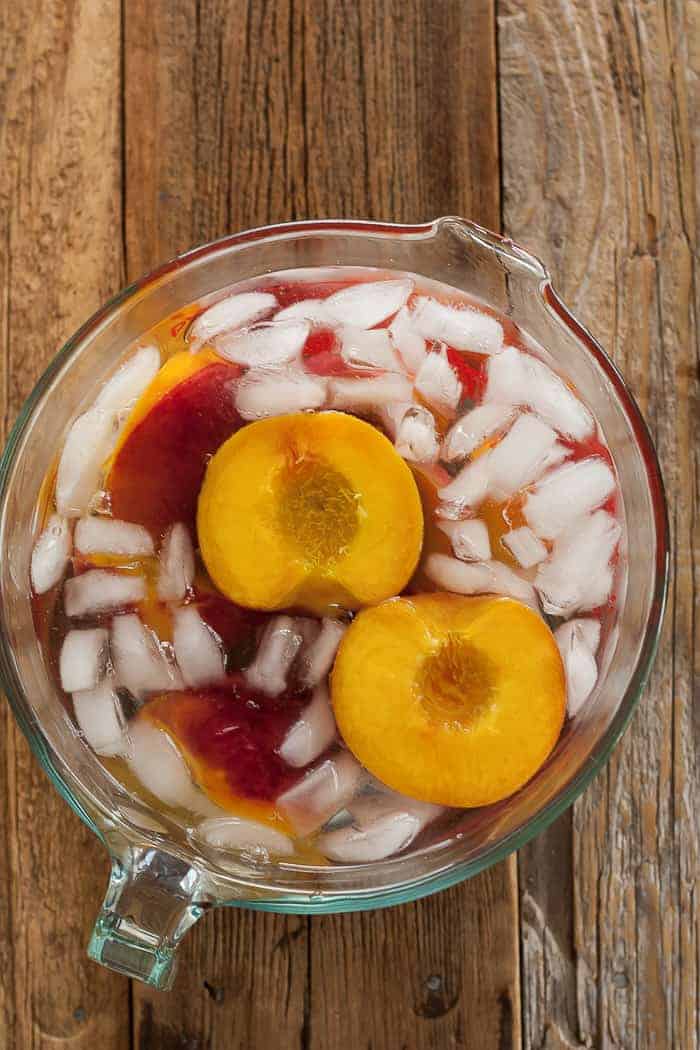
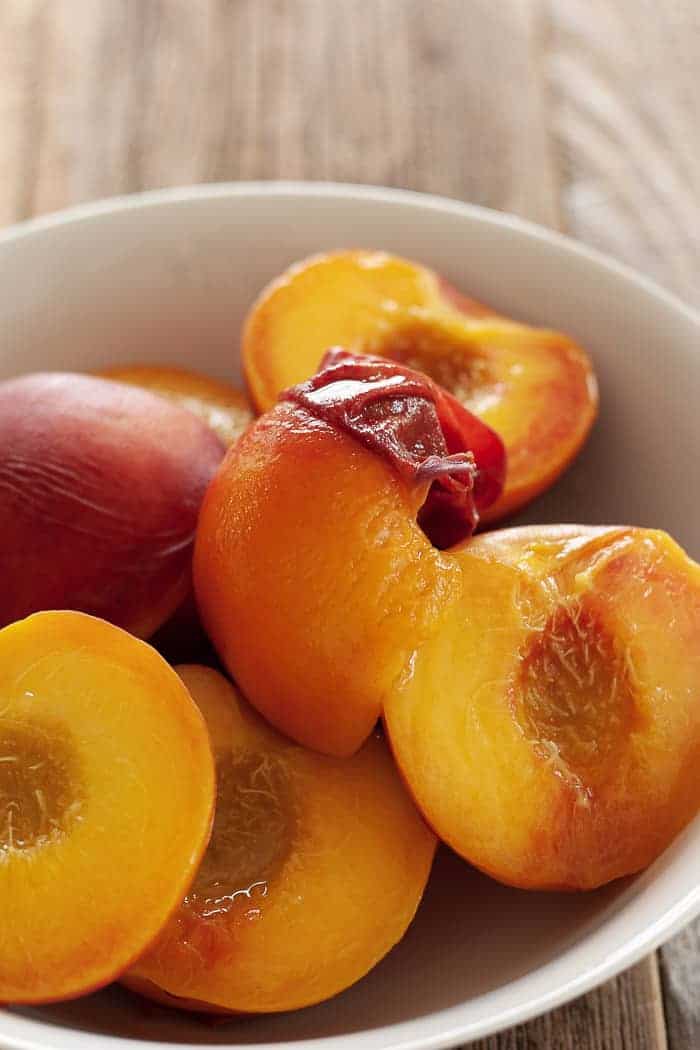
Use the slotted spoon to remove the peaches from the ice bath. Grab one and gently peel the skin back.
Making Peach Preserves
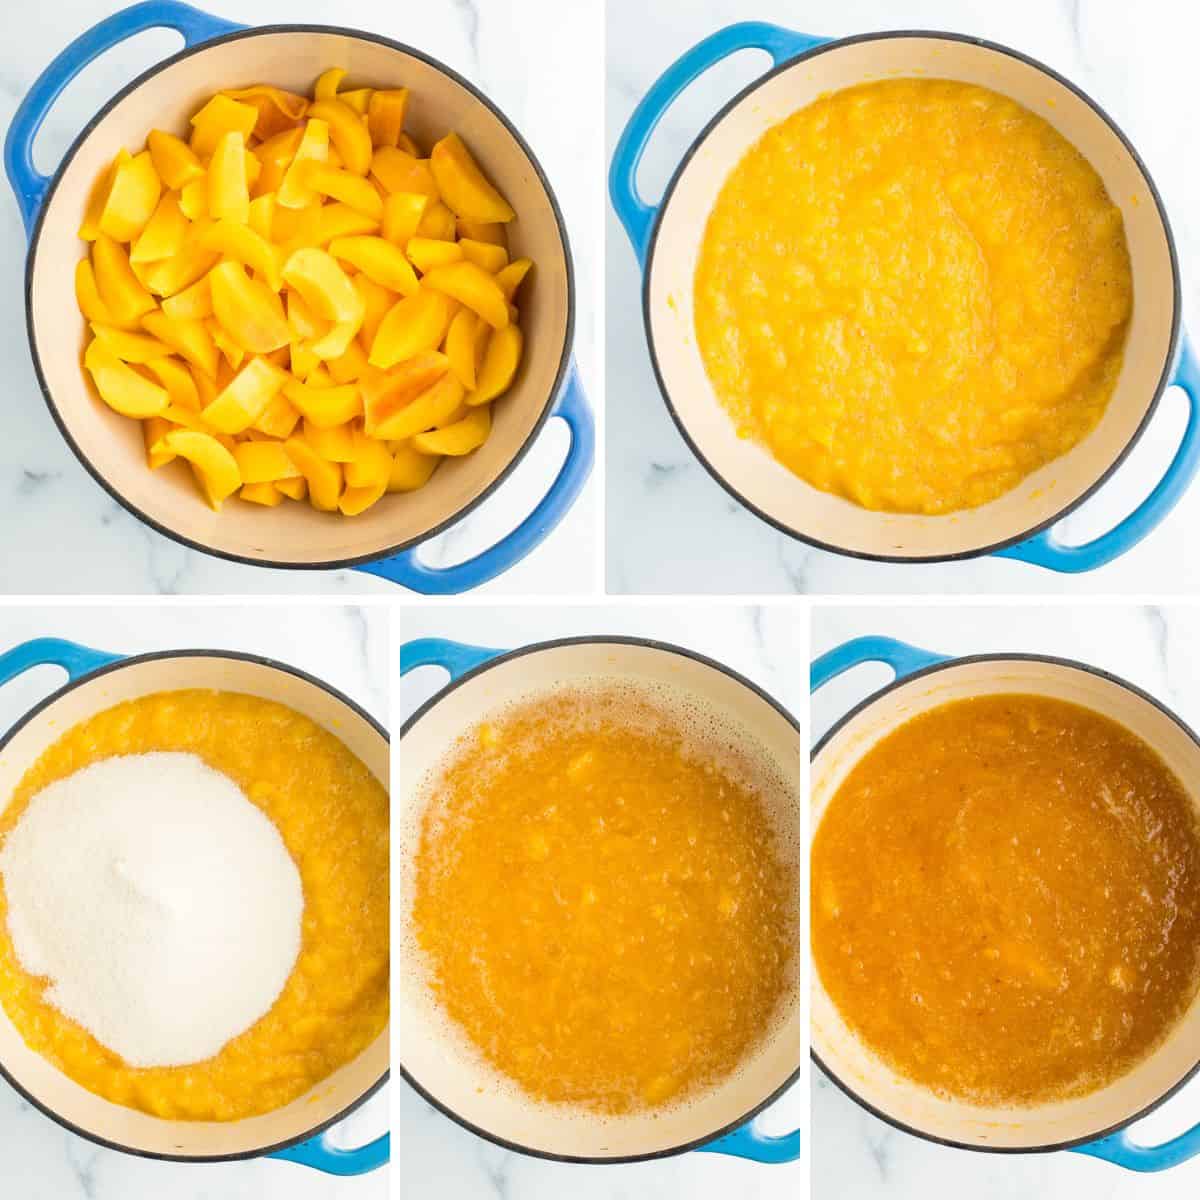
Slice the peeled peaches or roughly chop them. Place the peaches in a heavy-bottomed pot (I used my enameled dutch oven) and cook them over medium heat until they have softened. This could take 15-25 minutes, depending on the ripeness of your peaches.
Once the peaches have softened, gently mash them using a potato masher, wooden spoon, or pastry cutter. I use this tool kitchen tool called a meat masher.
When mashing the peaches, I aim for mostly chopped with a few visible chunks remaining. But here is why home cooking rules – you get to choose the final texture of the product!
Once the peaches are mashed to your preference, add the sugar, and increase the stove temperature to medium-high. Bring the peaches to a low boil, stirring constantly for two minutes. Adjust the temperature as needed to keep the preserves from popping or boiling over.
Reduce the heat to a simmer, and cook the preserves down, stirring often, for 10-15 minutes or until the mixture has thickened and the volume has been reduced by about 20-30%.
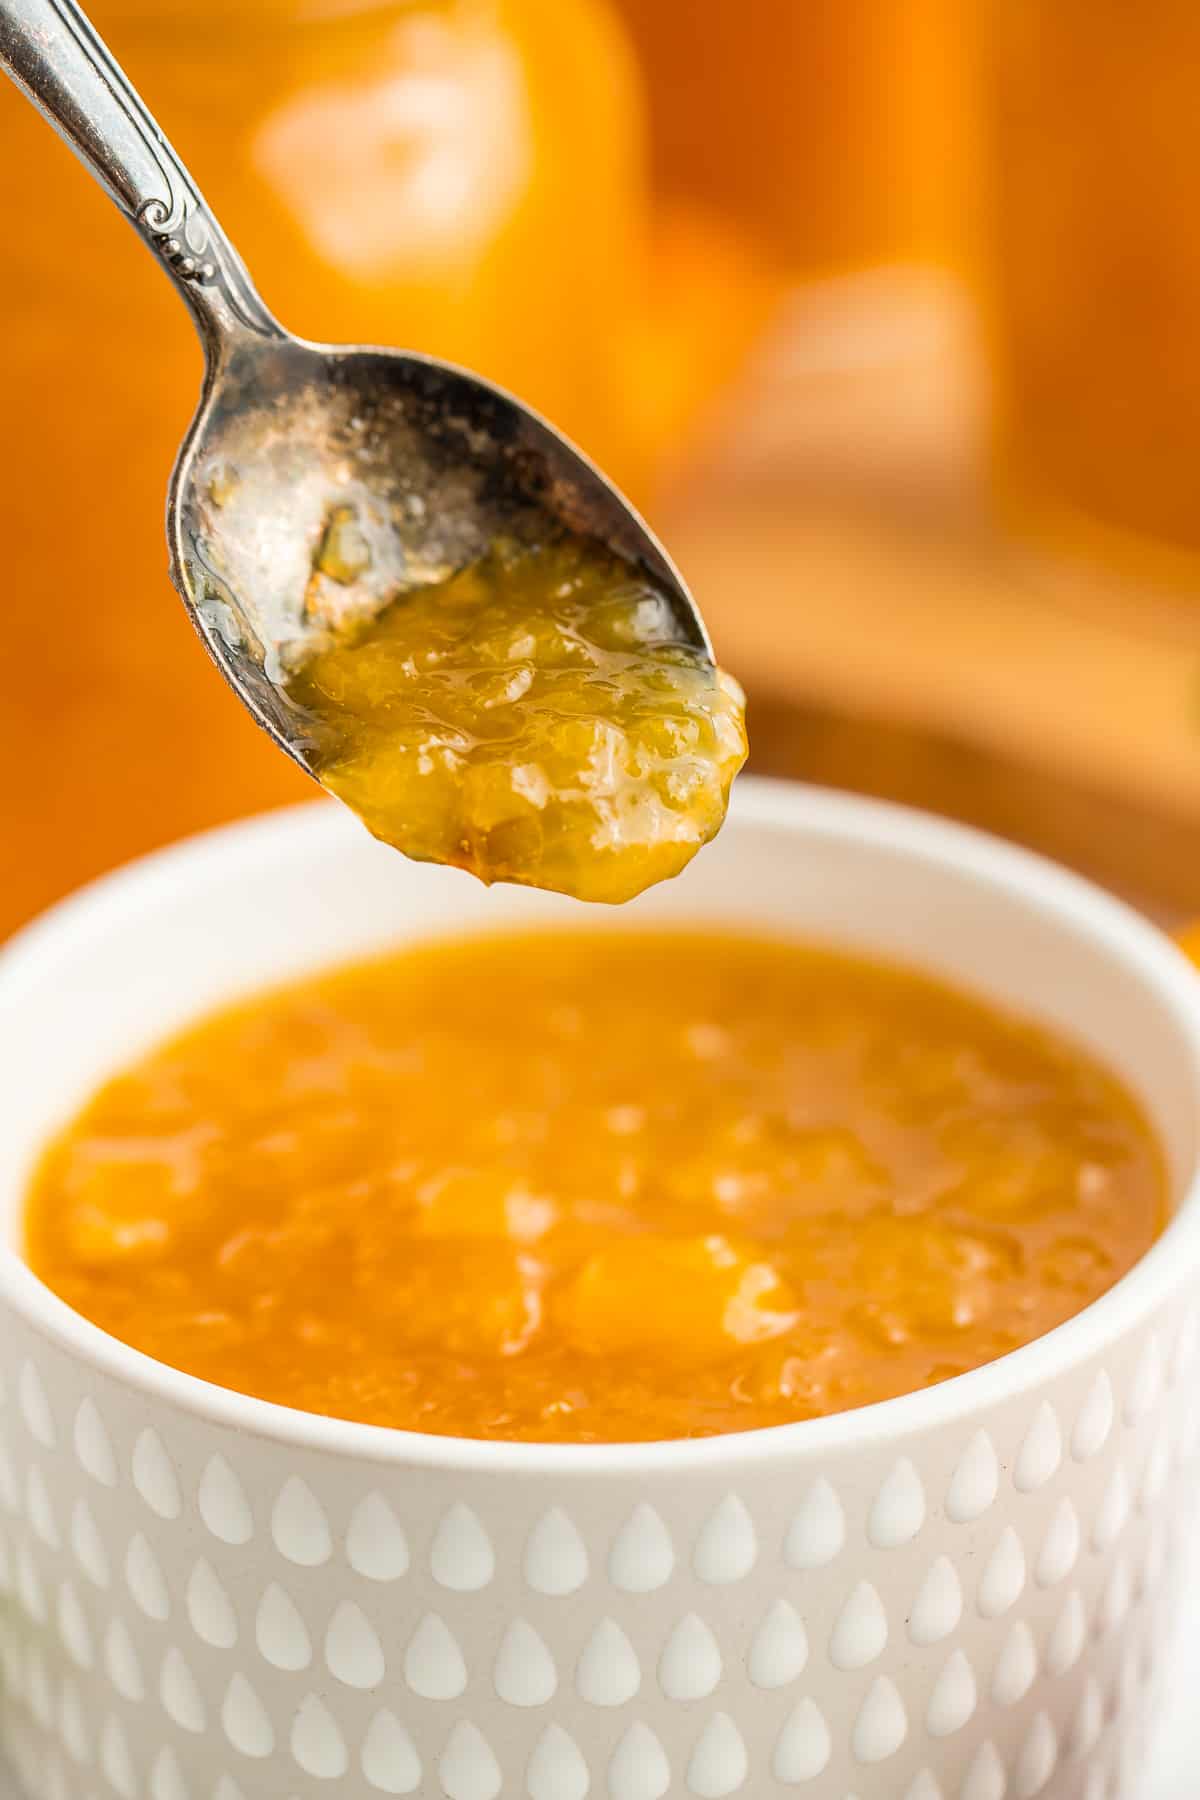
Skim any foam off the surface. Pro tip: as it cooks down, the preserves will darken in color. This is normal and ok!
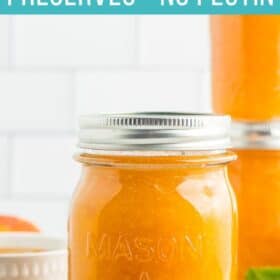
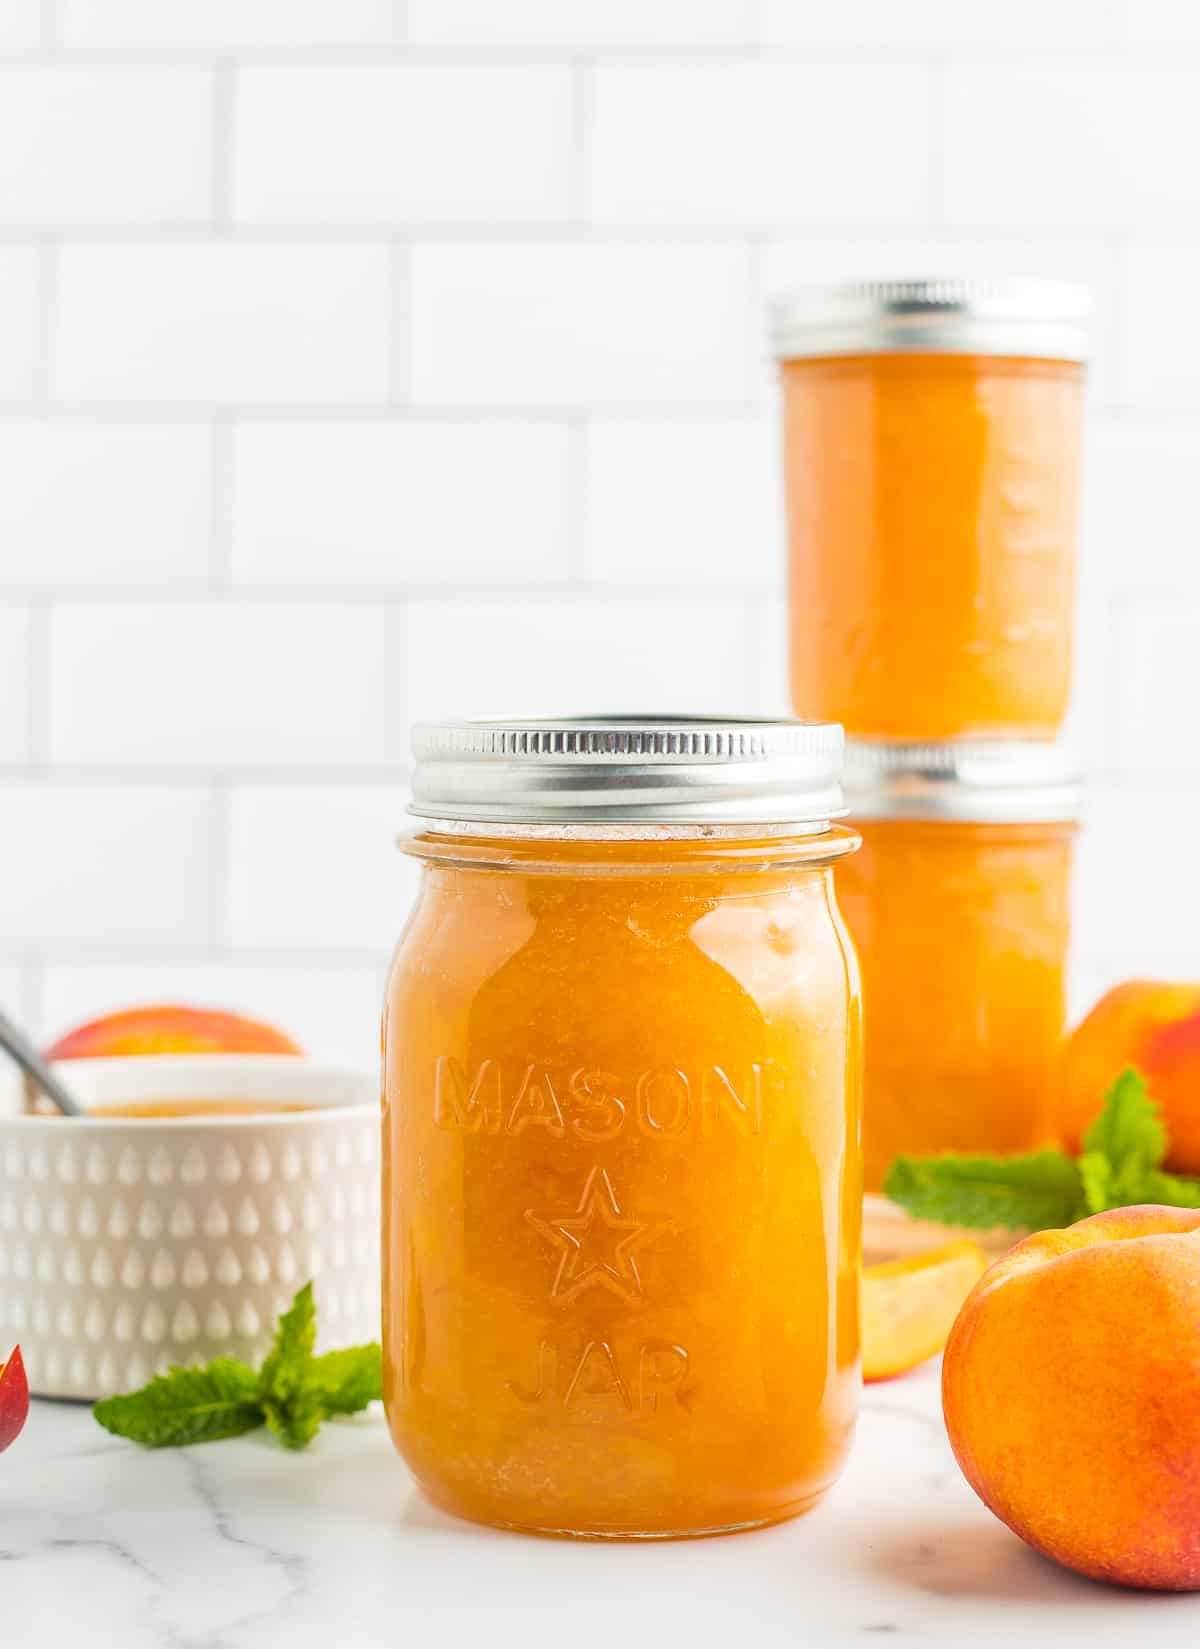
Canning Peach Preserves
While the preserves are cooking, you can start your canning prep.
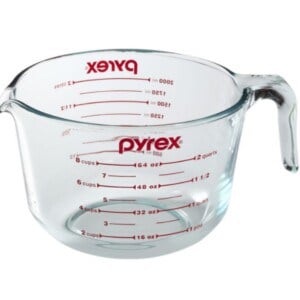
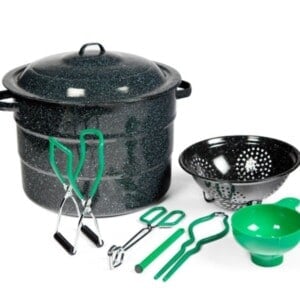
Prepare your water bath canner by filling it with water. You need to have enough water to cover the jars by 1 inch once the water is boiling.
Set the canner on the stove. Turn the burner to high. If it reaches a boil before you’re done making the preserves, reduce it to a simmer, keeping the lid on.
Wash and clean your jars. You’ll want to keep them warm to avoid having them crack when placed in the canner. You can fill them with hot water, or place them on a tray in the oven at 170˚F.
Wash your lids and set them aside in a clean place. You no longer need to simmer lids in water to keep them sterile.
Using a canning funnel, ladle the hot preserves into the jars, leaving 1/2 inch headspace. Headspace is the distance between the top of the food and the top of the jar.
Clean the rim of the jar very well with a hot damp rag. Place a clean lid on the jar. Add a ring, and tighten to fingertip tight.
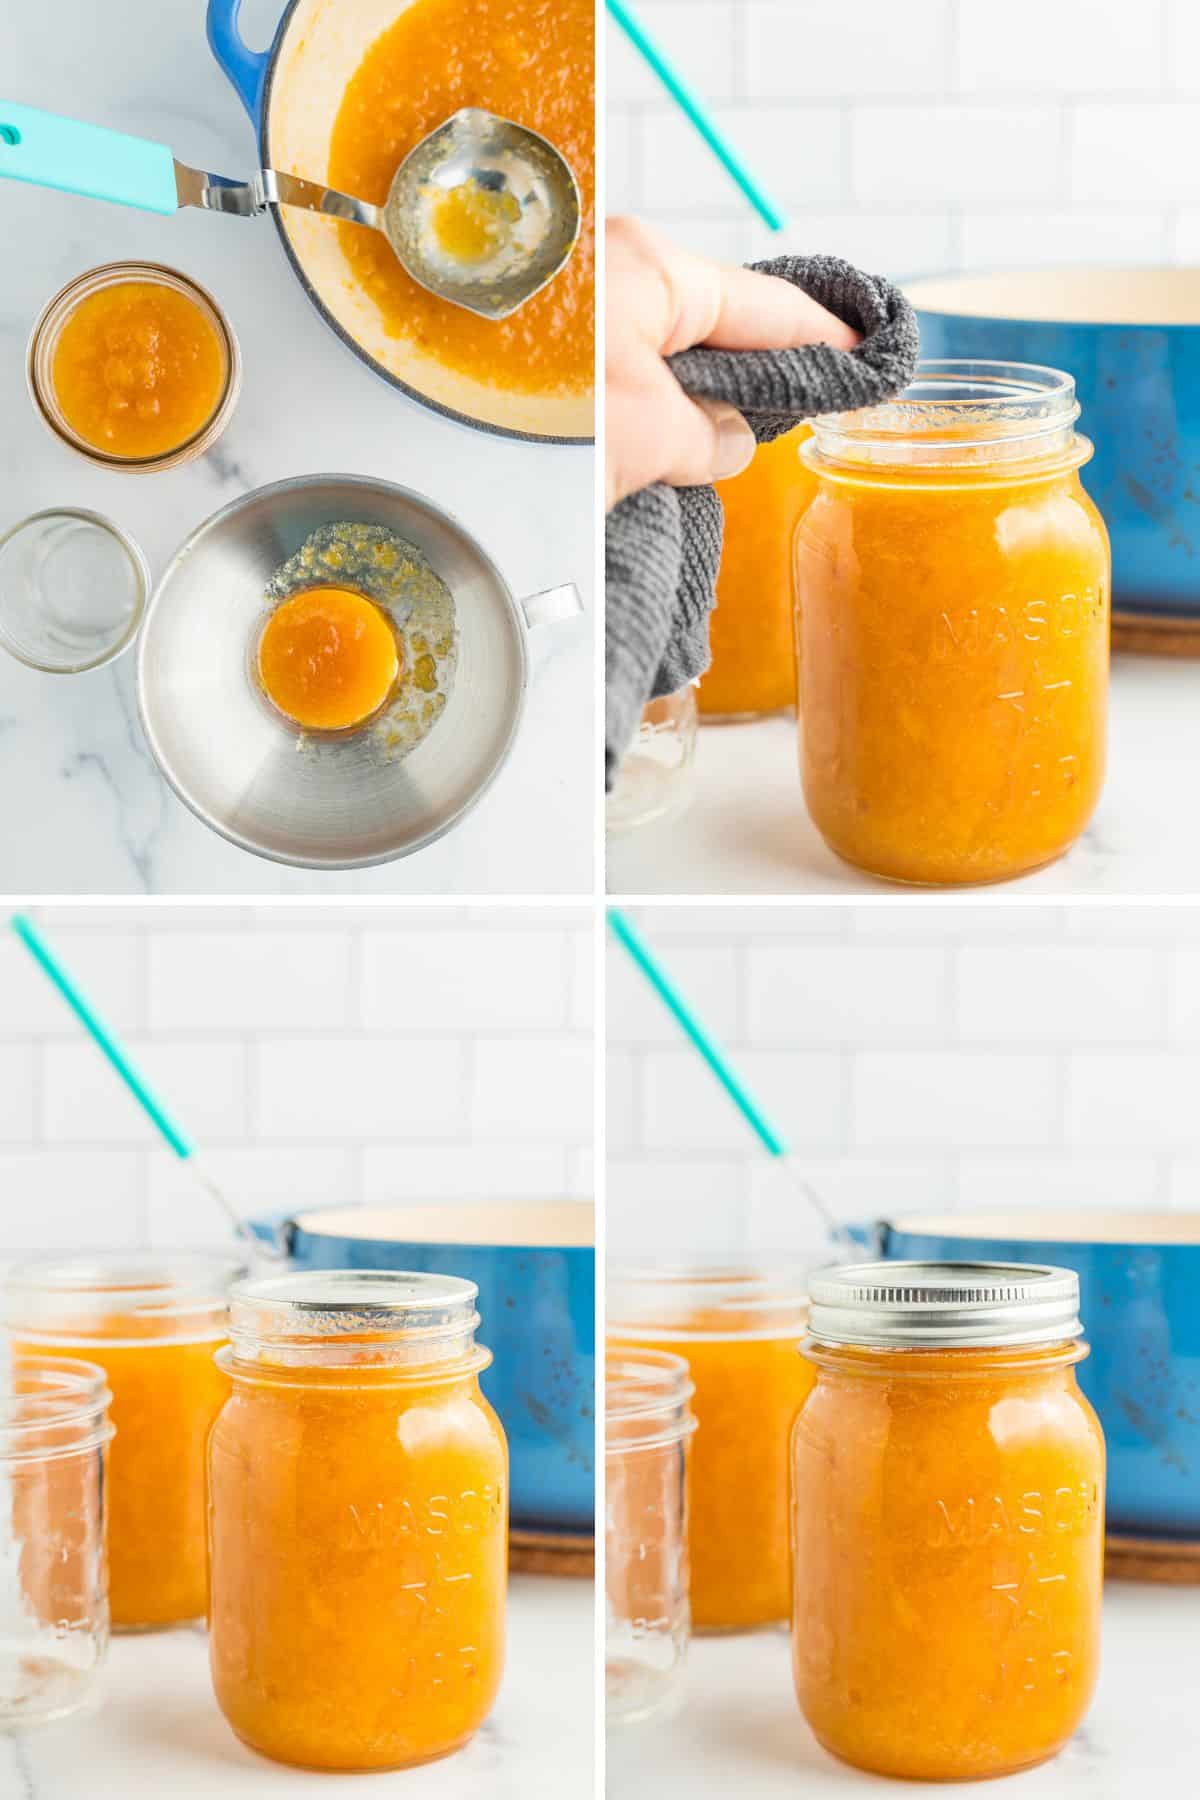
Using canning tongs, gently place your jars in the canner. Put the lid of the canner on. Once the water in the canner returns to a rolling boil, set your timer. Processing times will vary based on altitude. See the chart below.
Canning Times for Peach Preserves
| Processing Times at Altitudes Of | ||||
| Style of Pack | Jar Size | 0-1,000 ft | 1,001-6,000 ft | Above 6,000 ft |
| Hot | Half-pint or pint | 15 min | 20 min | 25 min |
| *Source: National Center For Home Food Preservation | ||||
Once the jars have been processed for the appropriate amount of time, remove the canner from the burner. Wearing oven mitts carefully take off the lid of the canner, and allow it to sit for 5 minutes. Pro tip: I tend to just slide the canner into the middle of my stove, as it weighs a ton.
Carefully remove the jars with canning tongs, and place them on a thick towel in a place where they can be undisturbed for 12 hours.
The lids will likely start to pop within 20-30 minutes of being removed from the water. That popping sound is music to your ears, as it tells you that everything has been sealed. It’s a reward for all your work!
After the jars have rested for about 12 hours, press down in the middle of each lid. If it “gives” at all, the jar didn’t seal. Either enjoy it that day, put it in the fridge, or reprocess it.
How to Store Peach Preserves
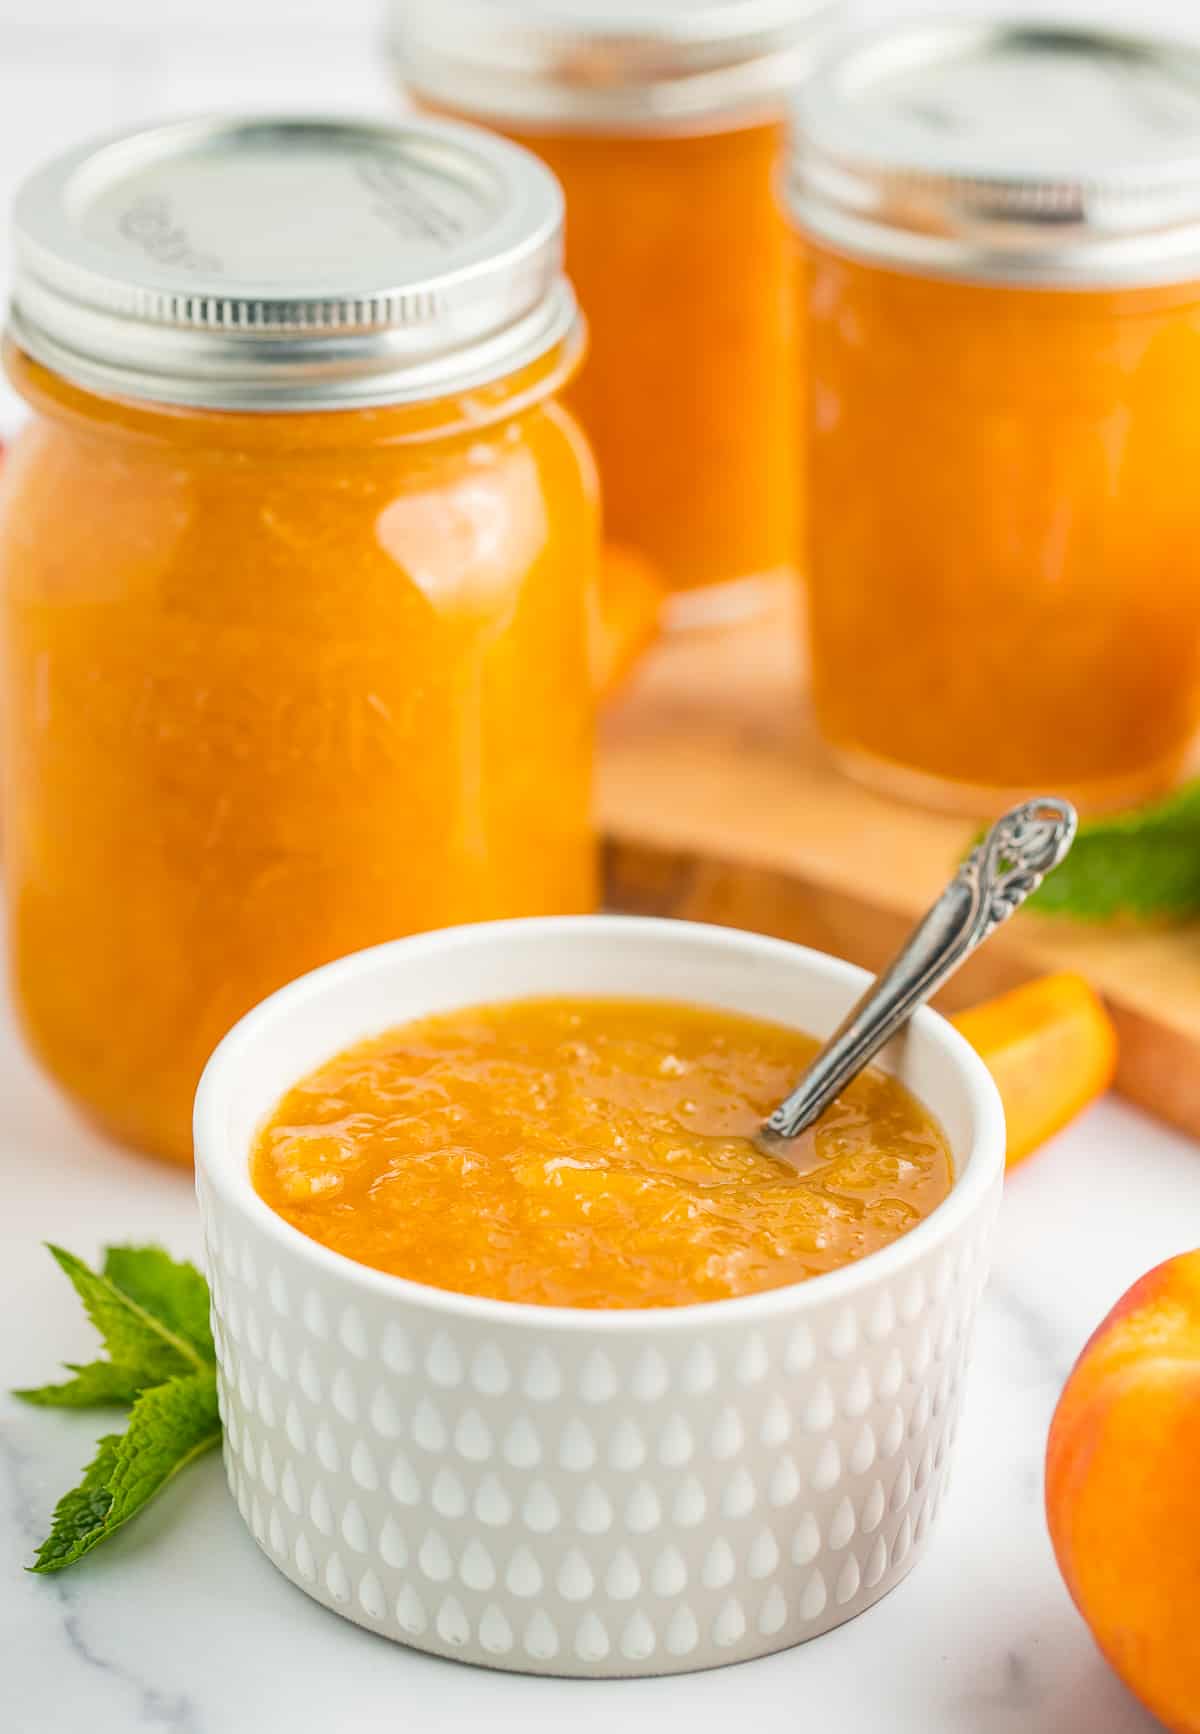
Once the jars have sealed, remove the rings. Label and store sealed jars in a cool (best results are 50-70˚F) dark place for up to 12 months.
If you have the space available, do not stack the jars on top of each other more than two jars high.
If you can the preserves, they are shelf-stable until opened. Once you open a jar, refrigerate the jar for 1-3 weeks.
Pro Tips/Recipe Notes
- Using high-quality ripe fruit will produce quality preserves. Using low-quality fruit will inevitably impact the recipe’s flavor.
- If the peaches aren’t particularly sweet, you can macerate them overnight to draw out more of the natural sweetness. Sprinkle peeled and sliced peaches with 1/3 cup of sugar and stir to combine. Cover and refrigerate for up to 24 hours. Decrease the sugar added during the cooking process to 1 & 2/3 cups.
- Stay in the kitchen while you are cooking down the preserves. Any time you are simmering a fruit/sugar mixture, it can boil over and create a huge mess.
Old-Fashioned Peach Preserves (No Pectin)
Equipment
- Tongs
Ingredients
- ice
- 6 lbs ripe peaches {to yield ~8 cups of sliced peaches}
- 1/4 cup bottled lemon juice
- 2 cups sugar
Instructions
Making Peach Preserves
- Fill a large mixing bowl with ice water. Set aside.ice
- Use a paring knife and cut the peach around the middle to separate. Remove the pit. Put the halves in a large bowl of water treated with lemon juice (~1/4 cup) or citric acid (1 tbsp).6 lbs ripe peaches, 1/4 cup bottled lemon juice
- Add one layer of peaches at a time to a pot of boiling water for about 60 seconds.
- Remove using a slotted spoon and place in the ice water for 1 minute.
- Use the slotted spoon to remove the peach halves from the ice bath. Grab one of the peaches and gently peel the skin back.
- Slice the peeled peaches or roughly chop them.
- Place the peaches in a heavy-bottomed pot and cook, stirring often, over medium heat until they have softened. This could take 10-25 minutes, depending on the ripeness of your peaches. Add splashes of water if the preserves are starting to burn.
- Once the peaches have softened, gently mash them using a potato masher, wooden spoon, or pastry cutter.
- Once the peaches are mashed to your preference, add the sugar, and increase the stove temperature to medium-high.2 cups sugar
- Bring the peaches to a low boil, stirring constantly for two minutes. Pro tip: adjust the temperature as needed to keep the preserves from popping or boiling over.
- Reduce the heat to a simmer, and cook the preserves down, stirring often, for 10-15 minutes or until the mixture has thickened and the volume has been reduced by about 20-30%. Skim any foam off the surface.
Canning Peach Preserves
- While the preserves are cooking, start your canning prep.
- Prepare your water bath canner by filling it with water. You need to have enough water to cover the jars by 1 inch once the water is boiling.
- Set the canner on the stove with the lid on. Turn the burner to high. If it reaches a boil before you’re done making the preserves, reduce it to a simmer, keeping the lid on.
- Wash and clean your jars. You’ll want to keep them warm to avoid having them crack when placed in the canner. You can fill them with hot water, or place them on a tray in the oven at 170˚F.
- Wash your lids and set them aside in a clean place.
- Using a canning funnel, ladle the hot preserves into the jars, leaving 1/2 inch headspace. Headspace is the distance between the top of the food and the top of the jar.
- Clean the rim of the jar very well with a hot damp rag.
- Place a clean lid on the jar. Add a ring, and tighten to fingertip tight.
- Using canning tongs, add jars to the boiling water, and put the canner lid on. Pro tip: you must have at least 1 inch of water over the tops of the jars for safe canning.
- Process pints and half-pints based on the elevation guide below:*0-1,000 ft = 15 minutes*1,001-6,000 ft = 20 minutes*6,000 ft+ = 25 minutes
- Once the peaches have processed for the appropriate amount of time, remove the canner from the burner, carefully remove the lid, and allow it to sit for 5 minutes. Pro tip: due to steam, I wear oven mitts while removing the lid.
- Using canning tongs, carefully remove the jars, and place them on a thick towel in a place where they can be undisturbed for 12 hours.
- After the jars have rested for about 12 hours, gently press down in the middle of each lid. If it "gives" at all, the jar didn't seal. Either enjoy it that day, put it in the fridge, or reprocess it.
Notes
- You can use frozen peaches – see more details in the post on how to thaw them and how the overall cooking time is impacted.
- As it cooks down, the preserves will darken in color. This is normal and ok!
- Once the jars have sealed, remove the rings. Label and store sealed jars in a cool (best results are 50-70˚F) dark place for up to 12 months.
- Once you open a jar, refrigerate the jar for 1-3 weeks.
- Makes 5 half-pints.
Nutrition
Nutrition information is automatically calculated, so should only be used as an approximation.

Get my Canning e-book!
It’s 51 pages of every helpful tip and trick you could want as a brand new canner, AND it includes 13 ad-free canning recipes that are designed to take you from novice to pro.


I can my peaches with no sugar, or anything else.
What do you think about reducing the sugar to just one cup in this?
Will it thicken with just one cup of sugar?
I’m excited to make your recipe. All I’ve ever done with peaches is just to can them. I didn’t eat all I put up last summer, so I’m looking for another way to preserve this year’s.
Hi Maija, you can reduce the sugar, but I would expect to cook everything down longer to get the consistency of a “true” preserve.
You may also like our peach butter, how to freeze peaches, peach syrup, and dehydrated peaches. I’m peach obsessed. 🙂
Is there a way to make peach preserves without the sugar or using a sugar substitute? I can’t have sugar. Thanks!!
Hi Pat, you are able to can peach halves without sugar, so canning the preserves without it would be fine. That being said, the shelf life and color of the product would change without the addition of sugar.
In my Canning Peaches post, you’ll see there is a chart for making syrup with sugar, honey, or fruit juice. You’ll also find an FAQ about how to use alternative sweeteners. I’m going to link the post here, rather than copy and paste those details because it is very wordy! You can find the alternative options in this post: https://www.sustainablecooks.com/canning-peaches/
What about times for quarts? I am Ll out of pint jars!
I have looked around at university extension sites and none list a processing time for quarts. My best guess is that it has something to do with the size/density of the preserves. Given that, I cannot safely advise a processing time for preserves in a quart jar.
I would also say that unless you LOVE peach preserves, it will likely go bad before you can finish a quart jar.