As an Amazon Associate, I earn from qualifying purchases.
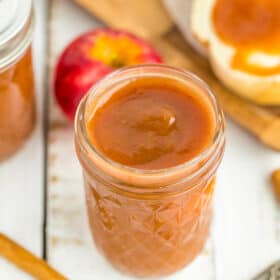
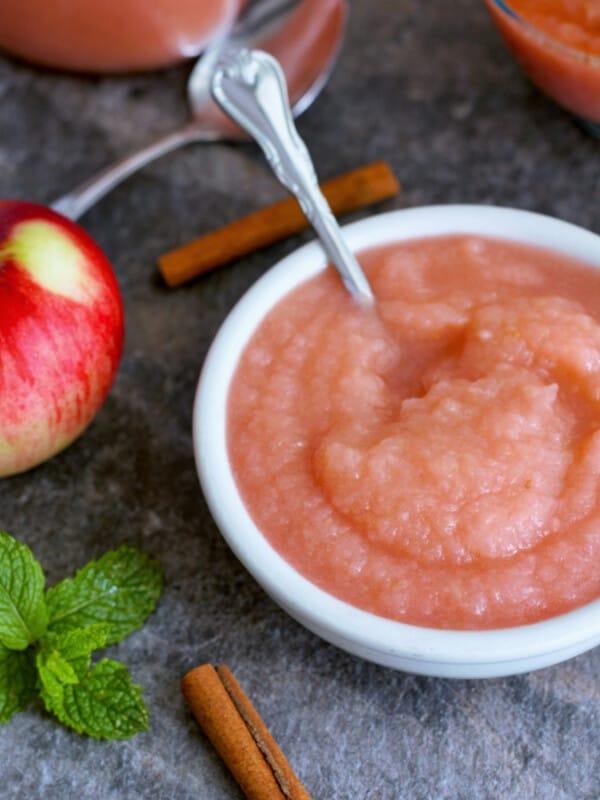
Canning Apple Butter is an amazing way to preserve the apple harvest. This is the best low-sugar apple butter recipe, and it’s so easy to make! This recipe was developed using peeled apples, but you can also leave the peels on. My favorite varieties of apples for apple butter are Gala, Fuji, Braeburn, and Cameo.

Homemade apple butter is a classic fall favorite. You can simmer this recipe in a slow cooker all day (your house is going to smell amazing!), make it on the stovetop, or even in an Instant Pot.
This apple butter recipe for canning is suitable for a water bath canner, but I’ll also teach you how to freeze it if canning is not your jam.
The act of canning apple butter is as iconic to fall as canning peaches is to summer. But lucky for you, this crockpot apple butter recipe is a lot more hands-off!
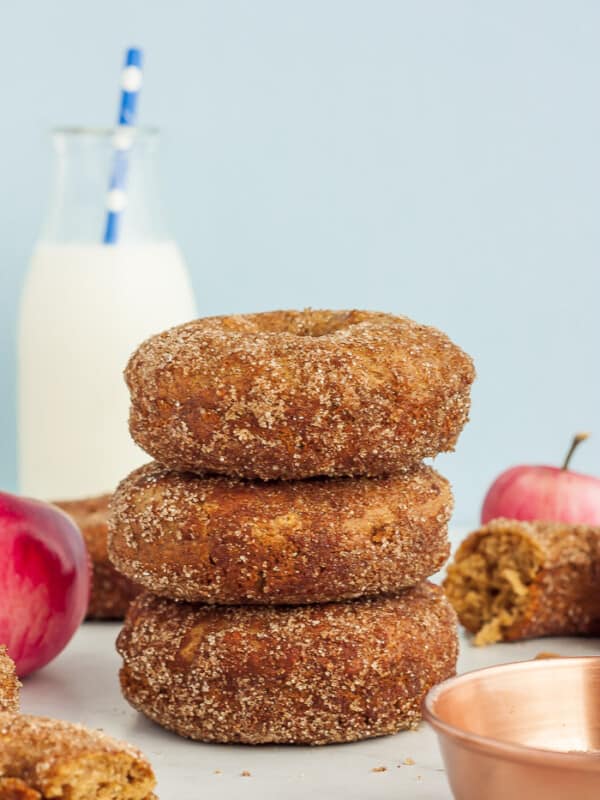
If you want to use homemade apple butter for something extra special, try it in a batch of cinnamon apple donuts.
How to Make Apple Butter
When choosing apples, most varieties typically work great, but you’ll have the best results with any apple labeled as “saucing apples”. Easy-to-find varieties such as Gala, Fuji, Braeburn, and Cameo would all be great.
Apples that are best for juicing will produce a watery apple butter.
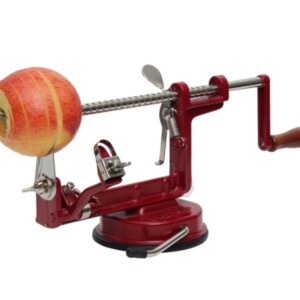
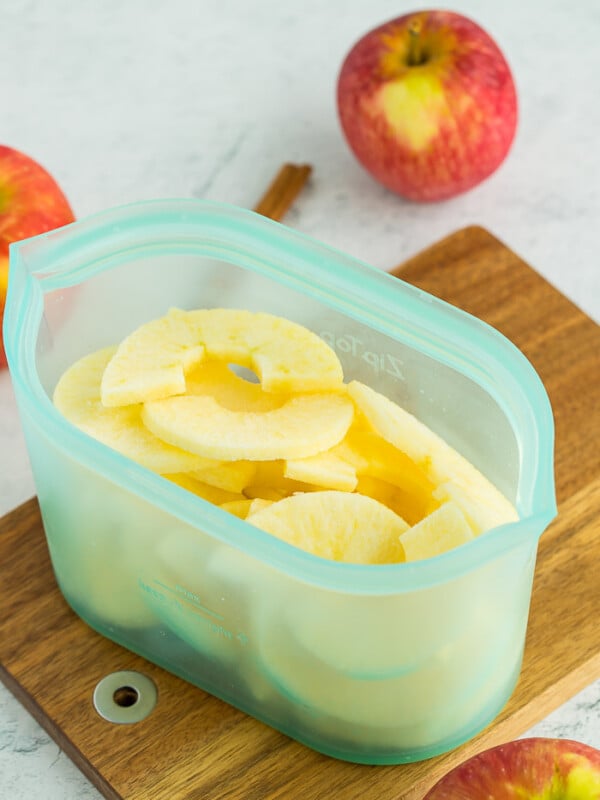
Peel and chop your apples into semi-uniform pieces. Pro tip: you don’t have to peel them, but from a food preservation standpoint, it does remove additional contamination risk.
I use this apple peeler to make quick work of peeling and coring apples, but a plain ol’ vegetable peeler and a chef’s knife will also work.

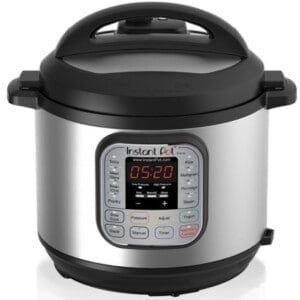
Add the apples, sugar, and spices to your slow cooker (I use my Instant Pot with the slow cooker lid).
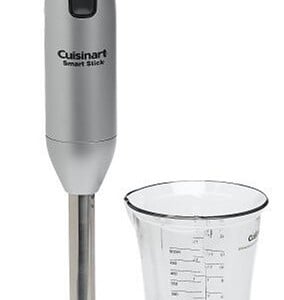
Set your slow cooker to low for six hours. After the time is up, blend your apples. I use an immersion blender, but you could also transfer the apple butter in batches to a blender or food processor.

Technically, you’re done at this point if you’d like to be. Put it in containers and freeze if you’d like. But, if you want to learn to also can it, read on!
How to Can Apple Butter
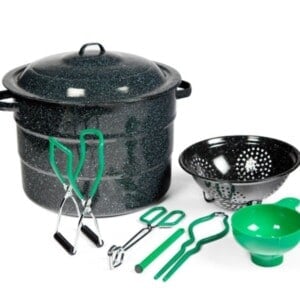
Prepare your canner by filling it with water. You need to have enough water to cover the jars by 1 inch once the water is boiling.
Set the canner on the stove. Turn the burner to high. Once it reaches a boil, reduce it to a simmer. You want to keep the water hot so that everything is ready when your jars of apple butter are ready to go.
Wash and clean your jars. You’ll want to keep them warm to avoid having them crack when placed in the canner. You can fill them with hot water or place them on a tray in the oven at 170˚F.
Wash your lids and set them aside in a clean place. You no longer need to simmer lids in water to keep them sterile. Woot!
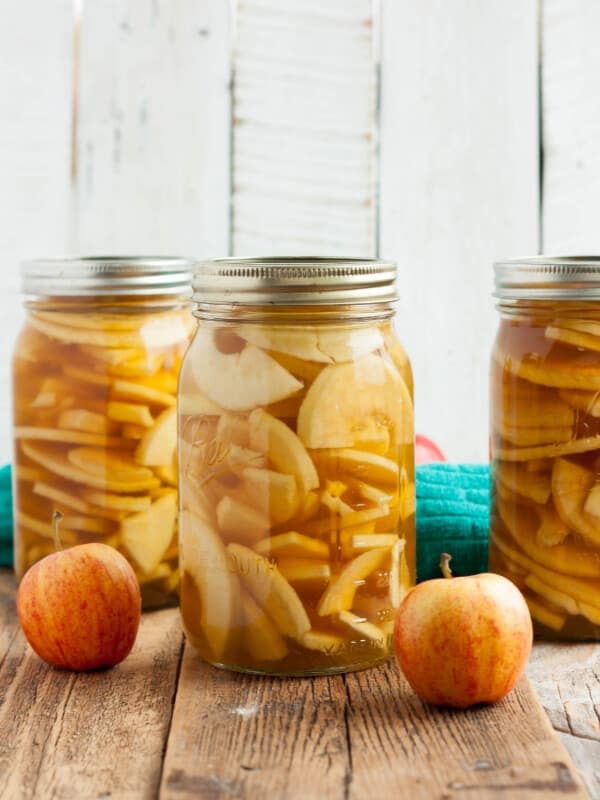
Ladle in the warm apple butter (I like using a canning funnel), leaving 1/4 inch of headspace.
Remove the bubbles from the jar (I use a plastic chopstick).

Use a wet, clean rag and wipe the rim of the jars to make sure they are free of any delicious apple butter.
Place a clean lid on the jar, and then a ring, and tighten the ring to fingertip tight (tight enough that it won’t come off, but not so tight that a normal person couldn’t budge it).
Do not add the jars to the canner as you finish filling them. You’ll want to pack the canner all at once to avoid uneven processing.

Bring the water in the canner back to a rolling boil, and then lower your jars into the canner using a jar lifter. Put the lid on the canner.
Processing times will vary based on altitude and size of jar. See the chart below. Pro tip: the water must return to a rolling boil in the canner before you can start the timer.
Processing Time for Apple Butter
| Processing Time for Apple Butter | ||||
| Process Times at Altitudes of: | ||||
| Style of Pack | Jar Size | 0-1,000 ft | 1,001-3,000 ft | Aove 6,000 ft |
| Hot | Half-Pints & Pints | 5 min | 10 min | 15 min |
| Quarts | 10 min | 15 min | 20 min | |
| *Source: National Center For Home Food Preservation | ||||
Once the jars have been processed for the appropriate amount of time, remove the canner from the burner, wearing oven mitts, carefully take off the lid of the canner, and allow it to sit for 5 minutes. Pro tip: I tend to just slide the canner into the middle of my stove, as it weighs a ton.
Carefully remove the jars with canning tongs, and place them on a thick towel in a place where they can be undisturbed for 12 hours.
The lids will likely start to pop within 20-30 minutes of being removed from the water. That popping sound is music to your ears, as it tells you that everything has been sealed. It’s a reward for all your work!
After the jars have rested for about 12 hours, press down in the middle of each lid. If it “gives” at all, the jar didn’t seal. Either enjoy it that day, put it in the fridge, or reprocess it.
How to Freeze Apple Butter
Apple butter freezes like a boss. You can freeze in your favorite freezer containers, use silicone trays like these Souper Cubes, or even freeze in glass canning jars.
Make sure you use wide-mouth canning jars or jam jars, and leave 1 inch of headspace (the space between the top of the apple butter and the top of the jar).
Allow the apple butter to fully cool in the jars before freezing. To defrost: set the jar out at room temperature overnight.
Pro Tips/Recipe Notes
- You do not need to add water to the apple butter while it is cooking. After 30 minutes, the apples will start releasing all their awesome natural juices.
- You do not need to add lemon juice to this recipe for it to be safe for canning. The natural sugars in the apples make this recipe safe to process in a boiling water bath canner.
- Feel free to adjust the spices to taste. Personally, I see cinnamon as a condiment and tend to keep adding a little bit more throughout the process.

Canning Apple Butter (4 Ingredients)
Equipment
Ingredients
- 4 pounds apples {about 10-14}
- 1 cup sugar {optional – see notes}
- 2 tbsp ground cinnamon
- 1/4 tsp ground cloves
Instructions
How to Make Apple Butter
- Peel and chop your apples into semi-uniform pieces.4 pounds apples
- Add the apples, sugar, and spices to your slow cooker. Cook for 4-6 hours on low with the lid on. You do not need to add water to the slow cooker.1 cup sugar, 2 tbsp ground cinnamon, 1/4 tsp ground cloves
- After the time is up, blend the apples with an immersion blender, or transfer in batches to a blender or food processor.
Canning Apple Butter Instructions
- Prepare your water bath canner by filling it with water. You just need to have enough water to cover the jars by 1 inch once the water is boiling.
- Set the canner on the stove. Turn the burner to high. Once it reaches a boil, reduce it to simmer. You want to keep the water hot so that everything is ready when the apple butter is.
- Wash and sanitize your jars. You’ll want to keep them warm to avoid having them crack when placed in the canner. You can fill them with hot water, or place them on a tray in the oven at 170˚F.
- Wash your lids and set aside in a clean place.
- Place a canning funnel on top of one of the jars.
- Ladle the warm apple butter into jars, leaving 1/4 inch of headspace. Headspace is defined as the space between the top of the food and the top of the jar.
- Remove any bubbles from the jar (I use a plastic chopstick).
- Use a wet clean rag and wipe the rim of the jars to make sure they are free of any delicious apple butter.
- Place a clean lid on the jar and then a ring. Tighten the ring to fingertip tight.
- Using canning tongs, gently place your jars in the canner. Put the lid on, and set your timer. Pro tip: the water must return to a boil in the canner before you can start the timer.
- Process half-pints, pints and quarts based on the elevation guide below:*0-1,000 ft – Half-Pints & Pints =5 min Quarts =10 min*1,001-6,000 ft – Half-Pints & Pints =10 min Quarts =15 min*6,000 ft+ – Half-Pints & Pints =15 min Quarts =20 min
- Once the apple butter has processed for the appropriate amount of time, remove the canner from the burner, and carefully remove the lid of the canner (Pro tip: use oven mitts to take the lid off because the steam is super hot).
- Using canning tongs, carefully remove the jars, and place them on a thick towel in a place where they can be undisturbed for 12 hours.
- After the jars have rested for about 12 hours, press down in the middle of each lid. If it "gives" at all, the jar didn't seal. Either enjoy it that day, put it in the fridge, or reprocess it.
Notes
- Apples contain enough natural sugar to be safe for canning without added sugar.
- You do not need to add water to the slow cooker. After 30 minutes, they’re going to start releasing all their awesome natural juices while cooking.
- Makes 8 half-pints, 4 pints, or 2 quarts.
- Once the jars have sealed, remove the rings. Label and store sealed jars in a cool (best results are 50-70˚F), dark place for up to 12-18 months.
- Nutrition values are an estimate only.
Cook apples, sugar, cinnamon, and cloves in a heavy-bottomed saucepan on low for 3-6 hours, stirring occasionally.
Nutrition
Nutrition information is automatically calculated, so should only be used as an approximation.

Get my Canning e-book!
It’s 51 pages of every helpful tip and trick you could want as a brand new canner, AND it includes 13 ad-free canning recipes that are designed to take you from novice to pro.


What size slow cooker did you use?
Hi Cheryl, I am using my 8-quart Instant Pot on slow cooker mode in the photos for this recipe.
I think you could get away with a 3-6 quart slow cooker without it being an issue.
Hi!
I didn’t peel my apples before making in the crock pot – would it still be safe for me to water bath can the apple butter?
Thanks!
Hi Tessara, yes, it is still safe. To error on the side of caution, I would make sure to blend it VERY well, and I would also add a touch more sugar to act as an extra preservative.
This is the BEST apple butter recipe I’ve found. I actually tweaked it a bit by adding nutmeg and it came out wonderful! My favorite!
Tay, I’m thrilled to hear that, and YUM to the nutmeg addition!
I am going to try this! Yummy. Do you think I can use monk fruit sweetener or Splenda instead of white sugar? Thanks
Both are considered safe for canning but can leave a strong aftertaste. Since no sugar is required at all for the recipe (it’s just optional), you may have more success with using very naturally sweet apples and not adding any sweetener at all.
Can’t wait to try!! Question: can you leave the peels on the apples when cooking in the slow cooker?
Hi Hannah, there is a note in there about this. I’ll copy and paste it below:
Peel and chop your apples into semi-uniform pieces. Pro tip: you don’t have to peel them but from a food preservation standpoint it does remove additional contamination risk.
Bottom line, if you want to can it, I recommend peeling. If you want to freeze it, peels are no problem!
My apple butter turned out delicious, but I only got four and a half half pints. This was my first try and I love the smell of my kitchen!
Hi Amanda, thanks for the note. If possible, could you please share what type of apples you used for this? I’d love to test it myself to see if I have the same results. Anything I can do to give my readers tips/tricks is important to me. Your success is my #1 goal.
Delicious! I canned it and doubt they will be around for very long with my kids. My batch did not yield very much, I am thinking maybe b/c I peeled and cut by hand, so maybe more of the apple is wasted than if I used an apple peeler/corer. Will try that next time as I definitely want to have more jars. So excited there was only 1 cup of sugar- tastes amazing!
I’m thrilled you liked it so much, Santhe! Make sure you hide a jar from your kiddos. 🙂