As an Amazon Associate, I earn from qualifying purchases.
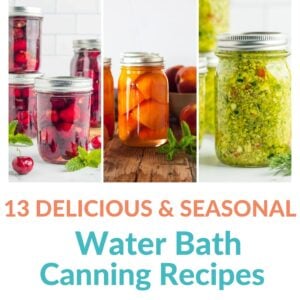
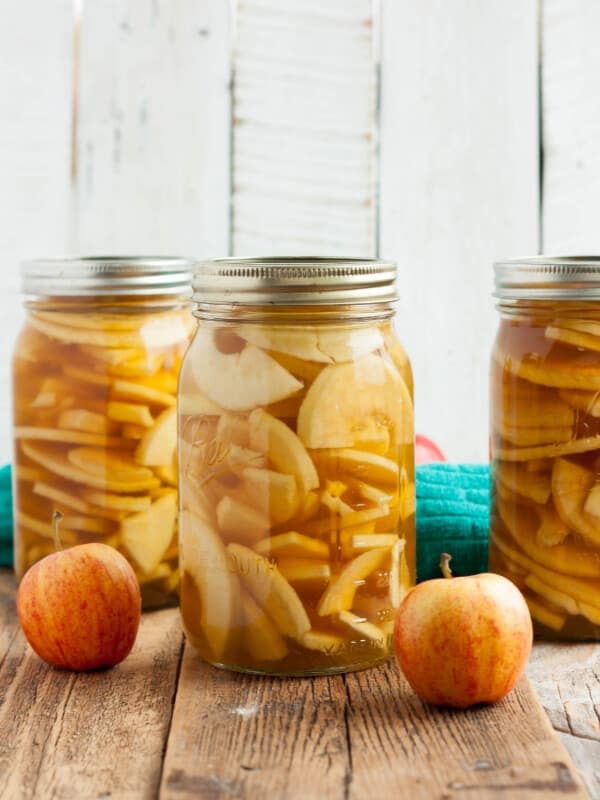
An easy step-by-step tutorial on Canning Applesauce. This recipe for how to preserve apples is perfect for beginners and experienced canners alike. Instructions include low-sugar and no-sugar options.

If you’ve never canned applesauce before, it can seem overwhelming and a lot to take in. Don’t be intimidated; I’m here to help. We’re in this together!
How to Can Applesauce
*I’ll walk you through it here with some photos and tips, and you’ll also find a printable recipe card at the bottom of the post with exact measurements, etc. You can also click “jump to recipe” to skip down.
Canning applesauce is broken down into three main steps:
- Canning Prep
- Making the Applesauce
- Canning the Applesauce
Canning Prep
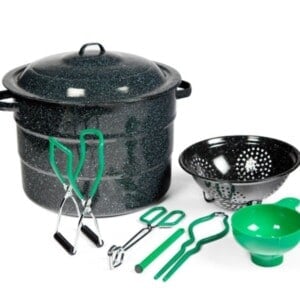
Prepare your water bath canner by filling it with water. You just need to have enough water to cover the jars by 1 inch once the water is boiling.
Set the canner on the stove. Turn the burner to high. Once it reaches a boil, reduce it to a simmer. You want to keep the water hot so that everything is ready when the applesauce is.
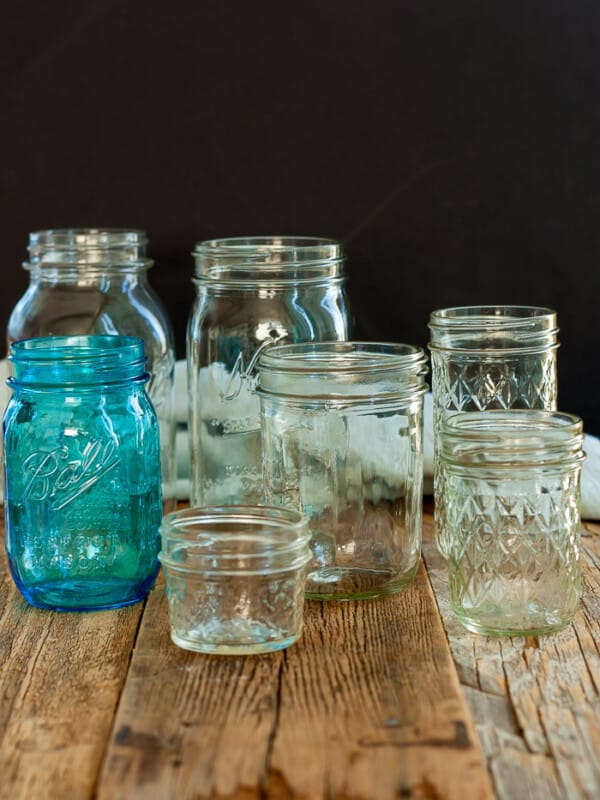
Wash and clean your jars. You’ll want to keep the jars warm enough to avoid having them crack when placed in the canner. You can fill them with hot water, or place them on a tray in the oven at 170˚F.
Wash your lids and set them aside in a clean place. You no longer need to simmer lids in water to keep them sterile. Woot!
Making Applesauce
Set a medium/large pot of water to medium-high on your stove.
Most varieties of apples typically work fine, but you’ll have the best results with any apple labeled as “saucing apples“. Easy-to-find varieties such as Gala, Fuji, Braeburn, and Cameo would all be great. Avoid anything in the “juicing” category.
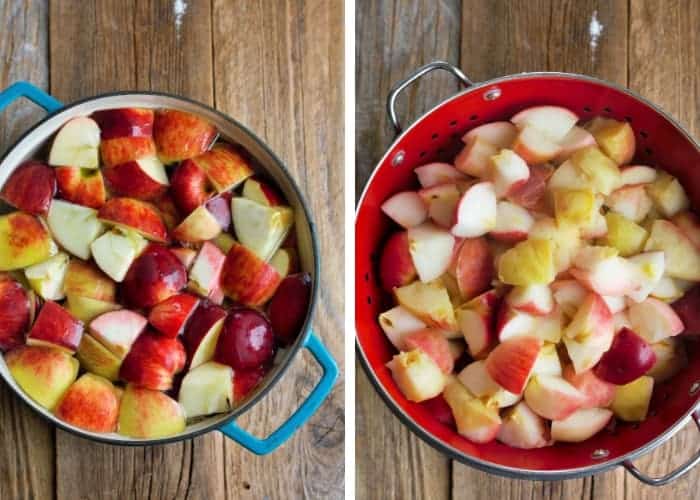
Wash your apples and cut into eighths, or more if you have particularly large apples. Add apples to the hot water and cook until they have softened (~1-5 minutes depending on your type of apple).
Remove using a slotted spoon and place in a strainer set into a large bowl.
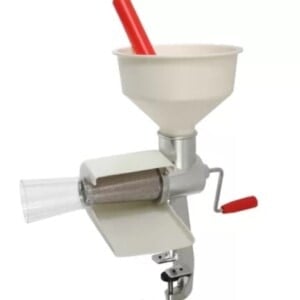
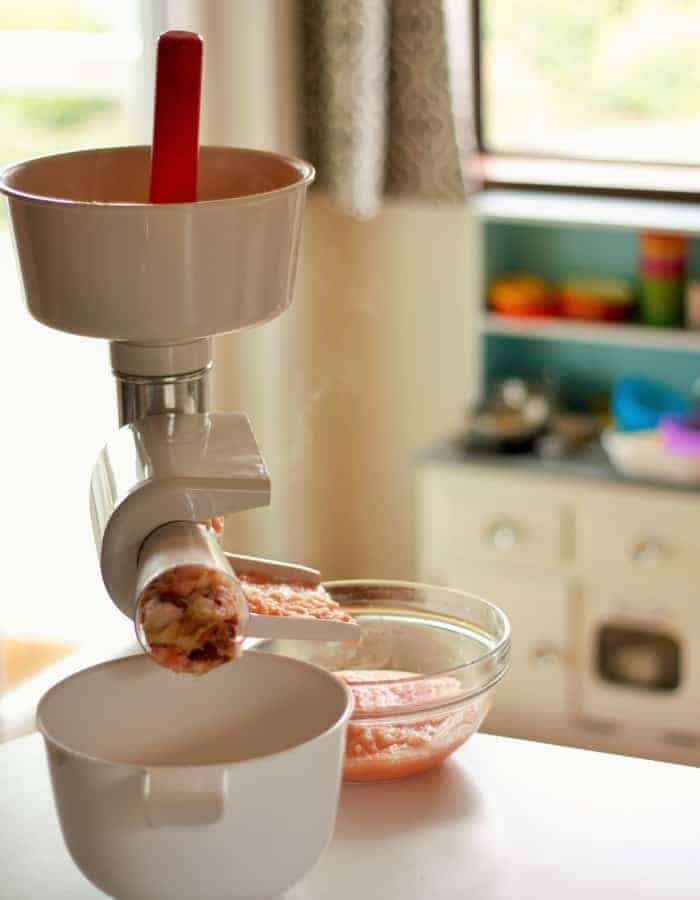
Run the apples through a food mill to remove the seeds and skins. Pro tip: For safety purposes, you need to keep the sauce warm until you have enough to can. I use my slow cooker set to warm for this because it frees up space on my stove for the other steps in the canning process.
No food mill? Check out the alternative methods listed further down in the post.
Return the burner to high and bring the water in the canner back to a rapid boil.
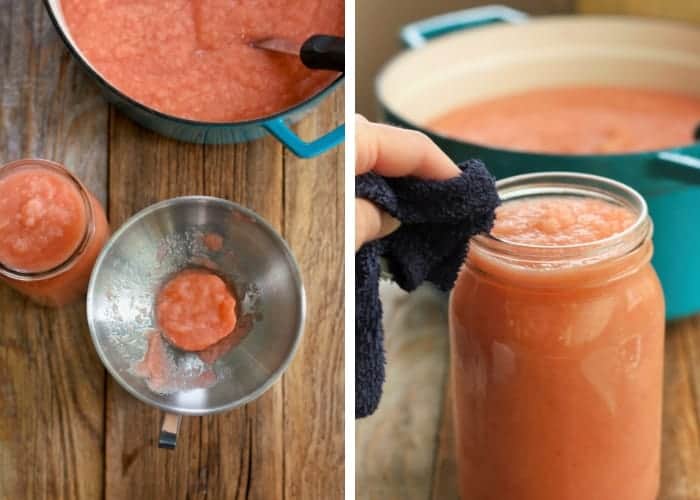
Using a canning funnel, ladle the warm applesauce into jars, leaving 1/2 inch of headspace. Remove any bubbles from the jar (I use a plastic chopstick).
Use a wet clean rag and wipe the rim of the jars to make sure it is free of any food.
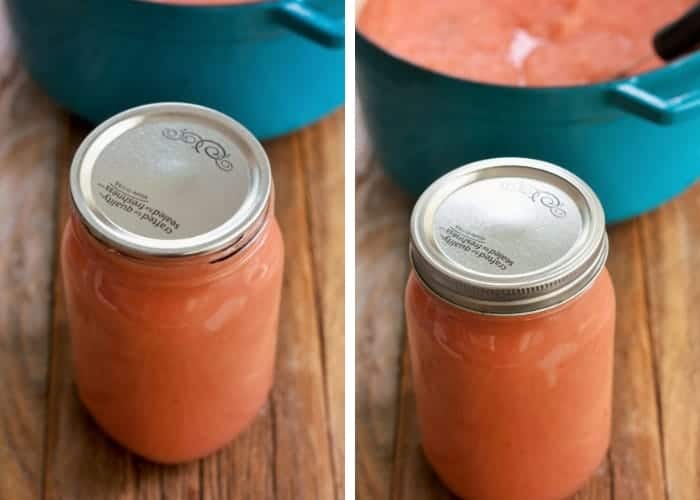
Place a clean lid on the jar. Add a ring, and tighten to fingertip tight.
Using canning tongs, carefully place your jars in the canner. Put the lid on. Processing times will vary based on altitude. See the chart below. Pro tip: the water must return to a boil in the canner before you can start the timer.
Processing Time for Applesauce
| Processing Time for Applesauce | |||||
| Process Times at Altitudes of: | |||||
| Style of Pack | Jar Size | 0-1,000 ft | 1,001-3,000 ft | 3,001-6,000 ft | Aove 6,000 ft |
| Hot | Pints | 15 min | 20 min | 20 min | 25 min |
| Quarts | 20 min | 25 min | 30 min | 35 min | |
| *Source: National Center For Home Food Preservation | |||||
Once the jars have been processed for the appropriate amount of time, remove the canner from the burner, wearing oven mitts carefully take off the lid of the canner, and allow it to sit for 5 minutes. Pro tip: I tend to just slide the canner into the middle of my stove, as it weighs a ton.
Carefully remove the jars with canning tongs, and place them on a thick towel in a place where they can be undisturbed for 12 hours.
The lids will likely start to pop within 20-30 minutes of being removed from the water. That popping sound is music to your ears, as it tells you that everything has been sealed. It’s a reward for all your work!
After the jars have rested for about 12 hours, press down in the middle of each lid. If it “gives” at all, the jar didn’t seal. Either enjoy it that day, put it in the fridge, or reprocess it with a new lid.
Pressure Canning Applesauce
If you prefer to pressure can your applesauce, follow the prep and packing process above and the canning process below.
Add 3 quarts of water to your pressure canner and put it on a burner set to high. Make sure there is a canning rack in the bottom of the canner.
Using canning tongs, gently place the jars in the canner. Lock the lid. Soon, steam will start coming through the vent pipe (I call it the steam chimney).
Allow the steam to pass through for about 10 minutes. Then put the pressure regulator (I call it the chimney cap) on top. (see the 4 photo grid below for a visual of this process step by step)
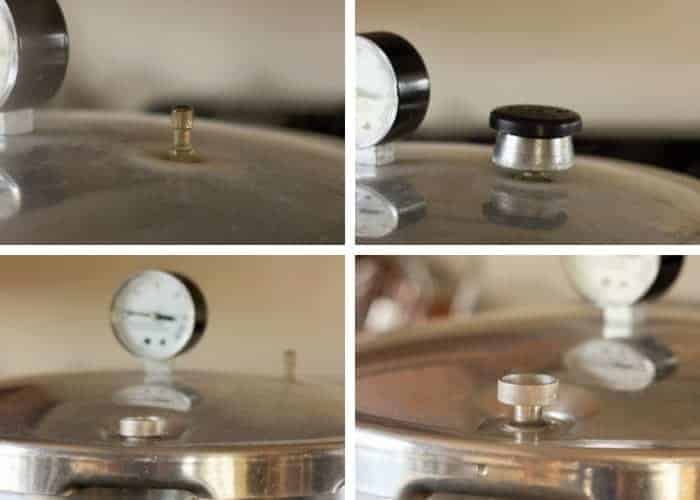
Pretty soon, the air vent will pop up. That is a sign that you’re starting to build pressure inside the canner (get excited. This is happening!). Processing times will vary based on altitude. See the charts below.
Pressure Canning Applesauce in a Dial-Gauge Pressure Canner
| Canner Pressure (PSI) at Altitudes of | ||||||
| Style of Pack | Jar Size | Processing Time | 0-2,000 ft | 2,001-4,000 ft | 4,001-6,000 ft | 6,001-8,000 ft |
| Hot or Raw | Pints | 8 mins | 6 lbs | 7 lbs | 8 lbs | 9 lbs |
| Quarts | 10 mins | 6 lbs | 7 lbs | 8 lbs | 9 lbs | |
| *Source: National Center For Home Food Preservation | ||||||
Processing Time for Applesauce in a Weighted-Gauge Pressure Canner
| Canner Pressure (PSI) at Altitudes of: | ||||
| Style of Pack | Jar Size | Processing Time | 0-1,000 ft | Above 1,001 ft |
| Hot | Pints | 8 mins | 5 lb | 10 lb |
| Quarts | 10 mins | 5 lb | 10 lb | |
| *Source: National Center For Home Food Preservation | ||||
When the dial gauge reaches the appropriate PSI, reduce the burner temp to medium, and start your timer. The pressure must stay at the PSA or (a little bit) above for the duration of the cooking time. You’ll likely need to adjust the temp on the burner a few times depending on your stove.
When the time is up, remove the canner from the burner and allow it to sit until you hear a distinctive “click” of the air vent dropping. Remove the pressure regulator and carefully remove the lid of the canner (Pro tip: I always use oven mitts when I take the lid off because the steam is super hot).
Let the jars sit for 5 minutes in the canner with the canner lid off and then lift them out with canning tongs. Pro tip: allowing the jars to sit in the canner with the canner lid off can help reduce the siphoning of sauce out of your jars.
Place hot jars on a towel where they can sit undisturbed for 12 hours.
After a few hours, to check for sealing, gently press down in the middle of the lid. If the lid has no give, it’s sealed. If you can press the lid in and it pops a bit, your jars are not sealed.
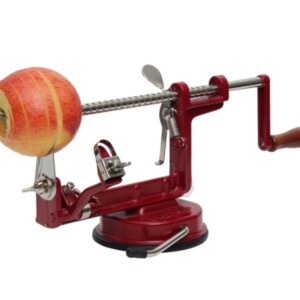
How to Can Applesauce Without a Food Mill
The recipe below calls for using a food mill to process the applesauce, but there are workarounds for this if you don’t own a food mill.
Peel apples and cut them into eighths, removing the seeds and core. You can make applesauce in an Instant Pot (Manual>high pressure>5 minutes>natural release) or in the slow cooker (cook all day on low without any additional liquid added), and then blend, blend, blend!
Alternatively, you can cook the apples down on low heat in a large pot on the stove. Cook and stir often and blend to your desired consistency.
You don’t have to remove the skin if you’d like to skip the peeling step, but there is more of a chance of contamination when canning if the skins are left on.
HELP! WHY Are My Jars Leaking Juice/Sauce?
If you find that juice has leaked out after they have sealed, you have experienced a common canning issue called siphoning. It happens to the best of us!
Siphoning is typically caused by not allowing the jars to rest in the canner after they have finished processing. In the directions above, you’ll see that I recommend you remove the canner from the burner, remove the lid, and let it sit for 5 minutes.
This is important as it allows the jars time to rest before being allowed to cool on the counter. Doing this process will significantly cut down on siphoning.
IF YOU HAVE SIPHONING IN YOUR JARS, FOLLOW THESE STEPS:
- Check – are the lids still sealed?
- Look – have you lost less than half of the amount of liquid in the jar?
- Examine – does the fruit look fresh with bright colors?
If the answer to the above three steps is “yes!”, then they are safe to eat.
Another common reason for siphoning is not leaving enough headspace in the jar. You need to keep 1/2 inch of space between the top of the food and the top of the jar to allow for the sauce to expand while it is in the canner.
Pro Tips/Recipe Notes
- You’ll need about 21 pounds of apples to fill seven quarts, and 13 pounds to fill nine pints. A bushel of apples weighs 48 pounds and will yield 14-19 quarts. You don’t have to can that many pounds at once, but you should have at least two jars in the canner at once while processing.
- Your applesauce may separate in the jars after canning. This is totally safe as long as the jars are sealed. This is the result of using apples with higher juice content.

Canning Applesauce {Preserving Apples}
Equipment
Instructions
CANNING PREP
- Prepare your water bath canner by filling it with water. You just need to have enough water to cover the jars by 1 inch once the water is boiling.
- Set the canner on the stove. Turn the burner to high. Once it reaches a boil, reduce it to simmer. You want to keep the water hot so that everything is ready when the applesauce is.
- Wash and sanitize your jars. You’ll want to keep them warm to avoid having them crack when placed in the canner. You can fill them with hot water, or place them on a tray in the oven at 170˚F.
- Wash your lids and set aside in clean place. You no longer need to simmer lids in water to keep them sterile.
Prep the Apples/Sauce
- Set a medium/large pot of water to medium high on your stove.
- Wash your apples and cut into eighths, or more if you have particularly large apples.21 pounds apples
- Pro tip: if you are cutting a lot of apples at once, consider filling a bowl with cool water and 1/4 cup of lemon juice to prevent browning.
- Add apples to the hot water and cook until they have softened (~1-5 minutes depending on your type of apple).
- Remove using a slotted spoon and place in a strainer set into a large bowl.
- Run the apples through a food mill to remove the seeds and skins. Keep warm until ready to can (I use my slow cooker set to warm).
- Return the burner to high and bring the water in the canner back to a rapid boil.
- Using a canning funnel, ladle in the warm applesauce into jars, leaving 1/2 inch of headspace. Remove any bubbles from the jar (I use a plastic chopstick).
- Use a wet clean rag and wipe the rim of the jars to make sure it is free of any food.
- Place a clean lid on the jar. Add a ring, and tighten to fingertip tight.
Canning the Applesauce
- Lower your jars into the canner using canning tongs/jar lifter.
- Process pints and quarts based on the elevation guide below:*0-1,000 ft – Pints =15 min Quarts =20 min*1,001-3,000 ft – Pints =20 min Quarts =25 min*3,001-6,000 ft – Pints =20 min Quarts =30 min*6,000 ft+ – Pints =25 min Quarts =35 min
- Once the jars have processed for the appropriate amount of time, remove the canner from the burner, and carefully remove the lid of the canner (Pro tip: use oven mitts to take the lid off because the steam is super hot).
- Using canning tongs, carefully remove the jars, and place them on a thick towel in a place where they can be undisturbed for 12 hours.
- After the jars have rested for about 12 hours, press down in the middle of each lid. If it "gives" at all, the jar didn't seal. Either enjoy it that day, put it in the fridge, or reprocess it.
Notes
- You’ll need about 21 pounds of apples to fill seven quarts, and 13 pounds to fill nine pints. A bushel of apples weighs 48 pounds and will yield 14-19 quarts.
- This applesauce can be frozen in wide-mouth canning jars. Leave 1 inch of headspace in the jars to allow for expansion during freezing. Allow to fully cool in the jar before freezing.
- Your applesauce may separate in the jars after canning. This is totally safe as long as the jars are sealed. This is the result of using apples with higher water (juice) content.
- Once the jars have sealed, remove the rings. Label and store sealed jars in a cool (best results are 50-70˚F) dark place for up to 12-18 months.
Nutrition
Nutrition information is automatically calculated, so should only be used as an approximation.

Get my Canning e-book!
It’s 51 pages of every helpful tip and trick you could want as a brand new canner, AND it includes 13 ad-free canning recipes that are designed to take you from novice to pro.