As an Amazon Associate, I earn from qualifying purchases.
One of the easiest DIY garden projects ever, Raspberry Supports are an affordable way to grow raspberries in your home garden. Homemade raspberry trellises to will save you so much money at the grocery store.
When you come home from Lowes with gardening building supplies to find your husband and son in Superman costumes, you immediately direct them outside to the front yard with a camera in hand and demand they build your DIY raspberry supports.
Right then and there. In costume. I’m nice like that.
Fresh Raspberry Recipes
So, here is how our family builds DIY raspberry supports. In “super” style.
Supplies for Building Raspberry Supports
Two 2x4x8s (weather treated, or painted)
One untreated 2x4x8
8 eyebolt thingys (Troy assures me those are real words)
2 bags of pea gravel
Wire
4 nails
Drill
Hammer
Saw of some kind
How to Build Raspberry Supports/Raspberry Trellis
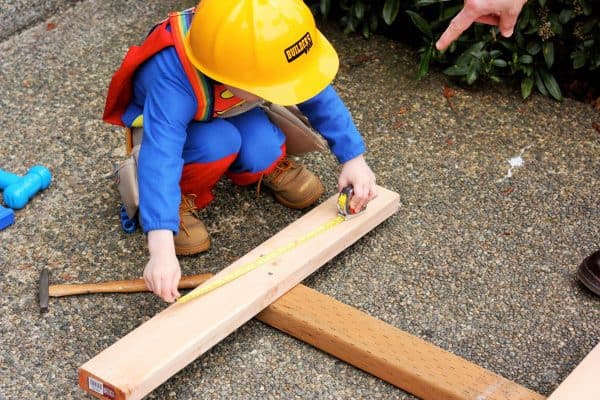
Saw the untreated 2x4x8 into four pieces. Two of the pieces should be longer than the other two. These will be the boards that connect the wires to contain all the raspberry canes once they start to grow.
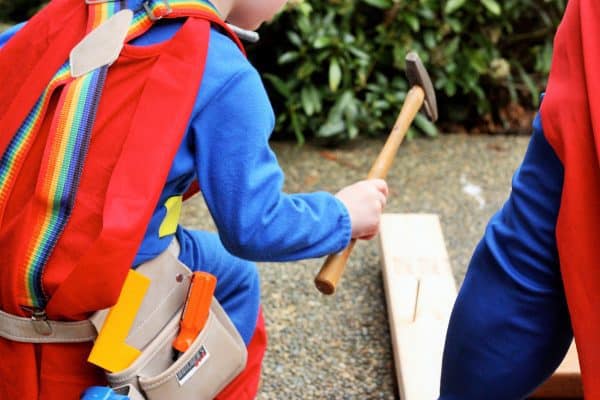
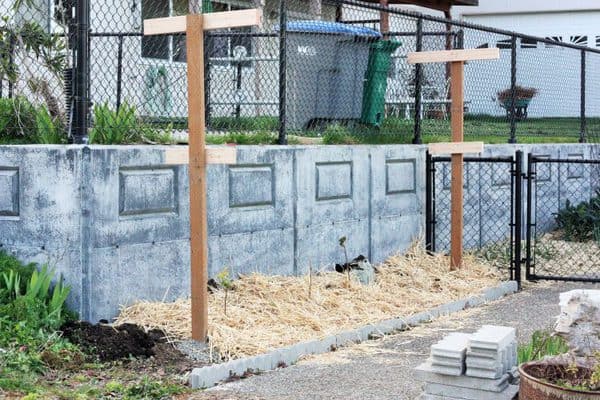
At the top of one of the treated 2x4x8, hammer two nails to connect one of the larger untreated pieces on to the top of the treated piece (creating a “t”). Add the shorter untreated piece about 2-3 feet below that. Repeat for both treated 2x4x8s.
Check for quality control.
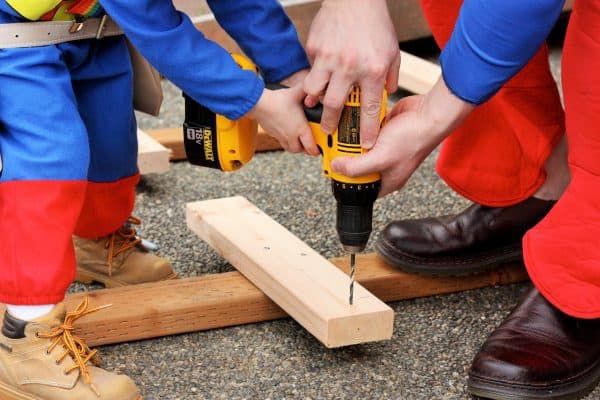
Using a power drill, drill 8 total holes into the untreated pieces of wood. One on each facing end of the wood.
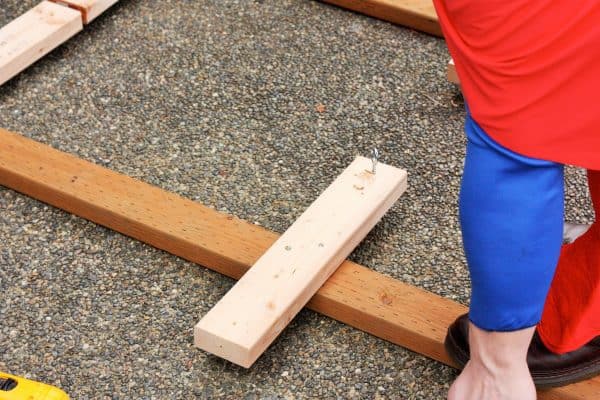
Insert the eye bolts into the holes that were just drilled.
Installing Raspberry Supports/Raspberry Trellises
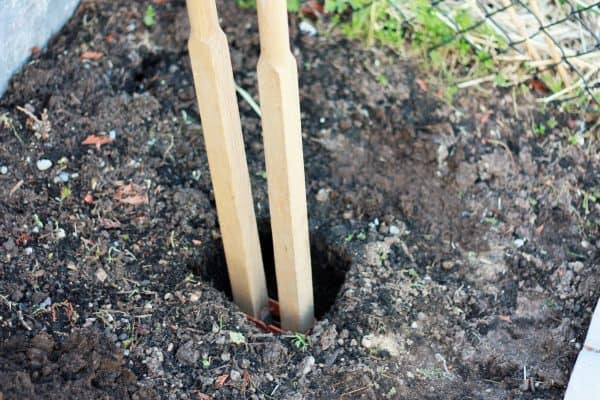
Using a post hold digger thing, dig two deep holes – at least 18-24 inches deep if possible. You’ll want to dig one at end of your raspberry planting area.
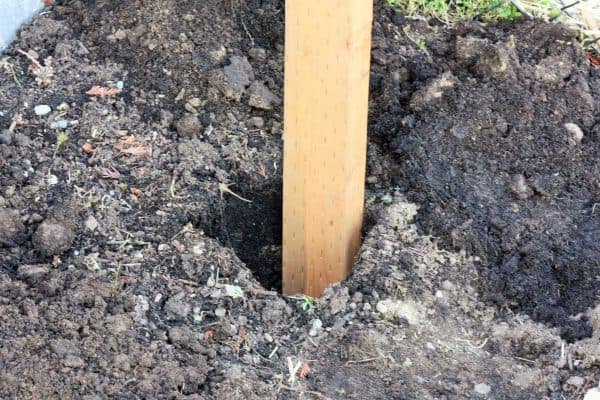
Put the treated post in the hole.
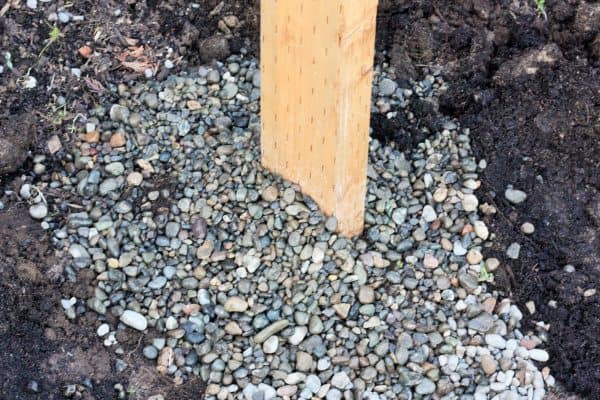
Steady the post with one hand, and while trying not to give yourself a hernia, fill the hole with pea gravel. Give it a good shake to help it settle, then add more pea gravel. Repeat with the other post.
How to Plant Raspberry Canes
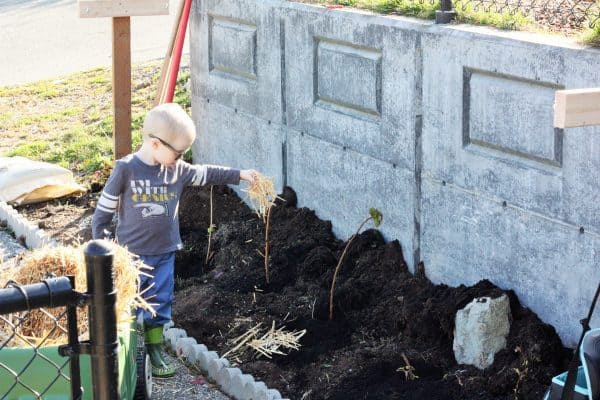
Dig your holes for your berry plants, add compost, then the plants, then fill the holes with compost. Water, and then cover with the mulch of your choice (I use straw).
Voila. String the wire on the eye bolts once the berry canes add a bit of growth. The wires will be used to support the canes as they continue their upward growth.
Cost to Build Raspberry Supports
$43.40 (that includes 4 bags of compost even though I only used 1 in this bed). The raspberry bushes were free from my aunt and uncle from thinning their current patch. The cost of organic raspberries at the market? At least $4 per pint.
These DIY raspberry supports were the best $43 we ever spent and are still going strong seven years later.
MORE DIY GARDENING POSTS
- How to Plant Garlic Step by Step
- DIY Trellis – DIY Garden Trellis
- Seed Tape – Homemade Seed Tape
- Thinning and Replanting Strawberry Plants
This post on DIY raspberry supports was originally published in March 2012. I updated it in May 2017 and March 2019 to make the instructions more clear and to post better photos after a blogging platform transfer.





It’s all about the Supermen who built it! I’m sure your rasberries are awesome! Thanks for sharing! I sent the post to my son who was the King of Costumes growing up and I had the fun of creating the costumes he thought up. Great fun!
The pics are all awesome! 🙂 (especially the first three, but they are all good) Hope your fruit all produces well! I’m a newcomer to your blog (don’t remember how I found it; might’ve been a link off Pinterest), but have really been enjoying it so far, especially the gardening posts. Y’all take care!
Love to see men in tights with power tools. This is the kind of stuff that makes great memories.
Coming from Simple Lives Thursday! I love your raspberry patch!We are slowly building our urban garden – I just put in a strawberry patch and am looking to add to our raspberry patch (We had 3 canes last year and bought another 4 bare roots to add this year!)
Very inspiring to see what other people are doing. Thanks!
How did your 3 canes perform? We have 6 and I have really really high hopes for actual fruit this year!
I just transplanted all our strawberries in to a different bed from last year. Fingers triple crossed both our gardens produce this year!
Great post . . . love the super hero outfits. 😉 You must get a ton raspberries. I have a sad little bush that gets a bunch, but I need more to freeze for the winter months. Thanks for the ide-er. 😉
This is our very first year growing them, so only time will tell. Fingers crossed it is a lot because my little guy is a fruitatarian! Organic raspberries aren’t in my grocery budget, so I’m hopeful we’ll get a few from this bed!
From experience, they may not be awesome this year (still getting established), but next year will rock!
Thats the stuff of real men, and fantastic dads! Love it! I am a new fan of your blog too, thank you for all the great info! My ‘doom room’ is now renamed the zombie zone.
Oh but I love “doom room”! How clever!
Mommy get off the computer and feed me 🙁
I must have a missed a joke somewhere…
That’s one very cool husband you have there! Great blog too.
So true on the husband! And thanks on the blog!
Hi Sarah! Hope you don’t mind that I pinned this on my Pinterest board. Was the fastest way I could think of to help Troy get his 2,000 pages! 🙂 -kat (an avid lurker)
Thanks so much for doing that – I don’t mind at all!
And I love lurkers. Welcome to the land of “named” lurkers! ;-D
Suddenly my raspberry supports built by a hubby in carhartts don’t seem so awesome!
I dunno… Hubbys in Carhartt’s are pretty good to look at… I know… mine lives in his, and I enjoy looking lol
I agree, Hubby’s in Carhartt’s =*joy*
Although, I only get to see mine in his when he is at work ~or~ if we have 2 feet of snow on the ground . . .