As an Amazon Associate, I earn from qualifying purchases.
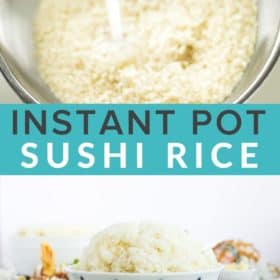

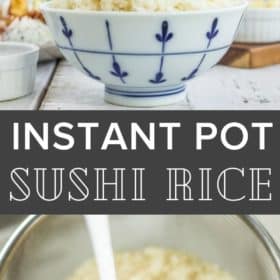
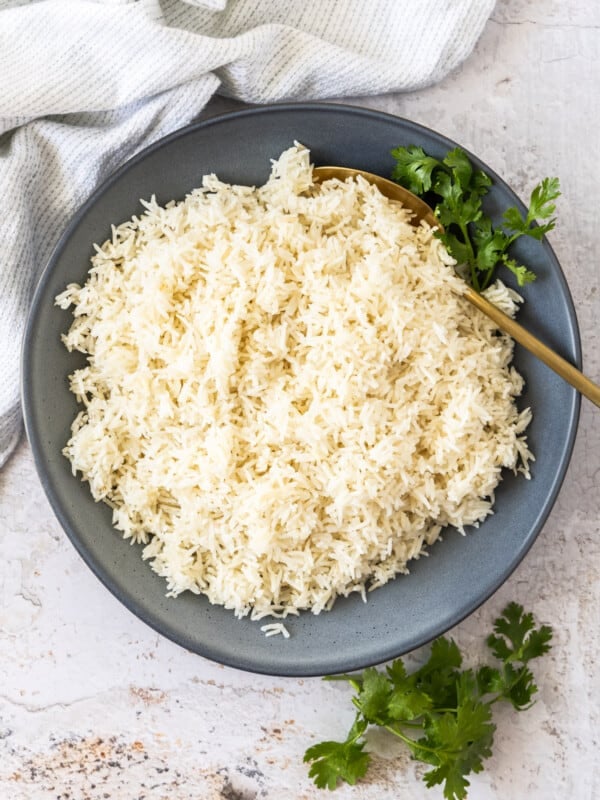
Make perfect restaurant-quality Instant Pot Sushi Rice for a speedy dish that the whole family will love! This homemade sushi rice is great for sushi bowls and making your own rolls at home. No pressure cooker? You’ll also find stovetop instructions in the recipe card.

Perfectly cooked and seasoned sushi rice can be a challenge, but thanks to the Instant Pot, you’ll get fantastic results each time.
Use this simple recipe to create your favorite bowls or homemade sushi rolls.
If you are new to pressure cooking and the Instant Pot, check out this post on recipes for Instant Pot beginners.
Ingredients

For this recipe you’ll need:
- Sushi rice – substituting another kind of rice will not yield the same results.
- Rice vinegar – if given the option, look for “unseasoned”.
- Sugar
- Salt
How to make instant pot sushi rice
*I’ll walk you through it here with some photos and tips, and you’ll also find a printable recipe card at the bottom of the post with exact measurements, etc. You can also click “jump to recipe” to skip down.
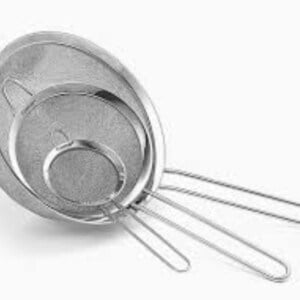
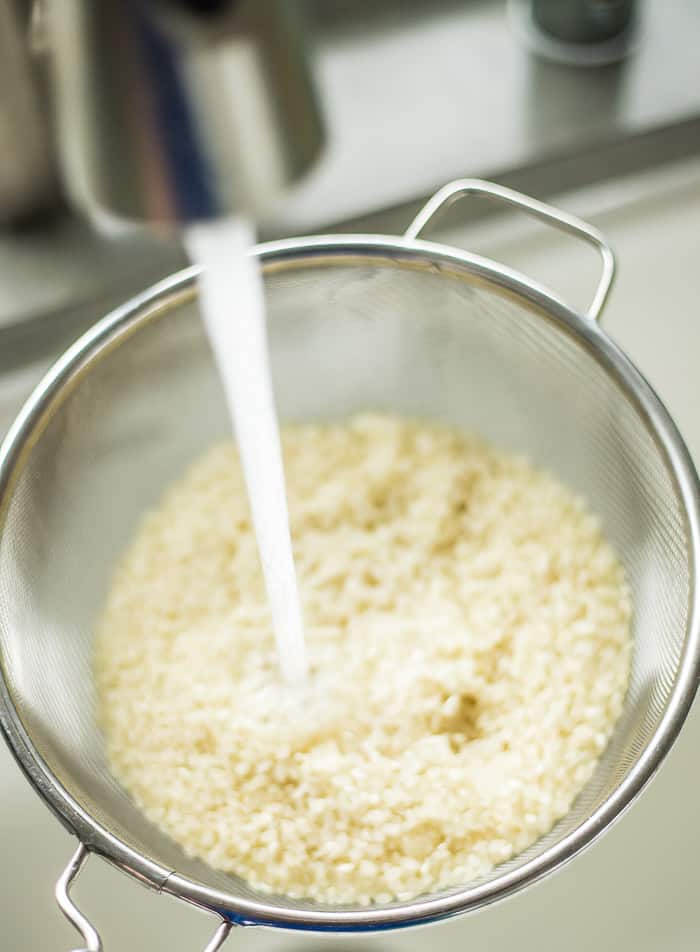
In a fine mesh strainer or rice washing bowl, rinse the rice multiple times until the water runs clear. This process can take a few minutes; be patient. And do not skip this step.
Allow the rice in the strainer to drip dry for 5-15 minutes.
Combine vinegar, salt, and sugar in a small saucepan and heat on medium-low heat until sugar/salt has dissolved. Do not let it boil. Set the pan aside to cool.
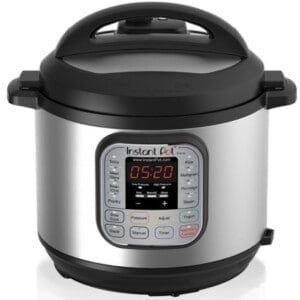
In the insert of the Instant Pot, add the rice and water. Gently shake the Instant Pot insert until the rice is under the water.
Lock the lid into place and set the steam release handle (valve on top) to “Sealing”. Press Manual>High Pressure>6 minutes. It will take ~6 minutes to get up to pressure.
When the rice has finished cooking, the Instant Pot will beep and switch to ”keep warm”. Press the keep warm/off button until the Instant Pot turns off. Allow it to sit for 10 minutes and then flip the switch to “venting” to release any remaining pressure. Carefully open the lid.

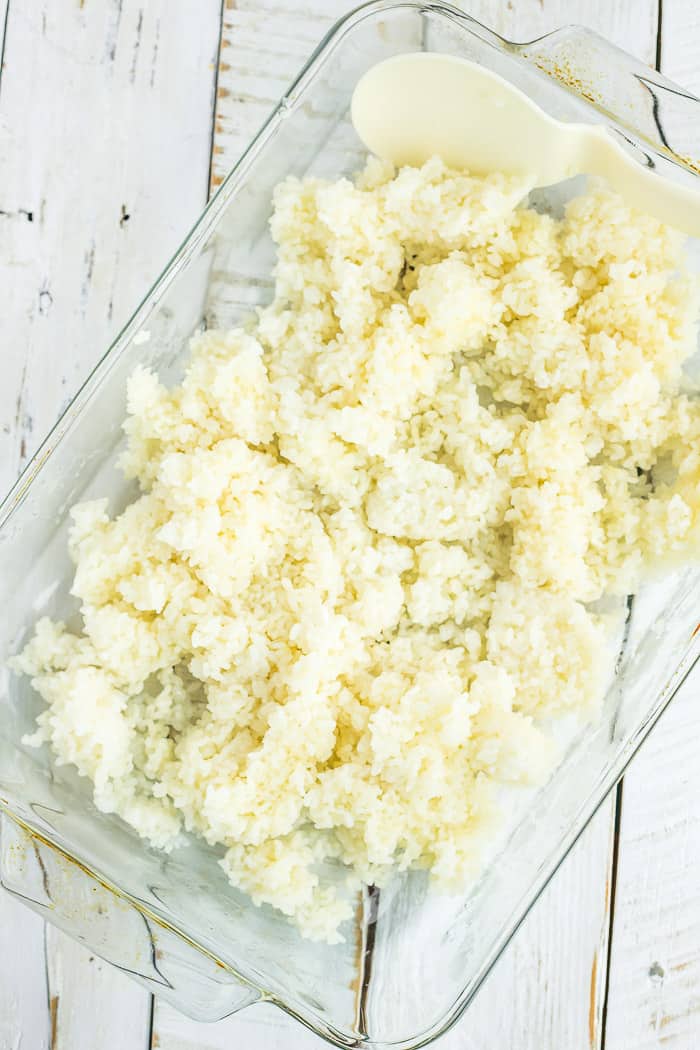
Using a rice paddle or large wooden spoon, carefully remove the rice by “cutting” into it at a 45-degree angle, and place the rice in a large shallow glass or wooden dish.
Slowly drizzle the vinegar mixture over the rice, and gently toss the rice with the rice paddle or wooden spoon in the dish to coat the grains.
Allow the rice to cool to room temperature. Pro tip: if you’re in a rush, you can use a small fan aimed at the container to cool the sushi rice more quickly.
how to store and reheat
Storing Leftovers: Allow the rice to cool and store covered leftovers in the fridge for 4-5 days.
Reheating Leftovers: I do not recommend reheating leftover sushi rice. It is meant to be handled and used cold.
Freezing Leftovers: Rice freezes very well. Allow it to fully cool and then transfer to freezer-safe storage. I love freezing leftover rice in these reusable silicone bags.
Pro Tips/Recipe Notes
- Don’t skip the step of rinsing the uncooked rice either in a fine-mesh strainer or a rice rinsing bowl. Sushi rice is very sticky and rinsing multiple times removes the excess starch from the dry rice.
- Look for “unseasoned rice vinegar” instead of seasoned or sushi vinegar which will have added salt or sugar.
- This recipe used (American) measuring cups and not a rice cup.
- Allow rice to fully cool before rolling any sushi.
- Carefully fold in the sushi vinegar with a wooden spoon or plastic rice paddle to avoid breaking the grains. A metal spoon can react with the vinegar and alter the taste of the finished product.

Instant Pot Sushi Rice
Ingredients
- 2 cups sushi rice {uncooked}
- 1/4 cup unseasoned rice vinegar
- 1/2 tsp sea salt
- 1.5 tsp sugar
- 2 cups water
Instructions
- In a fine mesh strainer or rice washing bowl, rinse rice multiple times until water runs clear.2 cups sushi rice
- Allow the rice to dry a bit in the strainer for 5-15 minutes.
- Combine vinegar, salt, and sugar in a small saucepan and heat on medium-low heat until sugar/salt has dissolved. Do not boil. Set aside to cool.1/4 cup unseasoned rice vinegar, 1/2 tsp sea salt, 1.5 tsp sugar
- In the insert of the Instant Pot, add rice and water. Gently shake until rice is under the water.2 cups water
- Lock the lid into place and set the steam release handle (valve on top) to “Sealing”.
- Press Manual>High Pressure>6 minutes. It will take ~6 minutes to get up to pressure.
- When the rice has finished cooking, the Instant Pot will beep and switch to ”keep warm". Press the keep warm/off button until the Instant Pot turns off.
- Allow it to sit for 10 minutes and then flip the switch to "venting" to release pressure. Carefully open the lid.
- Using a rice paddle or wooden spoon, carefully remove the rice by "cutting" into it at a 45 degree angle, and place rice in a large shallow glass or wooden dish.
- Slowly drizzle the vinegar mixture over the rice, and gently toss the rice with the rice paddle or wooden mixing spoon to coat the grains.
- Allow to cool to room temperature. Pro tip: if you're in a rush, you can use a small fan to cool the sushi rice more quickly.
Notes
-
- Don’t skip the step of rinsing the rice either in a fine-mesh strainer or a rice rinsing bowl. Sushi rice is very sticky and rinsing multiple times removes the excess starch from the dry rice.
-
- Look for “unseasoned rice vinegar” instead of seasoned or sushi vinegar which will have added salt or sugar.
-
- This recipe used measuring cups and not a rice cup.
-
- Allow rice to fully cool before rolling any sushi.
Nutrition
Nutrition information is automatically calculated, so should only be used as an approximation.