As an Amazon Associate, I earn from qualifying purchases.
Make this Instant Pot Coconut Rice for a fast weeknight side dish that the whole family will love! This creamy rice is delicious even after a few days in the fridge, making it great for weekly meal prep. No pressure cooker? You’ll also find stovetop instructions in the recipe.

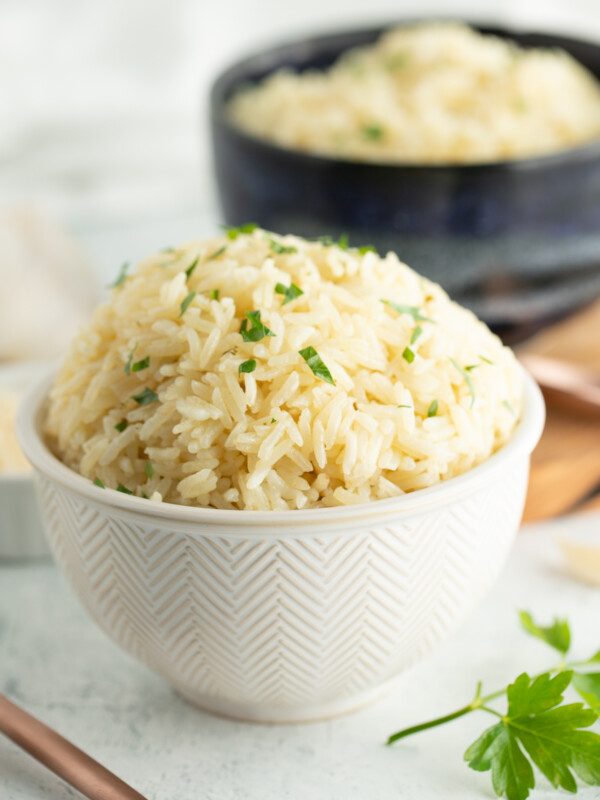
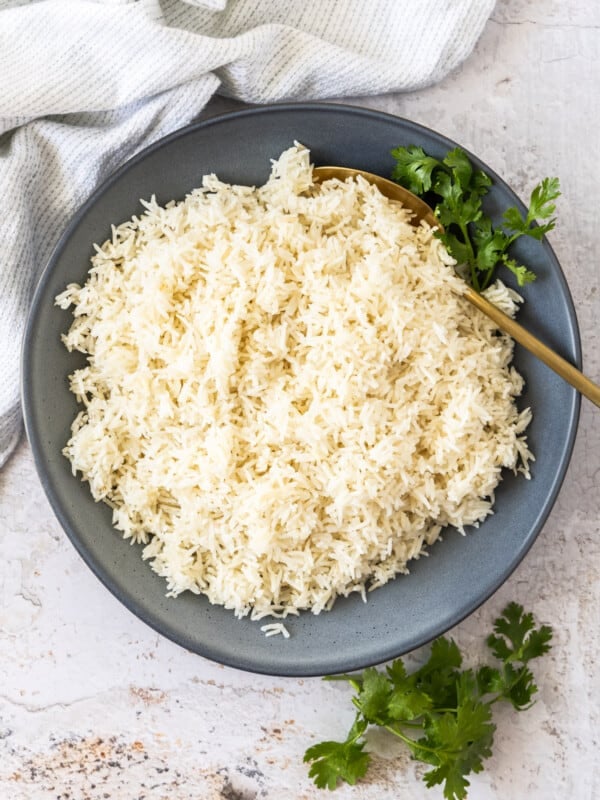
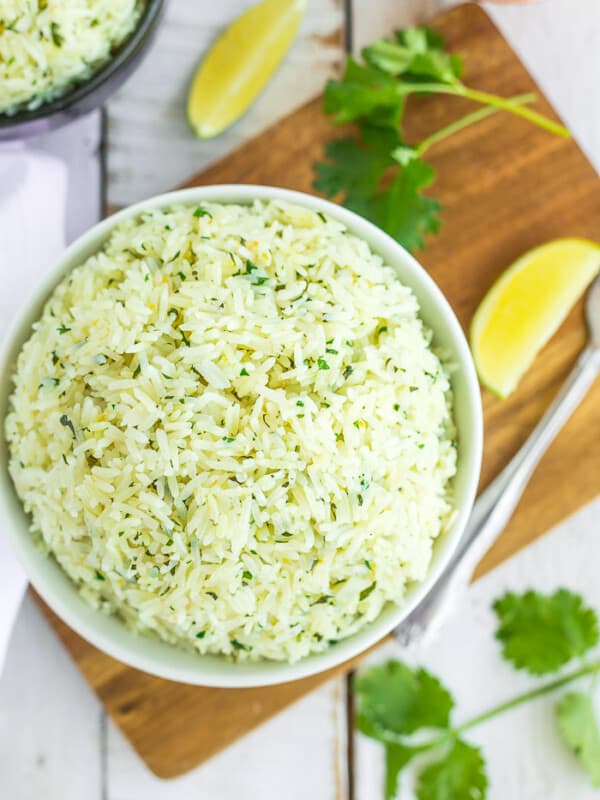
This coconut rice is perfectly cooked, soft, and fluffy with a subtle hint of coconut.
It’s packed with lots of great flavor, and it is SO easy to make. If you loved our garlic butter rice, you have to make this dish too!

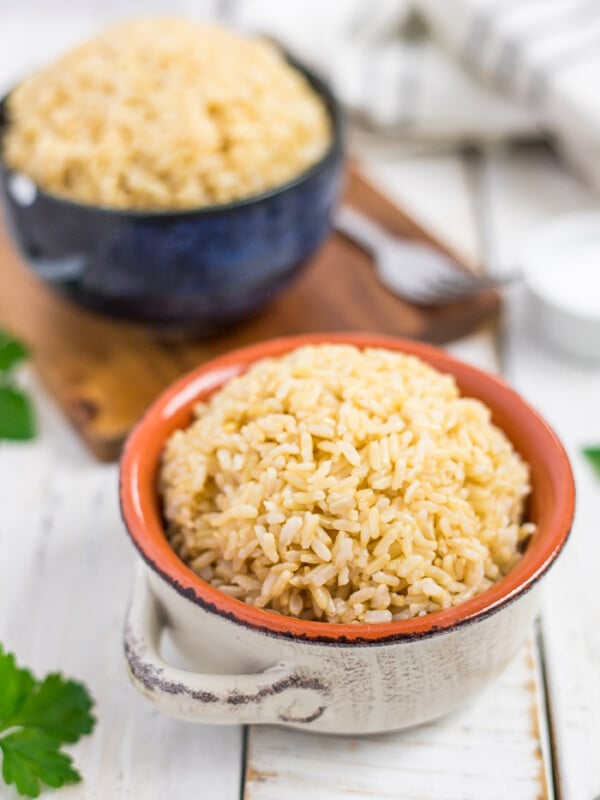
- You can use jasmine or basmati rice in this recipe. If you sub in basmati rice, decrease the cooking time to 5 minutes.
- You’ll want to use canned coconut milk (lite, regular, or full-fat) and not coconut CREAM. Using coconut milk from a carton? Skip the step of heating the coconut milk, and increase the rice by 2 tbsp.
- Use water or sub in your favorite broth for even more flavor.

Pro Tips/Recipe Notes
- You’ll want to buy canned coconut milk (lite, regular, or full-fat) and not coconut CREAM.
- If you skip the step of preheating the can of coconut milk, the milk may turn grainy (curdled) while cooking. It will still be safe to eat, but not very appealing to look at. Just close your eyes while eating and go live your best life.
- You can double or triple this recipe. The cooking time will remain the same no matter how much rice you make. That being said, the more rice you make, the longer the Instant Pot will take longer to come up to pressure and depressurize.
- Each cup of uncooked rice will yield three cups of cooked rice.
- Do not use the cup markings on the inside of the Instant Pot to measure your dry rice or water. Use a dry ingredient cup for the rice and a liquid measuring cup for the water/broth.
- With a stainless steel Instant Pot insert, some rice will stick to the bottom and sides after cooking. Simply soak the insert in warm water for a bit and then clean it as usual.

Instant Pot Coconut Rice

Make this Instant Pot coconut rice for a fast weeknight side dish that the whole family will love! This creamy rice is delicious even after a few days in the fridge, making it great for weekly meal prep. No pressure cooker? You’ll also find stovetop instructions in the recipe.
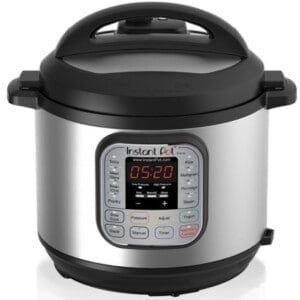
Equipment
Ingredients
- 1 1/3 cup jasmine rice
- 13 oz coconut milk {not coconut cream}
- 1/2 tsp sea salt
- 3/4 cup water {or broth}
Instructions
- Rinse uncooked rice in a fine-mesh strainer under cool water until the water runs clear. (about ~2 minutes)1 1/3 cup jasmine rice
- Fill a saucepan with 3 inches of water. Place the opened can of coconut milk in the water and heat over medium heat for 3 minutes, or until the milk solids have melted.13 oz coconut milk
- Combine warmed coconut milk, water, salt, and rinsed rice to the Instant Pot insert.13 oz coconut milk, 3/4 cup water, 1/2 tsp sea salt
- Lock the lid into place and set the steam release handle (valve on top) to “Sealing”. Press Manual>High Pressure>6 minutes.
- When the rice has finished cooking, the Instant Pot will beep and switch to ”keep warm". Turn it to "off".
- Allow it to sit for 5-10 minutes and then flip the switch to "venting" to remove any remaining pressure.
- Carefully open the lid and fluff the rice with a fork or rice scoop.
Notes
- You can use jasmine or basmati rice in this recipe. If you sub in basmati rice, decrease the cooking time to 5 minutes.
- Use canned coconut milk (lite, regular, or full-fat) and not coconut CREAM.
- Without preheating the canned coconut milk, the milk may turn grainy (curdled) when cooked. It will still be safe to eat, but not very appealing to look at.
- Using coconut milk from a carton? Skip the heating step, and increase the rice by 2 tbsp.
- Rinse rice in a fine mesh strainer. Set aside to drain.
- Pour canned coconut milk (including solids) into a medium saucepan. Add water and salt and bring to a boil.
- Stir in the rice and let the water come to a near boil. Stir, place the lid on, and turn the heat down to low.
- Check the rice at 20 minutes to see if all liquid has been absored. Stir again and continue to cook covered until it has reached your desired texture.
- Once finished, turn off the heat and allow it to sit covered for 2-3 minutes before fluffing it with a fork and serving.
Nutrition
Serving: 0.5cupCalories: 113kcalCarbohydrates: 25gProtein: 2gFat: 1gSaturated Fat: 1gSodium: 147mgPotassium: 35mgFiber: 1gSugar: 1gCalcium: 9mgIron: 1mg
Nutrition information is automatically calculated, so should only be used as an approximation.
Tried this recipe?Mention @sustainablecooks or tag #sustainablecooks!


This recipe is soooo good and so simple! We’ve tried making coconut milk before on the stovetop, using both coconut milk and coconut milk powder, and the texture is always off. This is a foolproof instant pot recipe that I’ve made countless times now, and it always turns out perfect! And the best part is that my kids love it too!
Awww, Jenny, I love hearing that! I adore giving parents a recipe “win”, and I’m honored to be part of your meal times. Thanks so much for taking the time to leave a review.
I’ve always been wanting to try coconut rice and this recipe is so good. It gave me a good chance to try out my instant pot too. So easy!
I’ve been on the lookout for an easy coconut rice recipe and finding one for the Instant Pot makes me happy. It’s been on repeat ever since. This is so good that my husband asked me to show him how to make it, which is saying something because he doesn’t typically use the Instant Pot when he cooks.
I almost forgot, or actually I forgot until right after I hit the summit button. Thank you so much for the canned coconut milk hack. I usually blend canned coconut milk in my Vitamix to make is smooth, which means I then have to clean more dishes. Now I can easily prep the can for any recipe with your technique!
So glad you enjoy it so much, and thank you for taking the time to leave a review!
This rice is amazing! Are the nutrition facts for one half cup cooked or uncooked rice? Thanks!
Cooked! 🙂
So glad you enjoyed it.