
As an Amazon Associate, I earn from qualifying purchases.
My homemade, no-pectin apple jelly recipe is like a little taste of Autumn in every single bite! Whether you’re new to canning or a total pro, you’ll find my step-by-step tutorial easy to follow, and it delivers delicious results. This from-scratch recipe will help you build a lovely stash of homemade jelly.
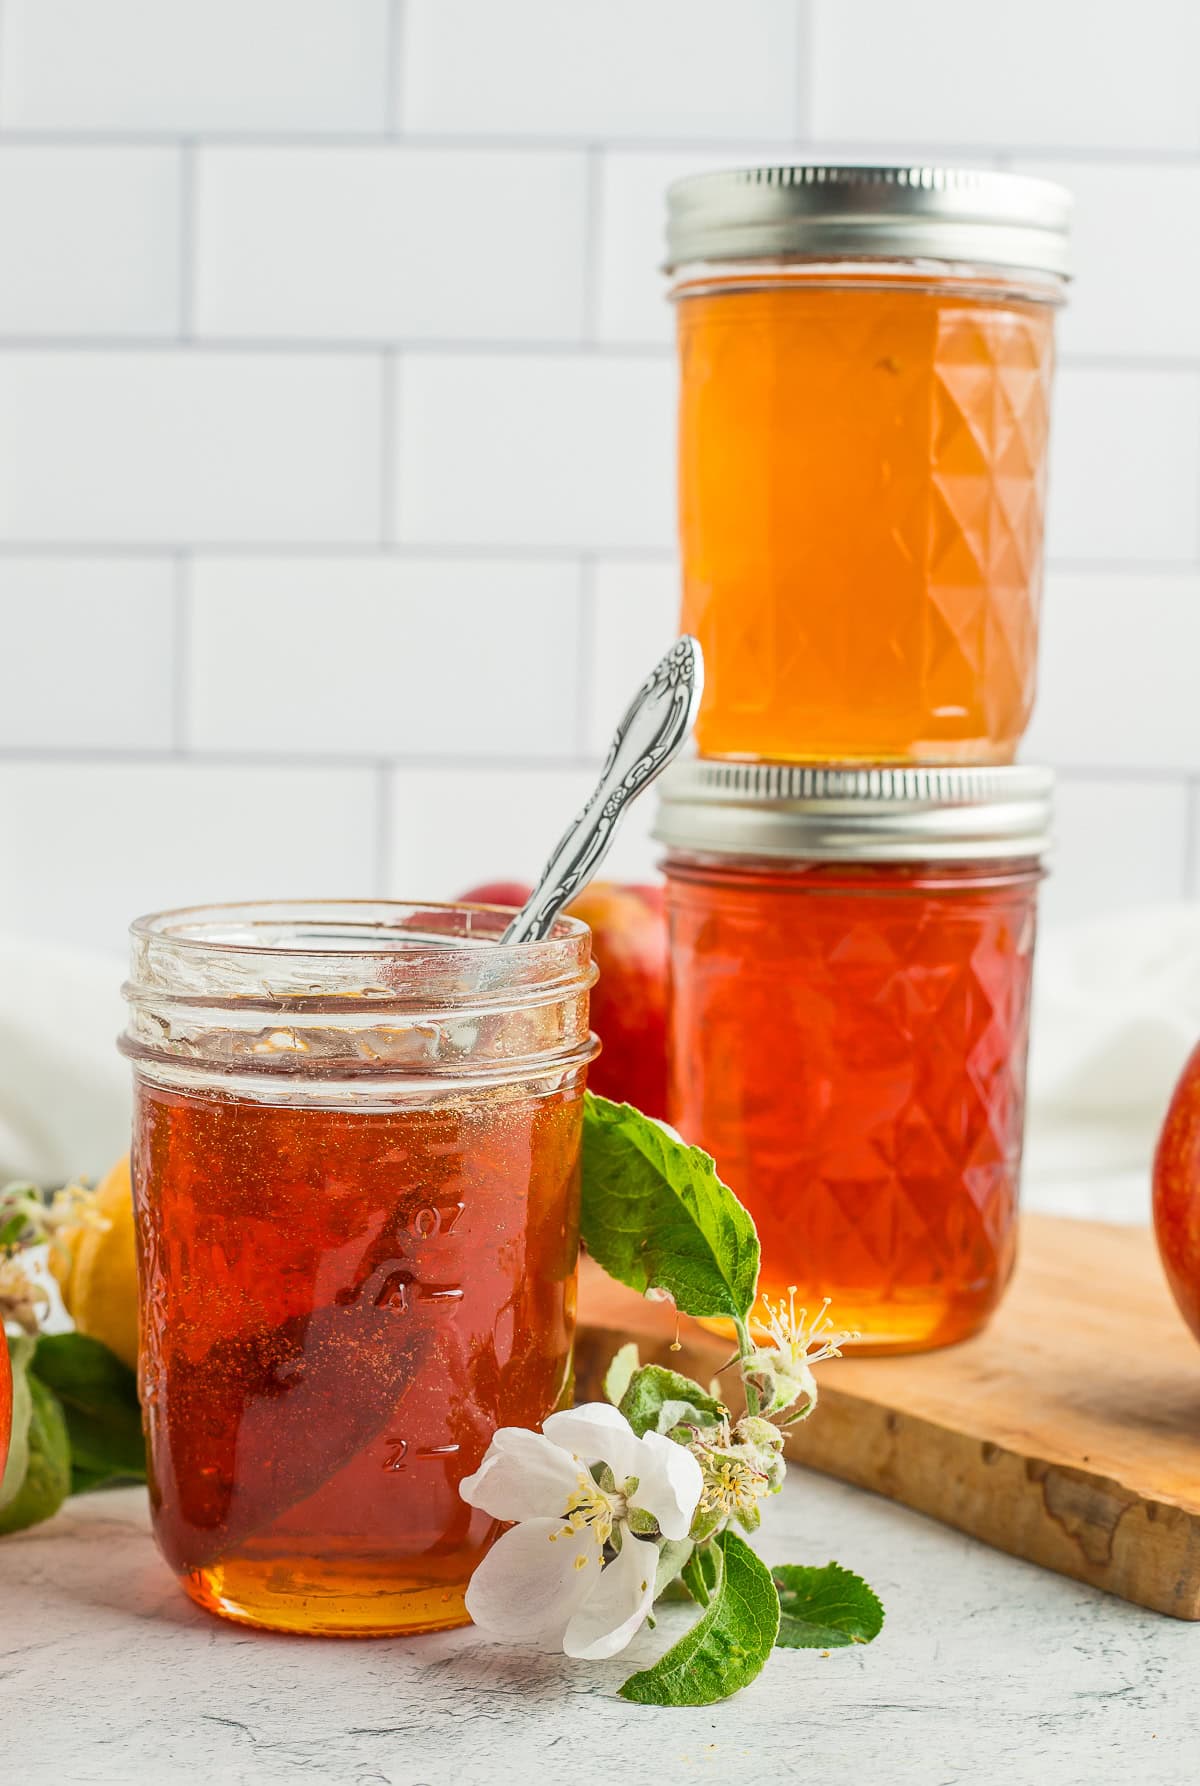
When you’re flush with fresh apples and need a way to use some, behold, the humble homemade apple jelly! Even better, you only need three ingredients and pectin is not one of them!
So put on some comfy shoes, cue up your favorite podcast (true crime for me!), music, or audiobook, and let’s chop some apples and make some homemade jelly!
Let’s Make some Apple Jelly!
*I’ll walk you through it here with some photos and tips, and you’ll also find a printable recipe card at the bottom of the post with exact measurements, etc. You can also click “jump to recipe” to skip down.
Canning Prep
Prepare your water bath canner by filling it with water and setting it on the stove. Turn the burner to high. Once it reaches a boil, reduce it to a simmer. You want to keep the water hot so that everything is ready when the jam is.
Wash and sanitize your jars. You’ll want to keep them warm to avoid having them crack when placed in the canner. You can fill them with hot water or place them on a tray in the oven at 170˚F.
Wash your lids and set them aside in a clean place. You no longer need to simmer lids in water to keep them sterile. Woot!
Making the Apple Jelly
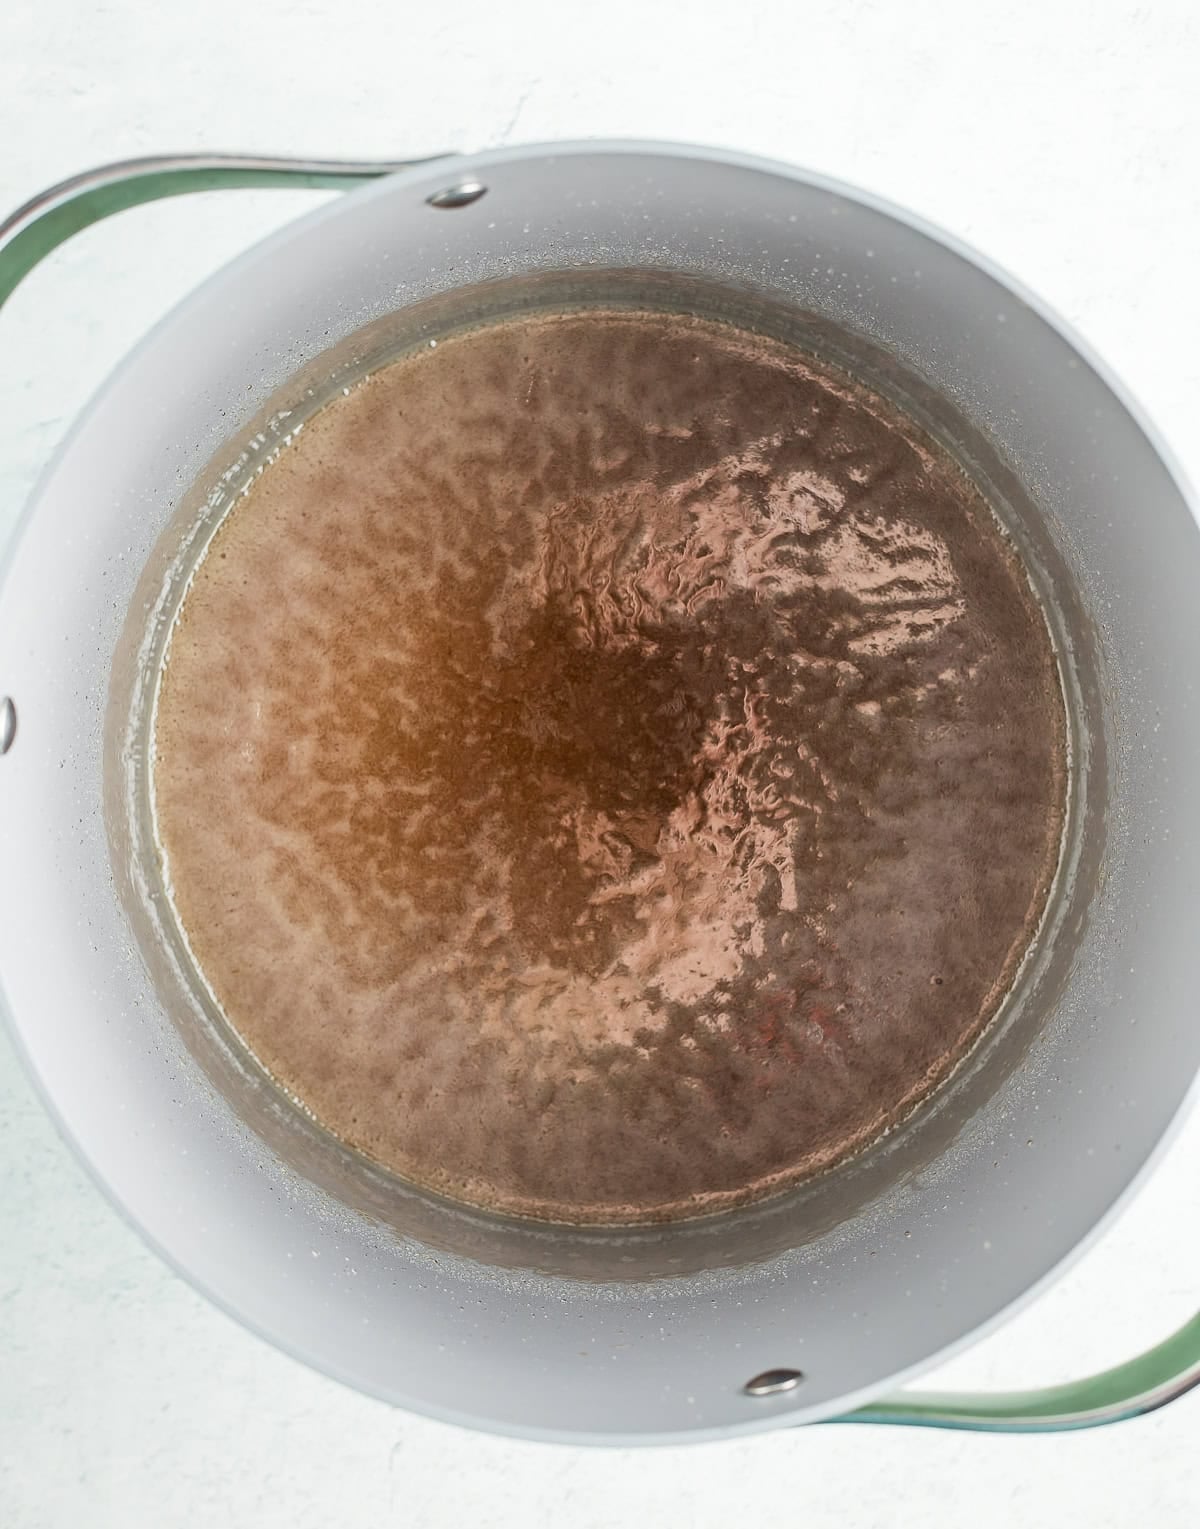
When making all my jam recipes, I use a 6-quart Dutch oven, but for jelly, I switch to the deepest stockpot I have – a big ol’ 12-quart(er). You want something deeper to avoid a boil over while the apples and water are cooking down to create the homemade apple juice base.
If you don’t have a giant stockpot, use the two deepest pots that you have and divide the apples.
Canning the Jelly
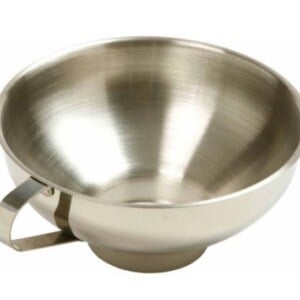
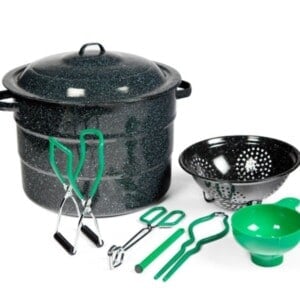
For this part of the process, you’ll want a funnel (this is my favorite) and canning tongs. In a pinch, I’ve used generic silicone cooking tongs, but your life is going to be much easier with actual canning tongs.
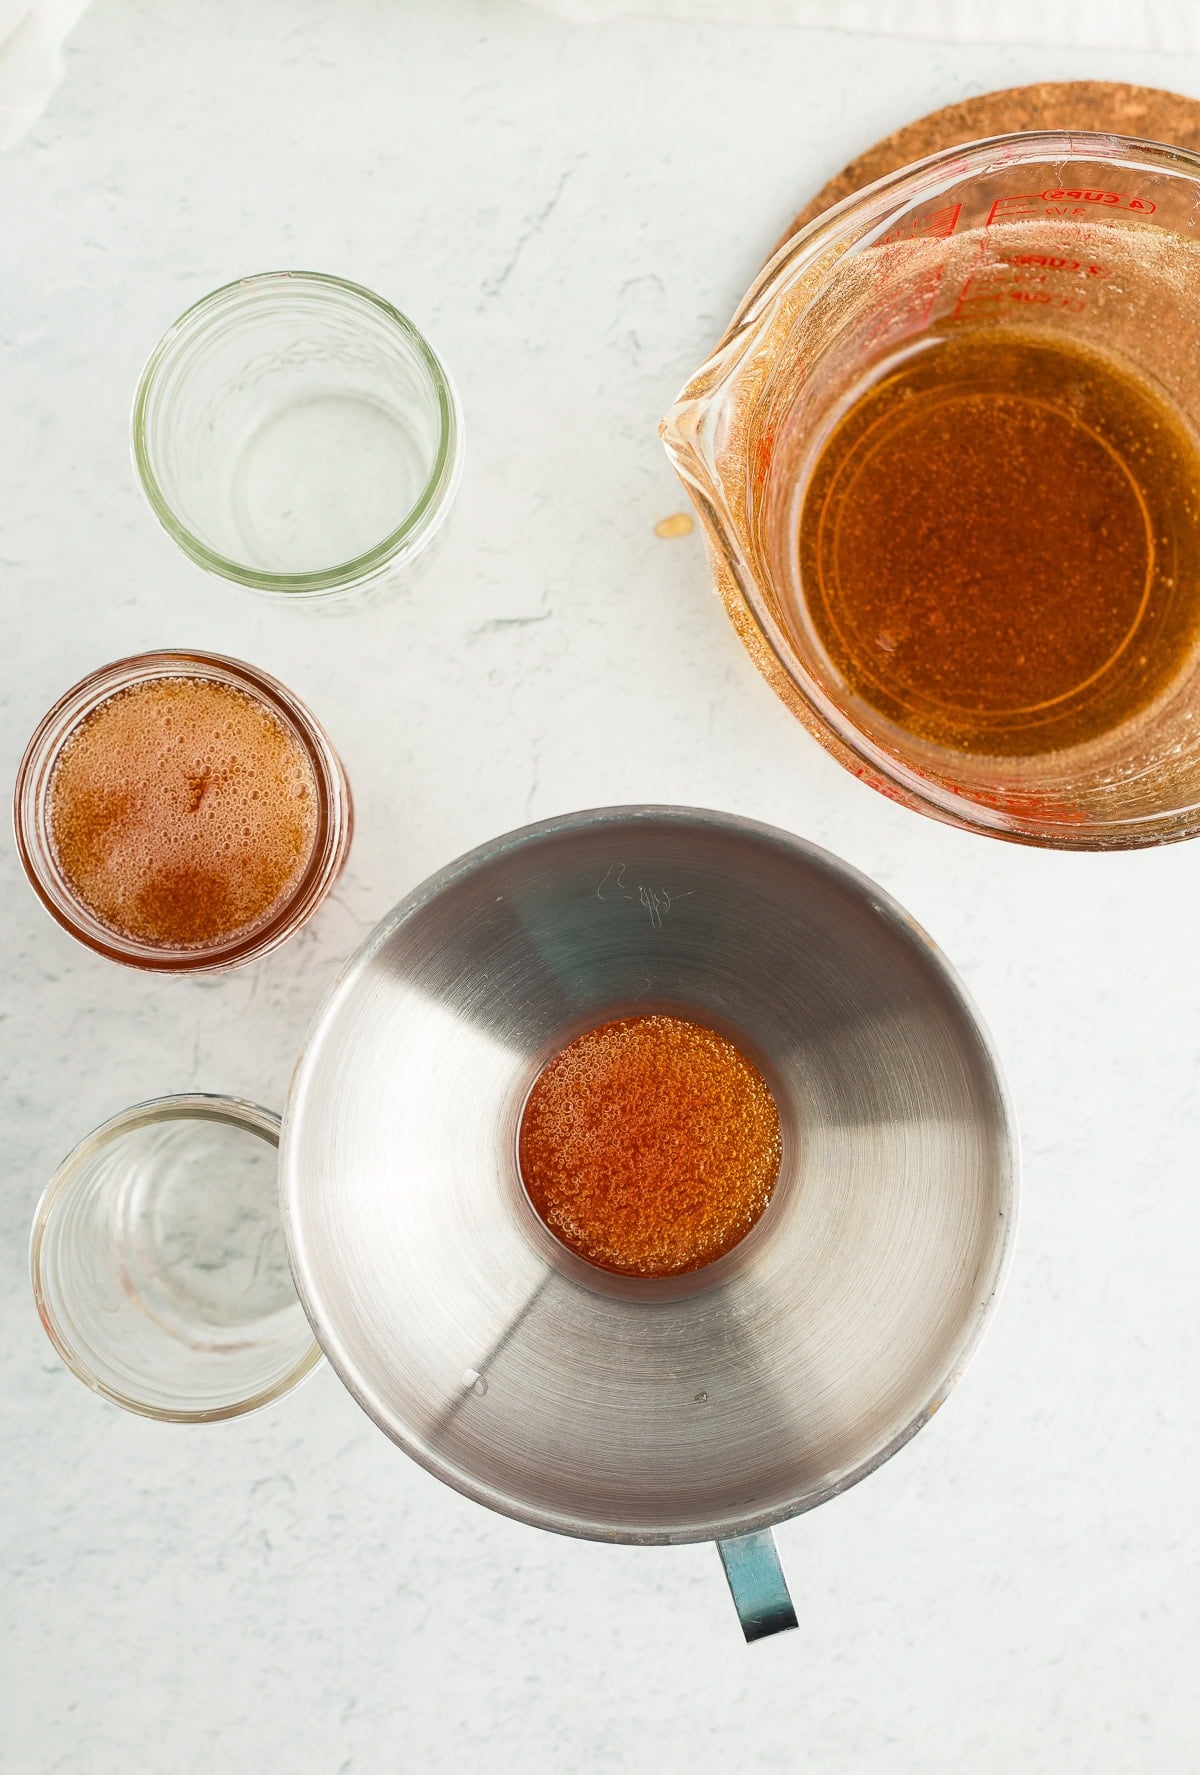
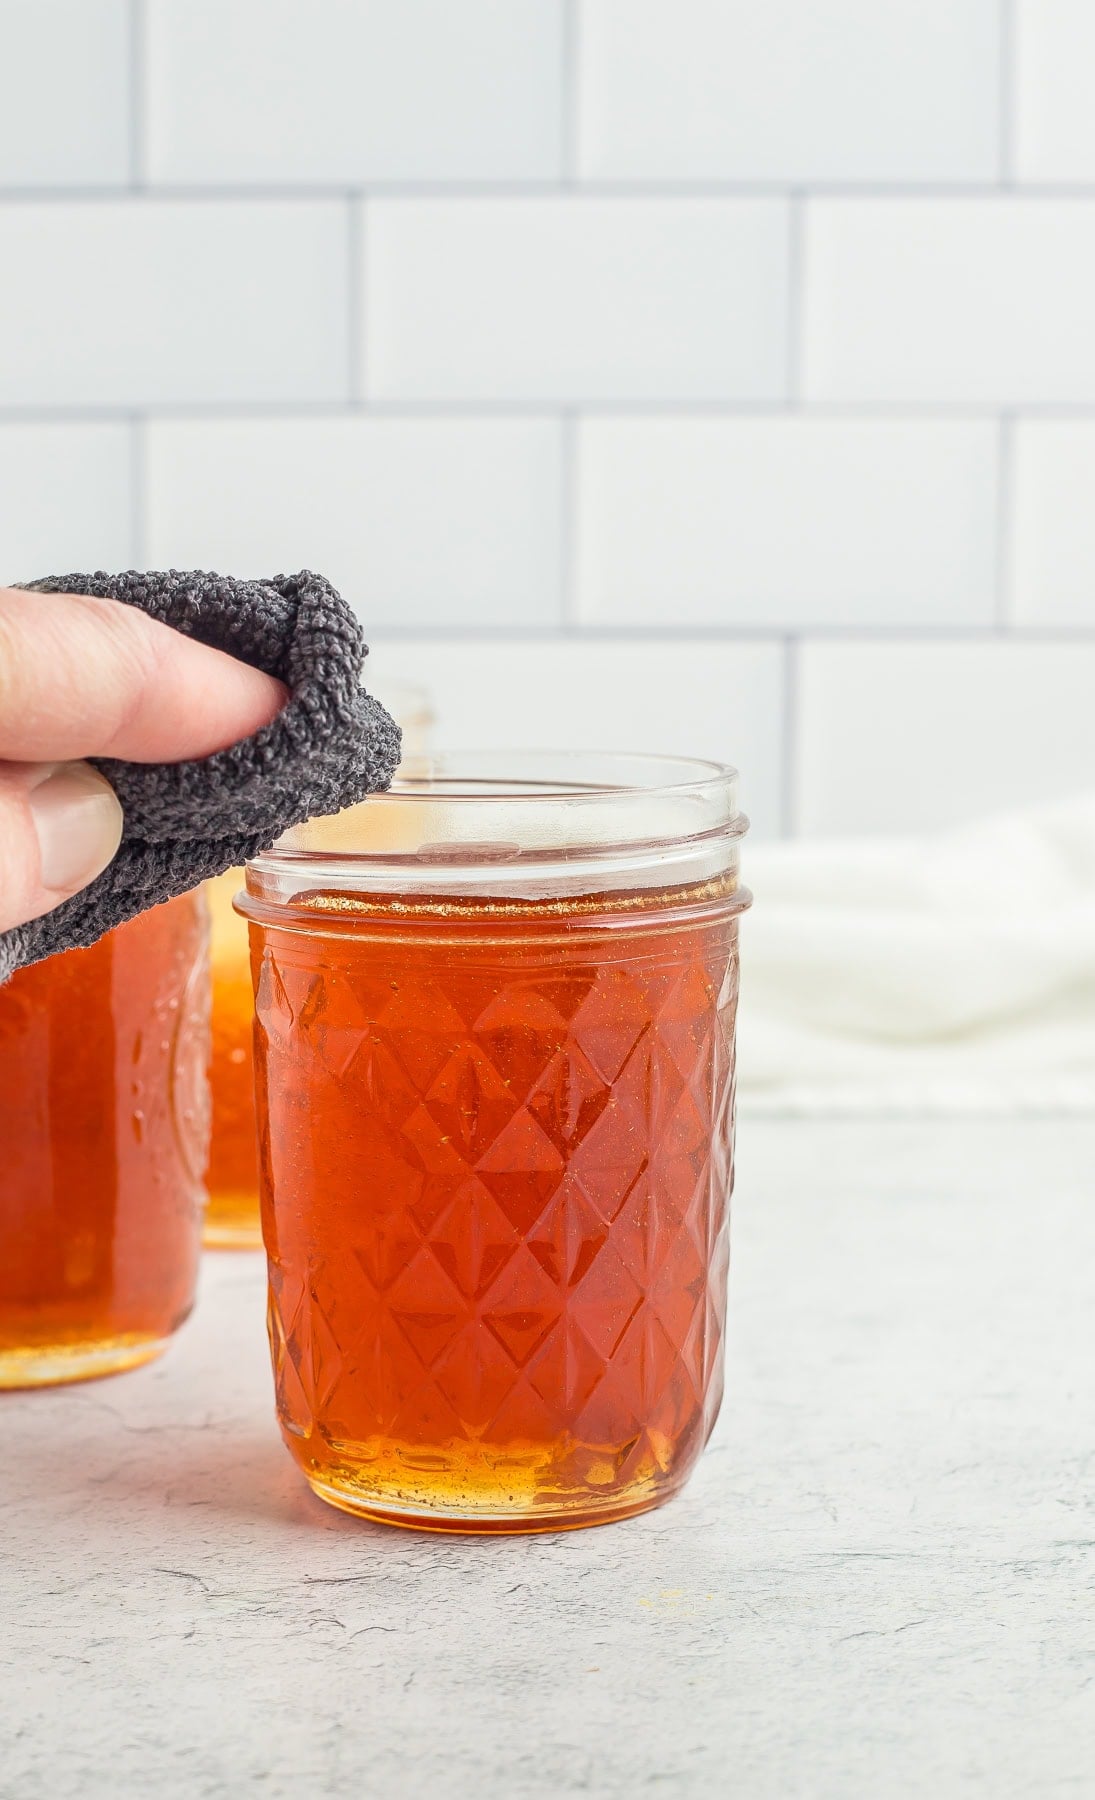
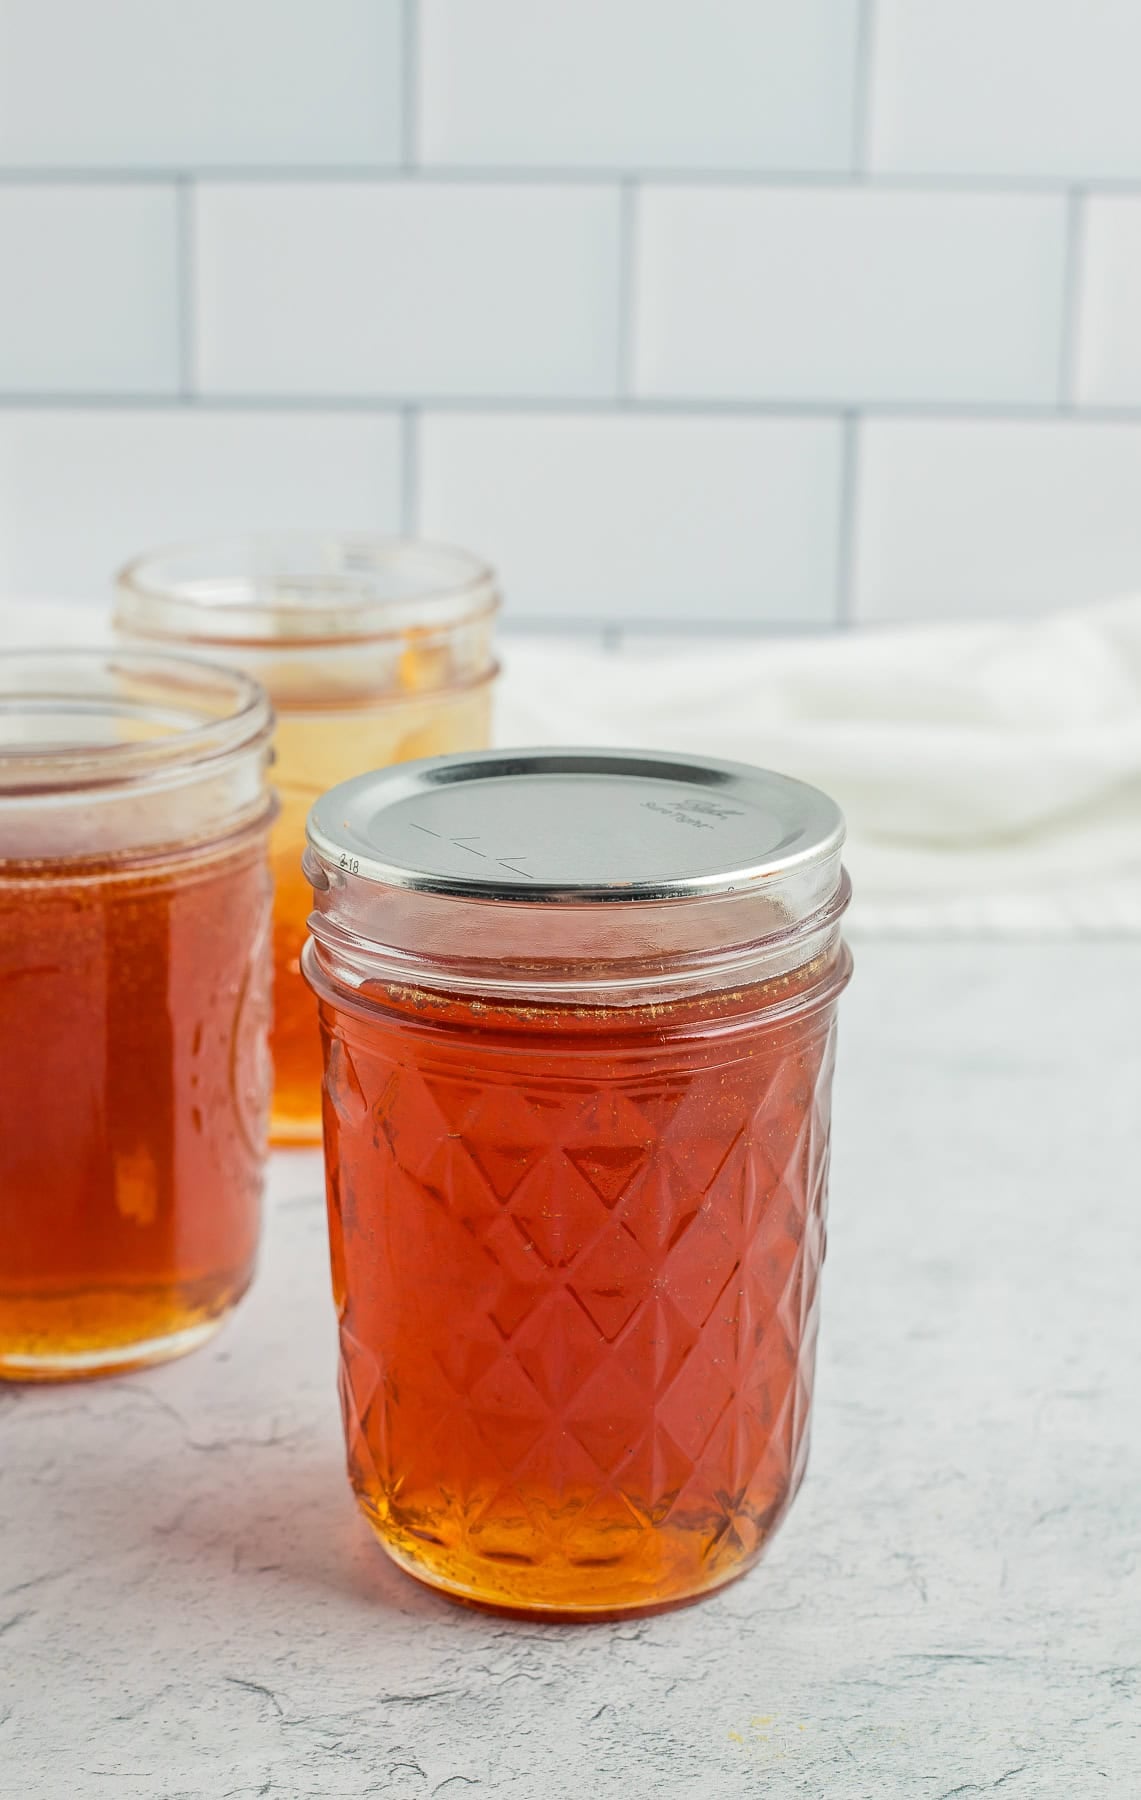
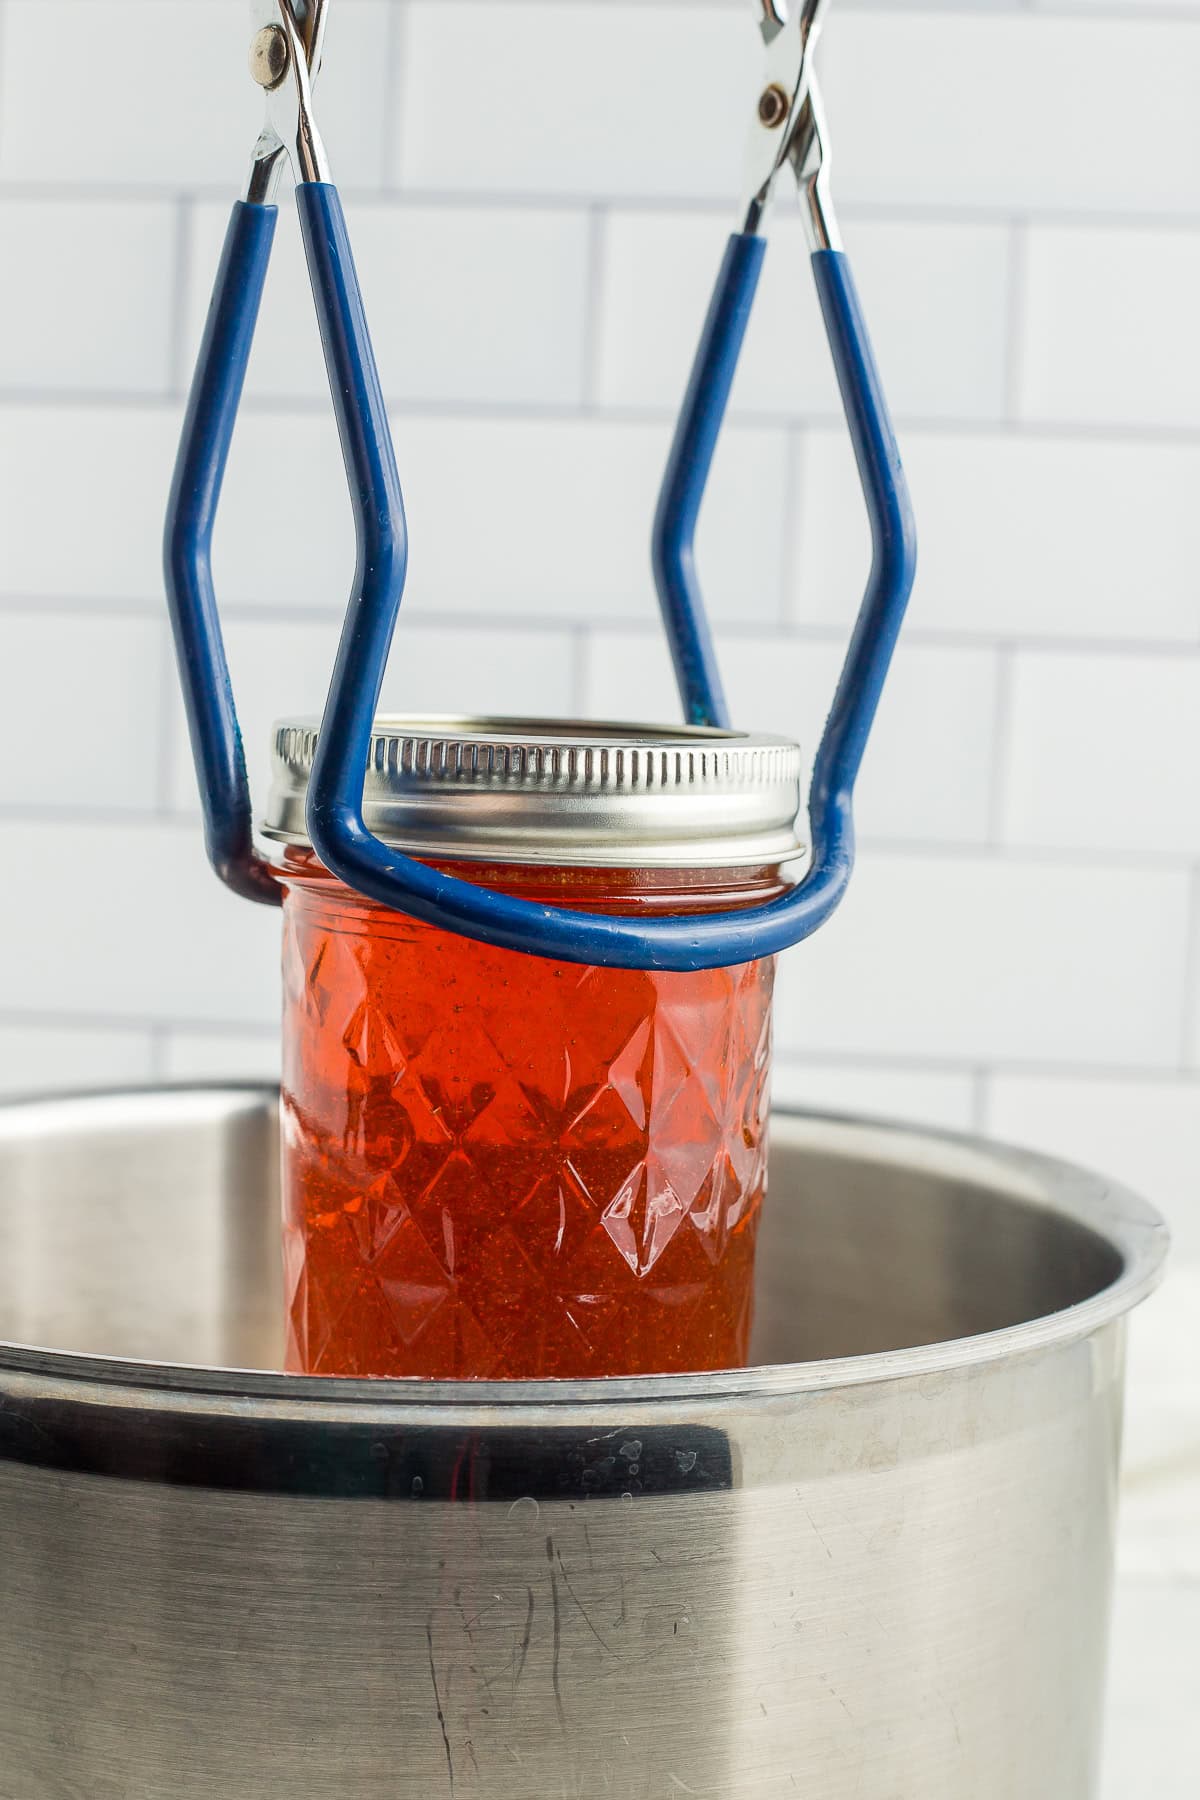
Pro tip: you must have at least 1 inch of water over the tops of the jars for safe canning. Processing times will vary based on altitude. See the chart below.
Processing Times for No-Pectin Apple Jelly
| Processing Time for No-Pectin Apple Jelly | ||||
| Process Times at Altitudes of: | ||||
| Style of Pack | Jar Size | 0-1,000 ft | 1,001-6,000 ft | Aove 6,000 ft |
| Hot | Half-Pints & Pints | 5 min | 10 min | 15 min |
| *Source: National Center For Home Food Preservation | ||||
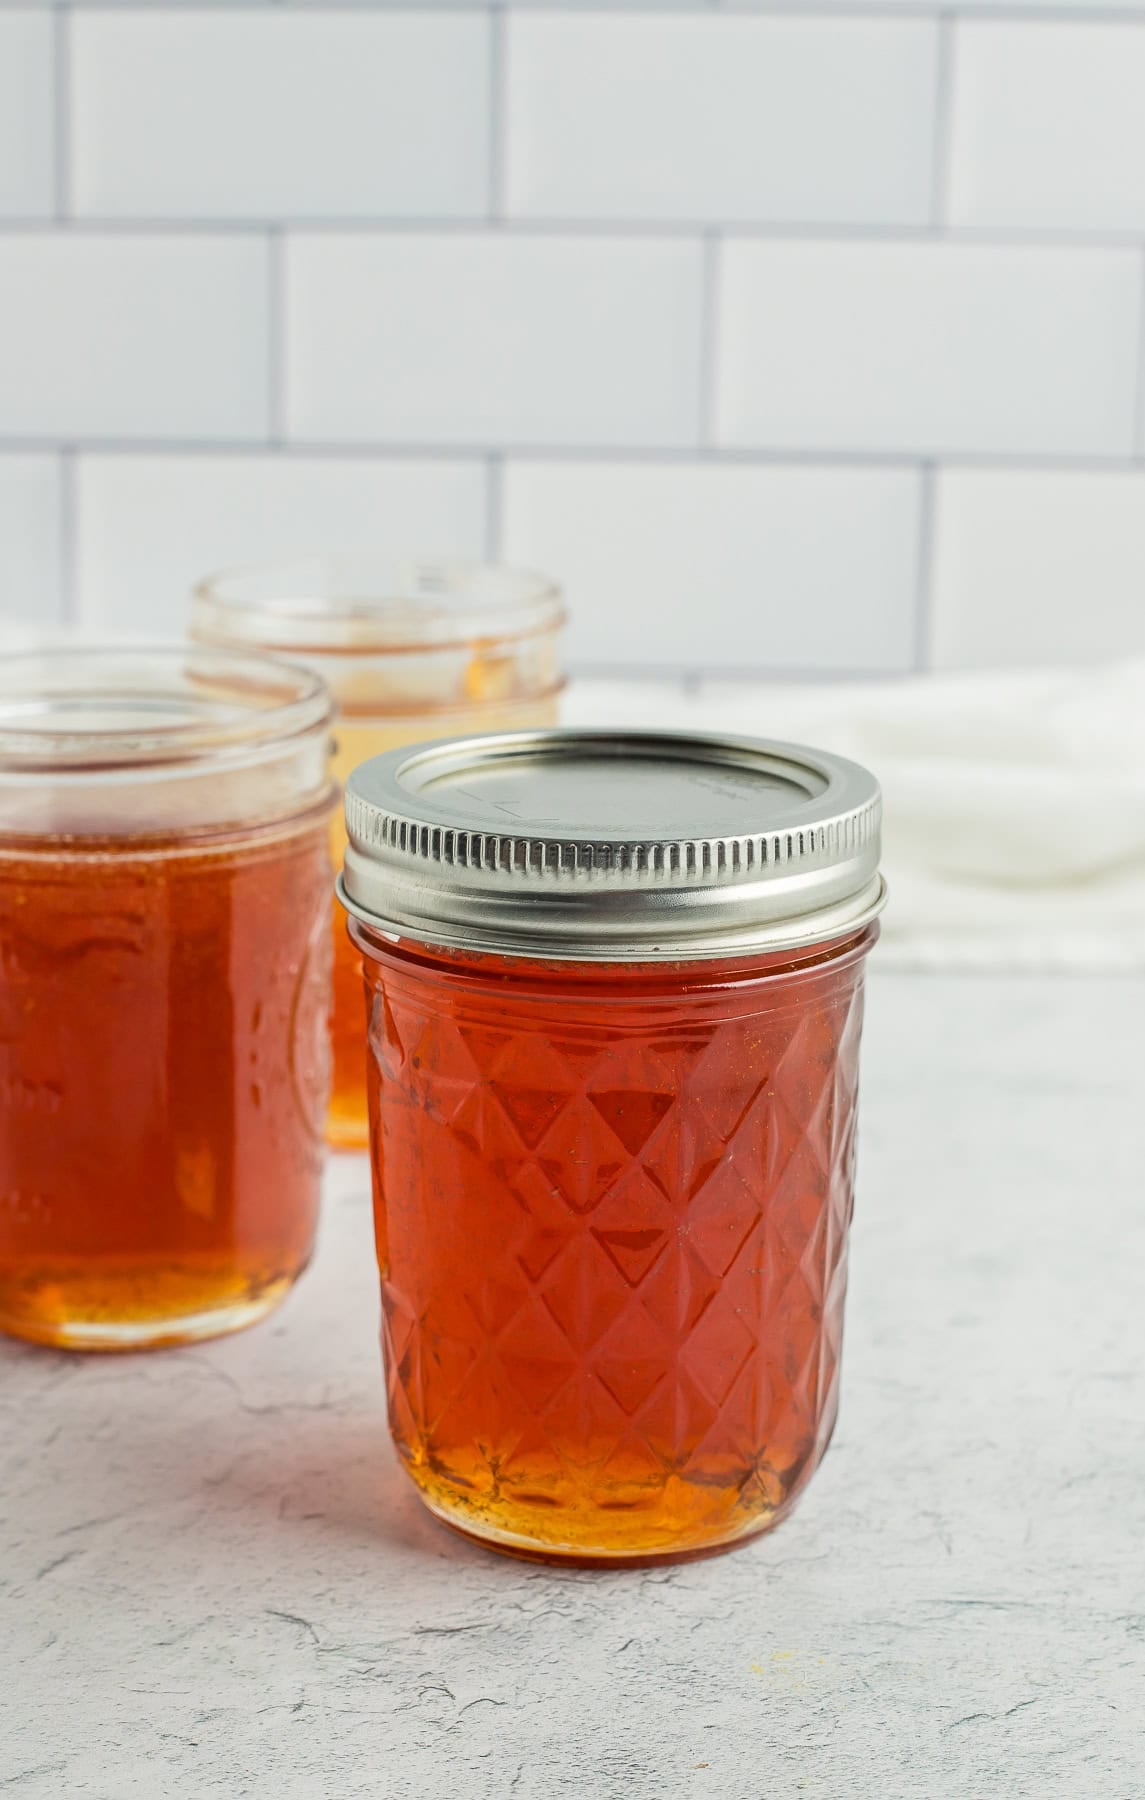
Once the processing time is up, remove the canner from the heat, remove the lid of the canner, and let the canner sit for 5 minutes. Use canning tongs to remove the jars and place them on towels on the counter. Make sure you put them where they can be undisturbed for 12-24 hours.
The lids will likely start to pop within 20-30 minutes of being removed from the water. That popping sound is music to your ears, as it tells you that everything has been sealed. It’s a reward for all your work!
After the jars have rested for about 12 hours, press down in the middle of each lid. If it “gives” at all, the jar didn’t seal. Either enjoy it that day, put it in the fridge, or reprocess it using a brand new lid.
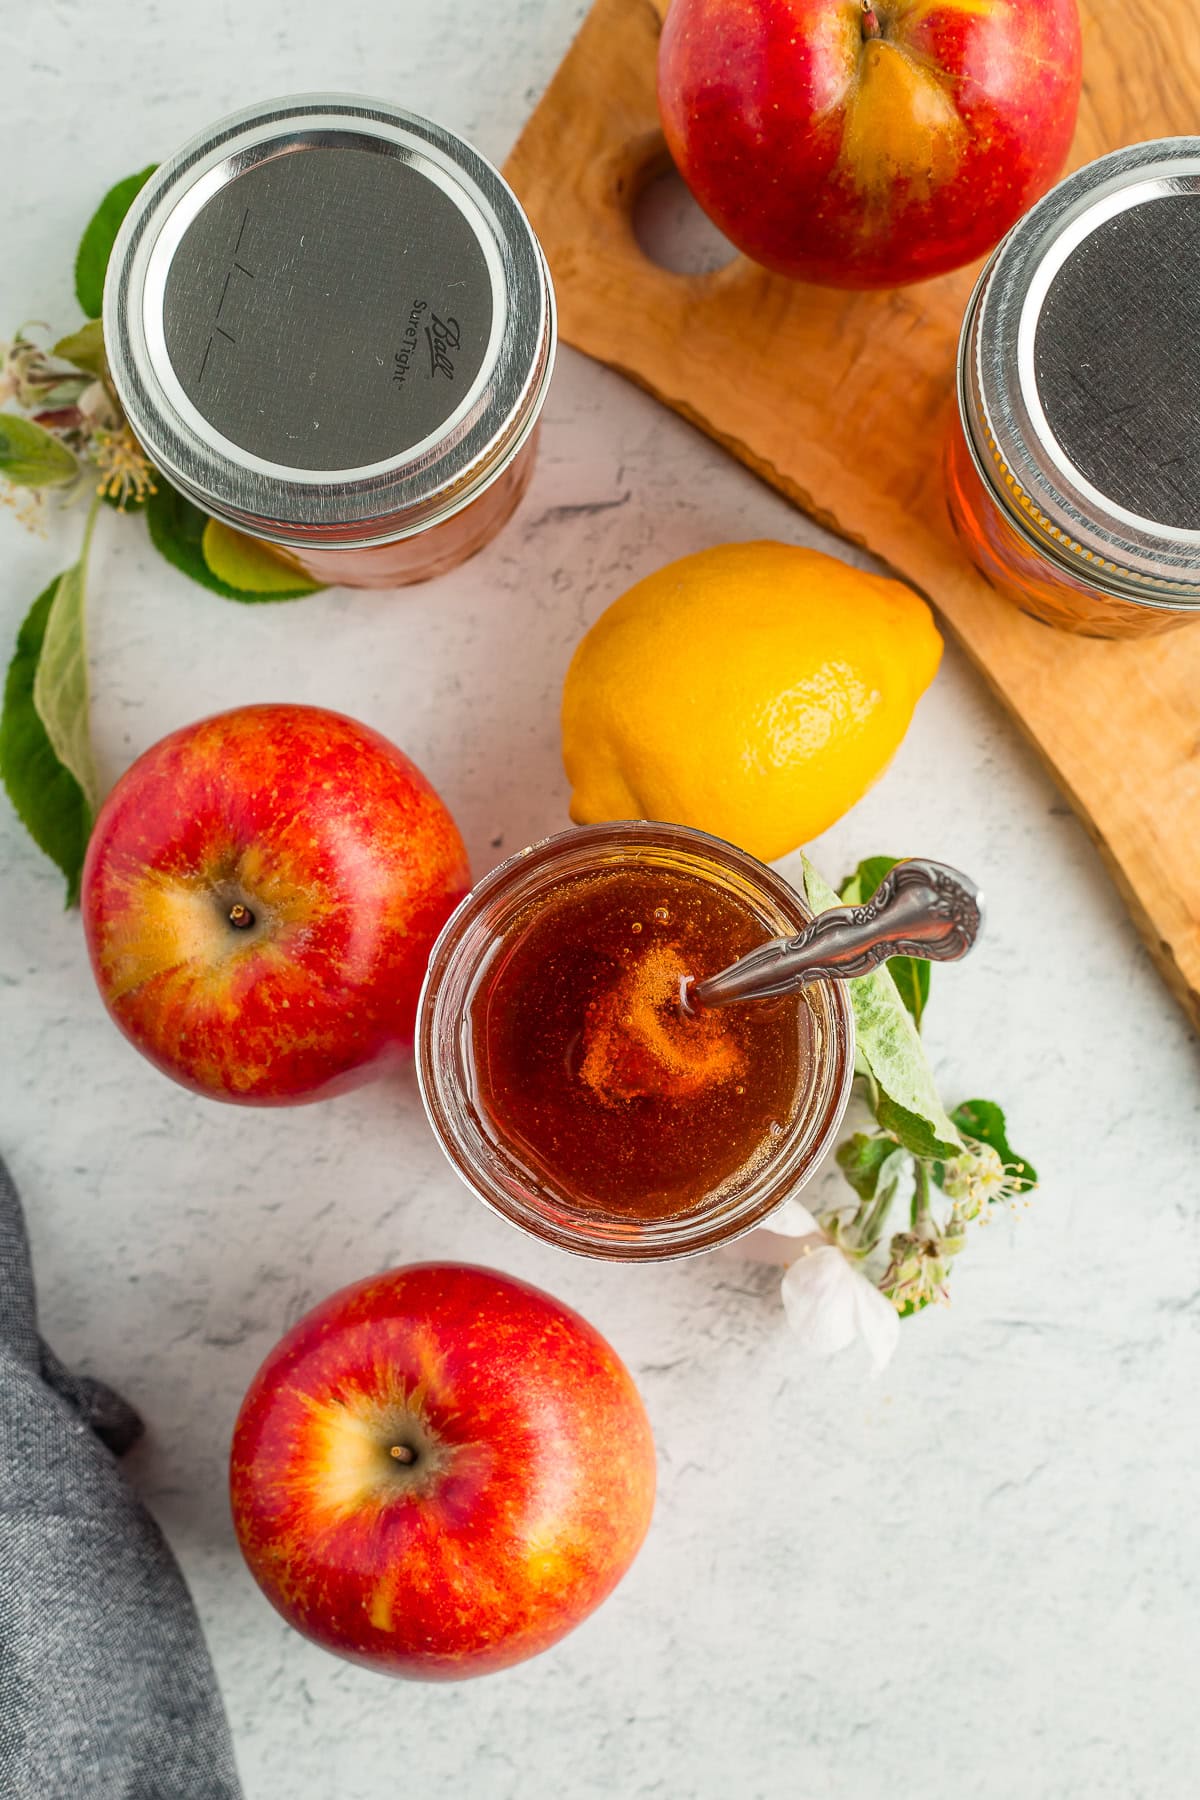
From-Scratch Apple Jelly Recipe
Ingredients
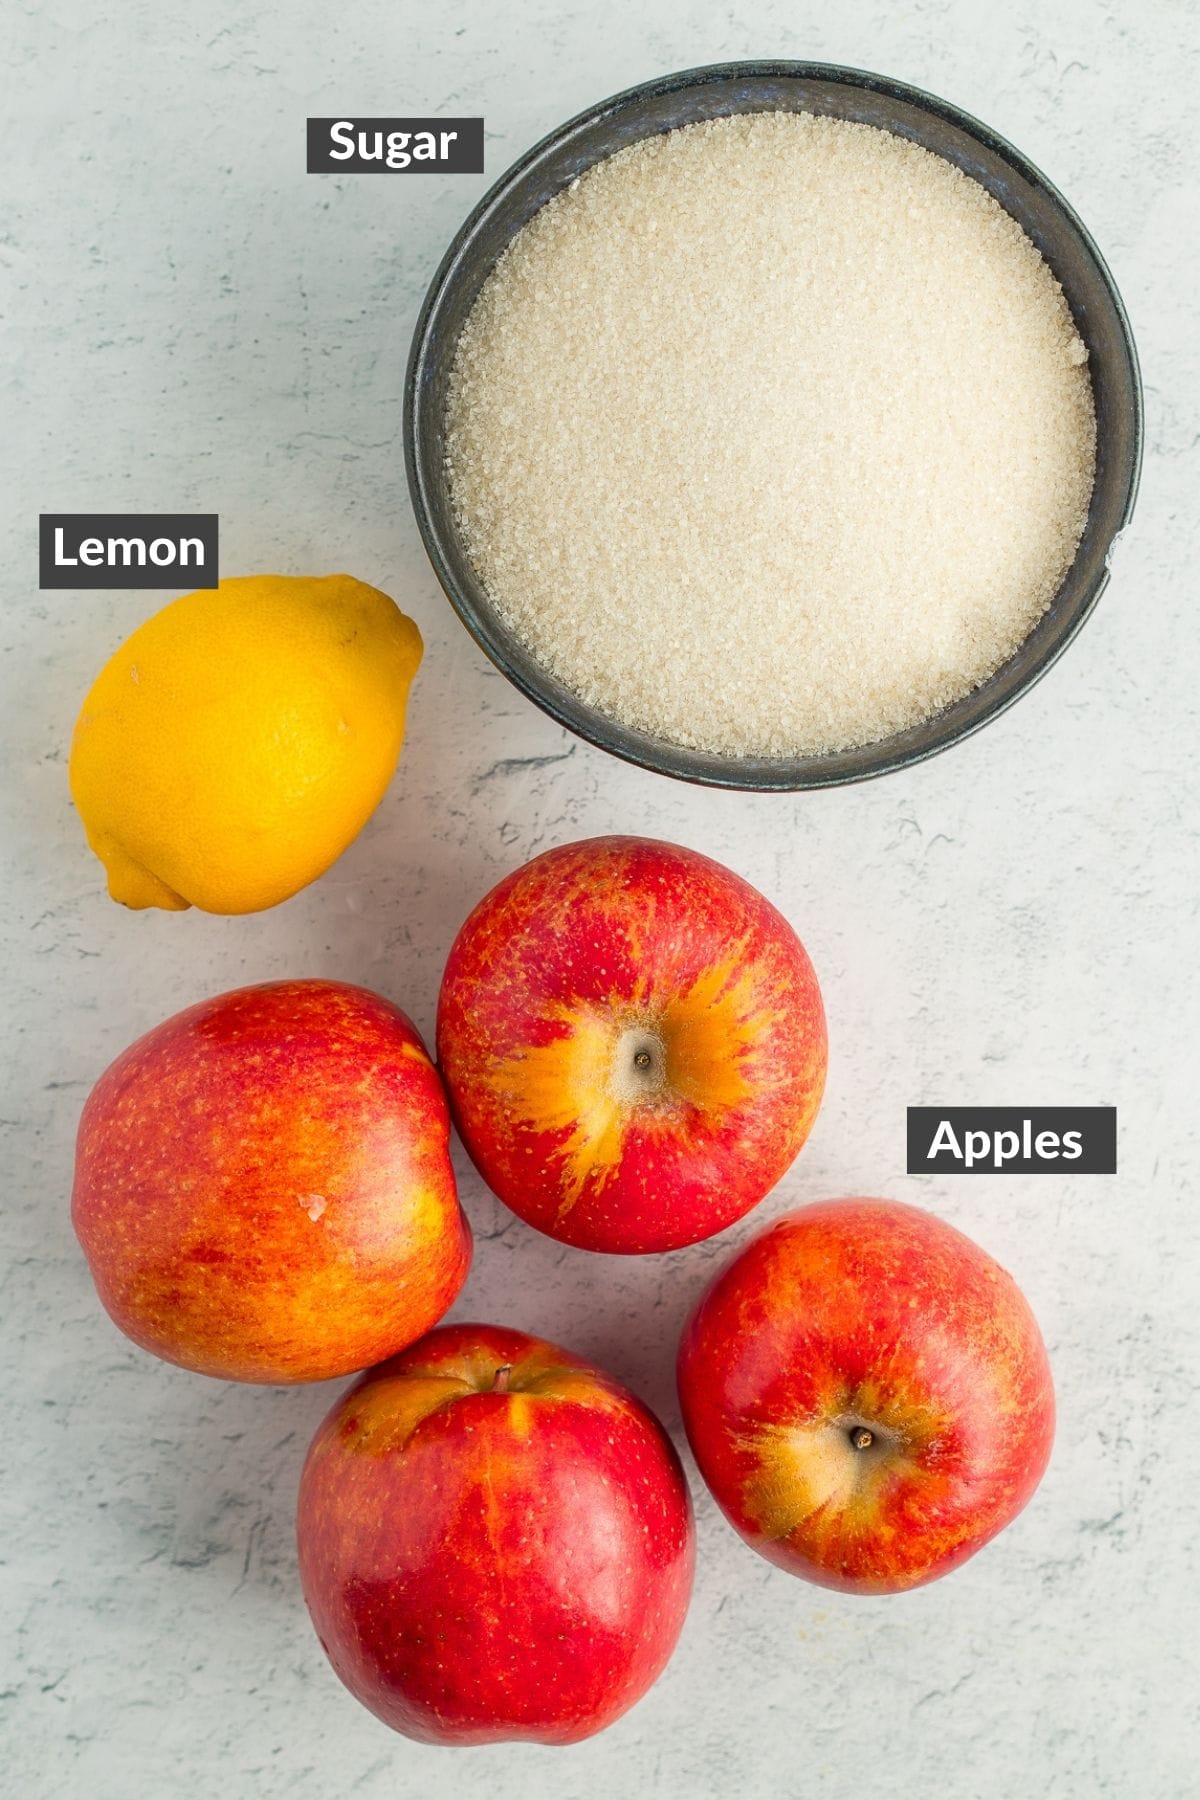
- 3 lbs tart apples {75% ripe, 25% underripe} {~16 small to medium apples}
- 3 cups water
- 2 tbsp fresh lemon juice {strained}
- 3 cups sugar
Instructions
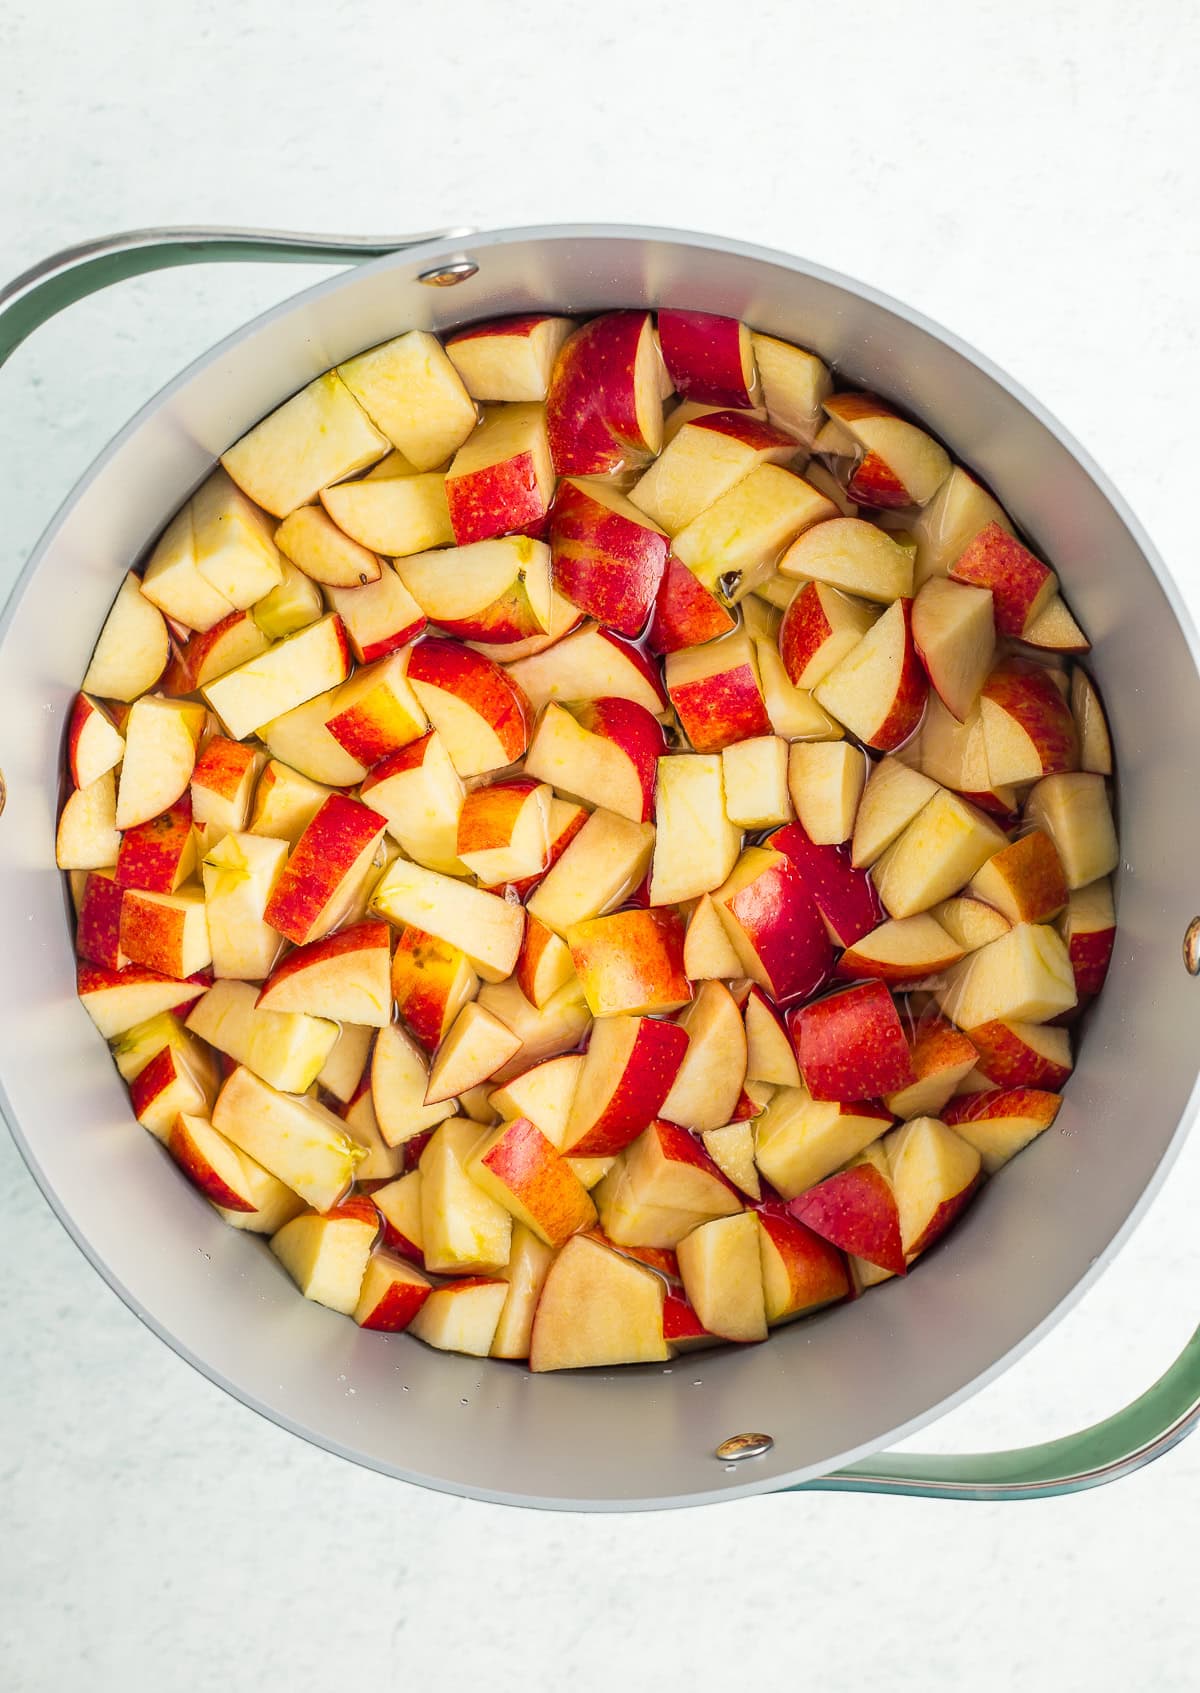
- Remove blossom and stem end of apples. Do not peel or core. Chop into small pieces.3 lbs tart apples {75% ripe, 25% underripe}
- Add to deep pot and cover with water. Bring to a boil for 5 minutes.3 cups water
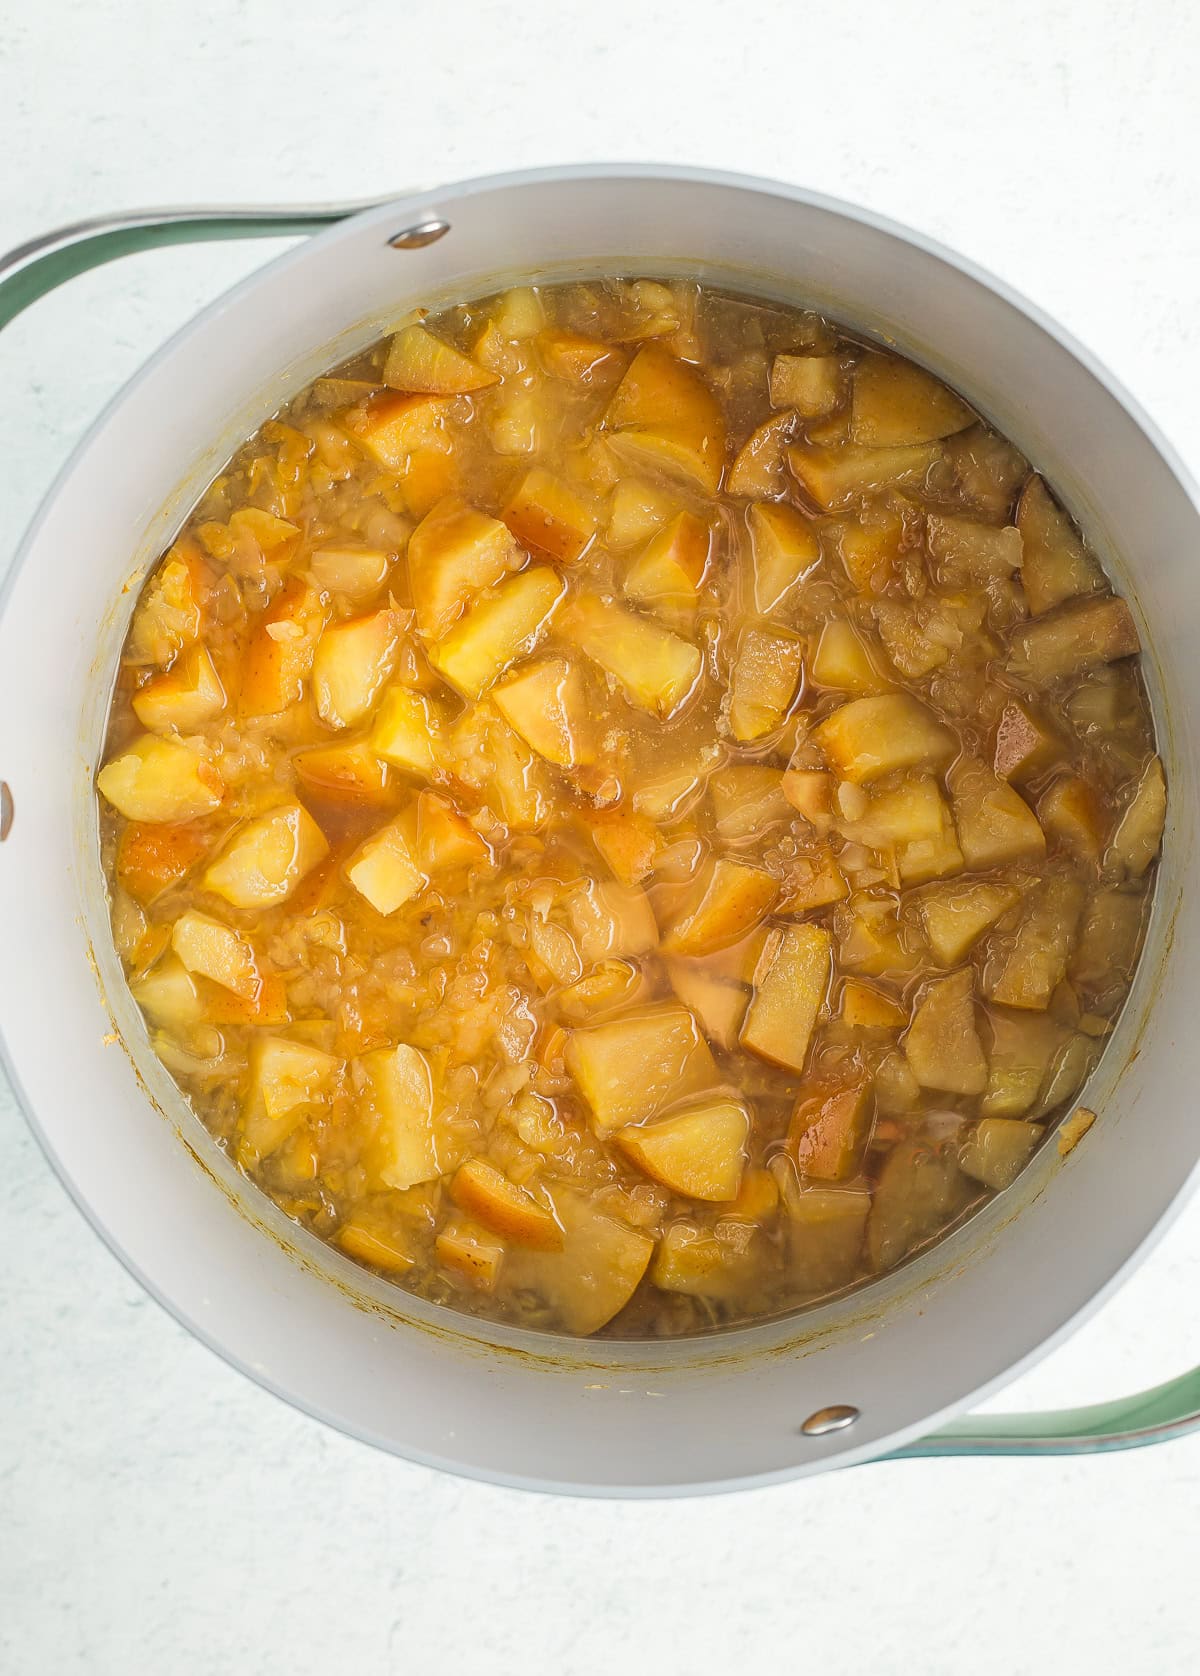
- Reduce heat to a simmer and simmer the apples for 20-25 min.
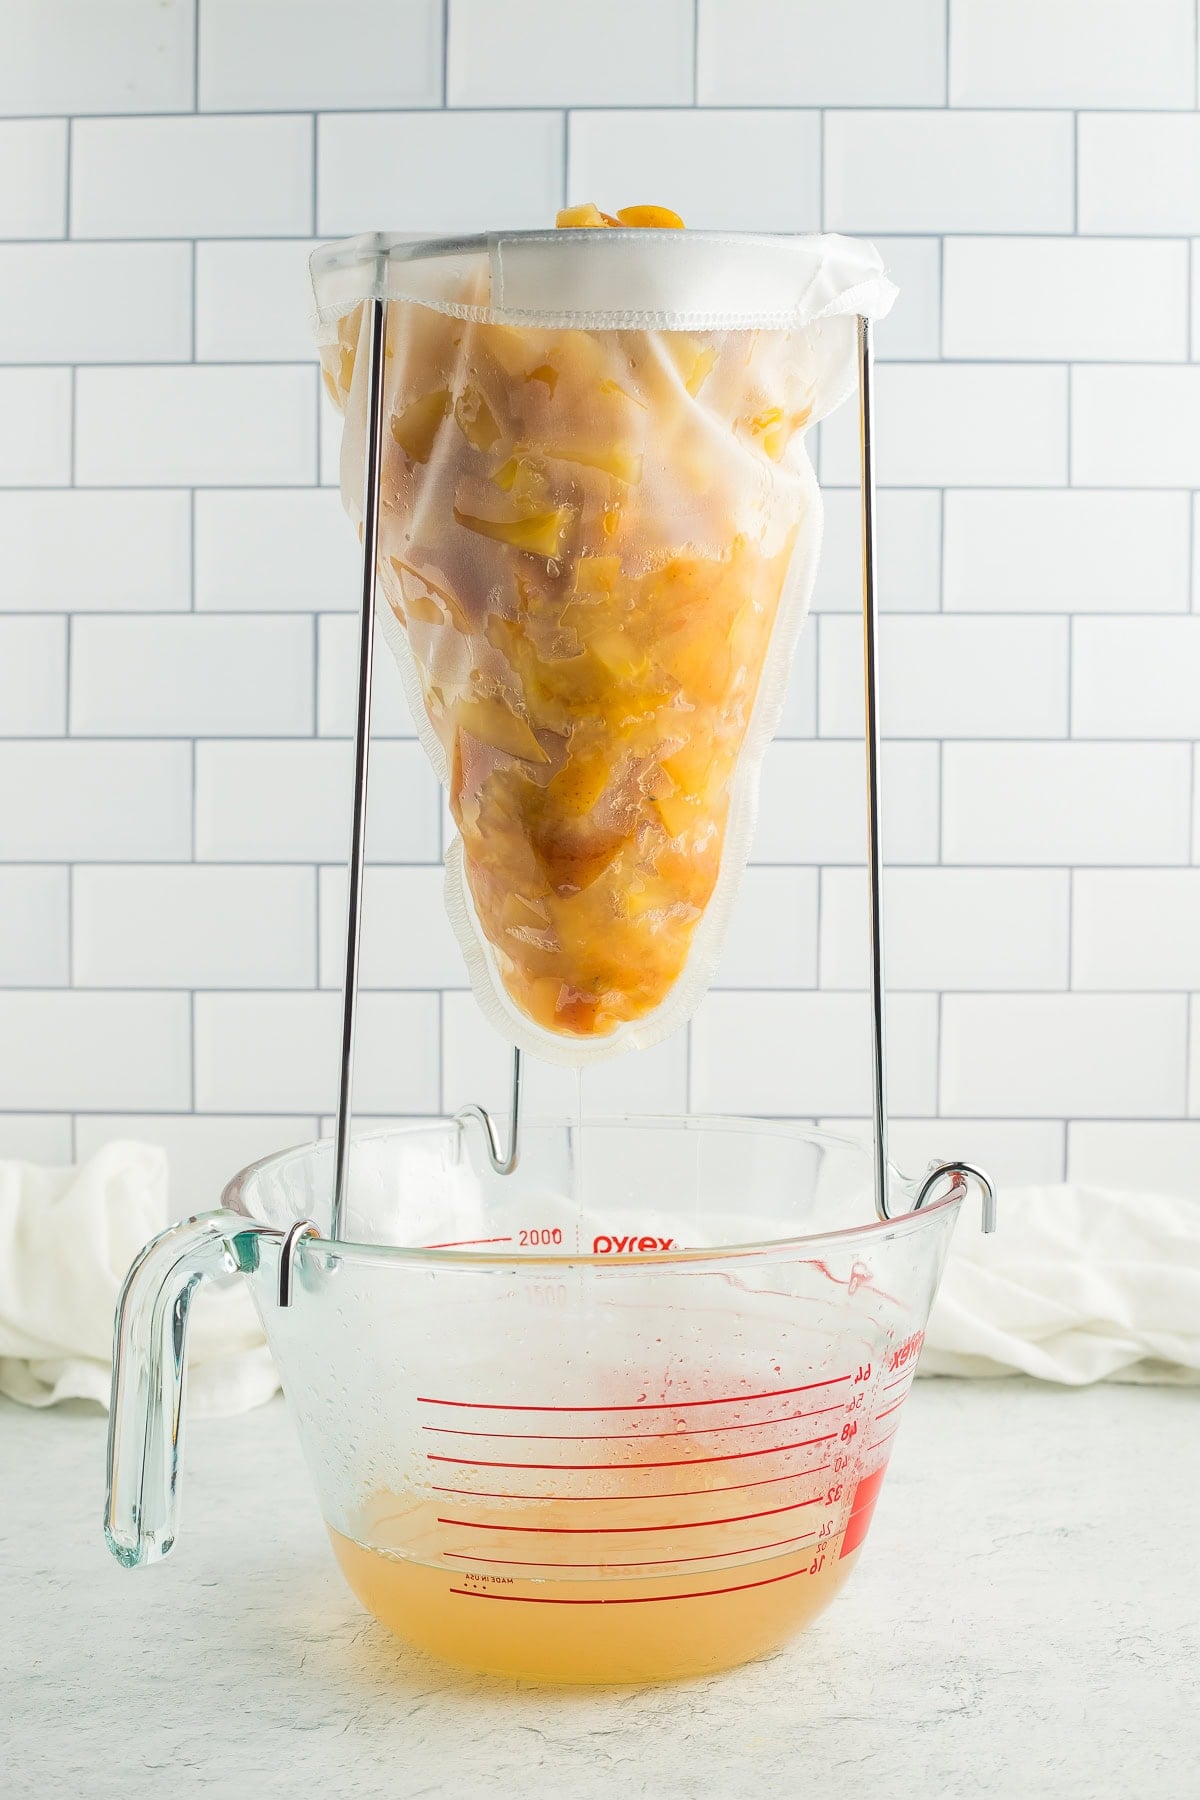
- Add chopped hot apples to jelly bag or strainer. Let drip naturally over a few hours – do not squeeze.
- Straining the apples should produce ~4 cups of apple juice.
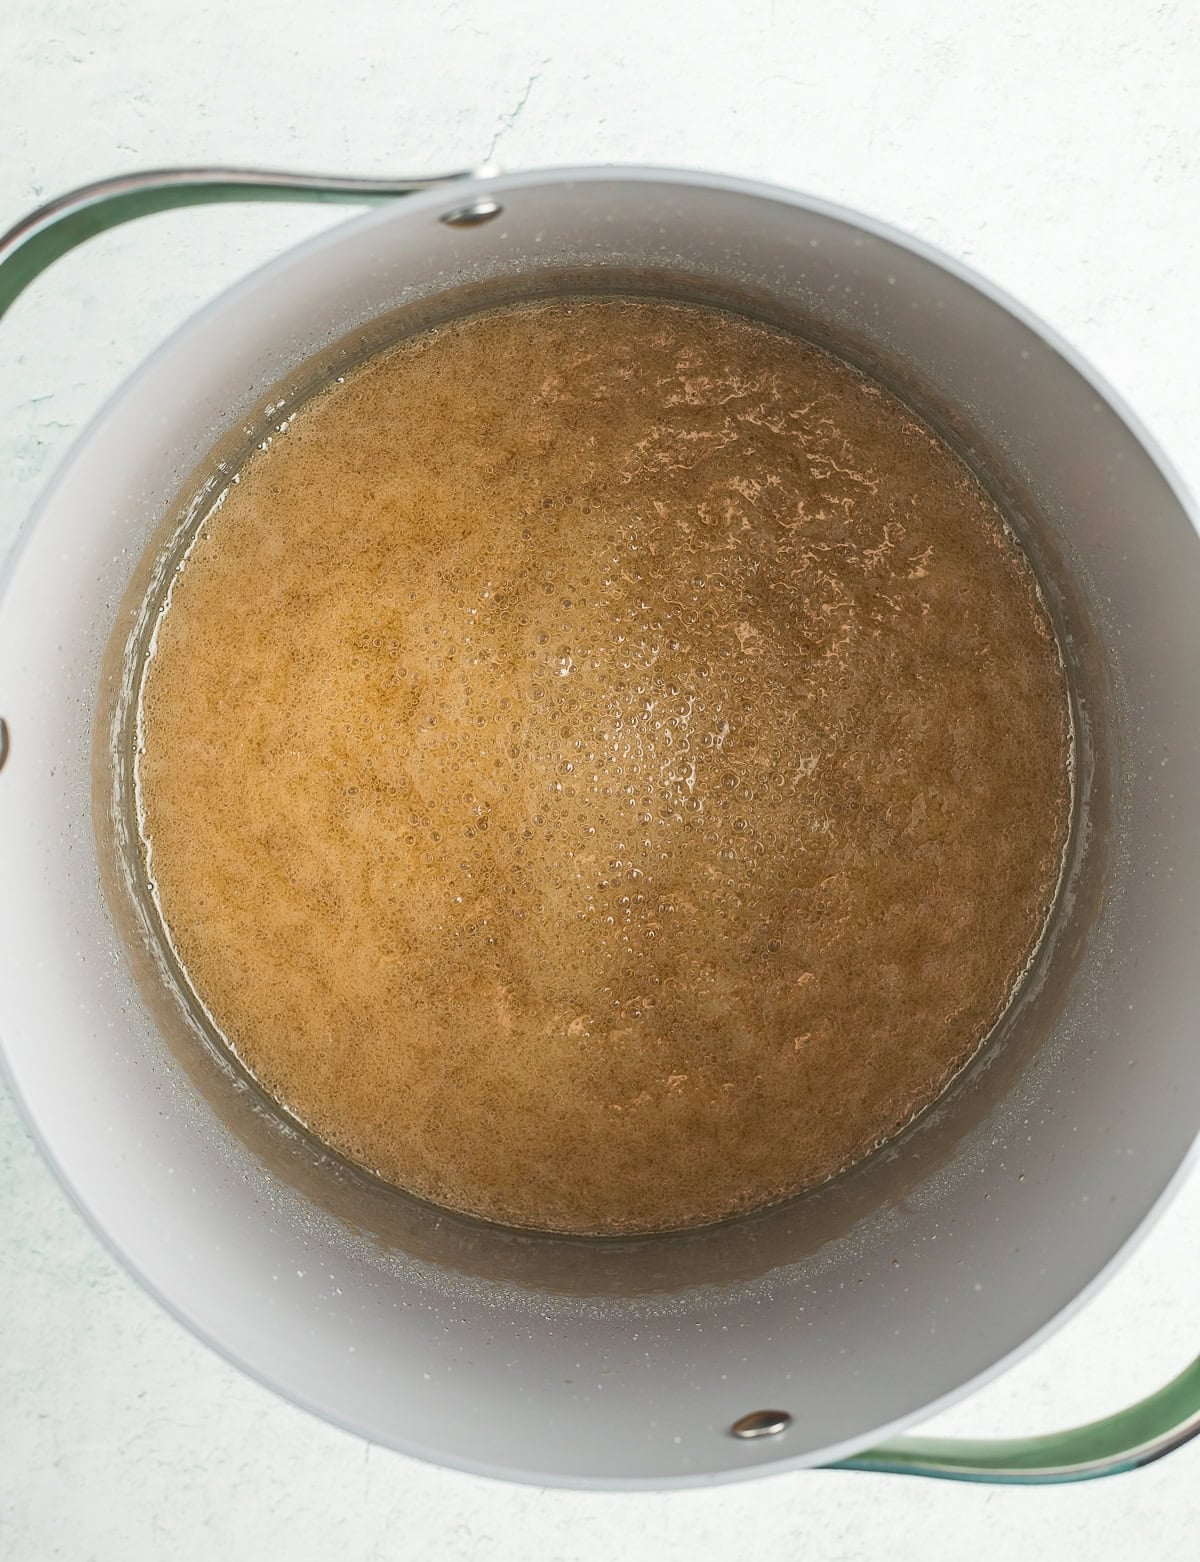
- Transfer the apple juice to a large saucepan. Add the lemon juice and sugar, and bring to a boil, stirring constantly.2 tbsp fresh lemon juice, 3 cups sugar
- Continue to stir the mixture at a rolling boil until the jelly mixture sheets from a spoon or reaches 220˚F.
- Remove the saucepan from the burner and skim off the foam.
- Working quickly, pour the hot jelly into the prepared hot and sterile jars, leaving 1/4 of headspace.
- Clean the rim of the jar very well with a hot, damp rag.
- Place a NEW clean lid on the jar. Add a ring and tighten to fingertip tight.
- Using canning tongs, add jars to the boiling water and put the canner lid on.
- Process pints and half-pints based on the elevation guide below:*0 – 1,000 ft – 5 min*1,001 – 6,000 ft – 10 min*Above 6,000 ft – 15 min
- Once the jelly has been processed for the appropriate amount of time, remove the canner from the burner, carefully remove the lid of the canner, and allow it to sit for 5 minutes.
- Using canning tongs, carefully remove the jars and place them on a thick towel in a place where they can be undisturbed for 12 hours.
- After the jars have rested for about 12 hours, gently press down in the middle of each lid. If it "gives" at all, the jar didn't seal. Either enjoy it that day, put it in the fridge, or reprocess it with a new lid.
Notes
- Once the jars are sealed, remove the rings. Label and store sealed jars in a cool (best results are 50-70˚F) dark place for 12-18 months.
- Once you open a jar, refrigerate the jar for 1-3 weeks.
- Makes 5-6 half-pints.
Nutrition
Nutrition information is automatically calculated, so should only be used as an approximation.