As an Amazon Associate, I earn from qualifying purchases.
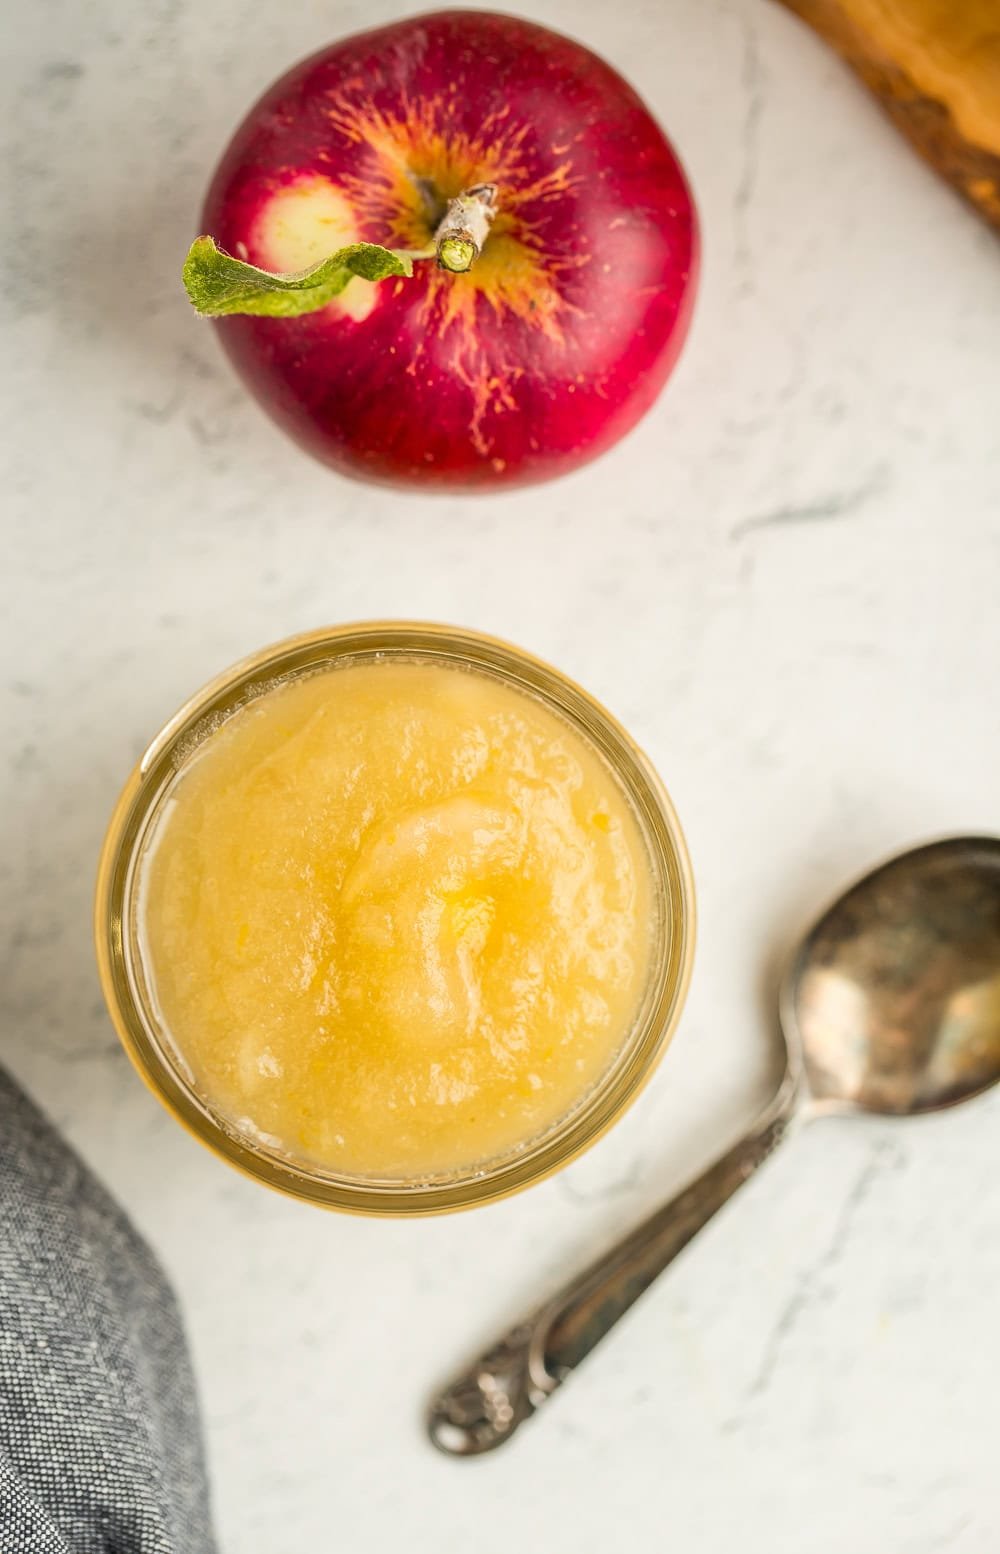
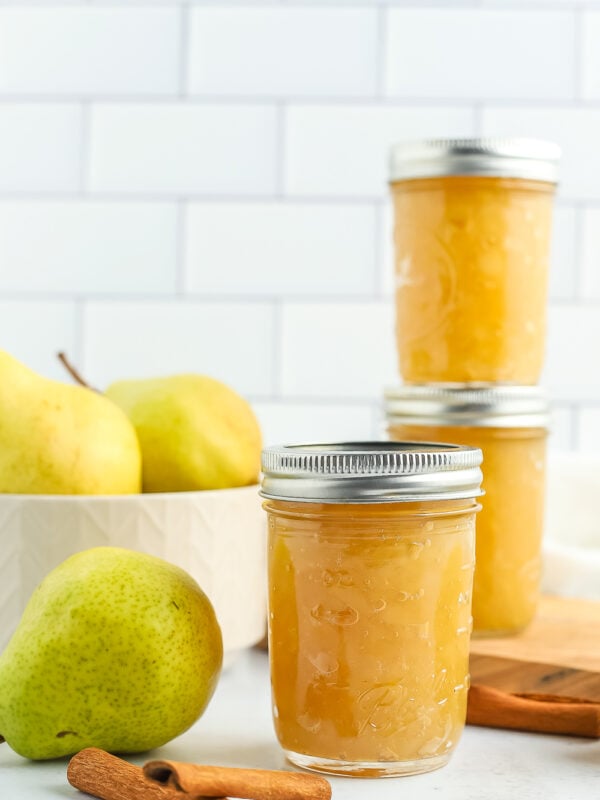
This homemade apple preserves recipe is a delicious spread for toast, yogurt, or desserts. Made without pectin and lower in sugar than traditional recipes, this apple pie jam can be frozen or canned in a water bath canner.

Living in Washington State means I KNOW apples. And I spit on the ground if anyone tries to tell me they like Red Delicious. Go away.
Knowing apples means I love to make and can apple butter and applesauce, and now, these apple preserves!
If apple pie and apple jam had a baby, it would be this delicious and simple recipe. (Disclaimer: do not eat babies).
You can truly use any of kind of apple for this recipe. Baking or saucing apples will cook down more quickly, but even if you use juicing apples, this recipe will still be a hit. You’ll just need to cook it down for a long time.
How to Make Apple Preserves
*I’ll walk you through it here with some photos and tips, and you’ll also find a printable recipe card at the bottom of the post with exact measurements, etc. You can also click “jump to recipe” to skip down.
If canning is not for you, don’t worry, I list alternative storage methods later in the printable recipe card.
Making the Apple preserves
Apples can brown quickly when exposed to air. If you’d like, you can combine cold water and lemon juice in a bowl and soak the apples while you peel and chop them. This step is not necessary, but if working quickly isn’t your style, it can improve the overall appearance of the finished apple preserves.
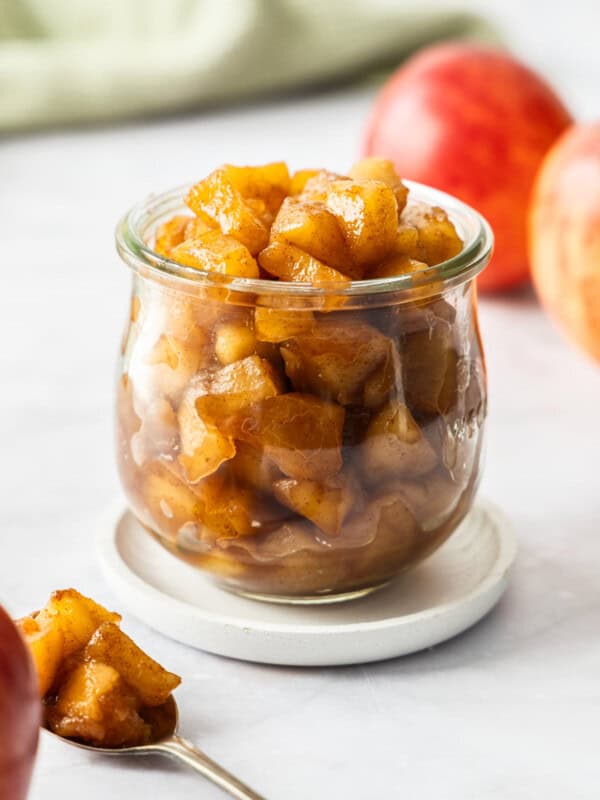
Peel and core the apples, and chop them into pieces. The smaller the pieces, the quicker everything will cook down. But basically, you’re looking for a rough chop.
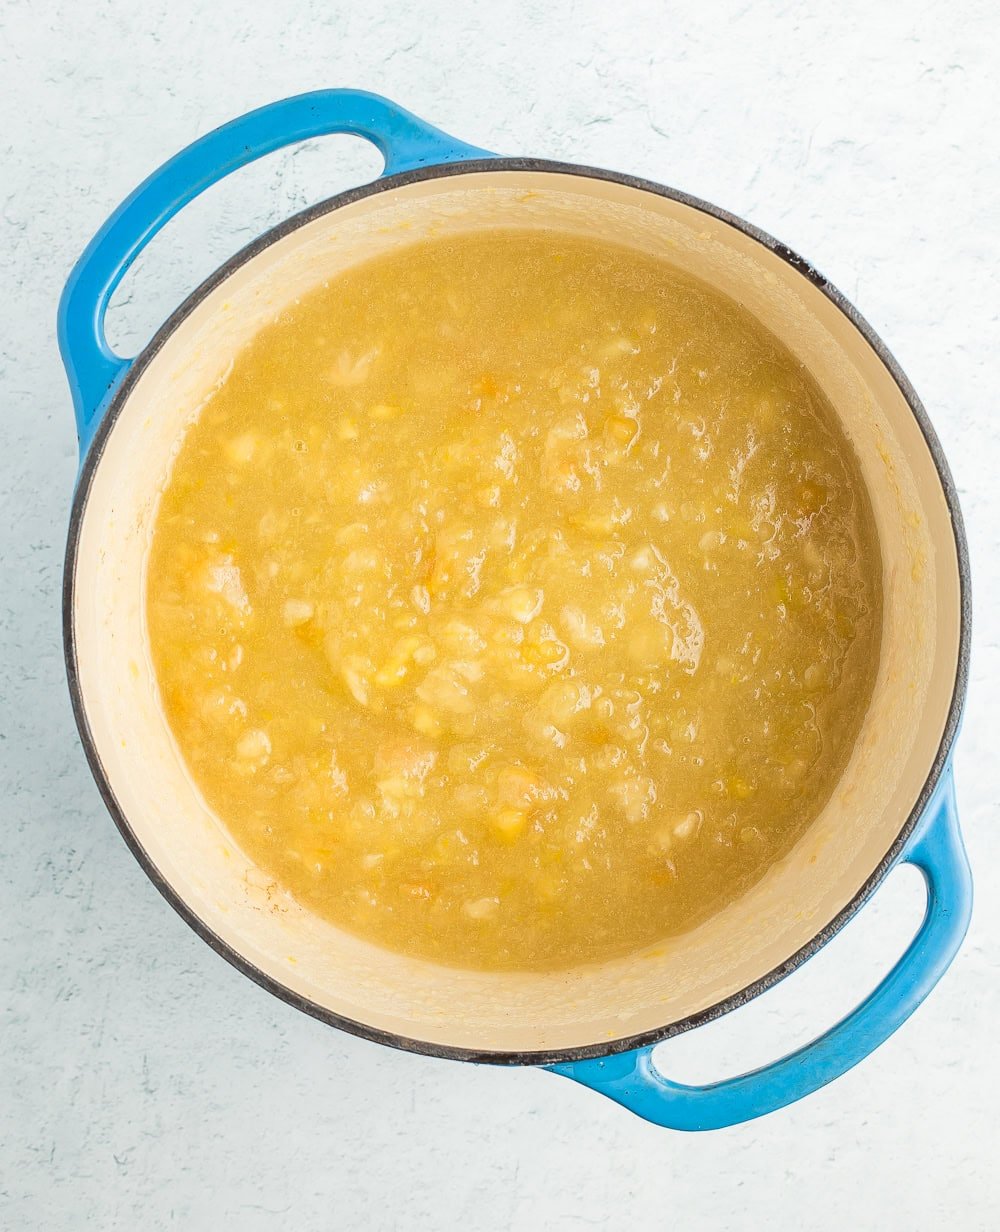
Place the apples, sugar, water, lemon zest, and cinnamon sticks in a heavy-bottomed pot and cook, stirring often, over medium heat until they have softened. This could take 10-25 minutes, depending on your apples.
Add additional splashes of water if the preserves are starting to burn. Certain kinds of apples will need more water. Just keep an eye on everything, and life will be grand.
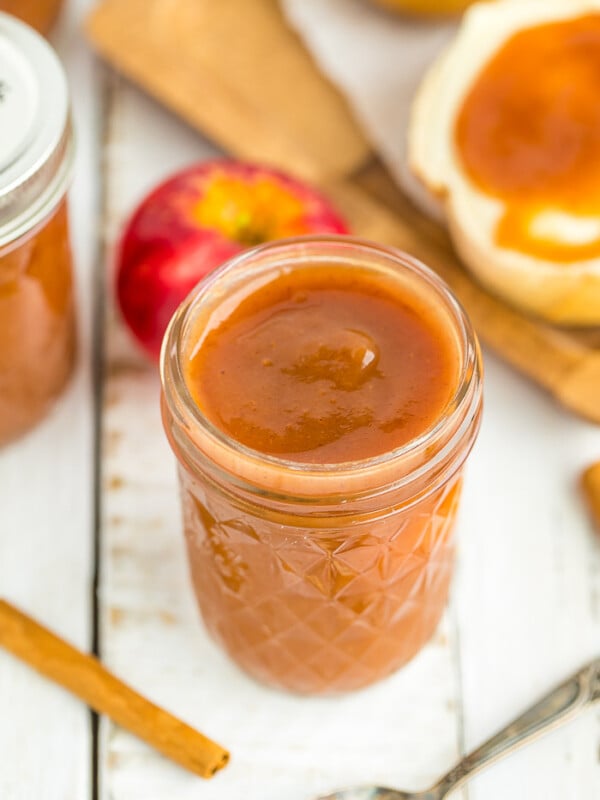
Discard the cinnamon stick once the apples are translucent and the liquid has been reduced.
Smash the chopped apples with a wooden spoon, pastry cutter, or potato masher until they have reached your desired texture. You’re the cook/chef, and you get to decide when they look perfect for you.


Canning The Preserves
While the preserves are cooking, start your canning prep.
Prepare your water bath canner by filling it with water. You need to have enough water to cover the jars by 1 inch once the water is boiling.
Set the canner on the stove with the lid on. Turn the burner to high. If it reaches a boil before you’re done making the preserves, reduce it to a simmer, keeping the lid on.
Wash and clean your jars. You’ll want to keep them warm to avoid having them crack when placed in the canner. You can fill them with hot water, or place them on a tray in the oven at 170˚F.
Wash your lids and set them aside in a clean place.
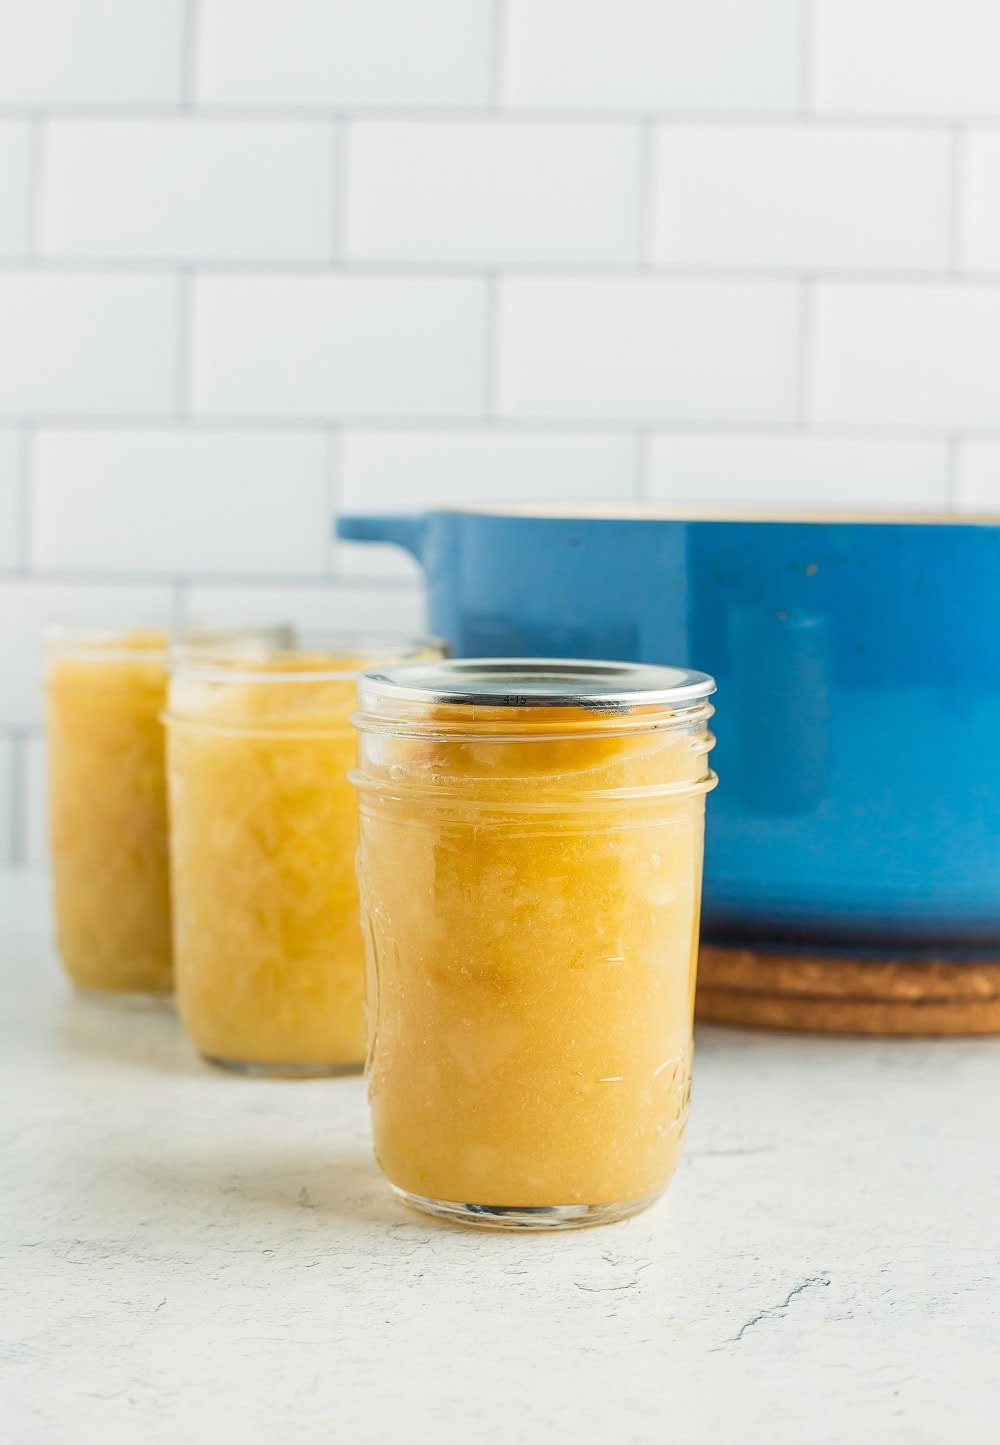
Using a canning funnel, ladle the hot preserves into the jars, leaving 1/2 inch headspace.
Clean the rim of the jar very well with a hot, damp rag. Place a clean lid on the jar. Add a ring, and tighten to fingertip tight.


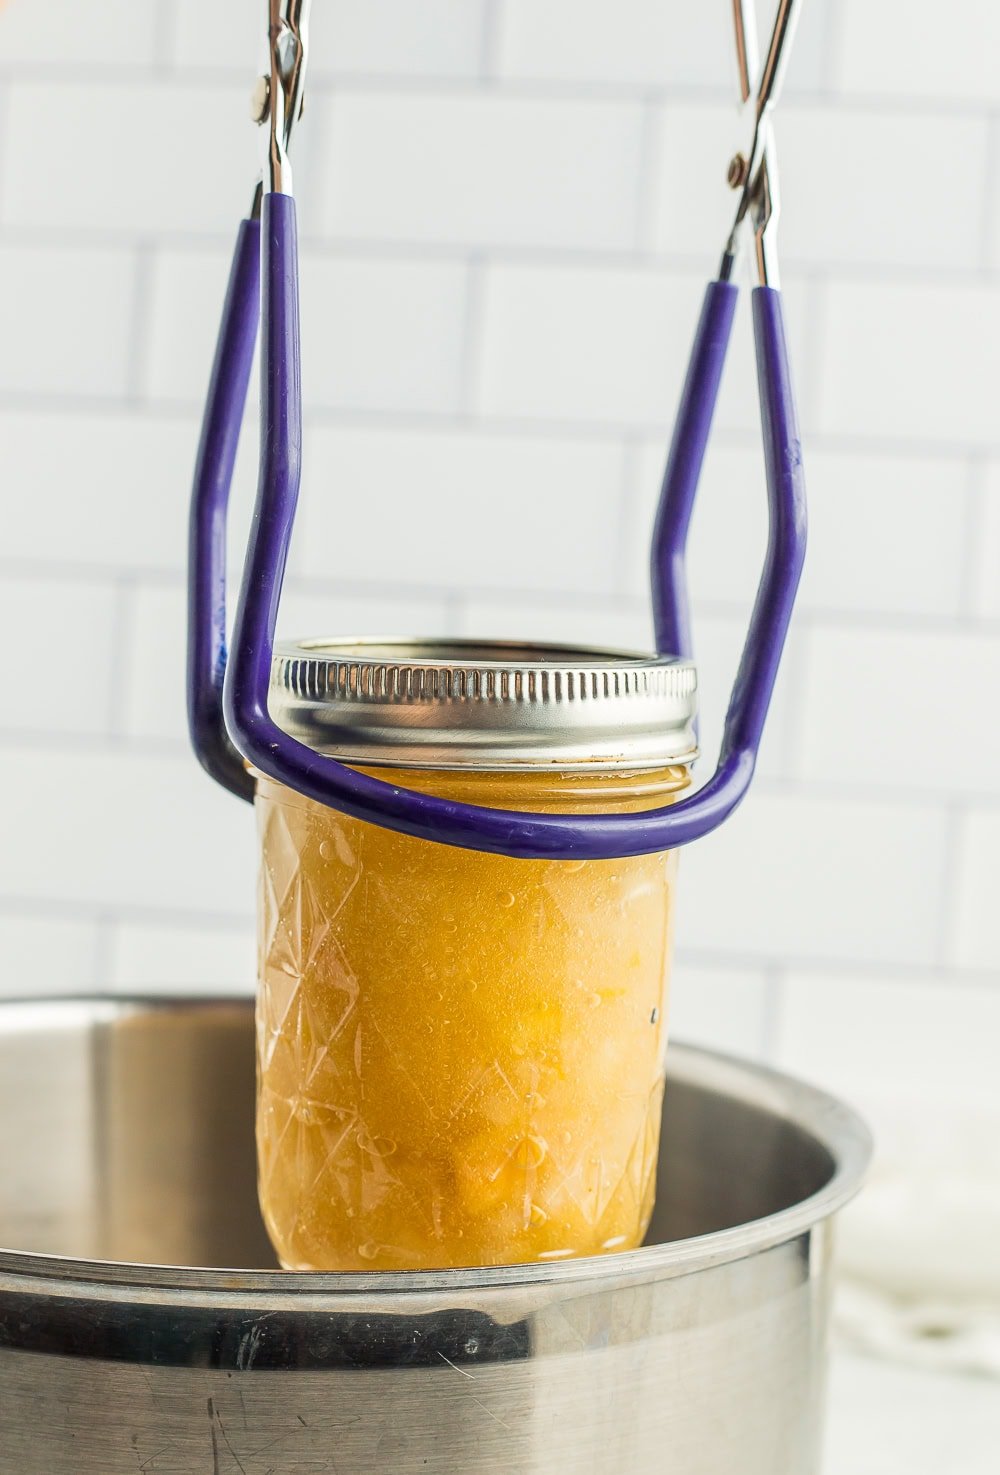
Using canning tongs, gently place your jars in the canner. Put the lid of the canner on. Once the water in the canner returns to a rolling boil, set your timer. Processing times will vary based on altitude. See the chart below.
Canning Times for Apple Preserves
| Processing Times at Altitudes Of | ||||
| Style of Pack | Jar Size | 0-1,000 ft | 1,001-6,000 ft | Above 6,000 ft |
| Hot | Half-pint or pint | 15 min | 20 min | 25 min |
| *Source: National Center For Home Food Preservation | ||||
Once the jars have been processed for the appropriate amount of time, remove the canner from the burner. Wearing oven mitts, carefully take off the lid of the canner, and allow it to sit for 5 minutes. Pro tip: I tend to just slide the canner into the middle of my stove, as it weighs a ton.
Carefully remove the jars with canning tongs, and place them on a thick towel in a place where they can be undisturbed for 12 hours.
The lids will likely start to pop within 20-30 minutes of being removed from the water. That popping sound is music to your ears, as it tells you that everything has been sealed. It’s a reward for all your work!
After the jars have rested for about 12 hours, press down in the middle of each lid. If it “gives” at all, the jar didn’t seal. Either enjoy it that day, put it in the fridge, or reprocess it using a brand new lid.
Old-Fashioned Apple Preserves Recipe (No Pectin)
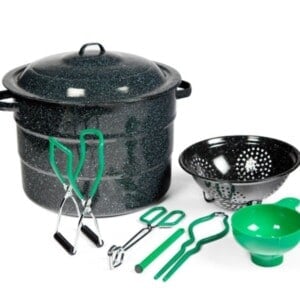
Equipment
- Tongs
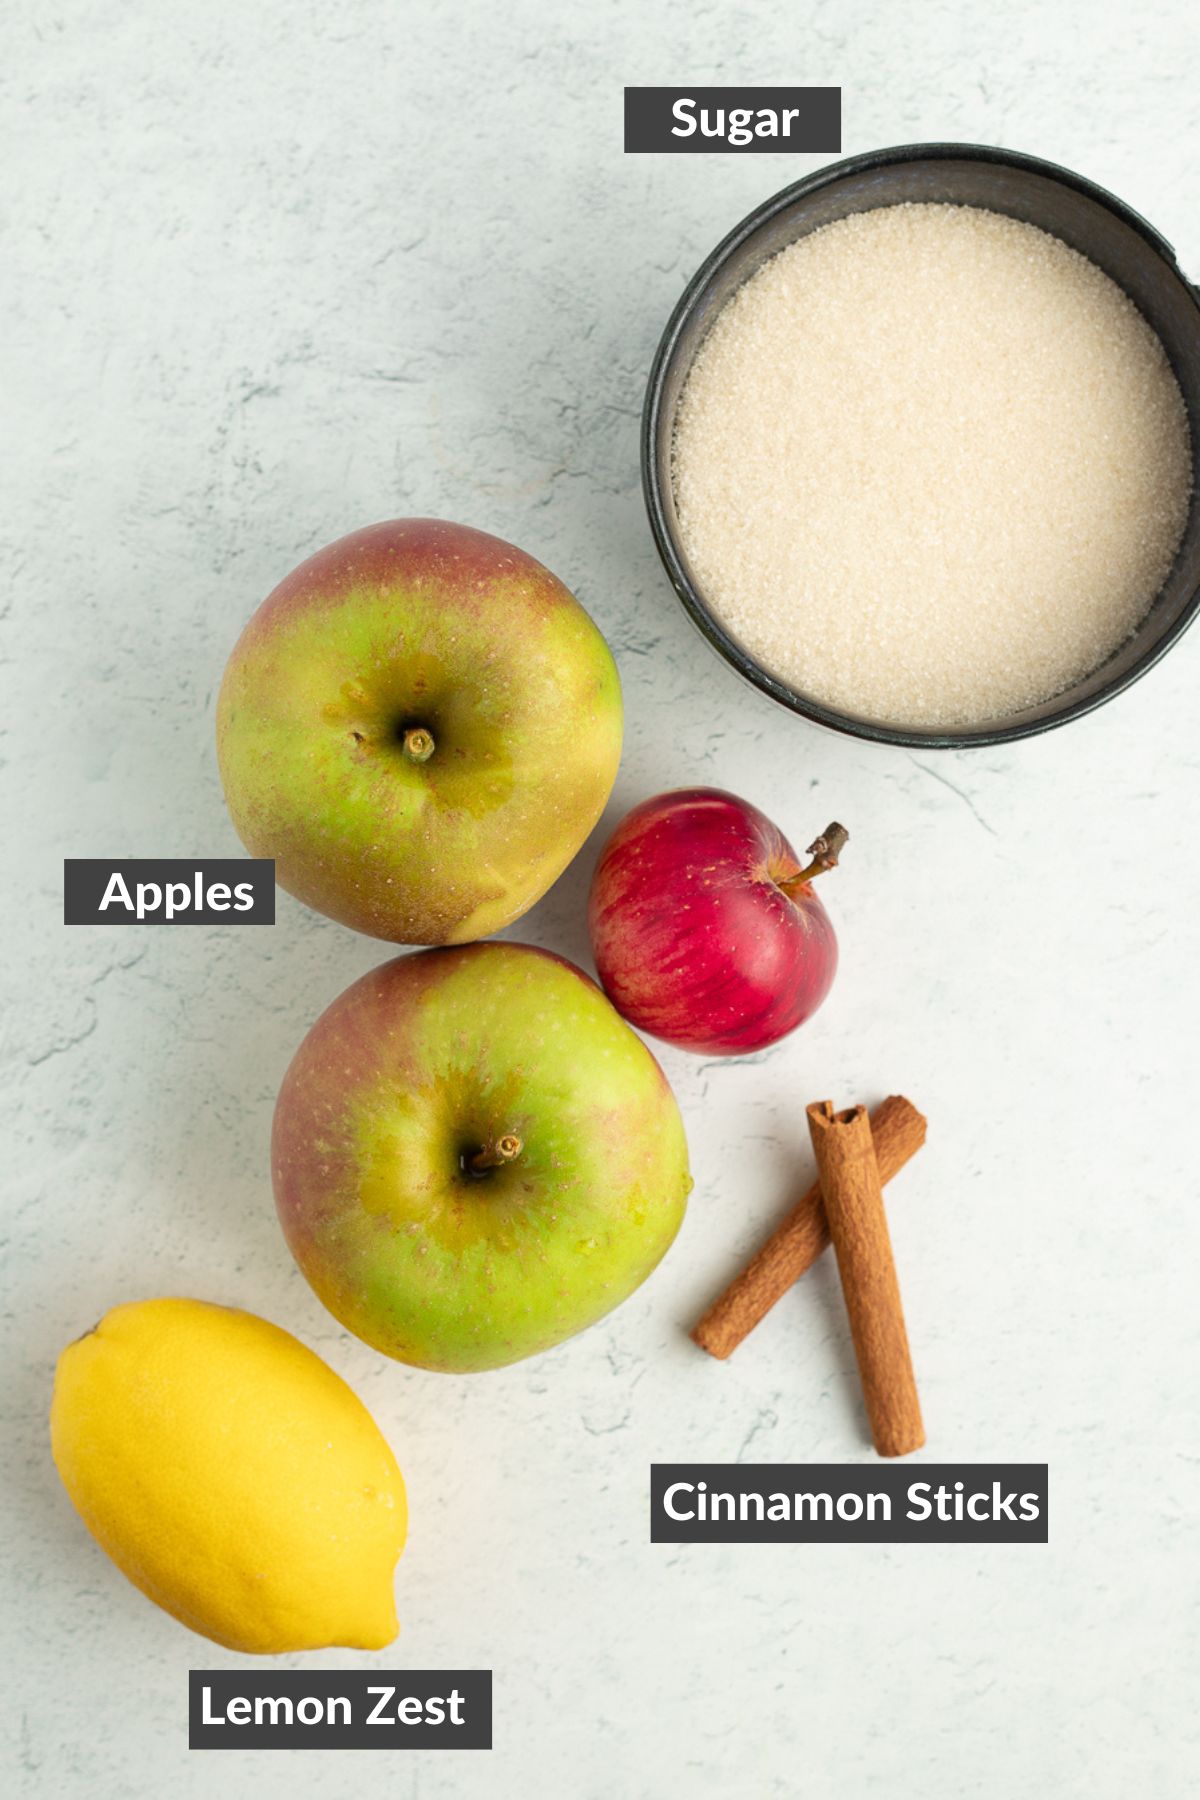
Ingredients
- 3 lbs apples, peeled, cored, chopped {to yield ~7 cups of chopped apples}
- 1 1/4 cups sugar
- 1/4 cup water {plus more as needed}
- 1 tbsp lemon zest
- 2 cinnamon sticks
Instructions
Making Apple Preserves
- Peel, core, and chop the apples.3 lbs apples, peeled, cored, chopped
- Place the apples, sugar, water, lemon zest, and cinnamon sticks in a heavy-bottomed pot and cook, stirring often, over medium heat until they have softened. This could take 10-25 minutes, depending on the ripeness of your apples. Add additional splashes of water if the preserves are starting to burn.1 1/4 cups sugar, 1 tbsp lemon zest, 2 cinnamon sticks, 1/4 cup water
- Discard the cinnamon sticks once the apples are translucent and the liquid has been reduced.
- Smash the chopped apples with a wooden spoon, pastry cutter, or potato masher until they have reached your desired texture. Add more water 1 tbsp at a time if needed.
Canning Apple Preserves {Optional}
- While the preserves are cooking, start your canning prep.
- Prepare your water bath canner by filling it with water. You need to have enough water to cover the jars by 1 inch once the water is boiling.
- Set the canner on the stove with the lid on. Turn the burner to high. If it reaches a boil before you’re done making the preserves, reduce it to a simmer, keeping the lid on.
- Wash and clean your jars. You’ll want to keep them warm to avoid having them crack when placed in the canner. You can fill them with hot water, or place them on a tray in the oven at 170˚F.
- Wash your lids and set them aside in a clean place.
- Using a canning funnel, ladle the hot preserves into the jars, leaving 1/2 inch headspace. Headspace is the distance between the top of the food and the top of the jar.
- Clean the rim of the jar very well with a hot damp rag.
- Place a clean lid on the jar. Add a ring, and tighten to fingertip tight.
- Using canning tongs, add jars to the boiling water, and put the canner lid on. Pro tip: you must have at least 1 inch of water over the tops of the jars for safe canning.
- Process half-pints and pints based on the elevation guide below:*0-1,000 ft = 15 minutes*1,001-6,000 ft = 20 minutes*6,000 ft+ = 25 minutes
- Once the preserves have processed for the appropriate amount of time, remove the canner from the burner, carefully remove the lid, and allow it to sit for 5 minutes. Pro tip: due to steam, I wear oven mitts while removing the lid.
- Using canning tongs, carefully remove the jars, and place them on a thick towel in a place where they can be undisturbed for 12 hours.
- After the jars have rested for about 12 hours, gently press down in the middle of each lid. If it "gives" at all, the jar didn't seal. Either enjoy it that day, put it in the fridge, or reprocess it.
Notes
- As it cooks down, the preserves will darken in color. This is normal and ok!
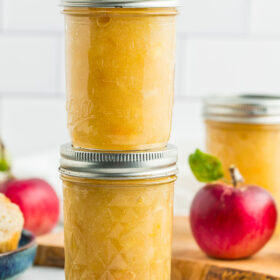
- Once the jars have sealed, remove the rings. Label and store sealed jars in a cool (best results are 50-70˚F) dark place for up to 12 months.
- Once you open a jar, refrigerate the jar for 1-3 weeks.
- Makes 4-5 half-pints.
- To freeze: fill the jars leaving 1-inch of headspace. Allow the preserves to FULLY cool before putting a lid on them and freezing them. Do not defrost the jars in hot water as they will likely crack.
Nutrition
Nutrition information is automatically calculated, so should only be used as an approximation.

Get my Canning e-book!
It’s 51 pages of every helpful tip and trick you could want as a brand new canner, AND it includes 13 ad-free canning recipes that are designed to take you from novice to pro.


Very good and so simple to do.
Glad you enjoyed it, Terry! Apple preserves are such a classic and cozy treat.