As an Amazon Associate, I earn from qualifying purchases.
An easy step-by-step tutorial on Canning Applesauce. This recipe for how to preserve apples is perfect for beginners and experienced canners alike. Instructions include low-sugar and no-sugar options.
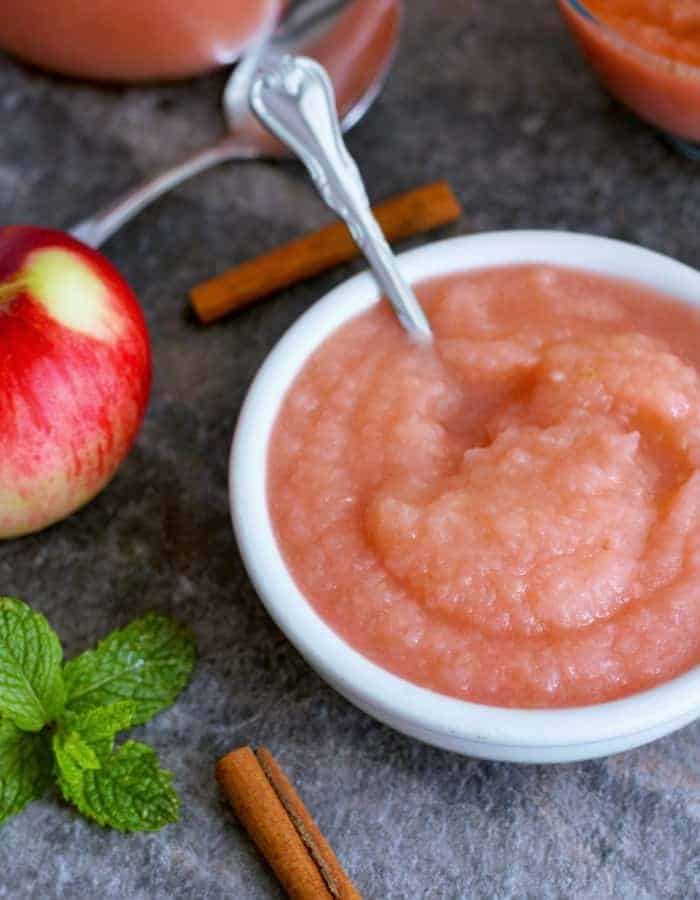
If you’ve never canned applesauce before, it can seem overwhelming and a lot to take in. Don’t be intimidated; I’m here to help. We’re in this together!
How to Can Applesauce
*I’ll walk you through it here with some photos and tips, and you’ll also find a printable recipe card at the bottom of the post with exact measurements, etc. You can also click “jump to recipe” to skip down.
Canning applesauce is broken down into three main steps:
- Canning Prep
- Making the Applesauce
- Canning the Applesauce
Canning Prep
Prepare your water bath canner by filling it with water. You just need to have enough water to cover the jars by 1 inch once the water is boiling.
Set the canner on the stove. Turn the burner to high. Once it reaches a boil, reduce it to a simmer. You want to keep the water hot so that everything is ready when the applesauce is.
Wash and clean your jars. You’ll want to keep the jars warm enough to avoid having them crack when placed in the canner. You can fill them with hot water, or place them on a tray in the oven at 170˚F.
Wash your lids and set them aside in a clean place. You no longer need to simmer lids in water to keep them sterile. Woot!
Making Applesauce
Set a medium/large pot of water to medium-high on your stove.
Most varieties of apples typically work fine, but you’ll have the best results with any apple labeled as “saucing apples“. Easy-to-find varieties such as Gala, Fuji, Braeburn, and Cameo would all be great. Avoid anything in the “juicing” category.
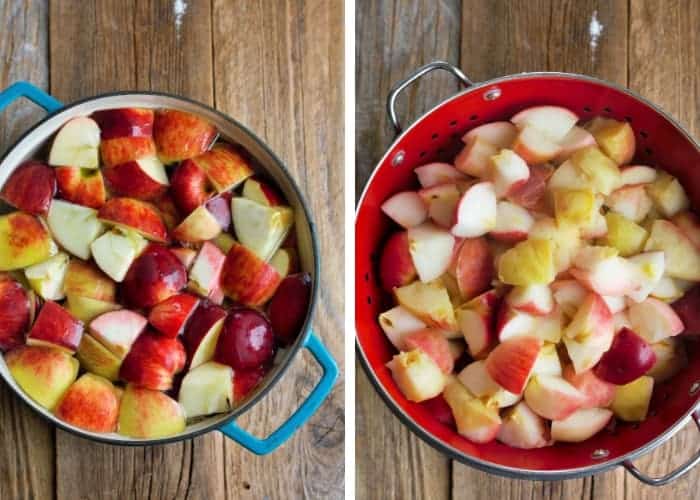
Wash your apples and cut into eighths, or more if you have particularly large apples. Add apples to the hot water and cook until they have softened (~1-5 minutes depending on your type of apple).
Remove using a slotted spoon and place in a strainer set into a large bowl.
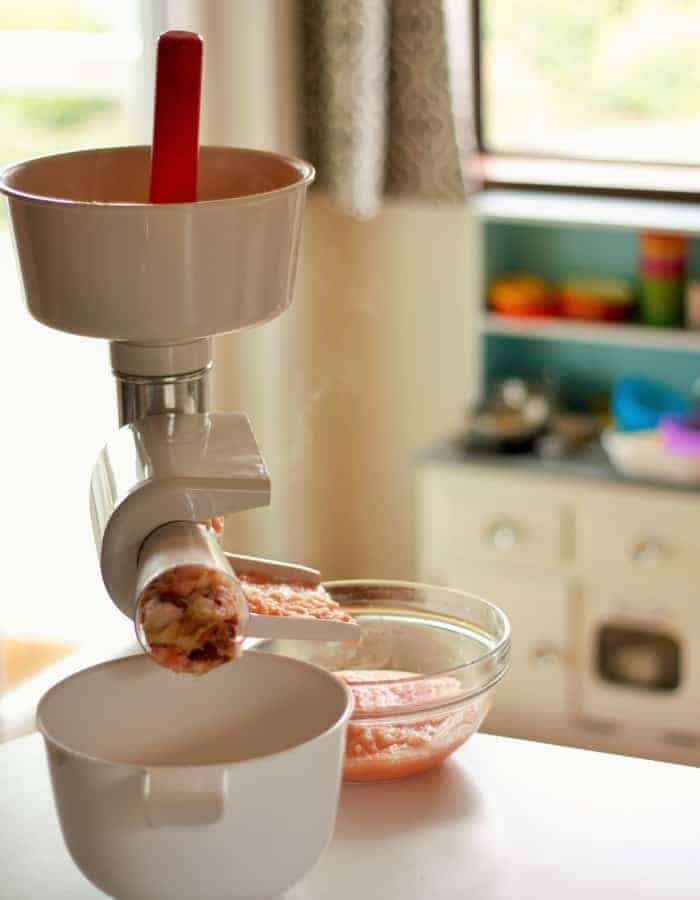
Run the apples through a food mill to remove the seeds and skins. Pro tip: For safety purposes, you need to keep the sauce warm until you have enough to can. I use my slow cooker set to warm for this because it frees up space on my stove for the other steps in the canning process.
No food mill? Check out the alternative methods listed further down in the post.
Return the burner to high and bring the water in the canner back to a rapid boil.
Using a canning funnel, ladle the warm applesauce into jars, leaving 1/2 inch of headspace. Remove any bubbles from the jar (I use a plastic chopstick).
Use a wet clean rag and wipe the rim of the jars to make sure it is free of any food.
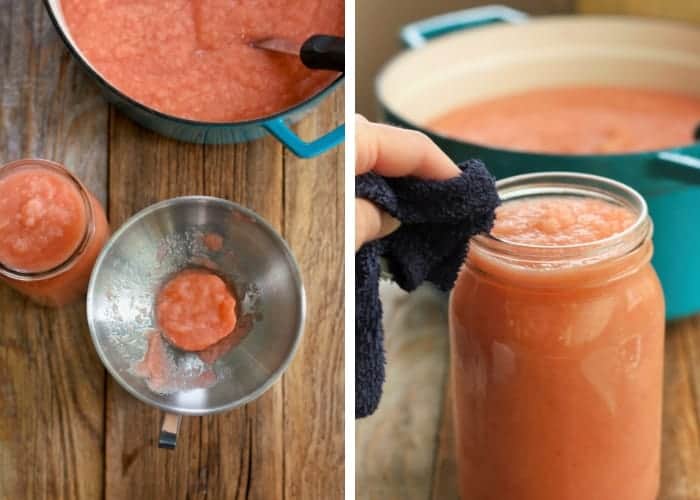
Place a clean lid on the jar. Add a ring, and tighten to fingertip tight.
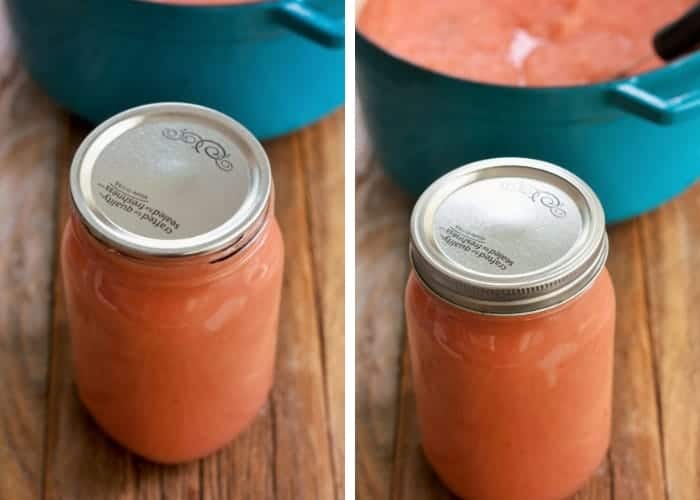
Using canning tongs, carefully place your jars in the canner. Put the lid on. Processing times will vary based on altitude. See the chart below. Pro tip: the water must return to a boil in the canner before you can start the timer.
Processing Time for Applesauce
| Processing Time for Applesauce | |||||
| Process Times at Altitudes of: | |||||
| Style of Pack | Jar Size | 0-1,000 ft | 1,001-3,000 ft | 3,001-6,000 ft | Aove 6,000 ft |
| Hot | Pints | 15 min | 20 min | 20 min | 25 min |
| Quarts | 20 min | 25 min | 30 min | 35 min | |
| *Source: National Center For Home Food Preservation | |||||
Once the jars have been processed for the appropriate amount of time, remove the canner from the burner, wearing oven mitts carefully take off the lid of the canner, and allow it to sit for 5 minutes. Pro tip: I tend to just slide the canner into the middle of my stove, as it weighs a ton.
Carefully remove the jars with canning tongs, and place them on a thick towel in a place where they can be undisturbed for 12 hours.
The lids will likely start to pop within 20-30 minutes of being removed from the water. That popping sound is music to your ears, as it tells you that everything has been sealed. It’s a reward for all your work!
After the jars have rested for about 12 hours, press down in the middle of each lid. If it “gives” at all, the jar didn’t seal. Either enjoy it that day, put it in the fridge, or reprocess it with a new lid.
Pressure Canning Applesauce
If you prefer to pressure can your applesauce, follow the prep and packing process above and the canning process below.
Add 3 quarts of water to your pressure canner and put it on a burner set to high. Make sure there is a canning rack in the bottom of the canner.
Using canning tongs, gently place the jars in the canner. Lock the lid. Soon, steam will start coming through the vent pipe (I call it the steam chimney).
Allow the steam to pass through for about 10 minutes. Then put the pressure regulator (I call it the chimney cap) on top. (see the 4 photo grid below for a visual of this process step by step)
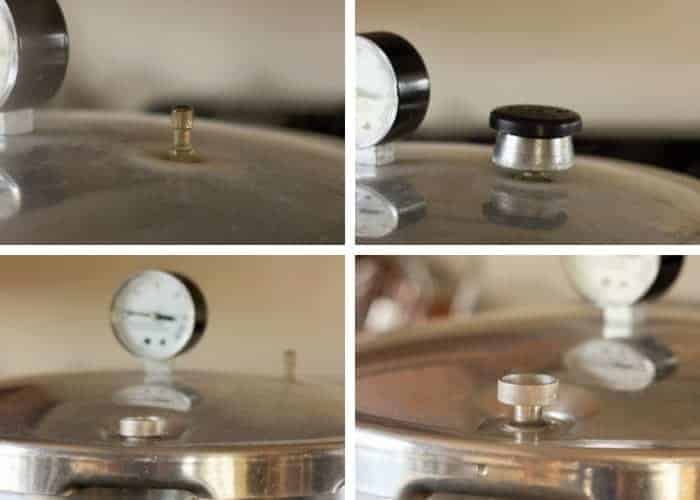
Pretty soon, the air vent will pop up. That is a sign that you’re starting to build pressure inside the canner (get excited. This is happening!). Processing times will vary based on altitude. See the charts below.
Pressure Canning Applesauce in a Dial-Gauge Pressure Canner
| Canner Pressure (PSI) at Altitudes of | ||||||
| Style of Pack | Jar Size | Processing Time | 0-2,000 ft | 2,001-4,000 ft | 4,001-6,000 ft | 6,001-8,000 ft |
| Hot or Raw | Pints | 8 mins | 6 lbs | 7 lbs | 8 lbs | 9 lbs |
| Quarts | 10 mins | 6 lbs | 7 lbs | 8 lbs | 9 lbs | |
| *Source: National Center For Home Food Preservation | ||||||
Processing Time for Applesauce in a Weighted-Gauge Pressure Canner
| Canner Pressure (PSI) at Altitudes of: | ||||
| Style of Pack | Jar Size | Processing Time | 0-1,000 ft | Above 1,001 ft |
| Hot | Pints | 8 mins | 5 lb | 10 lb |
| Quarts | 10 mins | 5 lb | 10 lb | |
| *Source: National Center For Home Food Preservation | ||||
When the dial gauge reaches the appropriate PSI, reduce the burner temp to medium, and start your timer. The pressure must stay at the PSA or (a little bit) above for the duration of the cooking time. You’ll likely need to adjust the temp on the burner a few times depending on your stove.
When the time is up, remove the canner from the burner and allow it to sit until you hear a distinctive “click” of the air vent dropping. Remove the pressure regulator and carefully remove the lid of the canner (Pro tip: I always use oven mitts when I take the lid off because the steam is super hot).
Let the jars sit for 5 minutes in the canner with the canner lid off and then lift them out with canning tongs. Pro tip: allowing the jars to sit in the canner with the canner lid off can help reduce the siphoning of sauce out of your jars.
Place hot jars on a towel where they can sit undisturbed for 12 hours.
After a few hours, to check for sealing, gently press down in the middle of the lid. If the lid has no give, it’s sealed. If you can press the lid in and it pops a bit, your jars are not sealed.
How to Can Applesauce Without a Food Mill
The recipe below calls for using a food mill to process the applesauce, but there are workarounds for this if you don’t own a food mill.
Peel apples and cut them into eighths, removing the seeds and core. You can make applesauce in an Instant Pot (Manual>high pressure>5 minutes>natural release) or in the slow cooker (cook all day on low without any additional liquid added), and then blend, blend, blend!
Alternatively, you can cook the apples down on low heat in a large pot on the stove. Cook and stir often and blend to your desired consistency.
You don’t have to remove the skin if you’d like to skip the peeling step, but there is more of a chance of contamination when canning if the skins are left on.
HELP! WHY Are My Jars Leaking Juice/Sauce?
If you find that juice has leaked out after they have sealed, you have experienced a common canning issue called siphoning. It happens to the best of us!
Siphoning is typically caused by not allowing the jars to rest in the canner after they have finished processing. In the directions above, you’ll see that I recommend you remove the canner from the burner, remove the lid, and let it sit for 5 minutes.
This is important as it allows the jars time to rest before being allowed to cool on the counter. Doing this process will significantly cut down on siphoning.
IF YOU HAVE SIPHONING IN YOUR JARS, FOLLOW THESE STEPS:
- Check – are the lids still sealed?
- Look – have you lost less than half of the amount of liquid in the jar?
- Examine – does the fruit look fresh with bright colors?
If the answer to the above three steps is “yes!”, then they are safe to eat.
Another common reason for siphoning is not leaving enough headspace in the jar. You need to keep 1/2 inch of space between the top of the food and the top of the jar to allow for the sauce to expand while it is in the canner.
Pro Tips/Recipe Notes
- You’ll need about 21 pounds of apples to fill seven quarts, and 13 pounds to fill nine pints. A bushel of apples weighs 48 pounds and will yield 14-19 quarts. You don’t have to can that many pounds at once, but you should have at least two jars in the canner at once while processing.
- Your applesauce may separate in the jars after canning. This is totally safe as long as the jars are sealed. This is the result of using apples with higher juice content.
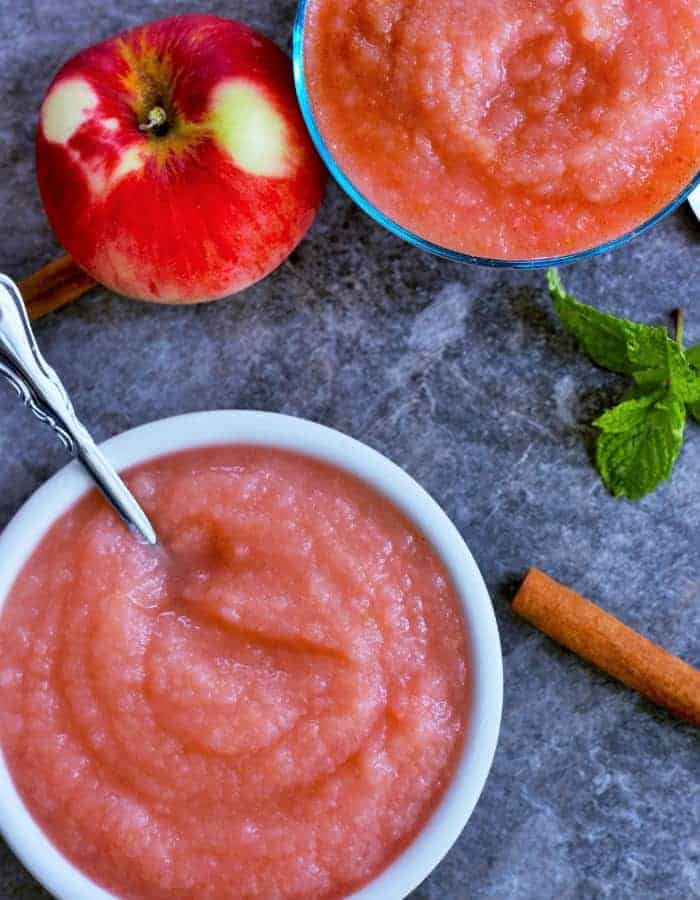
Canning Applesauce {Preserving Apples}
Equipment
Instructions
CANNING PREP
- Prepare your water bath canner by filling it with water. You just need to have enough water to cover the jars by 1 inch once the water is boiling.
- Set the canner on the stove. Turn the burner to high. Once it reaches a boil, reduce it to simmer. You want to keep the water hot so that everything is ready when the applesauce is.
- Wash and sanitize your jars. You’ll want to keep them warm to avoid having them crack when placed in the canner. You can fill them with hot water, or place them on a tray in the oven at 170˚F.
- Wash your lids and set aside in clean place. You no longer need to simmer lids in water to keep them sterile.
Prep the Apples/Sauce
- Set a medium/large pot of water to medium high on your stove.
- Wash your apples and cut into eighths, or more if you have particularly large apples.21 pounds apples
- Pro tip: if you are cutting a lot of apples at once, consider filling a bowl with cool water and 1/4 cup of lemon juice to prevent browning.
- Add apples to the hot water and cook until they have softened (~1-5 minutes depending on your type of apple).
- Remove using a slotted spoon and place in a strainer set into a large bowl.
- Run the apples through a food mill to remove the seeds and skins. Keep warm until ready to can (I use my slow cooker set to warm).
- Return the burner to high and bring the water in the canner back to a rapid boil.
- Using a canning funnel, ladle in the warm applesauce into jars, leaving 1/2 inch of headspace. Remove any bubbles from the jar (I use a plastic chopstick).
- Use a wet clean rag and wipe the rim of the jars to make sure it is free of any food.
- Place a clean lid on the jar. Add a ring, and tighten to fingertip tight.
Canning the Applesauce
- Lower your jars into the canner using canning tongs/jar lifter.
- Process pints and quarts based on the elevation guide below:*0-1,000 ft – Pints =15 min Quarts =20 min*1,001-3,000 ft – Pints =20 min Quarts =25 min*3,001-6,000 ft – Pints =20 min Quarts =30 min*6,000 ft+ – Pints =25 min Quarts =35 min
- Once the jars have processed for the appropriate amount of time, remove the canner from the burner, and carefully remove the lid of the canner (Pro tip: use oven mitts to take the lid off because the steam is super hot).
- Using canning tongs, carefully remove the jars, and place them on a thick towel in a place where they can be undisturbed for 12 hours.
- After the jars have rested for about 12 hours, press down in the middle of each lid. If it "gives" at all, the jar didn't seal. Either enjoy it that day, put it in the fridge, or reprocess it.
Notes
- You’ll need about 21 pounds of apples to fill seven quarts, and 13 pounds to fill nine pints. A bushel of apples weighs 48 pounds and will yield 14-19 quarts.
- This applesauce can be frozen in wide-mouth canning jars. Leave 1 inch of headspace in the jars to allow for expansion during freezing. Allow to fully cool in the jar before freezing.
- Your applesauce may separate in the jars after canning. This is totally safe as long as the jars are sealed. This is the result of using apples with higher water (juice) content.
- Once the jars have sealed, remove the rings. Label and store sealed jars in a cool (best results are 50-70˚F) dark place for up to 12-18 months.
Nutrition
Nutrition information is automatically calculated, so should only be used as an approximation.
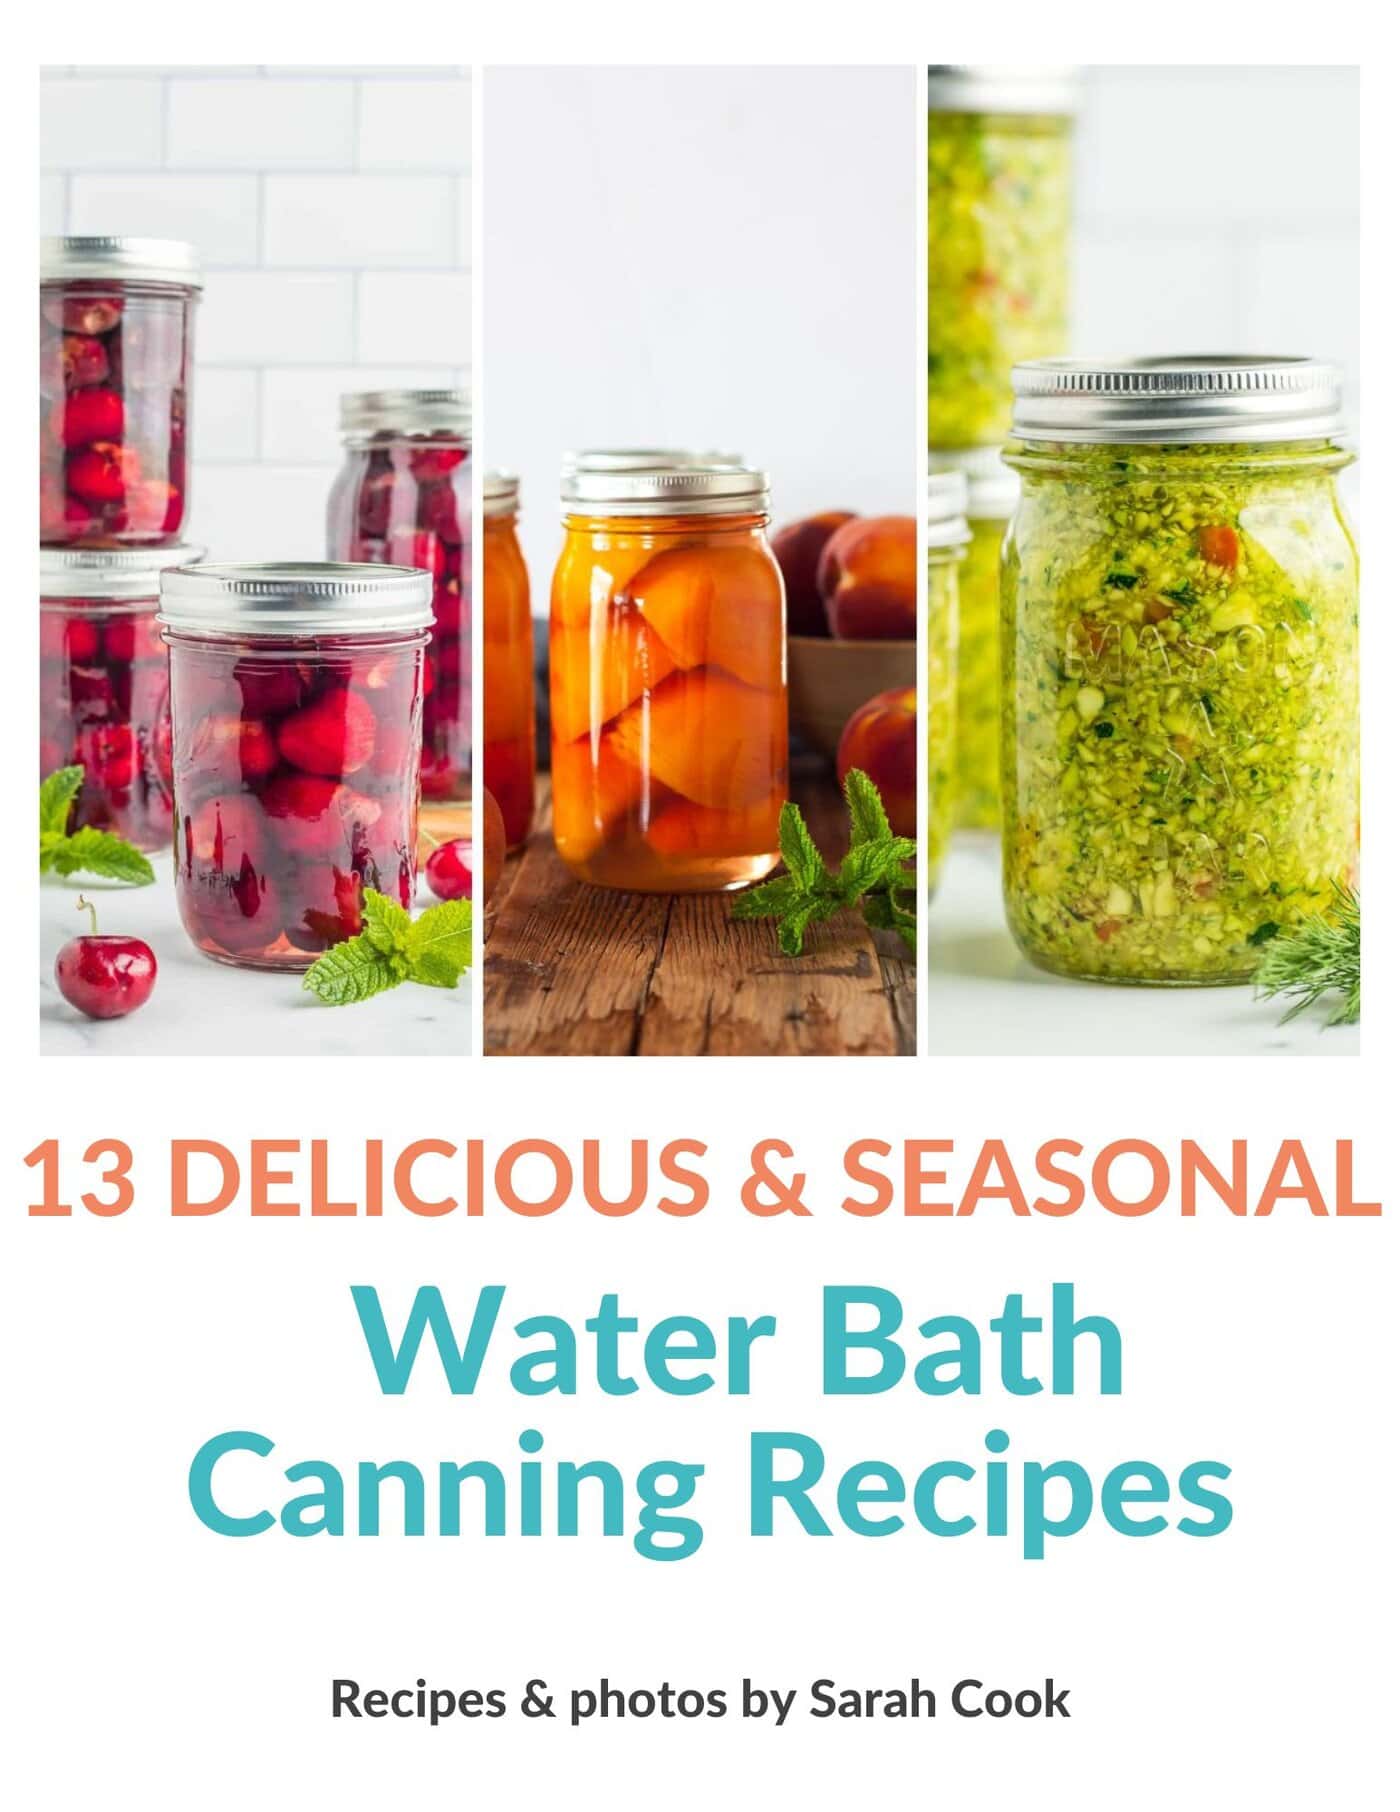
Get my Canning e-book!
It’s 51 pages of every helpful tip and trick you could want as a brand new canner, AND it includes 13 ad-free canning recipes that are designed to take you from novice to pro.




Thanks for sending me to this post! I have a feeling I am actually going to learn to can and have a lot of stuff to can this coming year. Why? Because we will be moving next November-ish and I won’t be able to take all my canned goodies with me.
I have a canning question hopefully someone can help me with. About a week ago, I canned some apple pie filling (mmmm) and last night I heard a pop in the basement. I went and checked it and one of the lids had popped off! About a day after I canned them, i did the test where I pushed on the lid and they all were firm. Then a few days later I did the test where you lift the jars by the flat part and make sure it is sealed and they all did that. So, why now did that one unseal? I put it in the fridge hoping that I can still use it. The basement is probably in the 50’s and they were only down there a few days. Is it okay to use or should I toss it? Thank you so much in advance!! 🙂
I’ve never had a lid pop off that long after canning, but every time I’ve had a lid not seal, it is because of one of two reasons:
1) I didn’t let the lids sit in the hot water long enough to loosen the red seal. The lids need at least 10 minutes in boiling water to soften enough to provide the seal.
2) I didn’t do a solid enough job of cleaning the rims of the jars with a really hot wet rag before placing the lid on it.
If it’s only been a few days and you heard the prop, I’d probably still eat it, but that is me. If I went down there to grab it and found the lid wasn’t sealed, I’d toss it. The fact that it was sealed until you heard that pop makes me feel fine about eating it. But again, that’s just me!
Thank you for all the great suggestions. You are hilarious by the way! Canned for the first time today (wish I would have read this first!). My only question is, how long can I store the applesauce?
They say 6-12 months, but it never lasts that long in our house!
I make an applesauce chocolate chip cookie. In making some awesome cookies now, with applesauce from 2000, aging beautifully. And these cookies!..
Mmmm, that sounds great!
It never lasts long enough around here for long term storage to be an issue!
That will/might change this year as i am in the starting process of processing a bin of apples. (Thats 20 bushels)
Some as sauce, pie filling, canned apples, apple butter and cider.
I will be doing it in a pressure canner (holds 19 or 20 quarts) and a water bath (holds 15 quarts) just to be faster. Going to be tight on the stove top!
Should last somewhat longer this year!
I was hoping you could tell me if I could use a crock pot to do the steam bath. I don’t seem to have a pot deep enough to put a pint size jar into once filled to a) just cover, or b) put the lid down in order to steam . For now, I can do a quick pickle pint, or the short 1/2 pint jam in the just over the top.
Where can I find a pressure canner that I don’t have to pay with life and limb. We are on a very small budget that’s why I want to do this canning thing but I’m not sure we have 150+ to spend in a canner
So, you only need a pressure canner to can low acid foods, and things containing meats. For applesauce, you simply need a huge stock pot.
If you DO want a pressure canner, the one I have linked below is on Amazon for only $75. If you don’t want to put out that kind of coin, check craigslist or freecycle or garage sales. Buy a new seal for it and get the gauge checked out at the local extension office to make sure it is still pressurizing at the appropriate level.
If you have older relatives who used to can, I bet they’d love to hand off their pressure canner to the next generation. Same with people who might attend your church (if you go), or other organizations you might belong to.
Last week went to an auction got 1 for 5$ and got another at a yardsale for 5$. They’re out there, keep your eyes peeled. Good luck.
I see you have a glass top stove, I do to. I read that you aren’t suppose to use a pressure cooker or a boiling water bath on them. What do you use?
I bought the pressure canner that I have because it was supposed to be ok for glasstop stoves. I haven’t had an issue using it for pressure canning or boiling water baths.
I bought a pressure canner and a water bath, I plan to make applesauce and can in the water bath but I will have to do it the hard way by cooking on the stove first because I don’t want to invest anymore money so what is a easy way to cook it? I plan to put up tuna in the pressure canner but I’m scared to pieces to use it, I don’t know anyone who can help, got any ideas? Thanks,
Do you have a crockpot? I’d peel, core, and chop the apples and let them get mushy in the crockpot. You can blend it or just stir it until it’s to your desired texture.
As far as the tuna, I’ve got nothing for that. Read, read, and re-read the book that came with your pressure canner and don’t divert a second from the directions!
Just a couple of comments. I run my skins through 2-3 times in my Victorio. You get a lot of the skin pulp out and more the that thick goop which makes the applesauce thicker. I then put my sauce mixture back on the stove and add sugar and cinnamon to taste before jarring. When it starts to boil (blop…blop) it’s ready. Be careful it spits when it ‘blops’ and it’s hot.
I use a steam canner, and I sterilize my jars in the oven @250 degrees. Saves space and water. Works just fine for me. Also, if you have the older blue jars (with good seal edges), the applesauce will last considerably longer on the shelf before losing color or flavor.
Great blog keep up the good work.
Thank you so much for this!! I just got myself a pressure cooker and have been wanting to use it, but hesitant to rush into it. Your article made me realize that I need to get some more tools; that it isn’t rocket science, but requires attention to detail; and that perhaps I will wait for the apples to come in. So how long do you leave applesauce in a crockpot while you are waiting to have enough?
Wow, thanks for the great tips. I especially like the one on the crock pot. Maybe there is hope for me, last time I canned (about 6 weeks ago) I thought why do I do this??! But then I do like the by product. I will keep pressing on, or is that canning on?
Great tips! One fun tip from canning applesauce w/my mom: You can melt red-hot candies in the hot apples. Gives a nice cinnamon flavor, doesn’t add too much sugar AND you get PINK applesauce!!
Christy, try the crockpot trick – I didn’t get a single sauce splatter on me this time! Since you’re opening the lid and constantly adding to the pot, it stays hot, but not bubbling hot.
Applesauce plops and sputters and burns! I love the taste but need to remember to wear long sleeves when canning because I burnt myself today like 5 times. Would I do it again – you betcha!!
Mary, you’re alway on my list of receiving free canned goods! But, first, move to WA.
Angela, really on the rings? I’ve always sanitized them. Awesome, 1 less thing to do!!
Also, thanks for the perspective on the buxom issue. As you can see by my blog header, I’m built like a 12 year old boy; boobs in jam is not something I have to worry about. Ha!!
The 6 lbs of pressure is from the Presto pressure canner booklet. You can use the canner as a water bath canner, but if you’re using it as a pressure canner, you go by lbs of pressure.
I totally agree with you! I’m pretty sure I have shed a few tears in the kitchen while dealing with tomatoes. Ugh….I hate working with them! But I sure don’t have any tears when we are eating sauce all year and I don’t have to pay for it. It is a love/hate relationship for me.
You forgot Step 11…. If you’re too lazy to do all this make sure you have friends that will send you yummy goodness. 🙂
You actually don’t need to sterilize rings. I think when we learned that we cut the expletive content of our canning sessions by about 90%, not to mention the burned fingers! xD You can just leave them sitting off to the side until you have the heated lids in place.
The shoe Truth is very important for reasons other than your back, too…it helps prevent some really nasty burns. I mean, if you’re making jam, you’re basically whipping up a batch of sugar lava, and even if you aren’t, if you’re as clumsy as I am, you will find exciting new ways to splash yourself with boiling water with every new batch you process. My other burn-related canning truth is that if you are short and buxom, you should always put your canner on the front burner. I will leave to your imagination what happens when such a person is cooking on the front burner and canning on the back one, and is dumb enough to lean over to put the jars in the canner.
I’m curious where the six pounds of pressure thing comes from — we, too, use our pressure canner to process low-acid foods from time to time when we don’t want to drag out the water bath canner, but we just treat it as if it were any other large stock pot, with the water over the jar tops, and timed from when it hits a rolling boil.
Looking forward to serving (read tasting) your homemade applesquish!!
Canning is very hard work. Each year I wonder WHY I’m doing it, but then I realize it is worth it. I have been canning like a mad woman this last month!
AAU – the other day Troy said “I’m glad you have a hobby like canning”. I wanted to say “it’s not a hobby. I HATE canning, I just like eating”.
Conne – ha! Next Monday you’ll be able to “serve” my homemade mac and cheese cause I’m making some this weekend.