As an Amazon Associate, I earn from qualifying purchases.
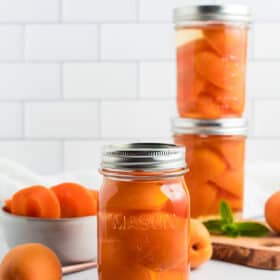
An easy step-by-step tutorial on Canning Apricots. This recipe for preserving apricots is perfect for beginners and experienced canners alike. Instructions include low-sugar and no-sugar options.
Fresh apricots are hands down one of the easiest fruits to can. There is very limited prep and you can preserve an entire batch in under 50 minutes.
Even better, I’m going to teach you how to make canned apricots in light syrup (or no syrup at all!), so you can actually taste the fruit and not just sugar.
Do You Peel Apricots For Canning?
You can, but it’s not necessary. The skin of apricots is incredibly soft and thin and doesn’t get tough or bitter while canning. And frankly, one less step when it comes to canning is always a plus in my eyes!
If you do wish to peel them first, follow the peeling directions over in our post on how to preserve peaches.
Canning APRICOTS WITHOUT SUGAR
You are able to can apricots without any added sugar. That being said, sugar is used in canning for flavor, preservation, and color. Sweet food generally tastes better, keeps longer, and the color of the food stays bright and fresh.
Apricots have enough natural sugar and don’t need any sweetener added while canning to be considered safe. But your final product may look a bit different and have a shorter shelf life. Personally, I walk the line between no sugar and low sugar for canning peaches, canning apricots, and canning pears.
RAW PACK FOR CANNING Apricots
It is not recommended that you preserve apricots using a raw pack. The final product is usually of poor quality. Thankfully, the process of hot packing only takes an additional 2 minutes.
HOT PACK FOR CANNING Apricots
Hot packing involves cooking the apricots briefly in hot syrup before packing the fruit into jars for canning. You’ll want to boil the apricots in the canning syrup for 2 minutes and then add them to your jars, carefully ladling more hot syrup over the top.

Get my Canning e-book!
It’s 51 pages of every helpful tip and trick you could want as a brand new canner, AND it includes 13 ad-free canning recipes that are designed to take you from novice to pro.
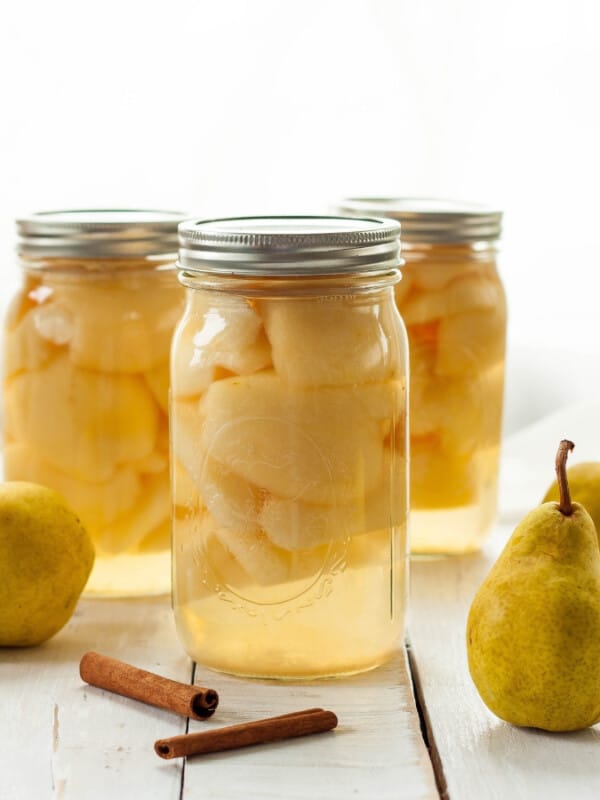
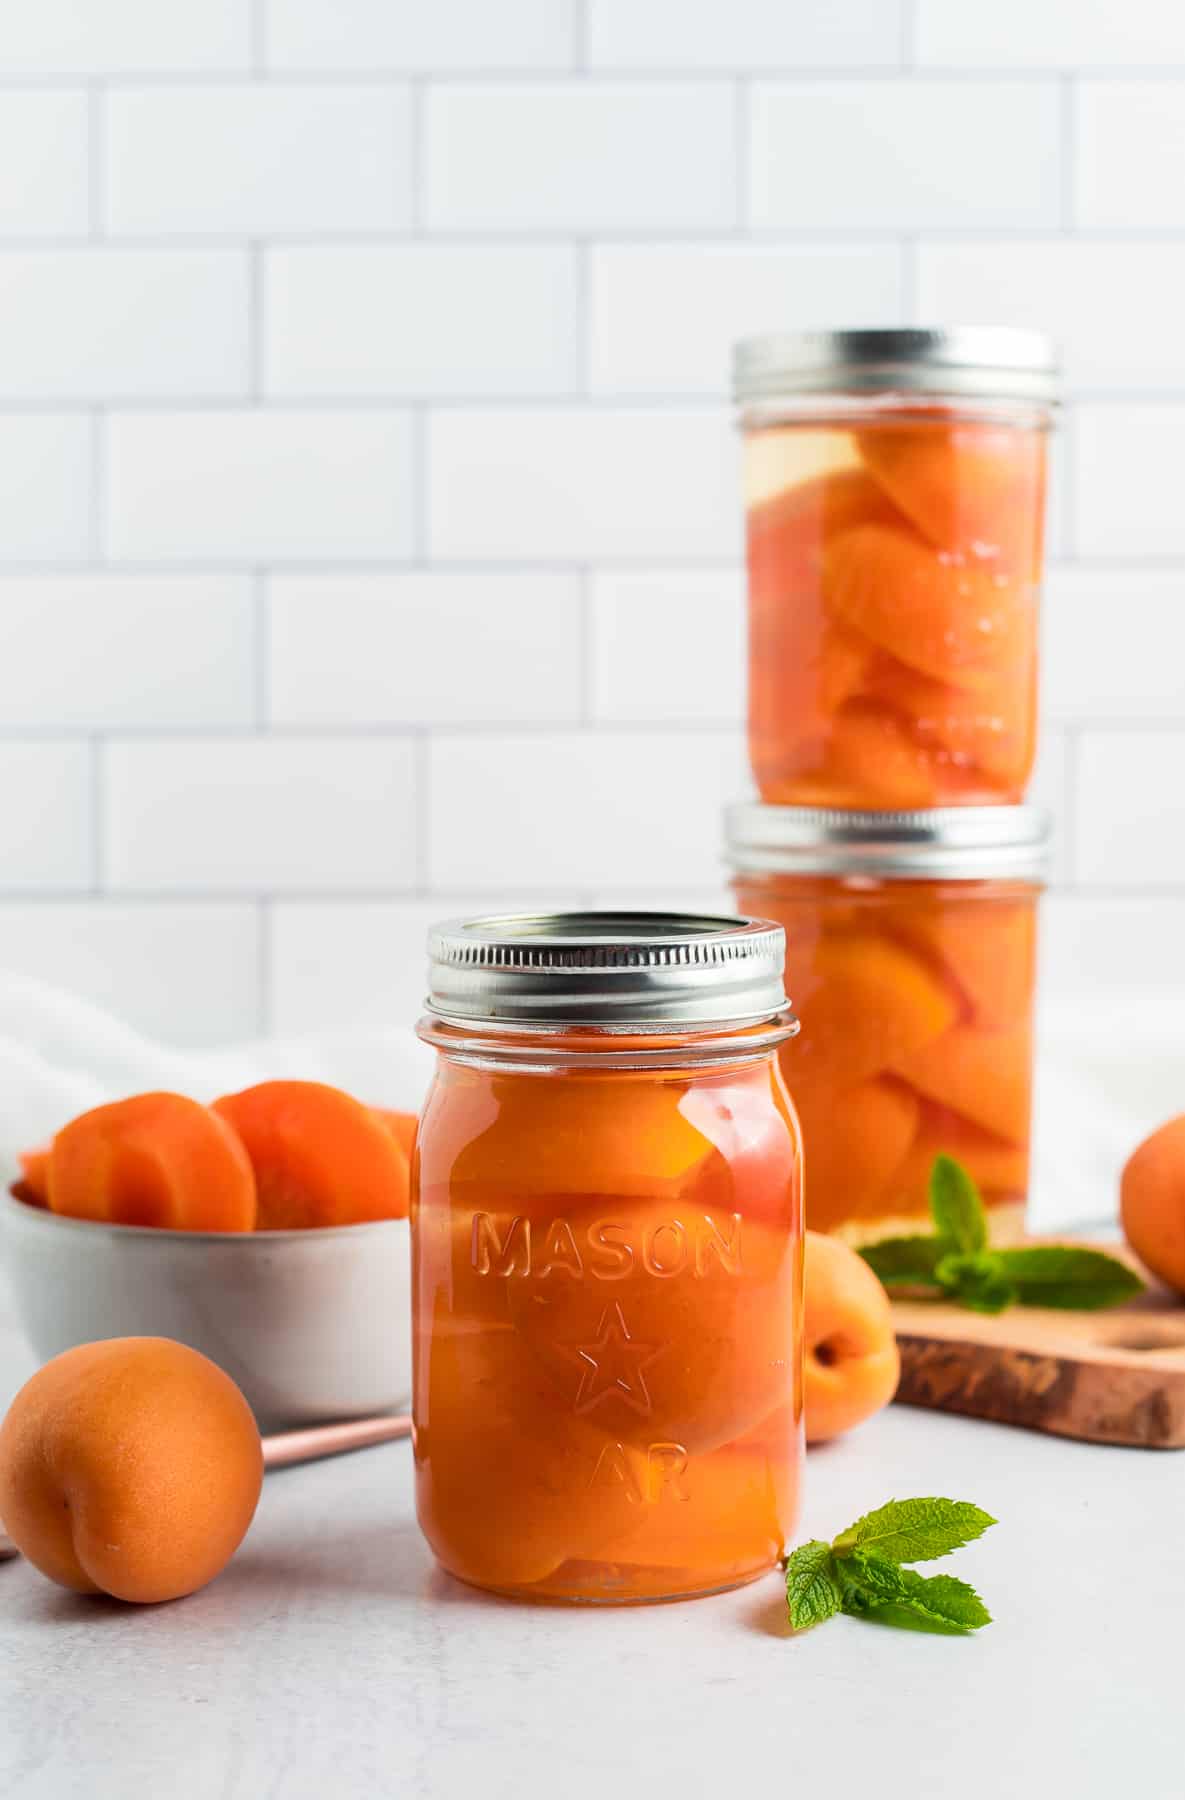
How to Can Apricots
*I’ll walk you through the process with photos and tips below. And a printable and detailed recipe card, including exact measurements for ingredients, is available at the bottom of the post.
CANNING PREP
Prepare your water bath canner by filling it with water. You just need to have enough water to cover the jars by 1 inch once the water is boiling.
Set the canner on the stove. Turn the burner to high. Once it reaches a boil, reduce it to simmer. You want to keep the water hot so that everything is ready when the fruit is.
Wash and clean your jars. You’ll want to keep them warm to avoid having them crack when placed in the canner. You can fill them with hot water, or place them on a tray in the oven at 170˚F.
Wash your lids and set them aside in a clean place. You no longer need to simmer lids in water to keep them sterile. Woot!
Set up a large bowl of water treated with lemon juice or citric acid.
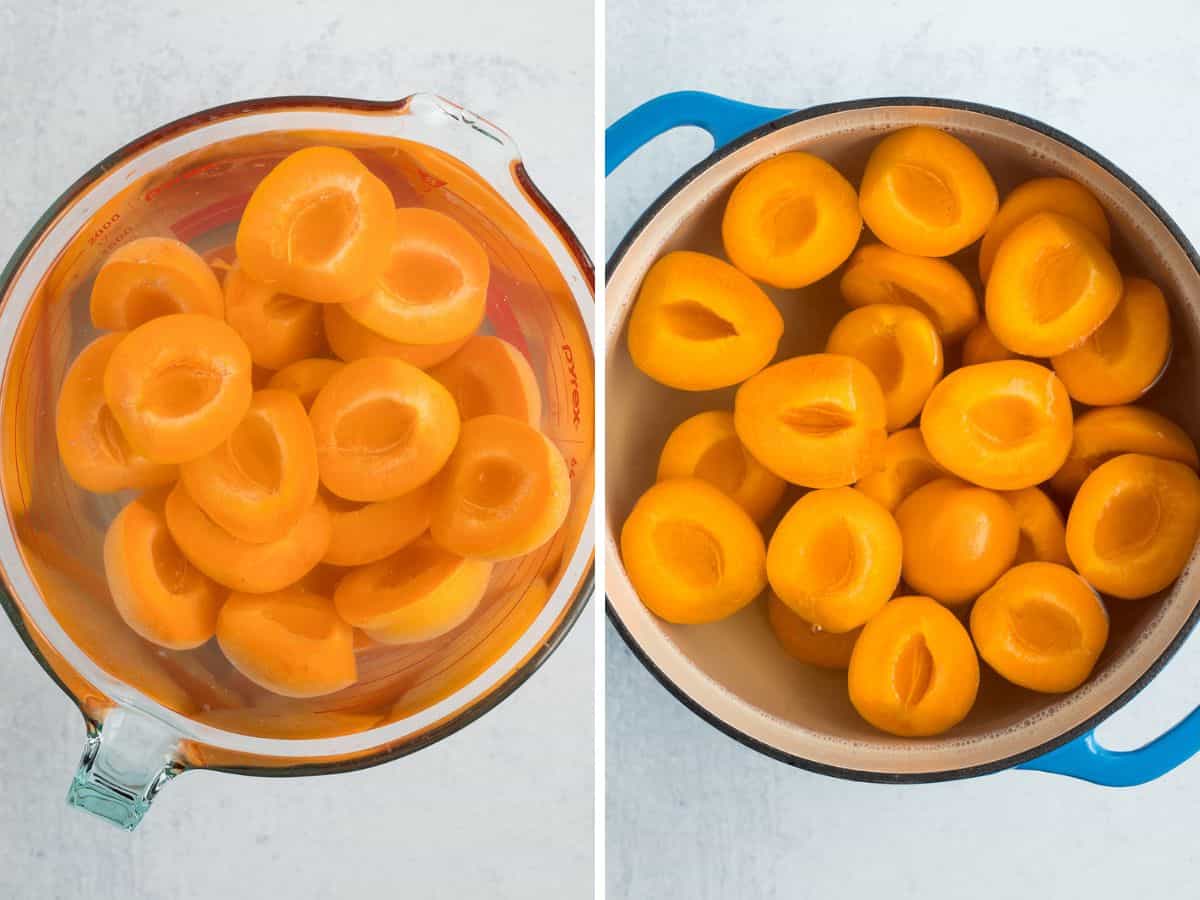
Wash your fruit. I just run them under water and rub my hands on them to give the outside a scrub. Use a paring knife and cut the apricot around the middle to separate. Add the halves to the bowl of lemon juice water. Repeat with more apricots.
In a medium-sized pot, combine your sugar/honey/or juice, and water to create the syrup (see syrup chart above). Pro tip: if you’re planning to do a large batch all at once, I use my crockpot to create and keep the extra syrup hot. It frees up space on the stove.
Add one layer of apricots at a time to the syrup and cook for 2 minutes. One layer at a time basically means don’t overcrowd the pot. See photo below.
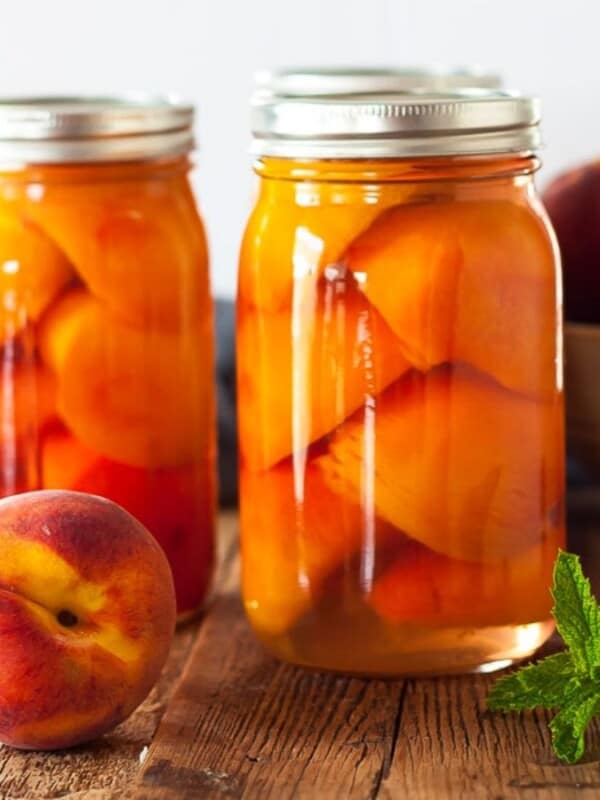
Add the fruit cavity-side down (where the pit was) to your sanitized and warm canning jars. This is easiest done with a fork. Repeat with other apricot halves until you have filled the jar. Pro tip: depending on the size of the fruit, each quart will fit about 2 1/4 pounds of apricots.
Using a canning funnel, ladle hot syrup into the jars, leaving 1/2 inch headspace. You may need to use a spoon to gently smoosh down the fruit a bit.
Using a long utensil (I prefer a plastic chopstick), remove all the air bubbles from the jar. Clean the rim of the jar very well with a hot damp rag. Place a clean lid on the jar. Add a ring, and tighten to fingertip tight.


Using canning tongs, add your jars to the boiling water, and put the canner lid on. Pro tip: you must have at least 1 inch of water over the tops of the jars for safe canning. Processing times will vary based on altitude. See the chart below.
Processing Time for Apricots
| Processing Time for Apricots | |||||
| Process Times at Altitudes of: | |||||
| Style of Pack | Jar Size | 0-1,000 ft | 1,001-3,000 ft | 3,001-6,000 ft | Aove 6,000 ft |
| Hot | Pints | 20 min | 25 min | 30 min | 35 min |
| Quarts | 25 min | 30 min | 35 min | 40 min | |
| Raw | Pints | 25 min | 30 min | 35 min | 40 min |
| Quarts | 30 min | 35 min | 40 min | 45 min | |
| *Source: National Center For Home Food Preservation | |||||
Once the processing time is up, remove the canner from heat, remove the lid of the canner, and let the canner sit for 5 minutes. Use canning tongs and remove the jars and place them on towels on the counter. Make sure you put them where they can be undisturbed for 12-24 hours.
After everything has cooled, check the seal by pushing down on the middle of the lid. If it doesn’t give way, it’s sealed. Label the jars, and store in a cool dark place for 12-18 months. If the lid bows a little bit, put that in the fridge and use it within 2 weeks.
HELP! WHY ARE MY JARS LEAKING JUICE?
If you find that juice has leaked out after they have sealed, you have experienced a common canning issue called siphoning. It happens to the best of us!
Siphoning is typically caused by not allowing the jars to rest in the canner after they have finished processing. In the directions above, you’ll see that I recommend you remove the canner from the burner, remove the lid, and let it sit for 5 minutes.
This is important as it allows the jars time to rest before being allowed to cool on the counter. Doing this process will significantly cut down on siphoning.
IF YOU HAVE SIPHONING IN YOUR JARS, FOLLOW THESE STEPS:
- Check – are the lids still sealed?
- Look – have you lost less than half of the amount of liquid in the jar?
- Examine – does the fruit look fresh with bright colors?
If the answer to the above three steps is “yes!”, then they are safe to eat. If you lost quite a bit of syrup, the uncovered fruit will turn color more quickly. Plan to eat from those jars first.

WHAT IF MY JARS DON’T SEAL?
If you’ve correctly processed your fruit, and the lids still didn’t seal, you can reprocess them.
Double-check to make sure there are no:
- Chips in the rim of the jar
- Dried syrup or bits of apricot on the rim (anything between the rim and the lid may prevent a seal).
Best practices would involve using brand new lids for reprocessing. Set aside the old lids to use for dry storage (related: Pantry Essentials for the Home Cook).
If the jars don’t seal on the second attempt, you likely have a bad batch of lids, or your canning process has a step missing. Email me and we’ll try to troubleshoot what is going on.
For unsealed jars, you can place them in the fridge. Eat the fruit within three weeks.
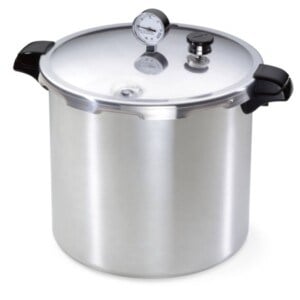
PRESSURE CANNING Apricots
Some people may prefer to pressure can apricots, but a word of warning – it does take longer compared with water bath canning.
If you plan to pressure can your fruit, they would need to be processed at 6 PSI for 10 minutes in a dial-gauge canner or 10 minutes at 5 PSI in a weight-gauge canner. You can find a complete guide for pressure canning times, elevations, and PSI information here.

Get my Canning e-book!
It’s 51 pages of every helpful tip and trick you could want as a brand new canner, AND it includes 13 ad-free canning recipes that are designed to take you from novice to pro.
Canning Apricots
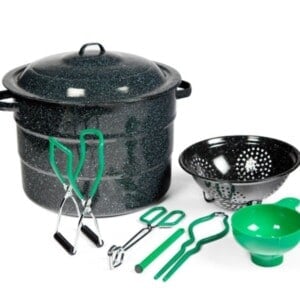
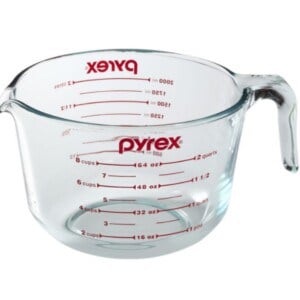
Equipment
Ingredients
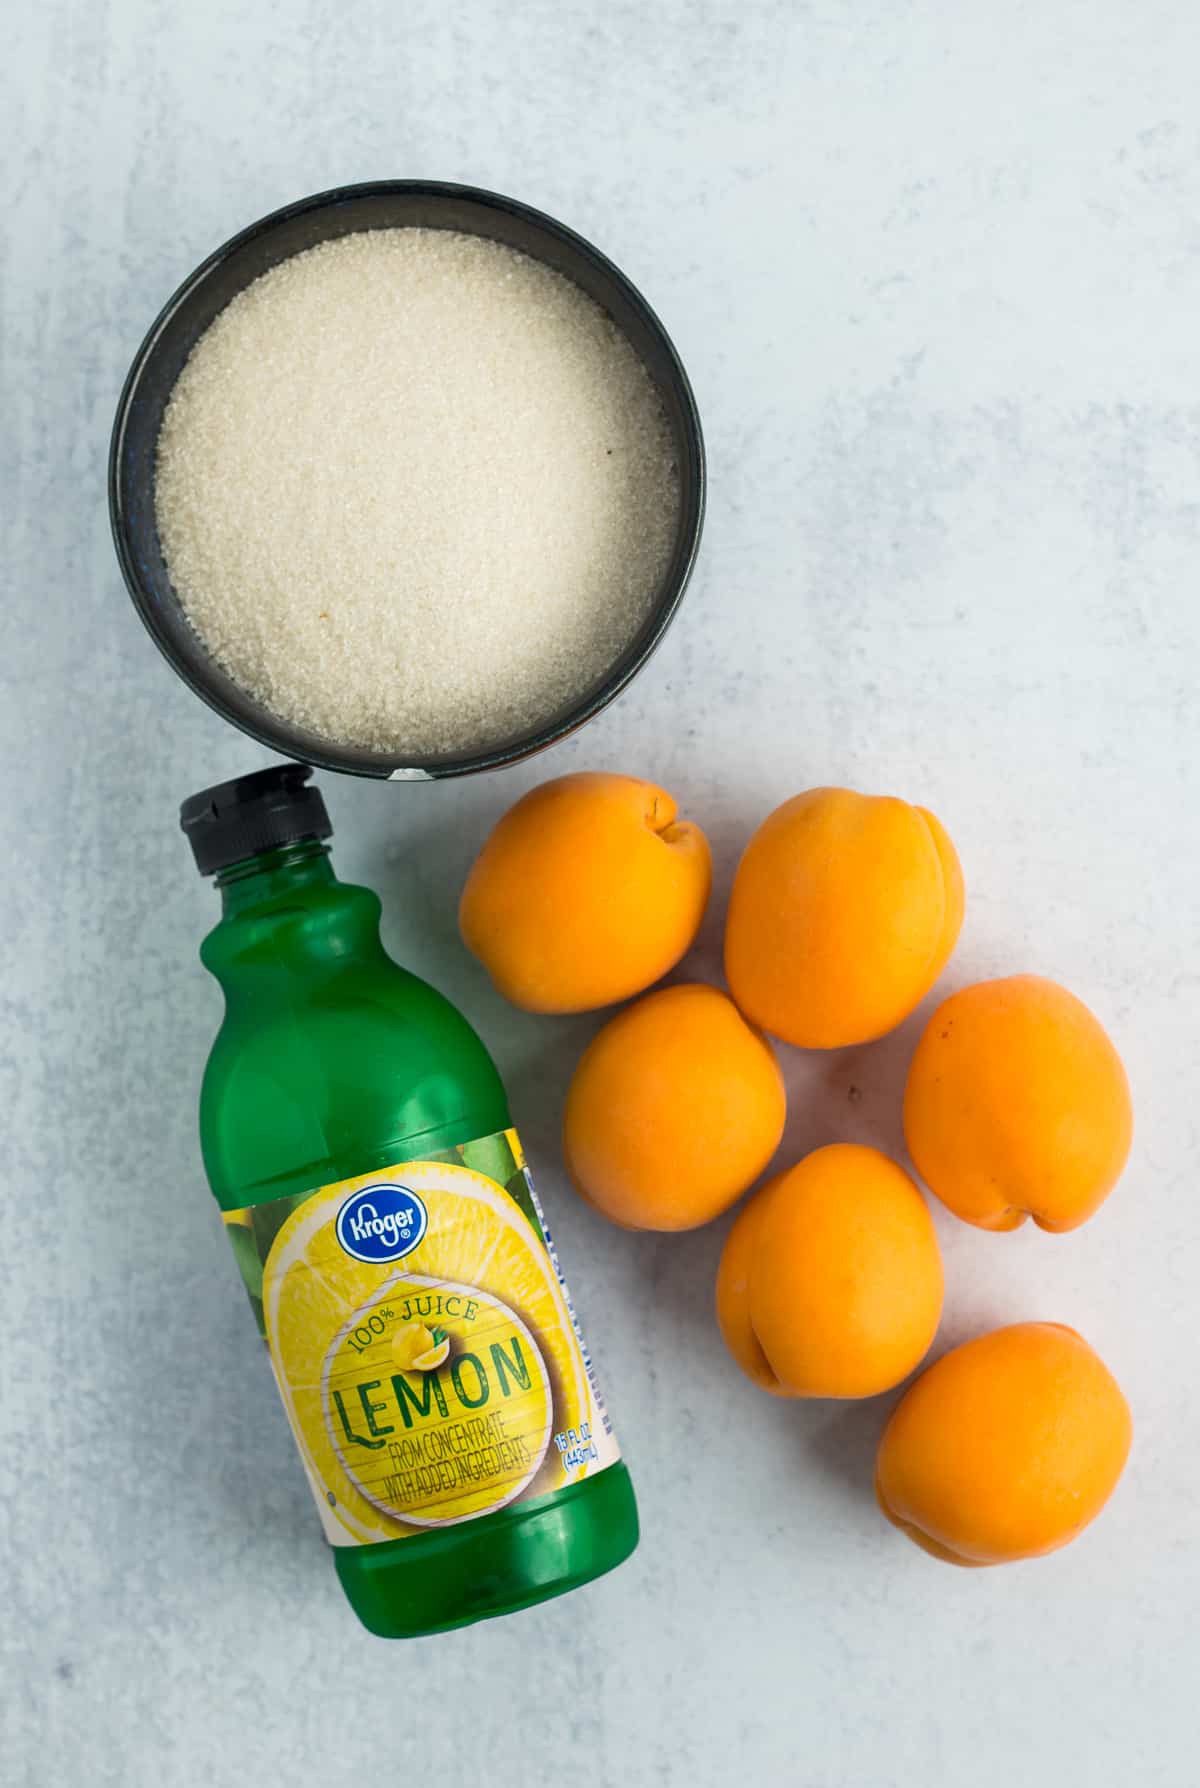
- 16 lbs apricots
- 4 cups water
- 1/4 cup lemon juice
- 5 3/4 cups water {+more for the canner}
- 1 1/2 cups sugar
Instructions
Canning Prep
- Prepare your water bath canner by filling it with water. You just need to have enough water to cover the jars by 1 inch once the water is boiling.
- Set the canner on the stove. Turn the burner to high. Once it reaches a boil, reduce it to a simmer. You want to keep the water hot so that everything is ready when the apricots are.
- Wash and sanitize your jars. You’ll want to keep them warm to avoid having them crack when placed in the canner. You can fill them with hot water, or place them on a tray in the oven at 170˚F.
- Wash your lids and set aside in clean place.
- Fill a medium bowl with 4 cups of water and 1/4 cup of lemon juice or 1 tbsp of citric acid.4 cups water, 1/4 cup lemon juice
- Use a paring knife and cut the apricot around the middle to separate. Remove the pit and place the apricots in the bowl of lemon water.16 lbs apricots
- In a medium-sized pot, combine sugar/honey/or juice and water to create the syrup. Pro tip: if you're planning to do a large batch of apricots all at once, use a crockpot to create and keep the bulk of the syrup hot. It frees up space on the stove.5 3/4 cups water, 1 1/2 cups sugar
- Add one layer of apricots at a time to the syrup and cook for 2 minutes. One layer at a time basically means don’t overcrowd the pot.
- Add the apricots cavity-side (where the pit was) down to the sanitized and warm canning jars. This is easiest done with a fork. Repeat with other apricot halves until you have filled the jar. Pro tip: depending on the size of the fruit, each quart will fit about 2 1/4 pounds of apricots.
- At this point, return your water in the canner back to a rolling boil.
- Using a canning funnel, carefully and slowly ladle hot syrup into the jars over the apricots, leaving 1/2 inch headspace. Headspace is the distance between the top of the food and the top of the jar.
- Using a long utensil (I prefer a plastic chopstick), remove all the air bubbles from the jar.
- Clean the rim of the jar very well with a hot damp rag.
- Place a clean lid on the jar. Add a ring, and tighten to fingertip tight.
- Using canning tongs, add jars to the boiling water, and put the canner lid on. Pro tip: you must have at least 1 inch of water over the tops of the jars for safe canning.
- Process half-pints and pints based on the elevation guide below:HOT PACK*0-1,000 ft – Pints= 20 min Quarts= 25 min *1,001-3,000 ft – Pints= 25 min Quarts= 30 min *3,001-6,000 ft – Pints= 30 min Quarts= 35 min*6,000 ft+ – Pints= 35 min Quarts= 40 min RAW PACK*0-1,000 ft – Pints= 25 min Quarts= 30 min *1,001-3,000 ft – Pints= 30 min Quarts= 35 min *3,001-6,000 ft – Pints= 35 min Quarts= 40 min*6,000 ft+ – Pints= 340 min Quarts= 45 min
- Once the apricots have processed for the appropriate amount of time, remove the canner from the burner, carefully take off the lid, and allow it to sit for 5 minutes. Pro tip: remove the lid wearing oven mitts as the steam is HOT!
- Carefully remove the jars using canning tongs, and place them on a thick towel in a place where they can be undisturbed for 12 hours.
- After the jars have rested for about 12 hours, press down in the middle of each lid. If it "gives" at all, the jar didn't seal. Either enjoy it that day, put it in the fridge, or reprocess it.
Notes
- Canned apricots will last for 12-18 months in a cool dark place.
- On average you’ll need:
- 16 lbs per 7 quarts
- 10 lbs per 9 pints
- 2 1/4 lbs per quarts
- 50 lbs per 20-25 quarts
Nutrition
Nutrition information is automatically calculated, so should only be used as an approximation.