As an Amazon Associate, I earn from qualifying purchases.
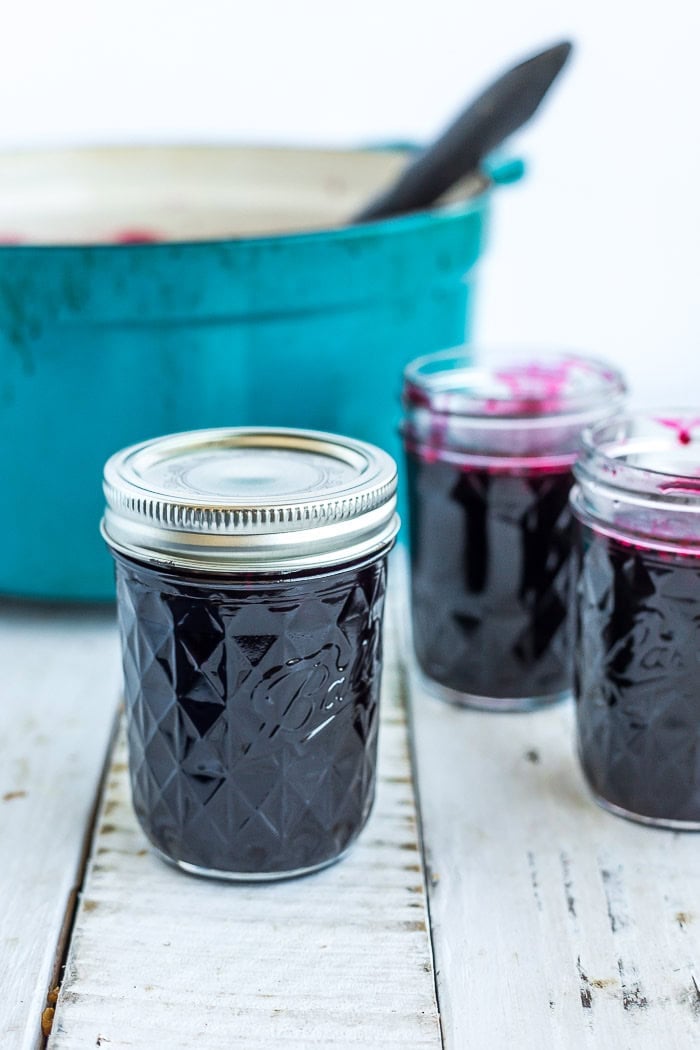
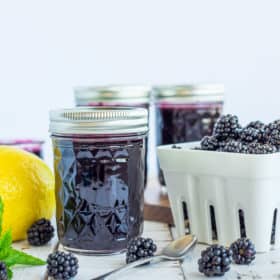
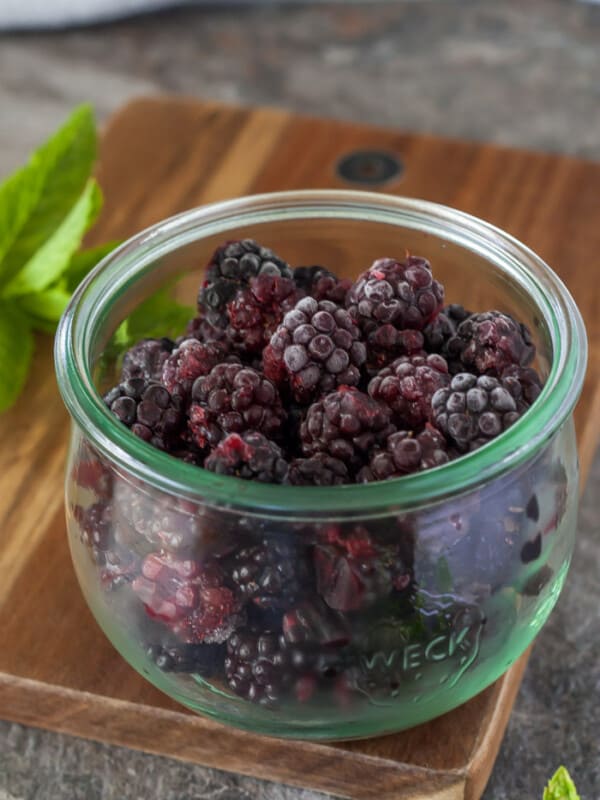
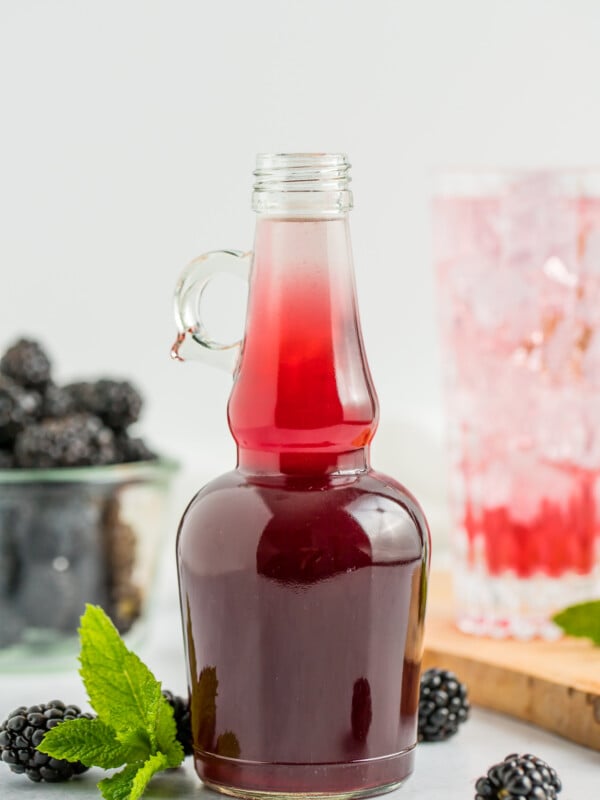
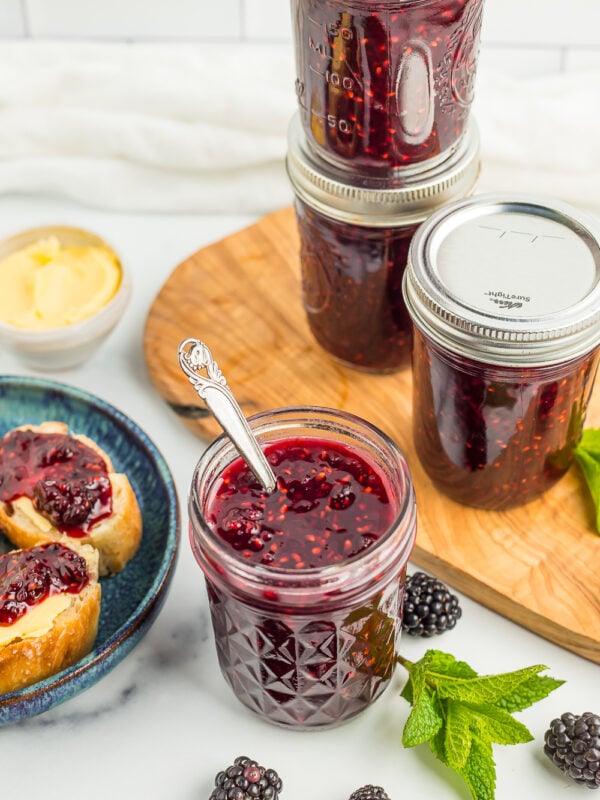
Made with fresh summer berries, you’re going to love this delicious blackberry syrup recipe. This is a delightful homemade treat for pancakes, waffles, baked goods, drinks, and more. You can freeze or can this easy homemade blackberry syrup.

Blackberries are the dandelions of Washington. They grow wild everywhere and are free for the picking. When you want to savor that delicious taste longer than the short season lasts, homemade blackberry syrup is the way to go!
Let me teach you how to make this incredibly fresh syrup. You can keep it in the fridge, freeze some for later, or even can it. You’ve got options. Go get some blackberries and let’s do this.
Reader Review
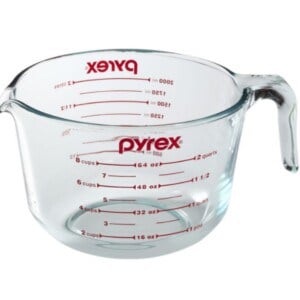
“This recipe was excellent and yielded exactly 5 cups of syrup. I did strain it twice through a chinois just to make sure it was extra smooth.”
Linda
HOW To MAKE Blackberry SYRUP FROM SCRATCH
*I’ll walk you through it here with some photos and tips, and you’ll also find a printable recipe card at the bottom of the post with exact measurements, etc. You can click “jump to recipe” to skip down.
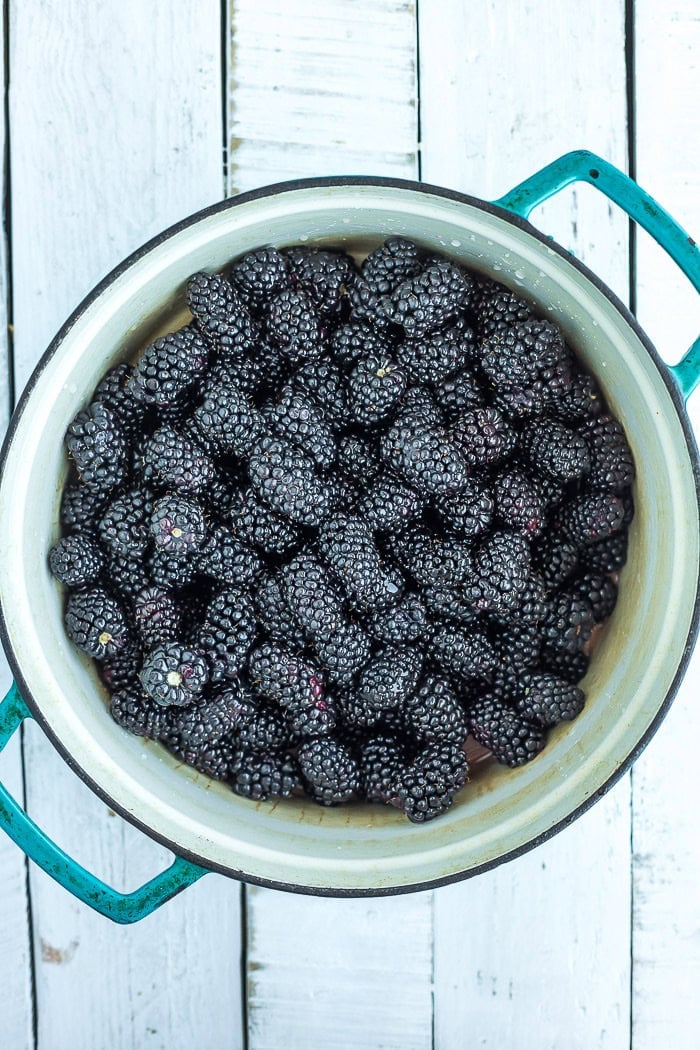
Rinse the blackberries and add them to a heavy-bottomed pan (I use my cast iron dutch oven). Now we’re going to cook them down over medium heat and gently mush them as they heat up.
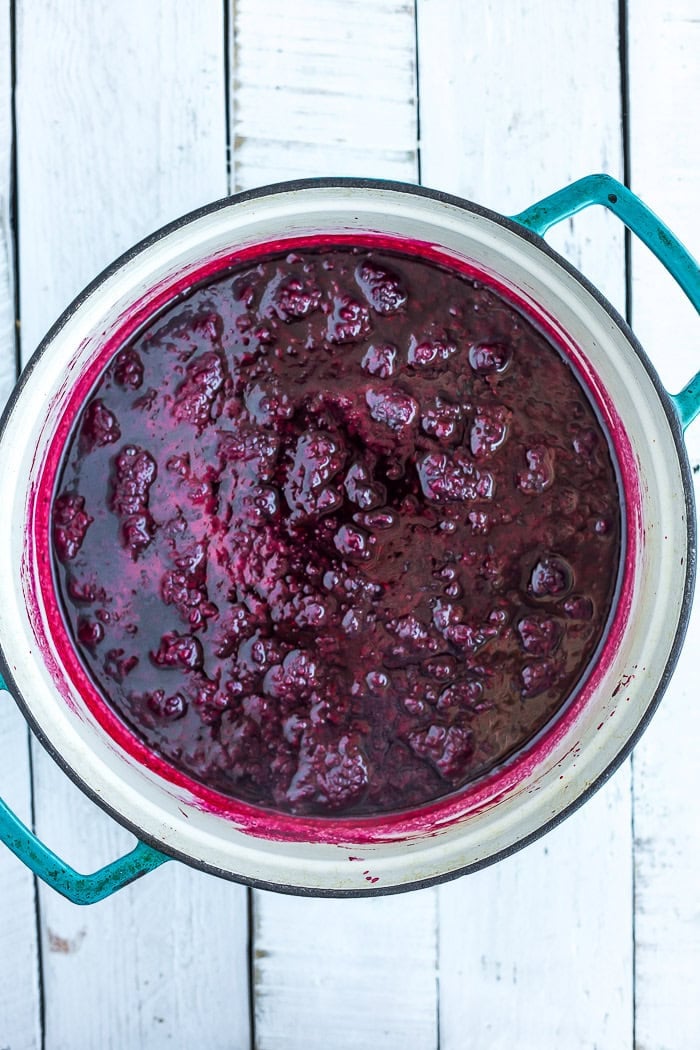
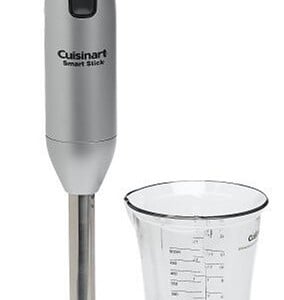
Once the berries are hot and steaming, use an immersion blender to puree everything. If you don’t have an immersion blender, no worries. You can use a blender; just make sure you remove the middle part of the lid to allow the steam to escape and blend in batches.
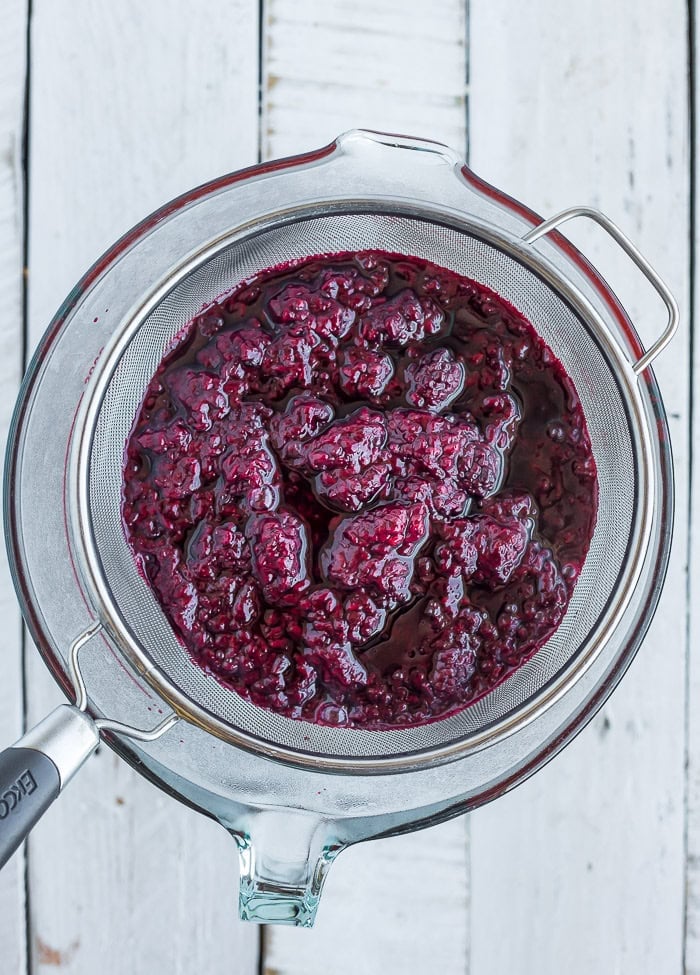
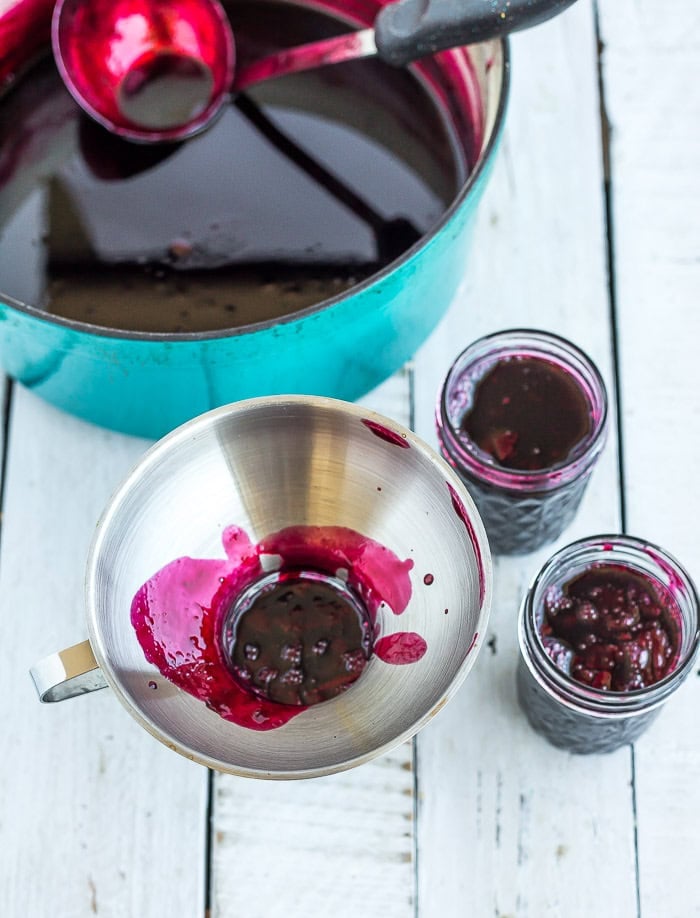
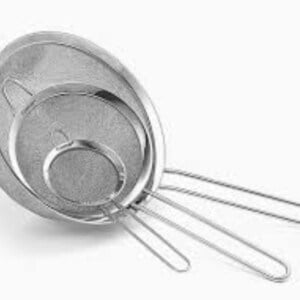
Now, you’ll place a fine-mesh strainer over a clean bowl and pour the berries into the strainer. You may need to “push” the sauce through with a silicone spatula or wooden spoon to get every last drop.
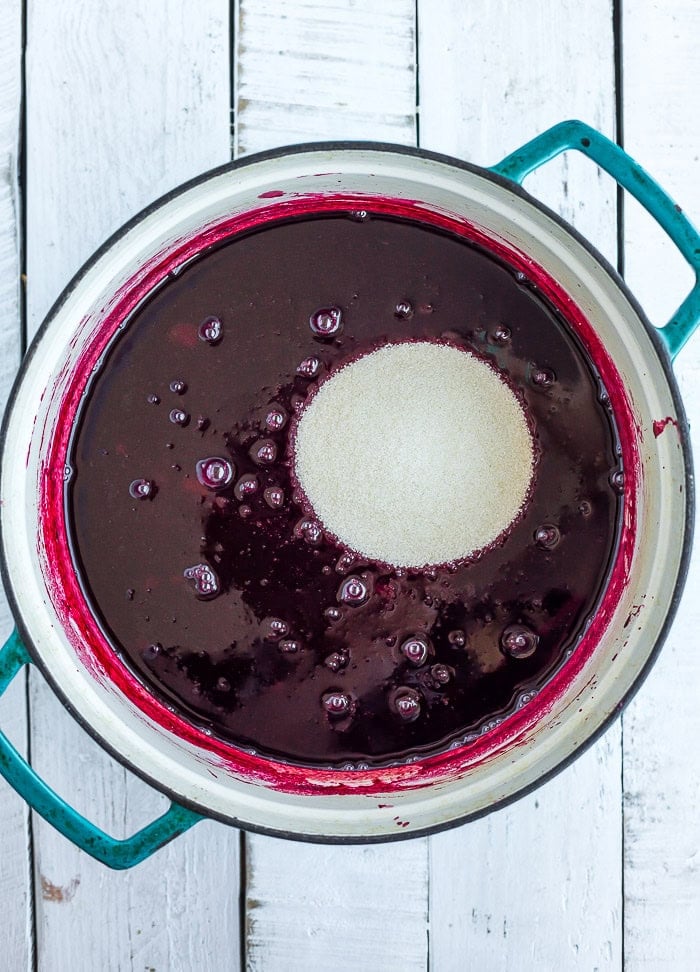
Then add the filtered sauce back to the pan, add the sugar and (optional) lemon juice, and bring to a gentle boil for 5-10 minutes or until reduced by one-third.

If storing in the fridge, allow the syrup to fully cool before placing it in a jar/bottle in the fridge. Want to can your blackberry syrup to make it shelf-stable? Read on, nerd!
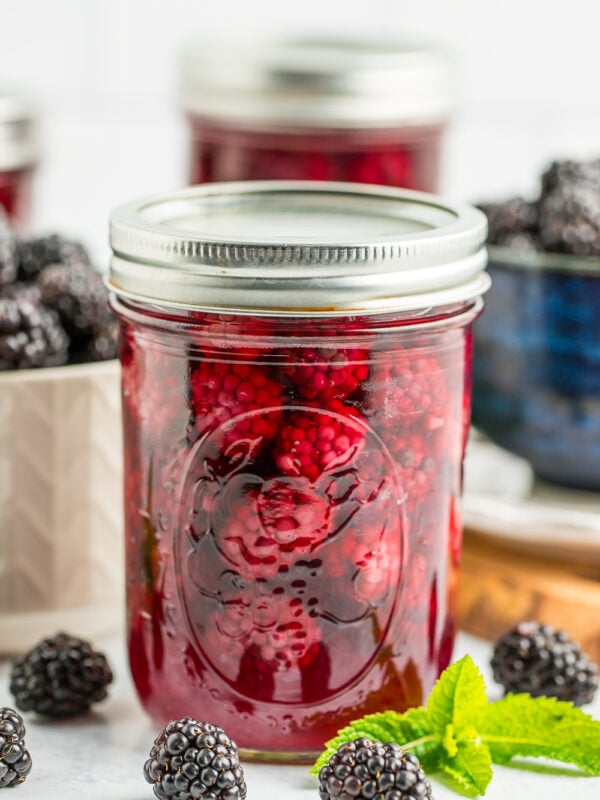
Canning Blackberry Syrup
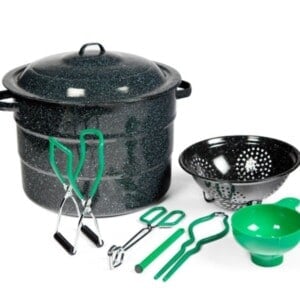
Prepare your water bath canner by filling it with water and setting it on the stove. Turn the burner to high. Once it reaches a boil, reduce it to a simmer until you’re ready to can the blackberry syrup.
Wash and sanitize your jars. You’ll want to keep them warm to avoid having them crack when placed in the canner. You can fill them with hot water or place them on a tray in the oven at 170˚F.
Wash your lids and set them aside in a clean place. You no longer need to simmer lids in water to keep them sterile. Woot!
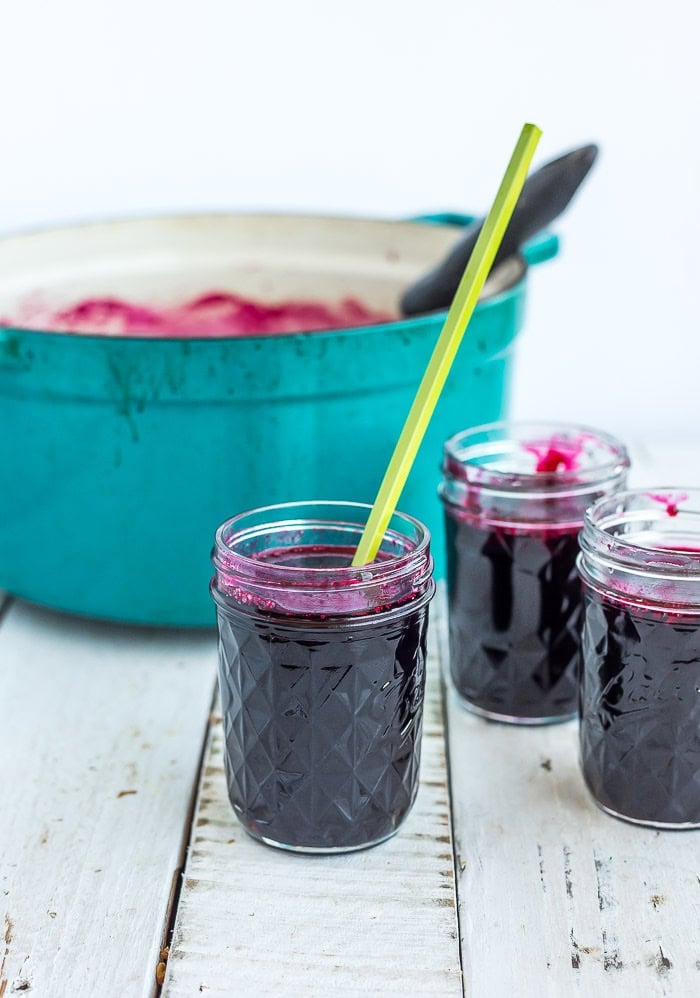
Using a funnel and a ladle, add the syrup to your prepared jars, leaving 1/2 inch of headspace at the top.
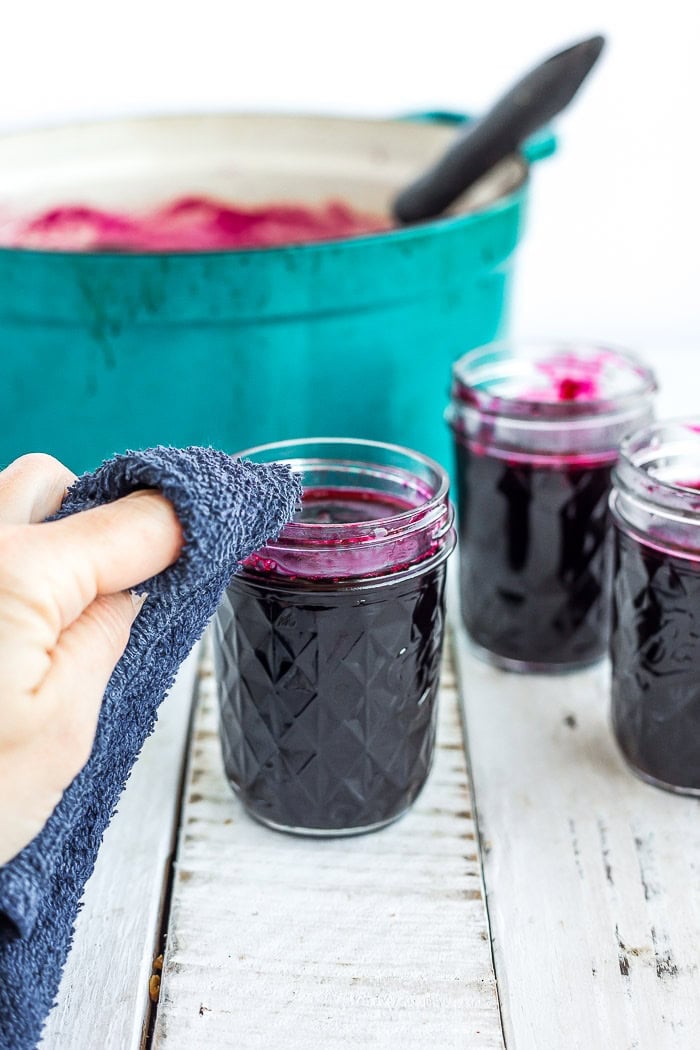
Using a wet, clean rag, wipe the rim to make sure there isn’t any sticky syrup on there.
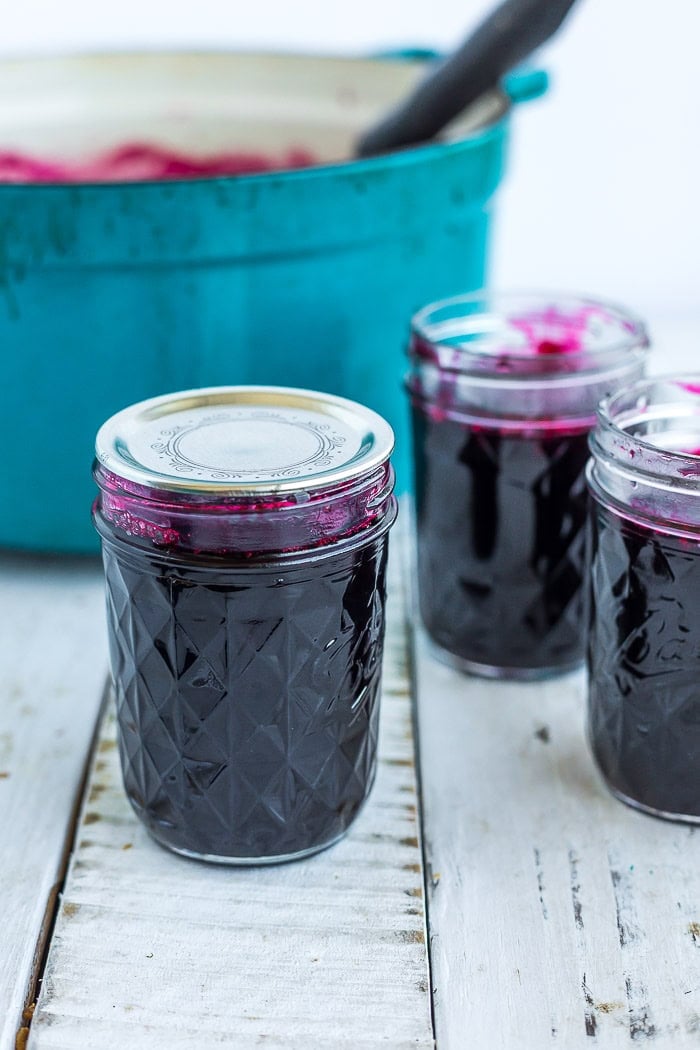
Place a new clean lid on the jar and then a canning ring. Tighten the ring to fingertip tight (tight enough that it won’t come off, but not so tight that a normal person couldn’t budge it).
Using canning tongs, add your jars to the boiling water, and put the canner lid on. Pro tip: you must have at least 1 inch of water over the tops of the jars for safe canning. Processing times will vary based on altitude. See the chart below.
Processing Times for Blackberry Syrup
| Processing Time for Blackberry Syrup | ||||
| Process Times at Altitudes of: | ||||
| Style of Pack | Jar Size | 0-1,000 ft | 1,001-6,000 ft | Aove 6,000 ft |
| Hot | Half-Pints & Pints | 10 min | 15 min | 20 min |
| *Source: National Center For Home Food Preservation | ||||
Once the processing time is up, remove the canner from the heat, remove the lid of the canner, and let the canner sit for 5 minutes. Use canning tongs to remove the jars and place them on towels on the counter. Make sure you put them where they can be undisturbed for 12-24 hours.
After everything has cooled, check the seal by pushing down on the middle of the lid. If it doesn’t give way, it’s sealed. Label the jars, and store in a cool dark place for 12-18 months. If the lid bows a little bit, put that in the fridge and use it within 2 weeks.
Pro Tips/Recipe Notes
- You can reduce or increase the sugar depending on your preferences and the sweetness of the berries. I recommend starting with 1/4 cup and tasting as you go.
- Recipe makes five 8-oz jam jars.
- If you don’t have an immersion blender, carefully transfer in batches to a regular blender. Leave the center component of the lid off to allow the steam to escape; drape a clean cloth over the top of the lid to prevent syrup splatter.

Blackberry Syrup Recipe
Ingredients
- 12 cups fresh or frozen blackberries {to yield ~5 cups juice}
- 2 cups sugar
- 1/4 cup water
- 2 tbsp lemon juice {optional}
Instructions
- Combine 1/4 cup water and berries in a heavy-bottomed pot. Cook down over medium heat until the berries are very soft and steaming.1/4 cup water, 12 cups fresh or frozen blackberries
- When hot, use an immersion blender in the pot to blend the berries. See note 1 below if you don't have an immersion blender.
- Ladle hot berry sauce into a metal sieve placed over a bowl.
- Use a spatula to work the sauce around until all that is left in the sieve is the seeds. Return the now seedless sauce to the cooking pot.
- Mix sugar and (optional) lemon juice into the sauce, cook on medium-high, stirring often until the syrup has reduced by 1/3 (about 5-10 minutes).2 cups sugar, 2 tbsp lemon juice
- If you're not canning the syrup, allow it to cool and then transfer it to small containers. Refrigerate and use within 2 weeks, or freeze for six months.
How to Can Blackberry Syrup
- Prepare your water bath canner by filling it with water. You just need to have enough water to cover the jars by 1 inch once the water is boiling.
- Set the canner on the stove. Turn the burner to high.
- Wash and sanitize your jars. You’ll want to keep them warm to avoid having them crack when placed in the canner. You can fill them with hot water, or place them on a tray in the oven at 170˚F.
- Wash your lids and set aside in a clean bowl.
- Ladle in the warm syrup into jars, leaving 1/2 inch of headspace. Remove any bubbles from the jar (I use a chopstick).
- Use a wet clean rag and wipe the rim of the jars to make sure it is free of any food.
- Place a clean lid on the jar. Add a ring, and tighten to fingertip tight.
- Using canning tongs, add jars to the boiling water, and put the canner lid on. Pro tip: you must have at least 1 inch of water over the tops of the jars for safe canning.
- Process half-pints and pints based on the elevation guide below:*0-1,000 ft – Half-Pints & Pints =10 min *1,001-6,000 ft – Half-Pints & Pints =15 min *6,000 ft+ – Half-Pints & Pints =20 min
- Once the syrup has processed for the appropriate amount of time, remove the canner from the burner, and carefully remove the lid of the canner (Pro tip: use oven mitts to take the lid off because the steam is super hot).
- After the jars sit for 5 minutes in the canner, use canning tongs to carefully remove the jars, and place them on a thick towel in a place where they can be undisturbed for 12 hours.
- Store in a cool dark place for 12-18 months.
Notes
- If you don’t have an immersion blender, carefully transfer in batches to a regular blender. Leave the center component of the lid off to allow the steam to escape.
- Store in the fridge for up to two weeks, or freeze for 3-6 months.
- If you choose to can it, you can store it in a cool dark place for 12-18 months.
- Recipes makes five 8oz jam jars.
- You can leave the seeds in if you’d like.
Nutrition
Nutrition information is automatically calculated, so should only be used as an approximation.

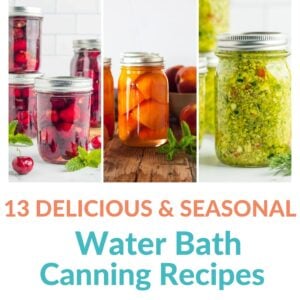
Get my Canning e-book!
It’s 51 pages of every helpful tip and trick you could want as a brand new canner, AND it includes 13 ad-free canning recipes that are designed to take you from novice to pro.


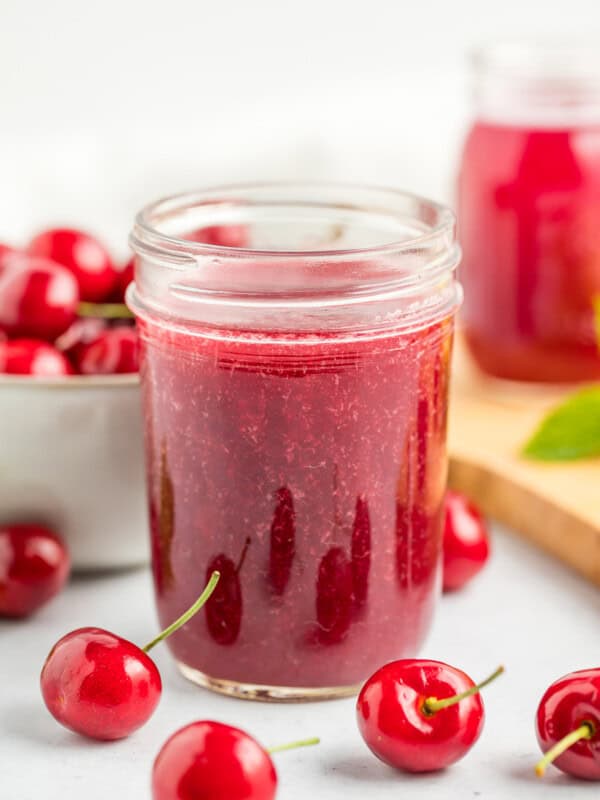


This looks great for my canning level. Going to try this tomorrow. Now my husband just picked at least 12 cups of blueberries. Can I use the same recipe?
Kat from Georgia.
Hi Kat, yes, you can make it with blueberries! The skins in blueberries may require a bit more straining when you get to that part, but the general idea of the recipe is the same.
Happy canning!