As an Amazon Associate, I earn from qualifying purchases.
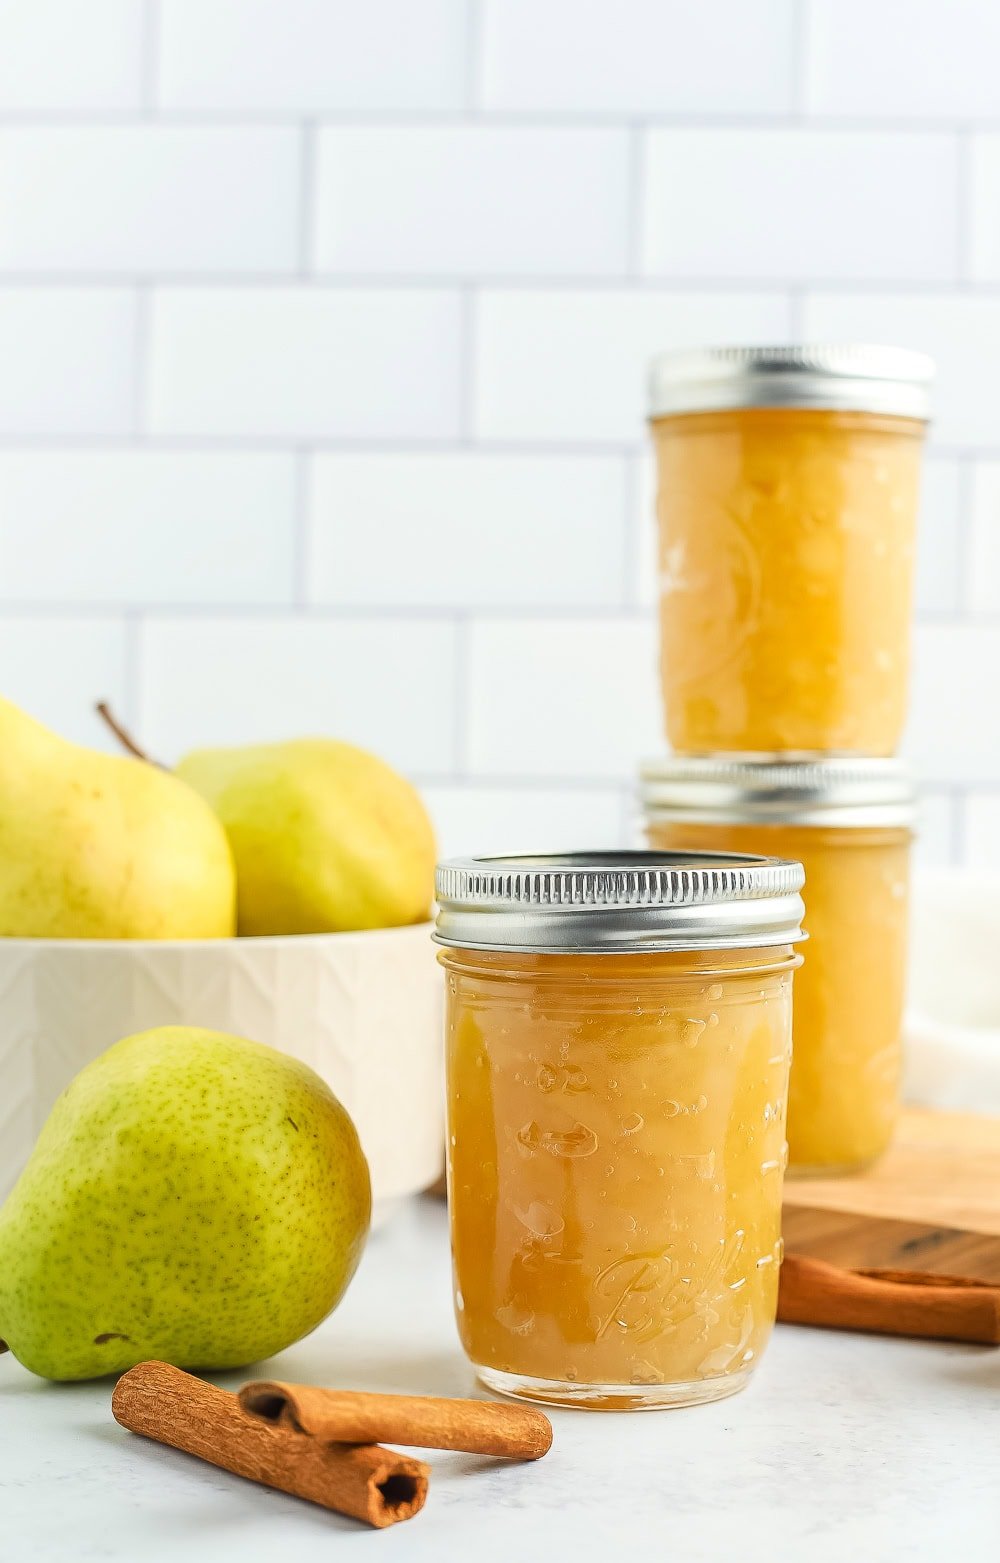
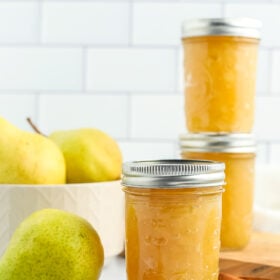
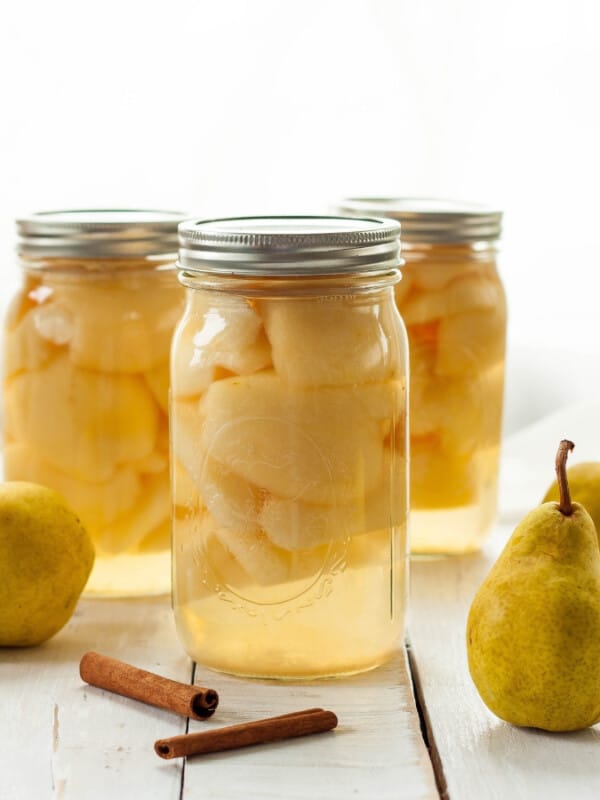
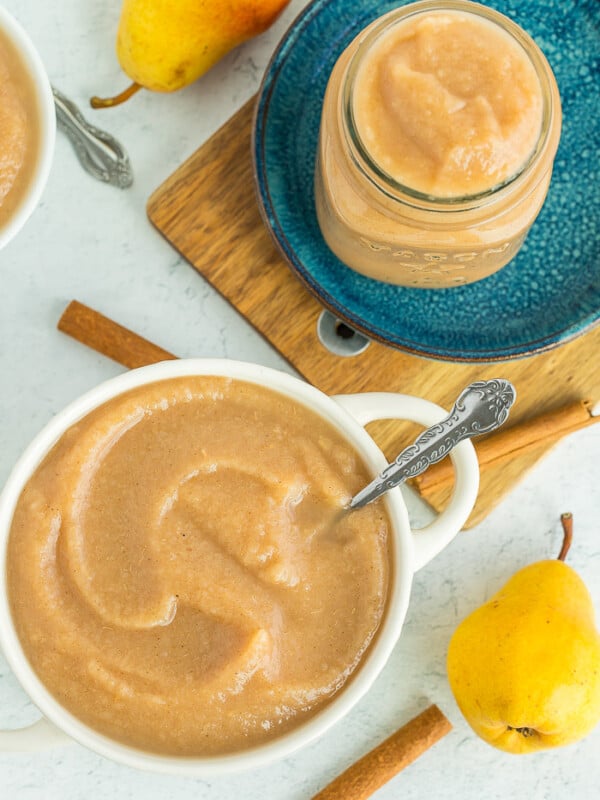
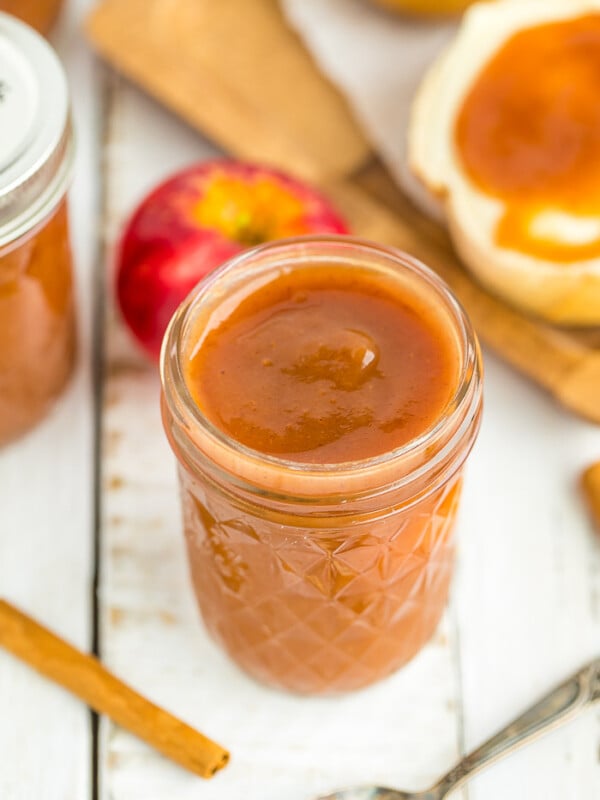
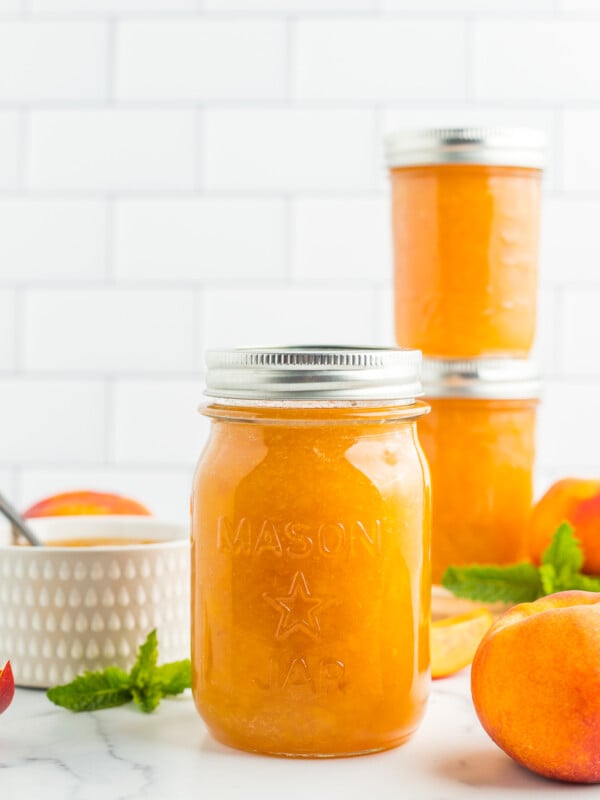
This homemade pear preserves recipe is a delicious spread for toast, yogurt, or desserts. Made without pectin and lower in sugar than traditional recipes, these pear preserves can be frozen or canned in a water bath canner.
Fresh pears in farmers’ markets and home orchards are a sure sign that Fall is on the way. Well, that and the GIANT spiders that start invading my household.
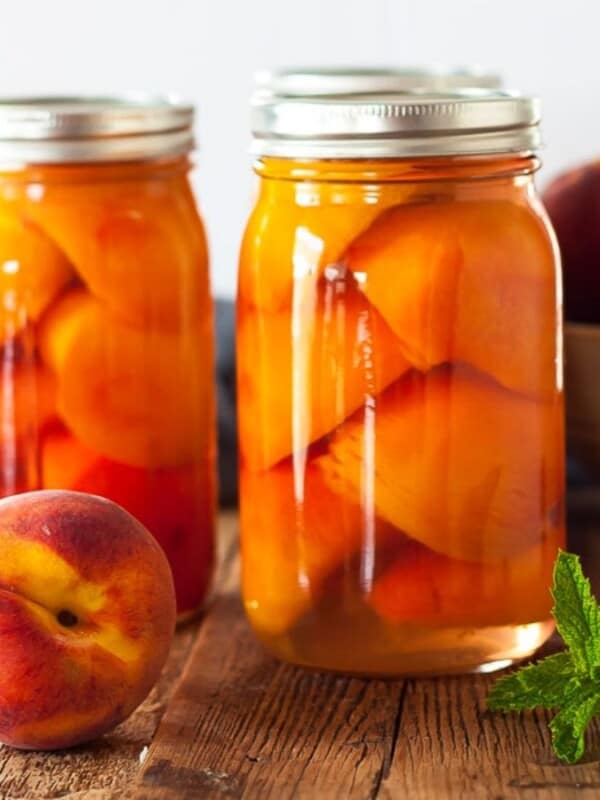
While I love canning pear halves, these homemade no-pectin pear preserves are another favorite way for our family to can all that tasty pear goodness.
This recipe is dead simple, and I’ll walk you through it step by step. And if you decide that canning is just not your jam, you’ll also find instructions for freezing it. Let’s go!

Bartlett pears are my favorite for this recipe, but Bosc are also tasty. Avoid using Asian pears as they require a special acidification process to make them safe for canning (source).
How to Make Pear Preserves
*I’ll walk you through it here with some photos and tips, and you’ll also find a printable recipe card at the bottom of the post with exact measurements, etc. You can also click “jump to recipe” to skip down.
This recipe is broken down into three parts – 1) peeling the pears 2) making the pear preserves and 3) canning the preserves. If canning is not for you, don’t worry, I list alternative storage methods later in the printable recipe card.
How to Peel Pears
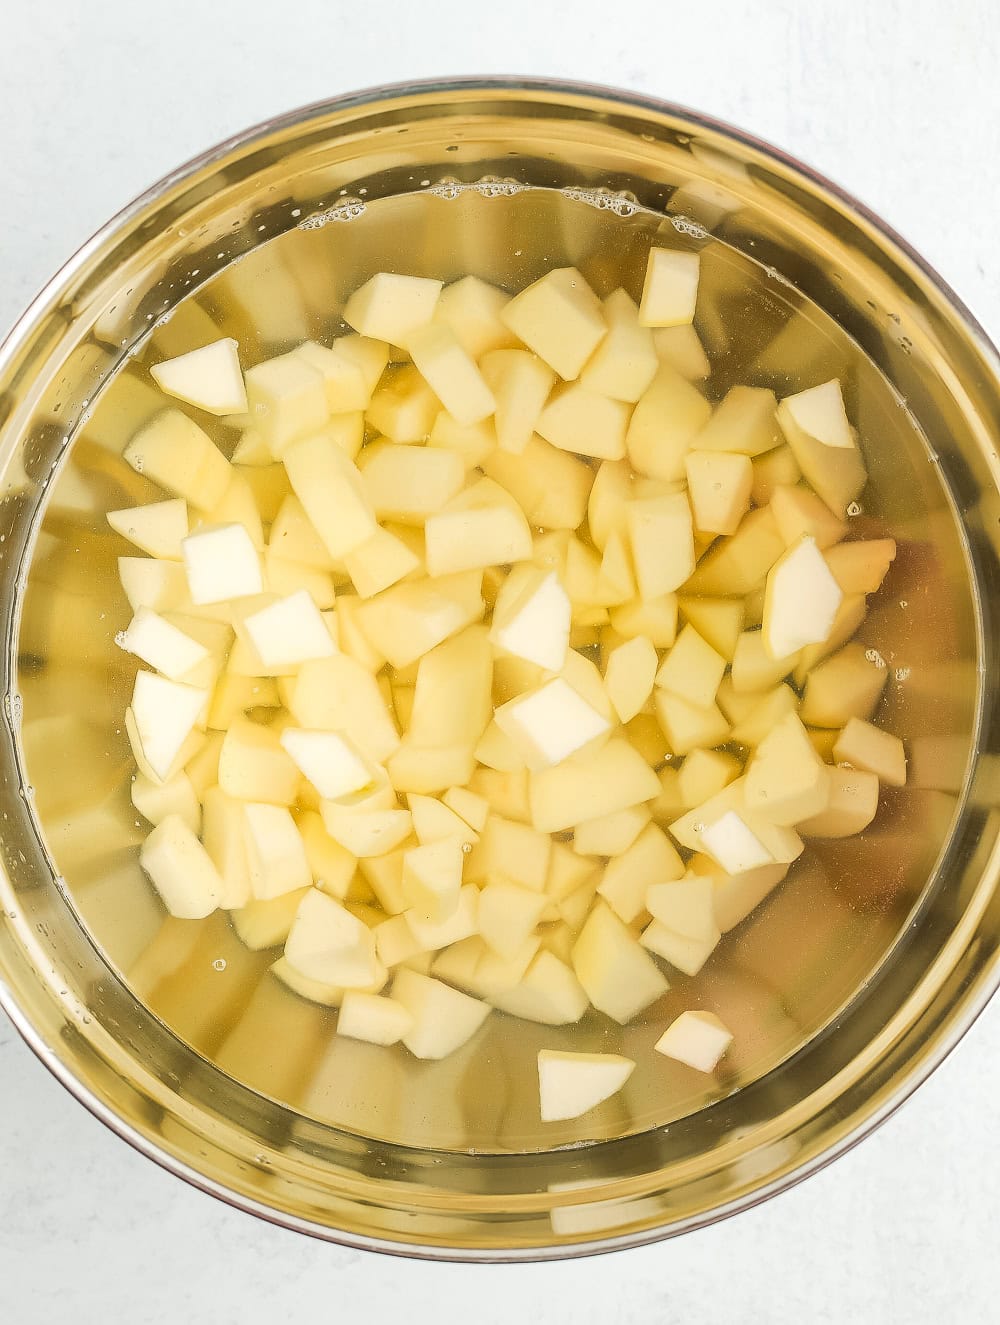
Fill a large bowl halfway with water and mix in the bottled lemon juice. Cut the tops and bottoms off of the pears. You can call them “pear butts” if you’d like. I do.
Using a vegetable peeler, peel off all the pear skins. Cut the pear in half from the top to the bottom.
Take the paring knife and make a cut from the stem to the bottom on one side. Repeat on the other side, then jiggle the core out. Discard the core, roughly chop the pears, and put them in the bowl of lemon water.
Making Pear Preserves
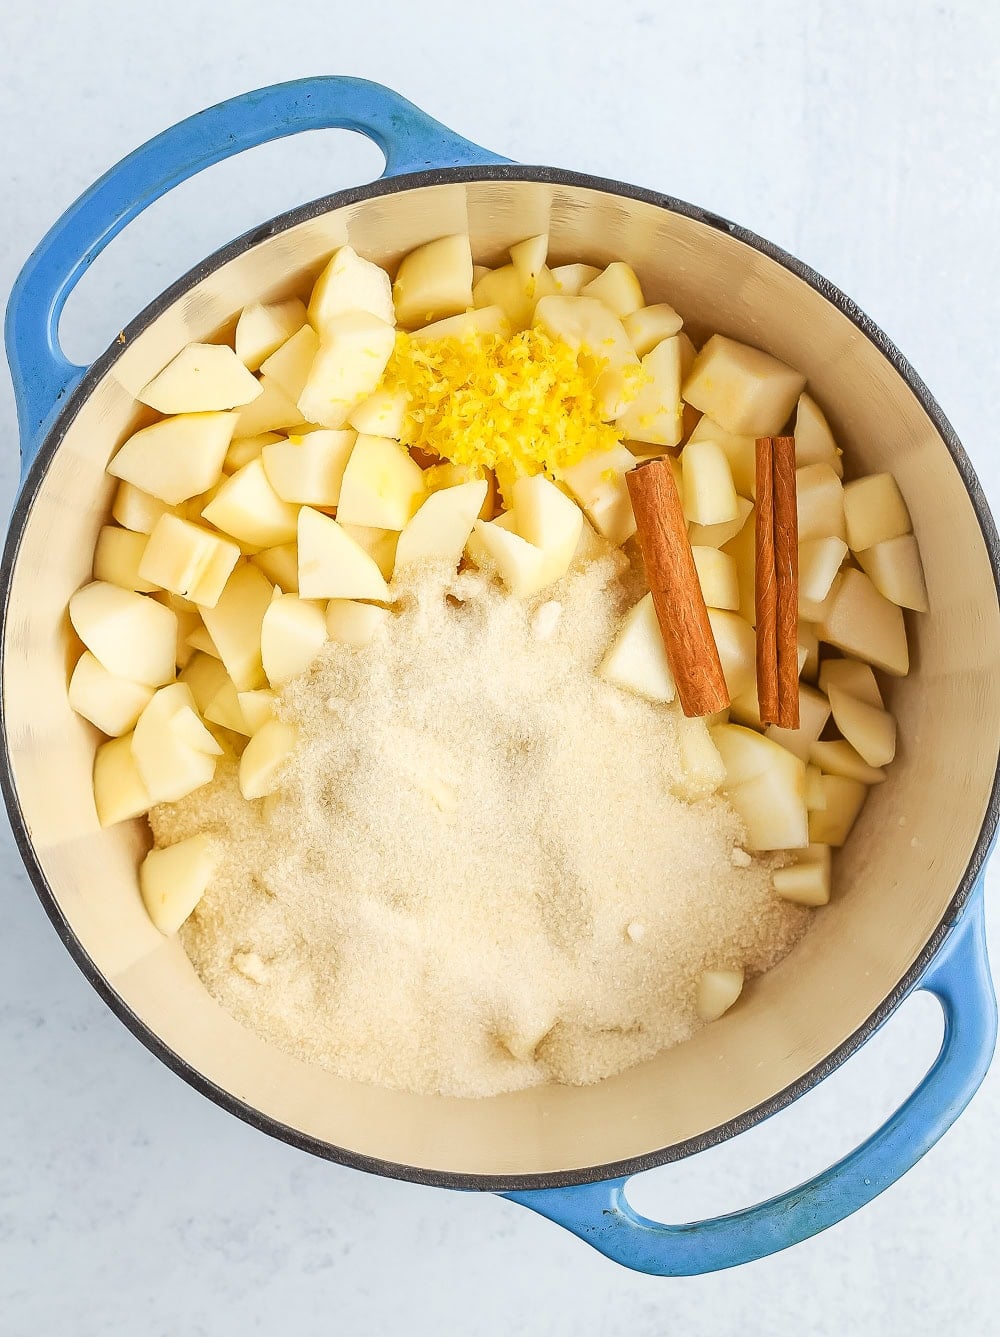
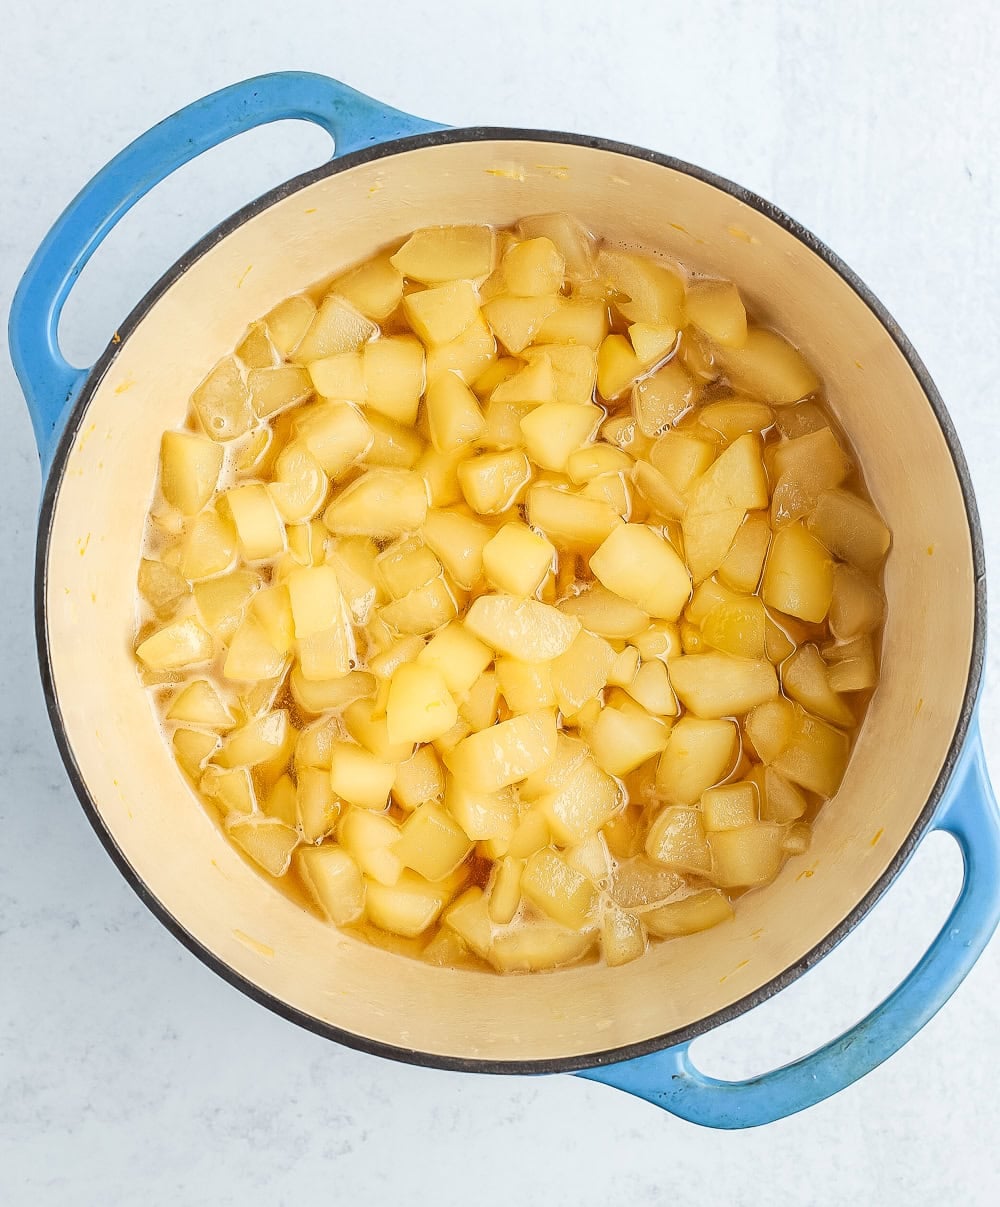
Place the pears, sugar, water, lemon zest, and cinnamon stick in a heavy-bottomed pot and cook, stirring often, over medium heat until they have softened. This could take 10-25 minutes, depending on the ripeness of your pears. Add additional splashes of water if the preserves are starting to burn.
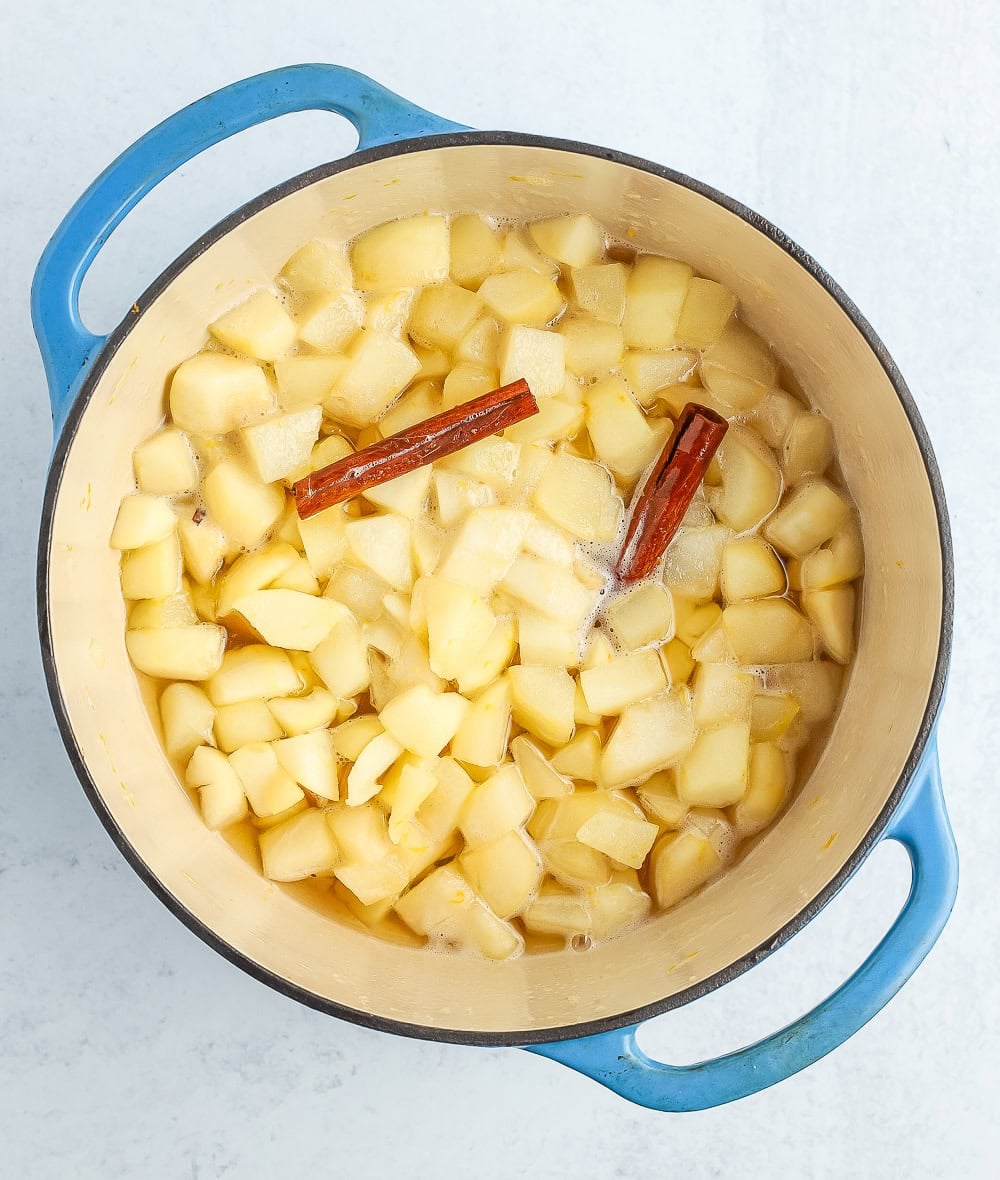
Discard the cinnamon stick once the pears are translucent and the liquid has been reduced.
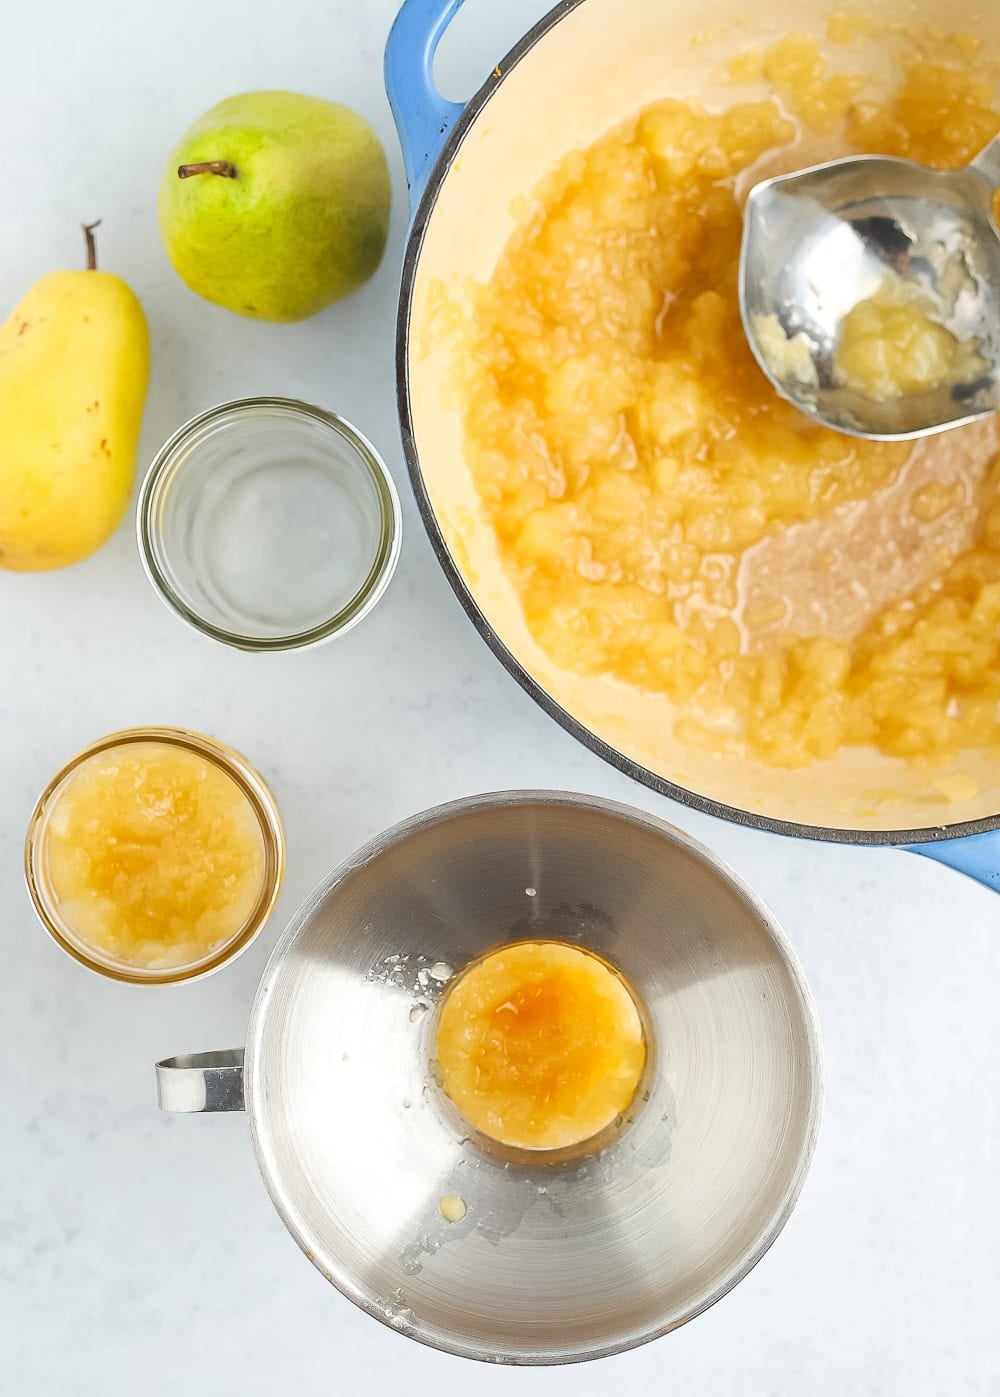
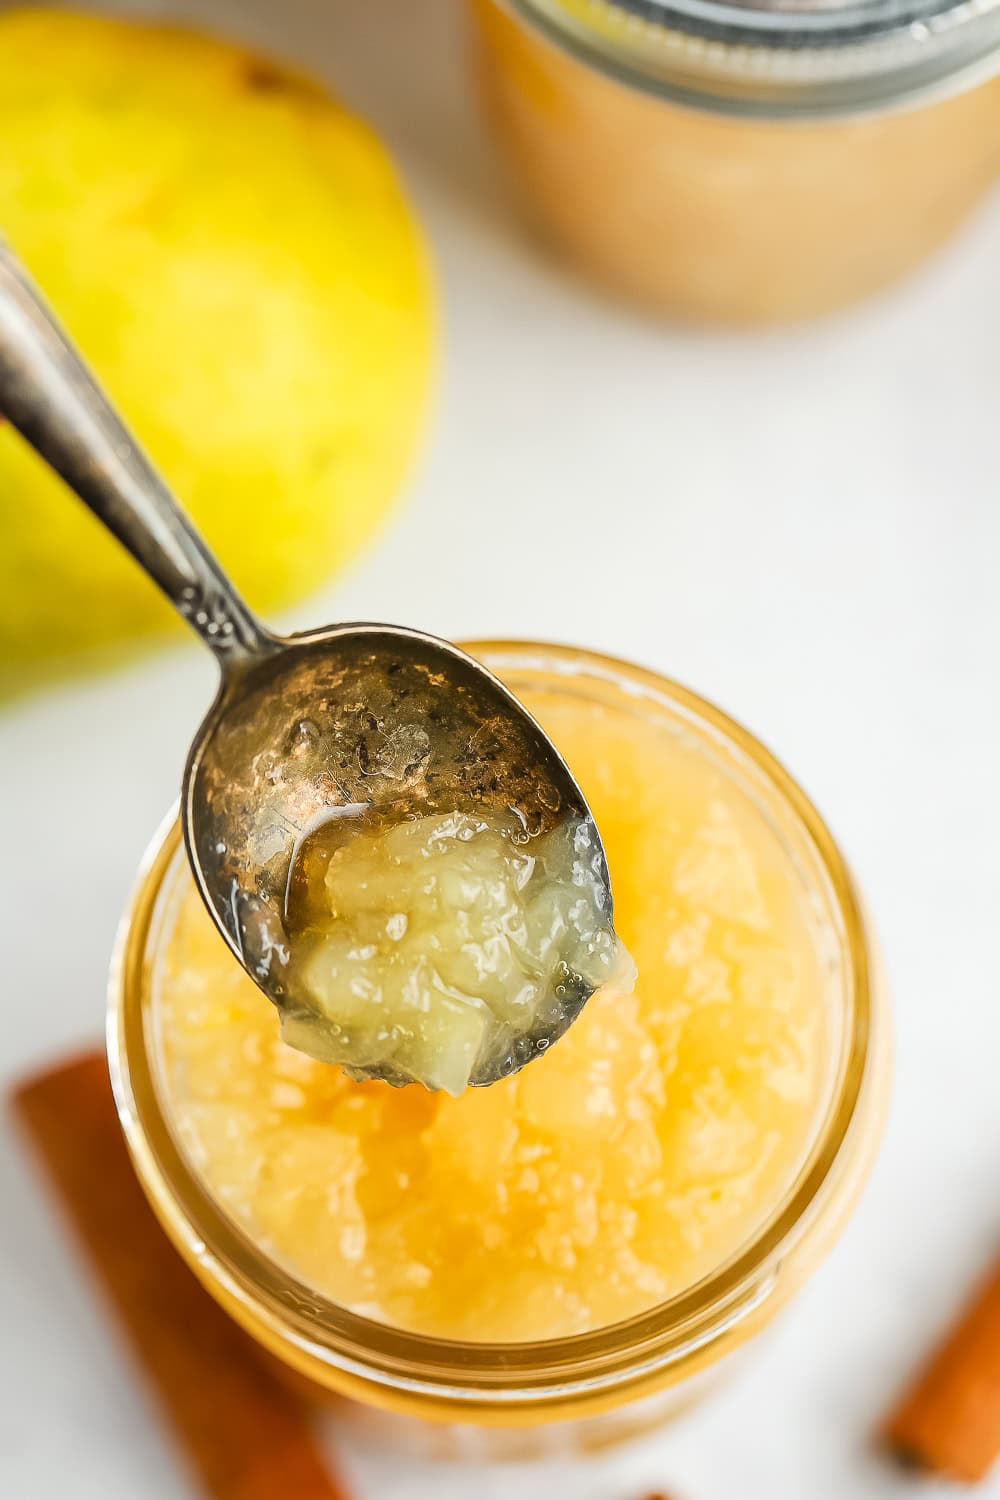
Smash the chopped pears with a wooden spoon, pastry cutter, or potato masher until they have reached your desired texture. You’re the cook/chef and you get to decide when they look perfect for you.

Canning Pear Preserves
While the preserves are cooking, start your canning prep.
Prepare your water bath canner by filling it with water. You need to have enough water to cover the jars by 1 inch once the water is boiling.
Set the canner on the stove with the lid on. Turn the burner to high. If it reaches a boil before you’re done making the preserves, reduce it to a simmer, keeping the lid on.
Wash and clean your jars. You’ll want to keep them warm to avoid having them crack when placed in the canner. You can fill them with hot water, or place them on a tray in the oven at 170˚F.
Wash your lids and set them aside in a clean place.
Using a canning funnel, ladle the hot preserves into the jars, leaving 1/2 inch headspace.
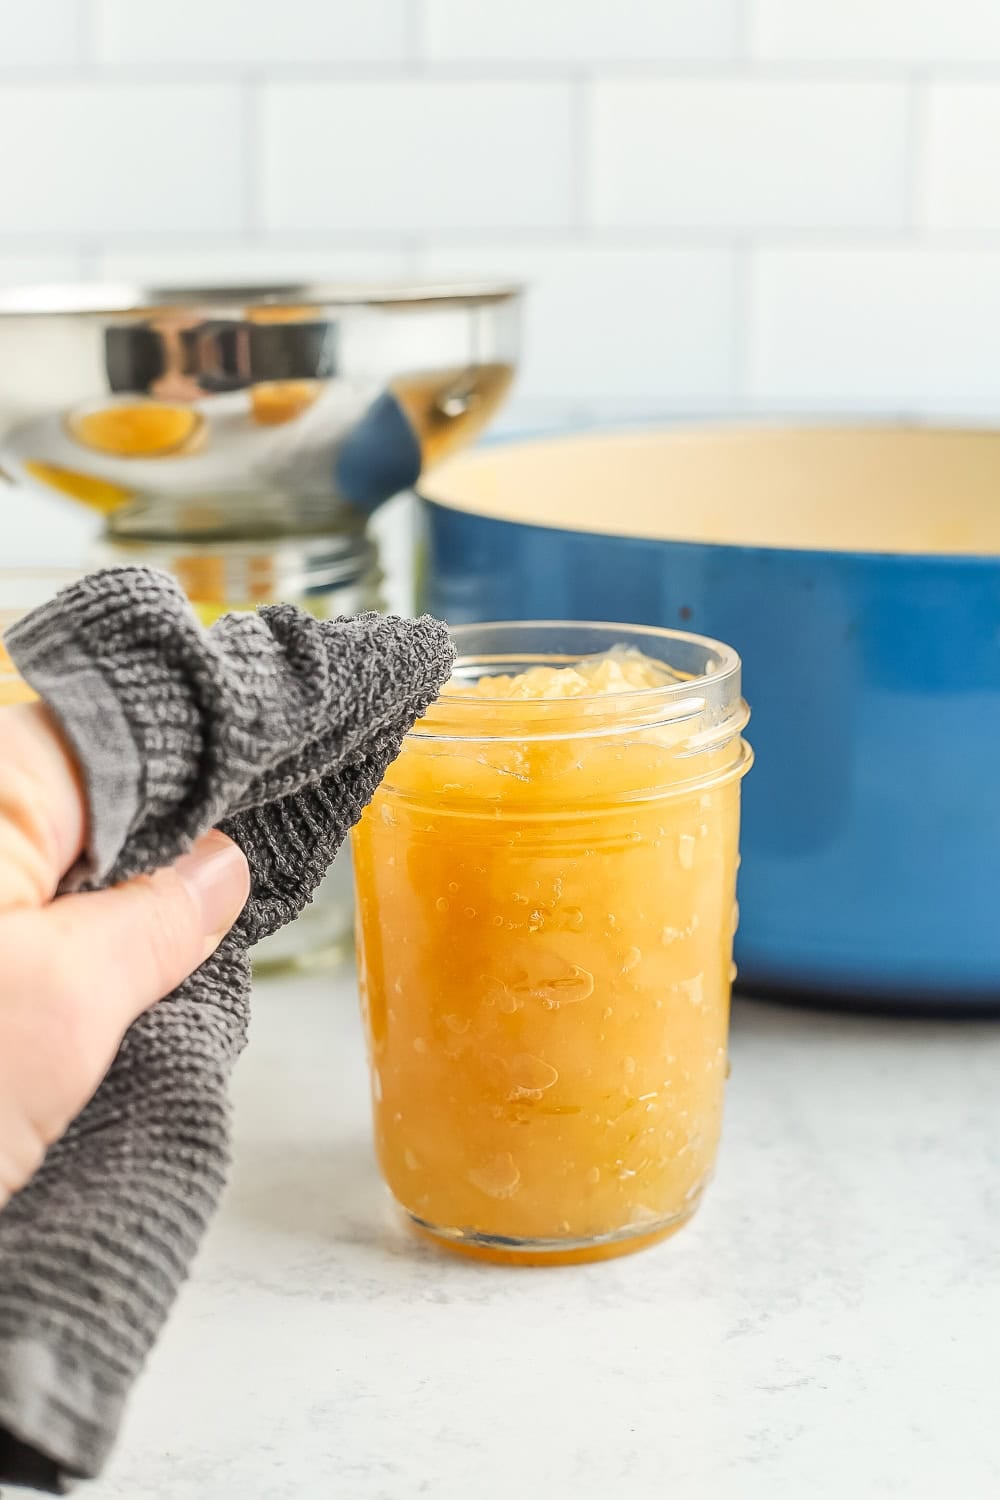
Clean the rim of the jar very well with a hot, damp rag. Place a clean lid on the jar. Add a ring, and tighten to fingertip tight.

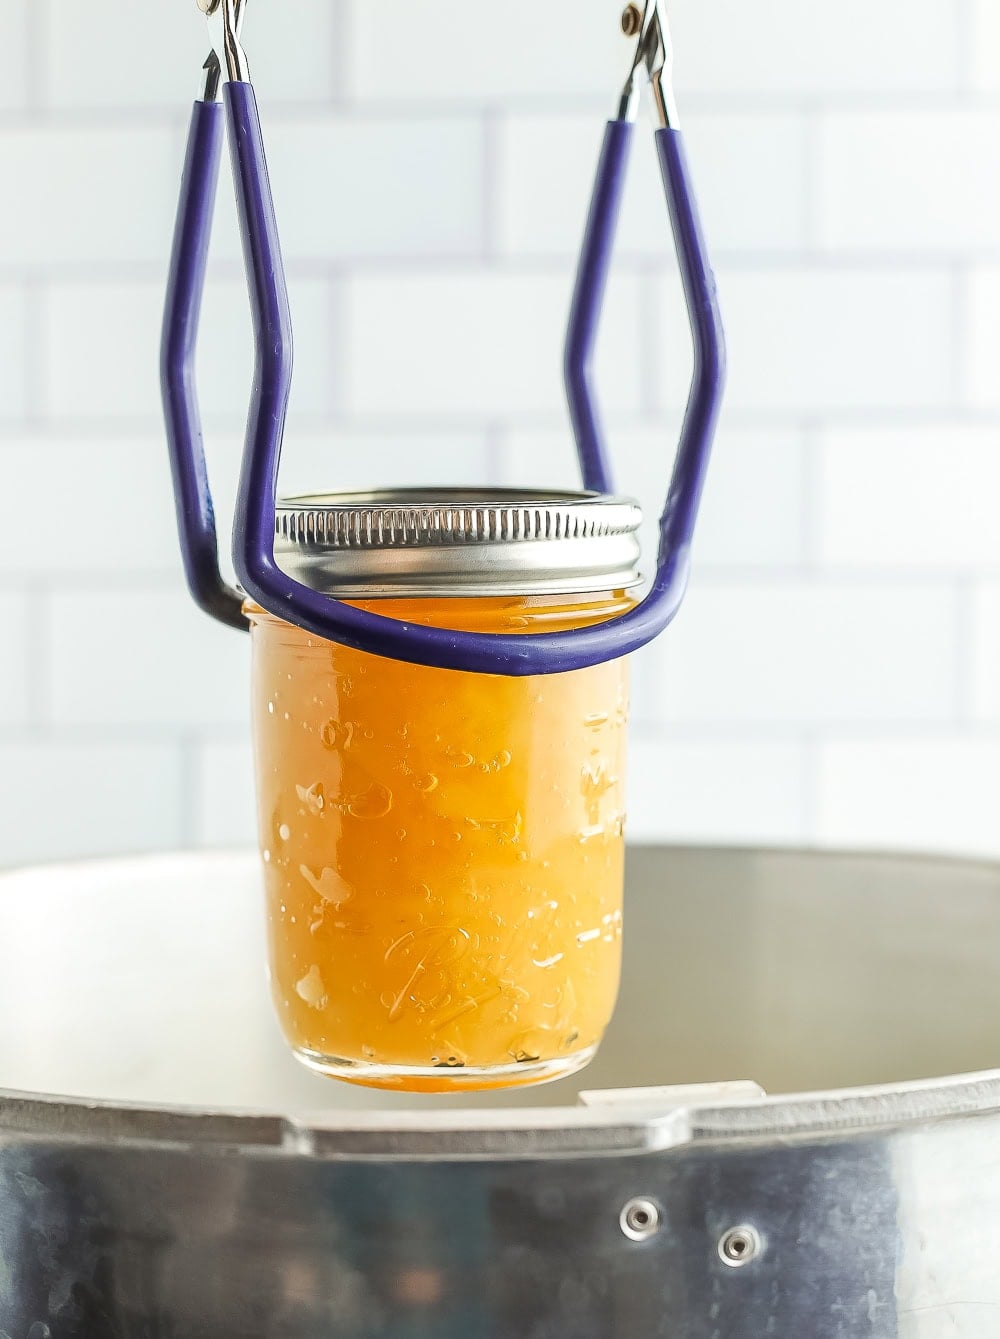
Using canning tongs, gently place your jars in the canner. Put the lid of the canner on. Once the water in the canner returns to a rolling boil, set your timer. Processing times will vary based on altitude. See the chart below.
Canning Times for Pear Preserves
| Processing Times at Altitudes Of | ||||
| Style of Pack | Jar Size | 0-1,000 ft | 1,001-6,000 ft | Above 6,000 ft |
| Hot | Half-pint or pint | 15 min | 20 min | 25 min |
| *Source: National Center For Home Food Preservation | ||||
Once the jars have been processed for the appropriate amount of time, remove the canner from the burner. Wearing oven mitts carefully take off the lid of the canner, and allow it to sit for 5 minutes. Pro tip: I tend to just slide the canner into the middle of my stove, as it weighs a ton.
Carefully remove the jars with canning tongs, and place them on a thick towel in a place where they can be undisturbed for 12 hours.
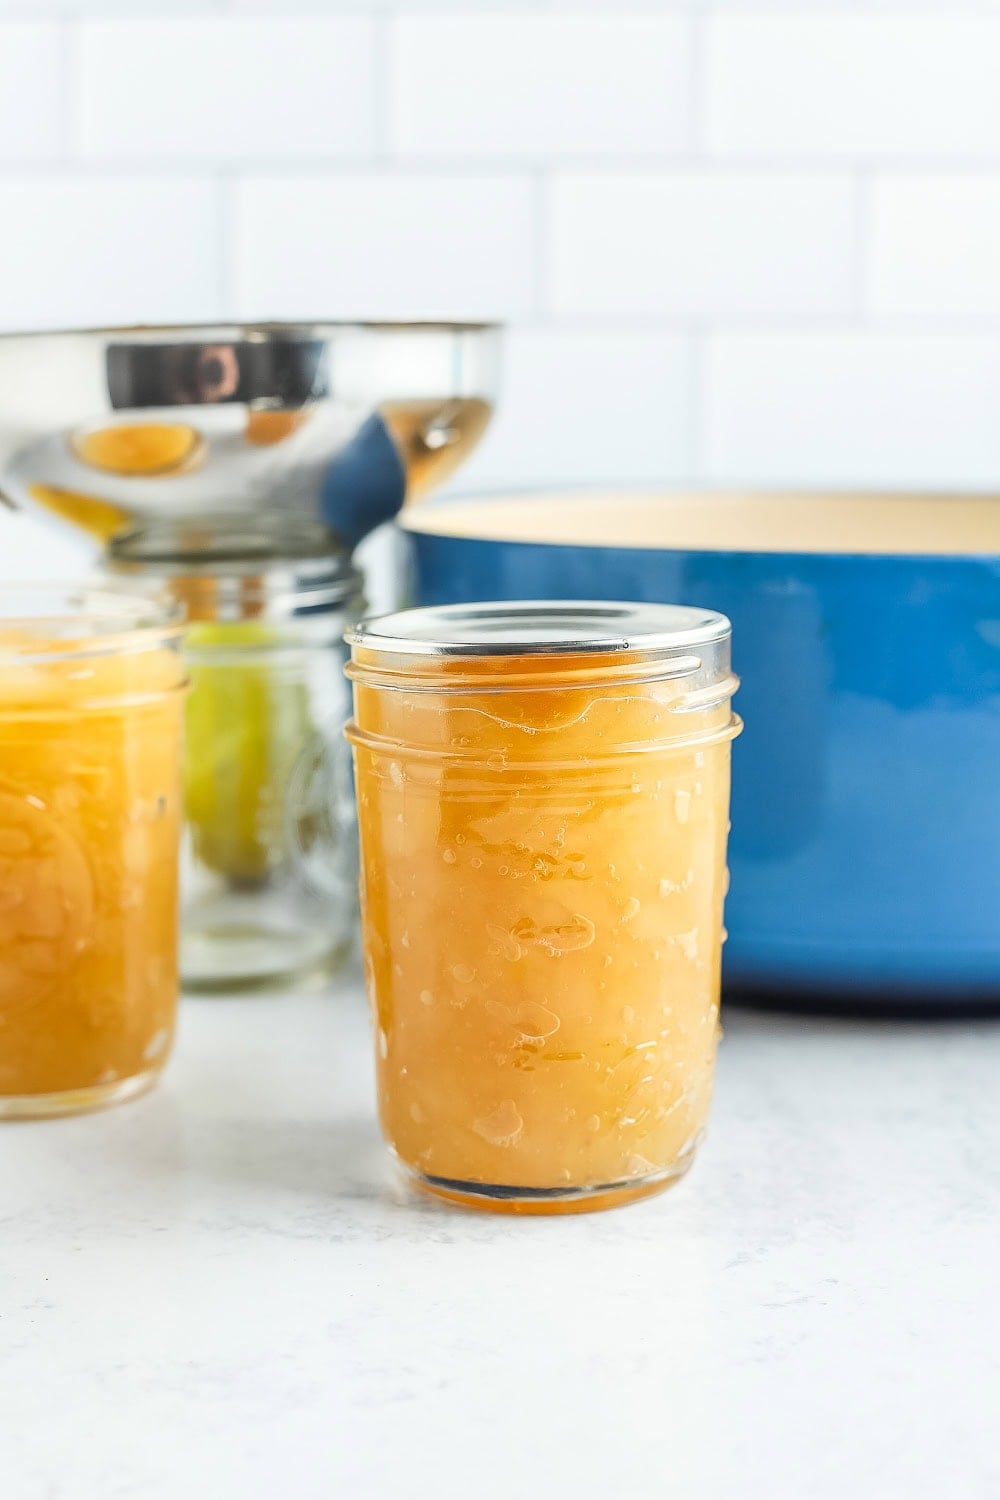
The lids will likely start to pop within 20-30 minutes of being removed from the water. That popping sound is music to your ears, as it tells you that everything has been sealed. It’s a reward for all your work!
After the jars have rested for about 12 hours, press down in the middle of each lid. If it “gives” at all, the jar didn’t seal. Either enjoy it that day, put it in the fridge, or reprocess it using a brand new lid.
Homemade Pear Preserves Recipe (No Pectin)
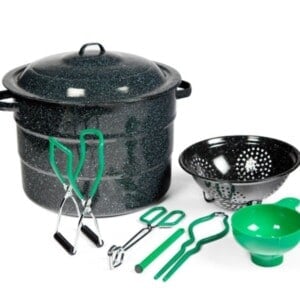
Equipment
- Tongs
Ingredients
- 1/4 cup bottled lemon juice
- 3 lbs ripe pears, peeled, cored, chopped {to yield ~7 cups of chopped pears}
- 1 1/3 cups sugar
- 1 tbsp water
- 1 tbsp lemon zest
- 1 cinnamon stick
Instructions
Making Pear Preserves
- Fill a large bowl halfway with water and mix in lemon juice.1/4 cup bottled lemon juice
- Cut the tops and bottoms off of the pears.3 lbs ripe pears, peeled, cored, chopped
- Using a vegetable peeler, peel off all the pear skins.
- Cut the pear in half from the top to the bottom.
- Take the paring knife and make a cut from the stem to the bottom on one side. Repeat on the other side, then jiggle the core out. Discard the core, roughly chop the pears, and put them in the bowl of lemon juice.
- Place the pears, sugar, water, lemon zest, and cinnamon stick in a heavy-bottomed pot and cook, stirring often, over medium heat until they have softened. This could take 10-25 minutes, depending on the ripeness of your pears. Add additional splashes of water if the preserves are starting to burn.1 1/3 cups sugar, 1 tbsp lemon zest, 1 cinnamon stick, 1 tbsp water
- Discard the cinnamon stick once the pears are translucent and the liquid has been reduced.
- Smash the chopped pears with a wooden spoon, pastry cutter, or potato masher until they have reached your desired texture.
Canning Pear Preserves {Optional}
- While the preserves are cooking, start your canning prep.
- Prepare your water bath canner by filling it with water. You need to have enough water to cover the jars by 1 inch once the water is boiling.
- Set the canner on the stove with the lid on. Turn the burner to high. If it reaches a boil before you’re done making the preserves, reduce it to a simmer, keeping the lid on.
- Wash and clean your jars. You’ll want to keep them warm to avoid having them crack when placed in the canner. You can fill them with hot water, or place them on a tray in the oven at 170˚F.
- Wash your lids and set them aside in a clean place.
- Using a canning funnel, ladle the hot preserves into the jars, leaving 1/2 inch headspace. Headspace is the distance between the top of the food and the top of the jar.
- Clean the rim of the jar very well with a hot damp rag.
- Place a clean lid on the jar. Add a ring, and tighten to fingertip tight.
- Using canning tongs, add jars to the boiling water, and put the canner lid on. Pro tip: you must have at least 1 inch of water over the tops of the jars for safe canning.
- Process pints and half-pints based on the elevation guide below:*0-1,000 ft = 15 minutes*1,001-6,000 ft = 20 minutes*6,000 ft+ = 25 minutes
- Once the preserves have processed for the appropriate amount of time, remove the canner from the burner, carefully remove the lid, and allow it to sit for 5 minutes. Pro tip: due to steam, I wear oven mitts while removing the lid.
- Using canning tongs, carefully remove the jars, and place them on a thick towel in a place where they can be undisturbed for 12 hours.
- After the jars have rested for about 12 hours, gently press down in the middle of each lid. If it "gives" at all, the jar didn't seal. Either enjoy it that day, put it in the fridge, or reprocess it.
Notes
- As it cooks down, the preserves will darken in color. This is normal and ok!
- Once the jars have sealed, remove the rings. Label and store sealed jars in a cool (best results are 50-70˚F) dark place for up to 12 months.
- Once you open a jar, refrigerate the jar for 1-3 weeks.
- Makes 3-4 half-pints.
- To freeze: fill the jars leaving 1-inch of headspace. Allow the preserves to FULLY cool before putting a lid on them and freezing them. Do not defrost the jars in hot water as they will likely crack.
Nutrition
Nutrition information is automatically calculated, so should only be used as an approximation.


I have a question, am I supposed to pour the half bowl of water, lemon juice & pears into pan to cook?
Hi Rhonda, the lemon water is meant to keep the pears from browning while you get ready for the canning process. You can discard the lemon water once the pears are in the canner.
You only need to pre-cook the pears if you are doing the hot pack process. And if you are hot packing, you still won’t cook them in the lemon water.