As an Amazon Associate, I earn from qualifying purchases.
An easy step-by-step tutorial for beginners on canning apple pie filling. This simple guide teaches you how to preserve a low-sugar apple pie filling recipe without Clear Jel in a water bath canner.

I’ve reached the tail end of canning for this season, and I’m so excited that it’s almost over. For real, yo. Just a few batches of this canned apple pie filling, and I’m done!
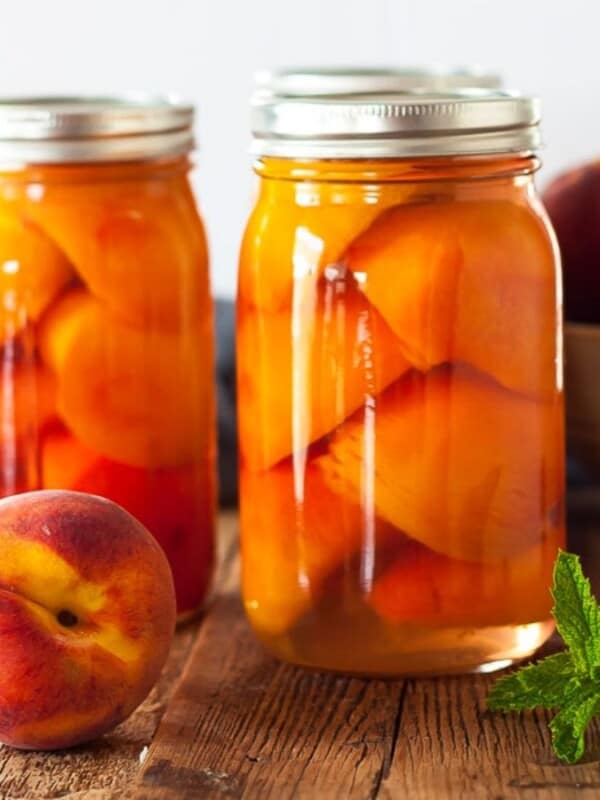
Just like canning peaches or canning tomatoes screams “summer”, canning apples heralds the start of fall.
Reader Review
“Thanks! What a great post! After making tons of applesauce with sweeter apples I was left with about 100 pounds of granny smith apples. I figured I need an easy way to quickly preserve them to make into apple pie. I’m glad I found your blog! This is my first couple days of canning.”
Amy
Here’s How to Make It {Step by Step}:
*I’ll walk you through the process with photos and tips below. And a printable and detailed recipe card is available at the bottom of the post.
Canning Prep
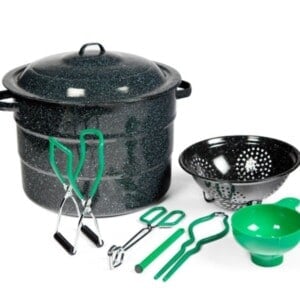
Prepare your water bath canner by filling it with water. You just need to have enough water to cover the jars by 1 inch once the water is boiling.
Set the canner on the stove. Turn the burner to high. Once it reaches a boil, reduce it to a simmer. You want to keep the water hot so that everything is ready when the apples are.
Wash and gently heat your jars. You’ll want to keep them warm to avoid having them crack when placed in the canner. You can fill them with hot water, or place them on a tray in the oven at 170˚F.
Wash your lids and set aside in a clean place. You no longer need to simmer lids in water to keep them sterile. Woot!
Apple Prep
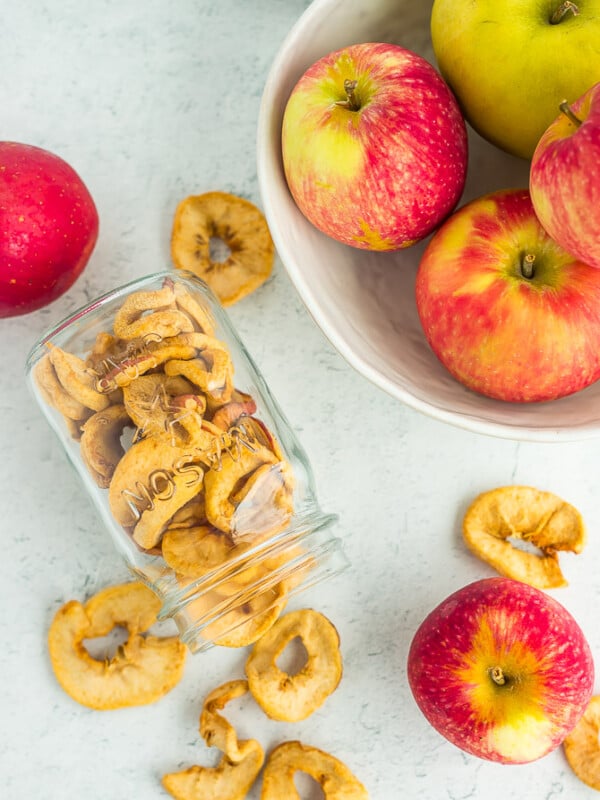
Due to the nature of how the apples will be cooked during the canning process, you want to use a firm apple that will hold its shape. Fuji, Cortland, Jonagold, or Winesap are all solid choices.
Fill a bowl with cold water and 1/4 cup of lemon juice (or 2 tsp of citric acid). Set up your workstation with a peeler, cutting board, sharp knife, and a bowl for the peels and cores.
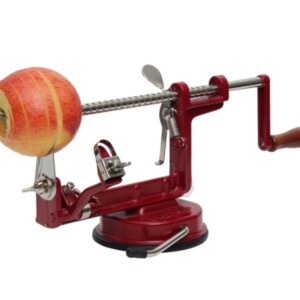
Clean your apples, and peel, core, and slice the apples thinly. If using a hand-cranked peeler, put the apple on the spikes and lock the peeler into place. Turn the crank slowly, and the peeler will begin to remove the skin.
Place the peeled apple on a cutting board and cut it in half down the middle. You’ll now have perfect apple slices.
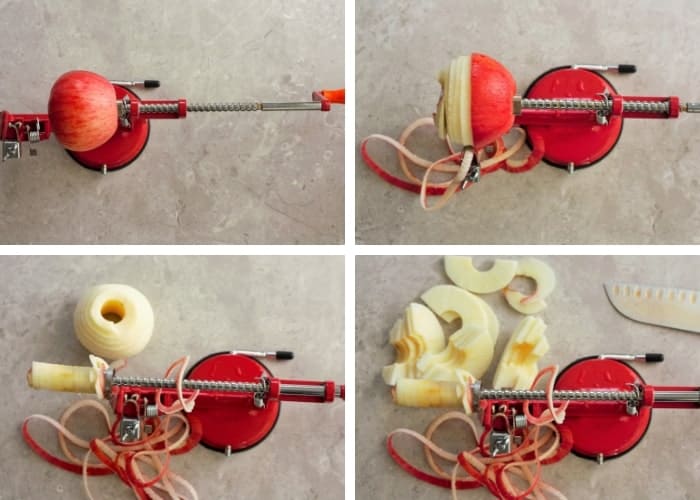
Using a normal vegetable peeler? Cut the top and base off the apple and remove the peel. Core the apple and make thin uniform slices.
Place the slices in the water/lemon juice mixture.
Once you have a bunch of slices soaking, combine water and (optional) sugar in a large saucepan and bring it to a low boil.
Cook the apple slices in batches in the hot syrup, and boil for 2 minutes, stirring constantly.
Fit a funnel on the hot and sterile canning jars and transfer the cooked apples into the jars. Pro tip: I found that tongs worked the best for this.

At this point, return your water in the canner back to a rolling boil.
Slowly ladle in some of the hot water or syrup, allowing for 1 inch of headspace. Remove any bubbles from the jar (I use a plastic chopstick).
Use a wet, clean rag and wipe the rim of the jars to make sure it is free of any food.
Place a clean lid on the jar and tighten the ring to fingertip tight (tight enough that it won’t come off, but not so tight that a normal person couldn’t budge it).

Once the water in the canner is boiling again, gently place your jars in one at a time using tongs (I prefer canning tongs, but you can technically use any rubber-tipped tongs).
Once your jars (typically 6-7 quart jars can fit in the canner) are completely covered with the boiling water, put the lid on and boil for 25 minutes for pints and quarts. See below for processing times at different altitudes.
Processing Time for Apple Pie Filling
| Processing Time for Apple Pie Filling | |||||
| Process Times at Altitudes of: | |||||
| Style of Pack | Jar Size | 0-1,000 ft | 1,001-3,000 ft | 3,001-6,000 ft | Aove 6,000 ft |
| Hot | Pints & Quarts | 25 min | 30 min | 35 min | 40 min |
| *Source: National Center For Home Food Preservation | |||||
Once the jars have been processed for the appropriate amount of time, remove the canner from the burner, carefully take off the lid off the canner, and allow the jars to sit in the canner for 5 minutes. Pro tip: I tend to just slide it into the middle of my stove, as it weighs a ton.
Carefully remove the jars using canning tongs, and place them on a thick towel in a place where they can be undisturbed for 12 hours. The lids should start to pop within 20-30 minutes of being removed from the water.
After a few hours, to check for sealing, gently press down in the middle of the lid. If the lid has no give, it’s sealed. If you can press the lid in and it pops a bit, your jars are not sealed. You can reprocess them or store them in the fridge or freezer (only freeze jars that are wide-mouth).

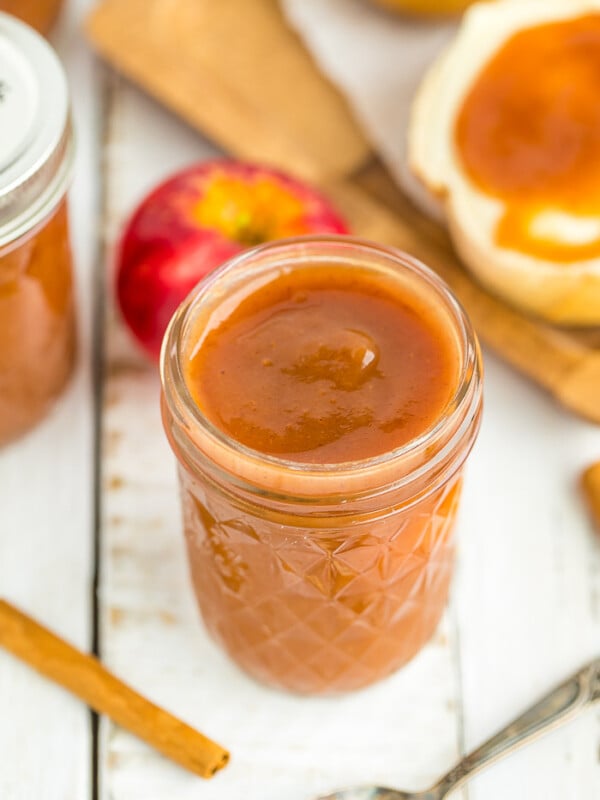
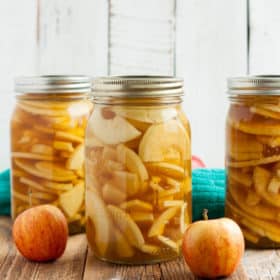
Canning Apple Pie Filling
Ingredients
- 21 pounds apples
- 12 cups water
- 2 cups sugar
- 1/4 cup bottled lemon juice
Instructions
Canning Prep
- Prepare your water bath canner by filling it with water. You just need to have enough water to cover the jars by 1 inch once the water is boiling.
- Set the canner on the stove. Turn the burner to high. Once it reaches a boil, reduce it to simmer. You want to keep the water hot so that everything is ready when the apple slices are.
- Wash and sanitize your jars. You’ll want to keep them warm to avoid having them crack when placed in the canner. You can fill them with hot water, or place them on a tray in the oven at 170˚F.
- Wash your lids with hot soapy water and place them in a clean bowl for now.
Apple Prep
- Fill a bowl with cold water and 1/4 cup of lemon juice (or 2 tsp of citric acid). Set up your workstation with a peeler, cutting board, sharp knife, and a bowl for the peels and cores.1/4 cup bottled lemon juice
- Clean your apples, and peel, core, and slice the apples thinly. Place into the lemon water.21 pounds apples
- Once you have a bunch of slices soaking, combine water and (optional) sugar in a large saucepan and bring to a low boil.12 cups water, 2 cups sugar
- Cook the apple slices in batches in the hot syrup, and boil for 2 minutes, stirring constantly.
- Fit a funnel on the hot and sterile canning jars and transfer the cooked apples into the jars. Pro tip: I found that tongs worked the best for this.
- Slowly ladle in hot water or syrup until you cover the apples in the jar, allowing for 1 inch of headspace.
- Use a wet clean rag and wipe the rim of the jars to make sure it is free of any food.
- Place a clean lid on the jar and tighten the ring to fingertip tight.
Canning the Apple Pie Filling
- Using canning tongs, gently place your jars in the canner. Put the lid on, and set your timer. Pro tip: the water must return to a boil in the canner before you can start the timer.
- Once your jars are completely covered with the boiling water, put the lid on and process for:*0-1,000 ft – Pints & Quarts =25 min*1,001-3,000 ft – Pints & Quarts =30 min*3,001-6,000 ft – Pints & Quarts =35 min*6,000 ft+ – Pints & Quarts =40 min
- Once the apple slices have processed for the appropriate amount of time, remove the canner from the burner, and carefully remove the lid of the canner (Pro tip: use oven mitts to take the lid off because the steam is super hot).
- Let the jars sit in the canner with the canner's lid off for 5 minutes.
- Remove the jars using canning tongs and place them on towels on the counter undisturbed for 12-24 hours.
- After everything has cooled, check the seal by pushing down on the middle of the lid. If it doesn't give way, it's sealed. If the lid bows a little bit, reprocess it or put that jar in the fridge and use it within 3 weeks.
- Label the sealed jars, and store in a cool dark place for up to a year.
Notes
- Headspace is defined as the space between the top of the food and the top of the jar.
- You’ll need about 21 pounds of apples for canning 7 quarts of apple pie filling.
- Once the jars have sealed, remove the rings. Label and store sealed jars in a cool (best results are 50-70˚F) dark place for up to 12-18 months.
- This canned pie filling can be frozen in wide-mouth canning jars. Leave 1.5 inches of headspace in the jars to allow for expansion during freezer. Allow to fully cool in the jar before freezing.
Nutrition
Nutrition information is automatically calculated, so should only be used as an approximation.

Get my Canning e-book!
It’s 51 pages of every helpful tip and trick you could want as a brand new canner, AND it includes 13 ad-free canning recipes that are designed to take you from novice to pro.