As an Amazon Associate, I earn from qualifying purchases.
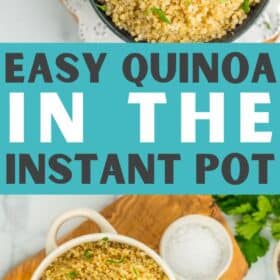
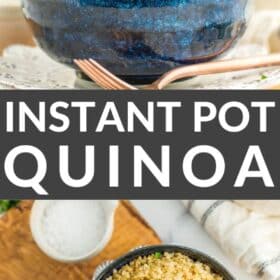
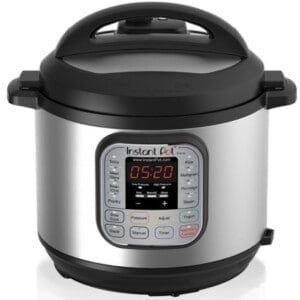
Make perfect Instant Pot Quinoa for a fast side dish that the whole family will love! Made in a flash in a pressure cooker, this delicious quinoa recipe pairs well with so many dishes.
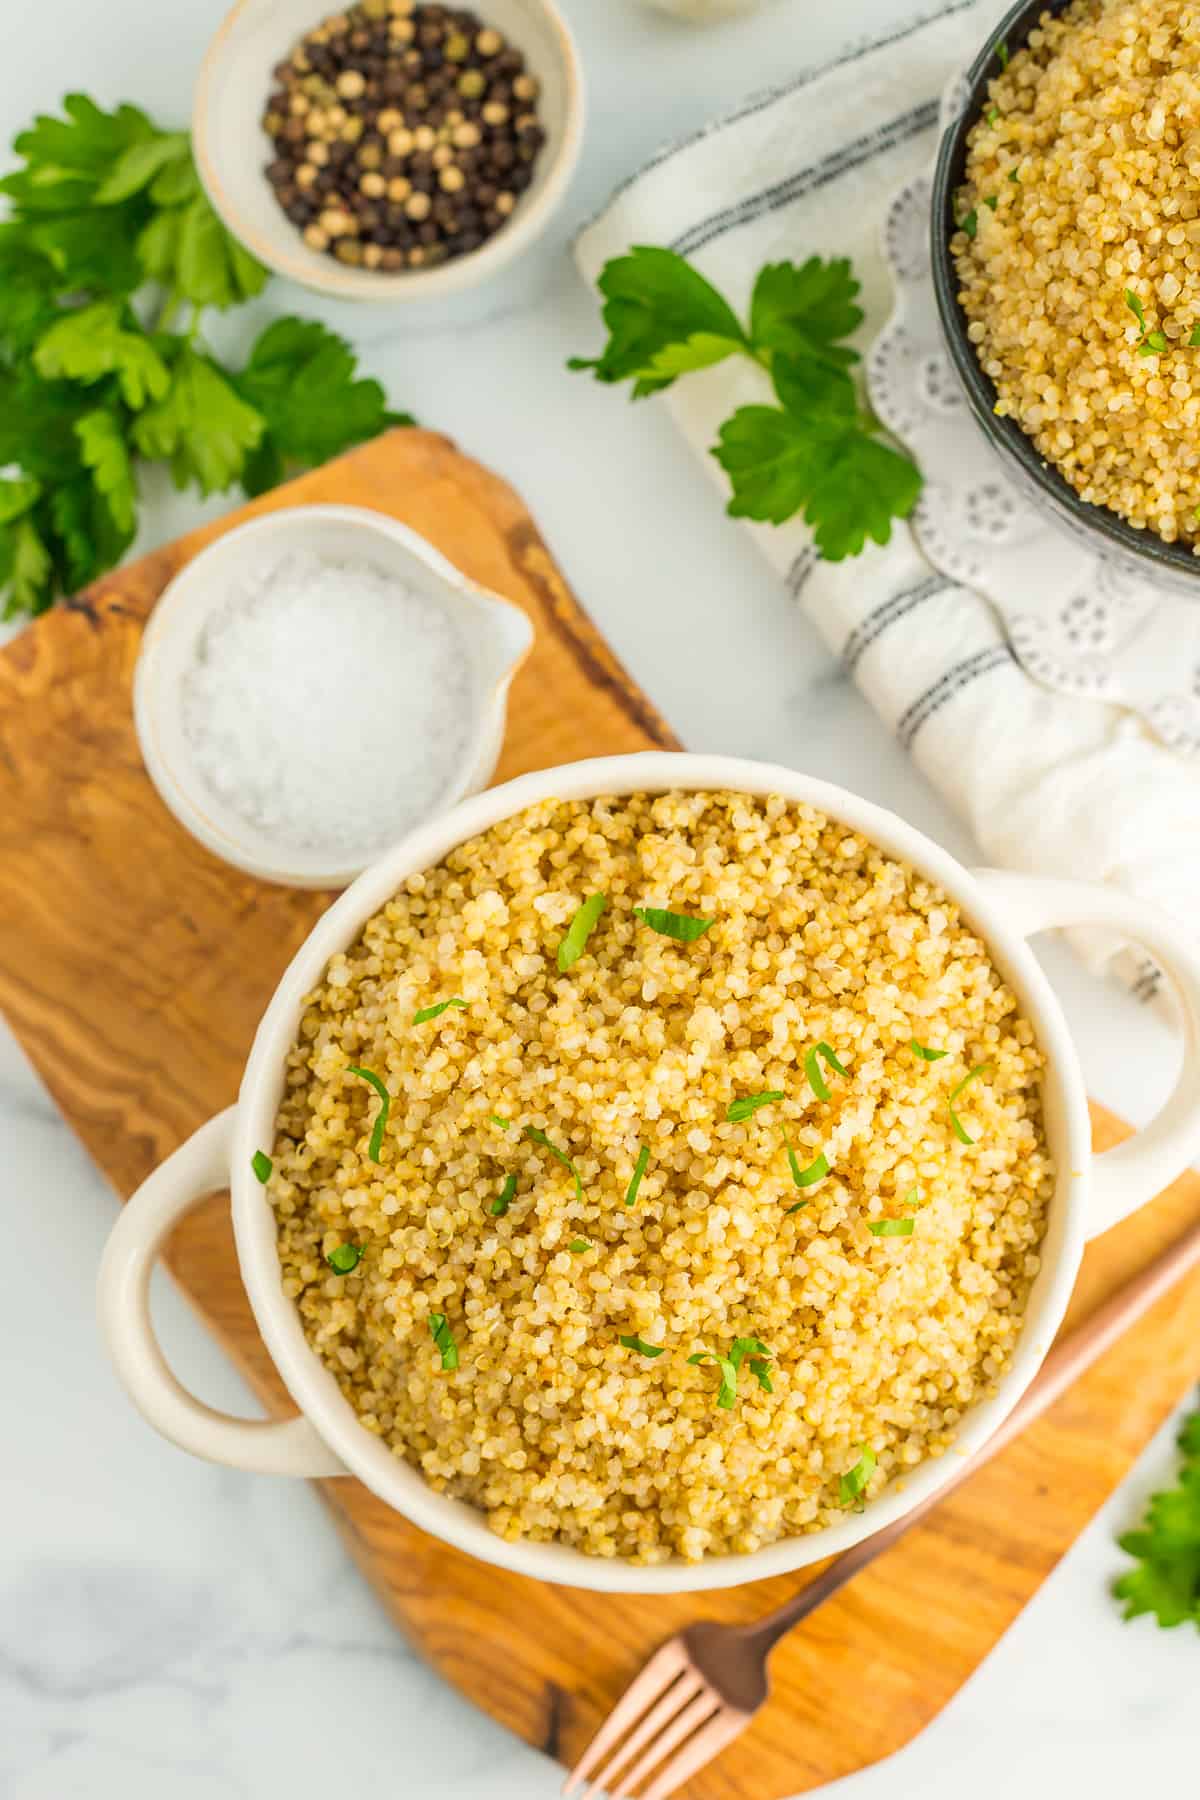
This Instant Pot quinoa is super tasty, it’s incredibly easy to make, and keeps in the fridge for days.
Even better, I’ll teach you how to make this vegan quinoa recipe in the Instant Pot OR on the stovetop. Everyone loves options!
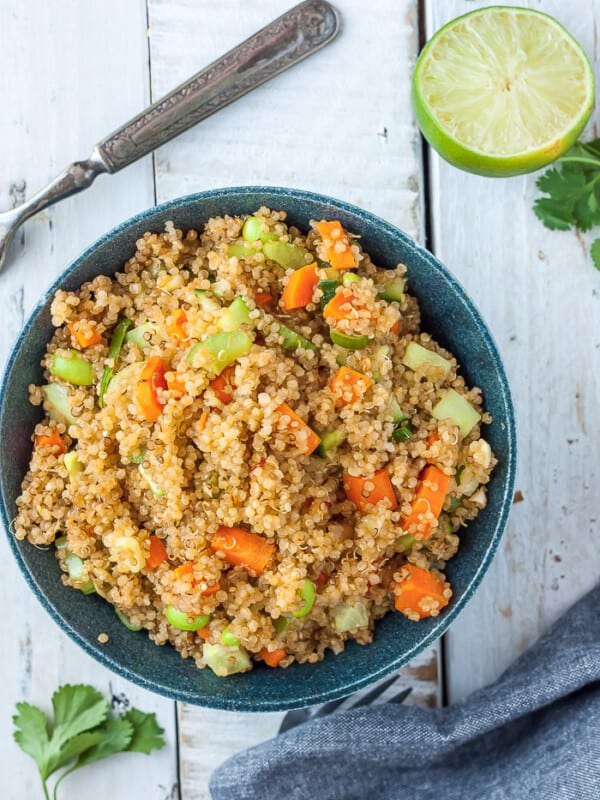
Once you make this quinoa instant pot recipe, check out our vegan quinoa salad for a quinoa recipe that is full of crunchy veggies and a homemade zesty sauce.
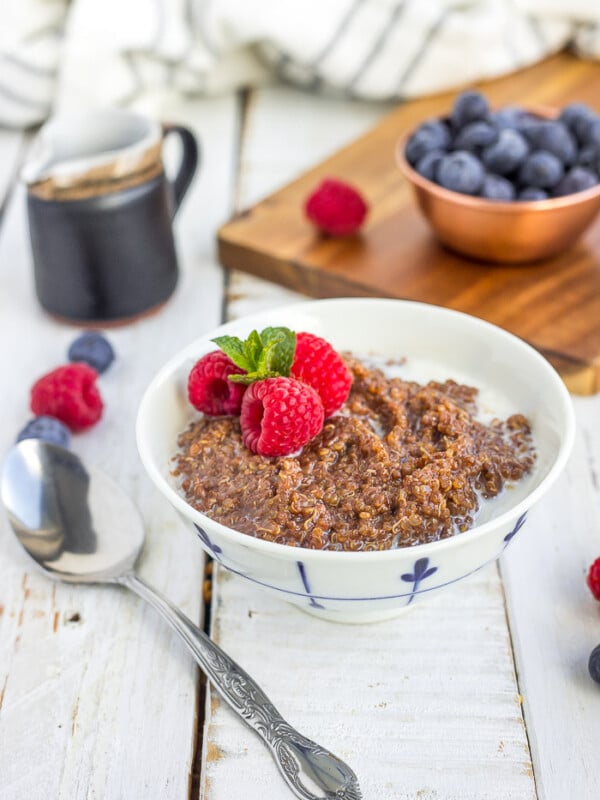
And did you know that quinoa is not just for savory uses? Try it for breakfast in this chocolate quinoa porridge!
Recipe Ingredients
This recipe only needs two ingredients:
- Quinoa
- Liquid – water, veggie broth, or chicken broth are all great options
I love to toast my quinoa directly in the Instant Pot before cooking it. I’ll walk you through how to do that in the recipe card, but if you’d like to toast yours as well, you’ll also need a bit of olive or avocado oil.
Step-by-Step Instructions
*I’ll walk you through it here with some photos and tips, and you’ll also find a printable recipe card at the bottom of the post with exact measurements, etc. You can also click “jump to recipe” to skip down.
Start by placing the quinoa in a fine mesh strainer, and run it under cool running water until the water runs clear. This can take a few minutes, so put a good podcast on your phone and pop in your earbuds.
If you have an extra few minutes, I highly recommend toasting your quinoa. It develops the flavors more deeply, but it’s not required if you are short on time.
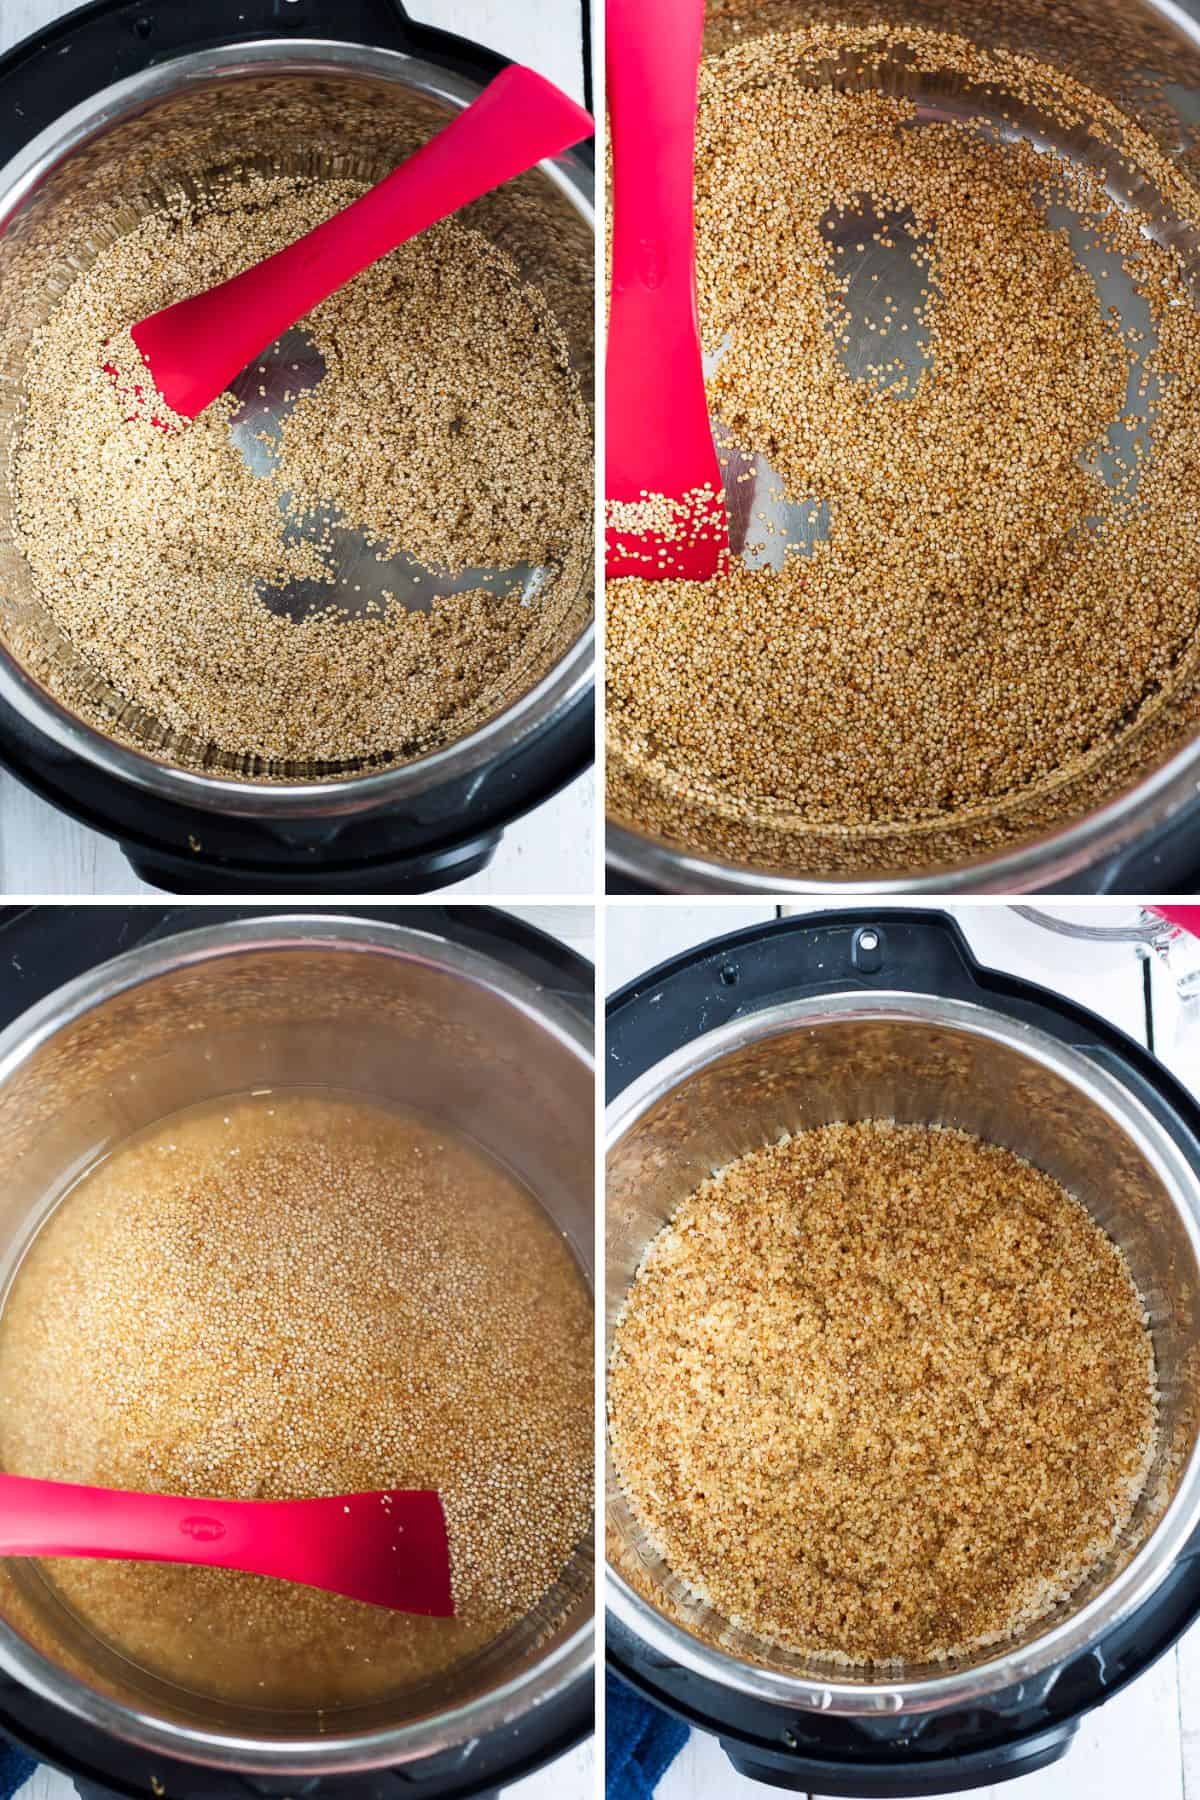
If you plan to toast the quinoa, press Saute on the Instant Pot. Add the olive oil and quinoa. Stir to toast for 5-8 minutes, or until you can smell the nutty undertones. It will smell a bit like popcorn.
Press “off/keep warm” on the Instant Pot to turn it off. Add in the water or broth and stir.
Lock the lid into place and set the steam release handle (valve on top) to “Sealing”. Press Manual>High Pressure>1 minute.
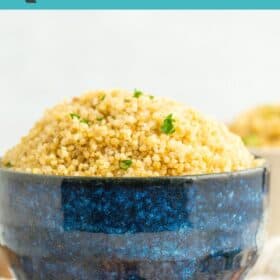
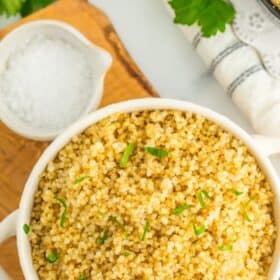
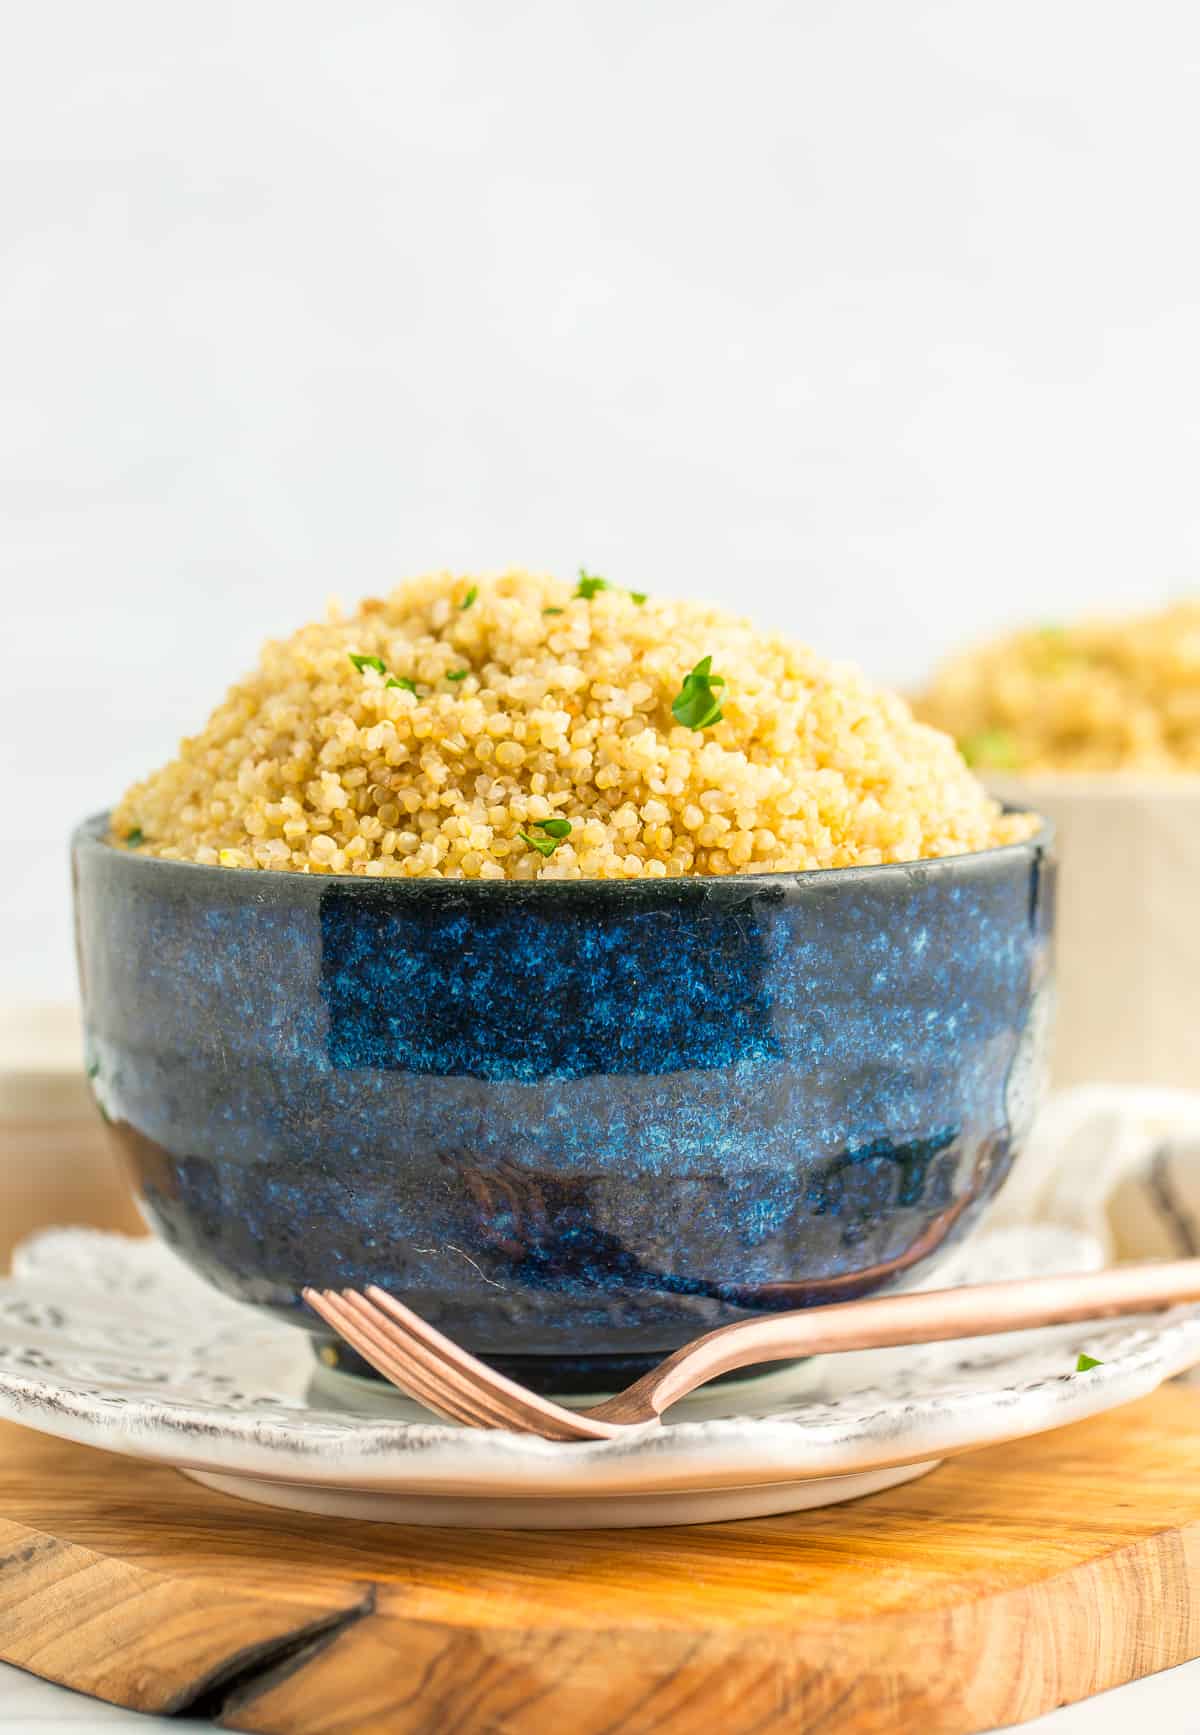
When the cooking time is up, do a natural release for 10 minutes, and then flip the vent to “venting” and perform a quick release. Carefully remove the lid and fluff the quinoa with a fork or wooden spoon. That’s it! Easy peasy.
Recipe Variations & Optional Addins
This recipe is a fantastic base for adding your favorite flavors. I love using chicken broth or turkey bone broth in place of water, and have also used veggie broth with great results.
You can also add lots of frozen, roasted, or steamed veggies with the quinoa. Certain vegetables such as broccoli, cauliflower, and asparagus can be cooked in the Instant Pot for 0-1 minutes. If you’d like to cook them with the quinoa, add them on top of the quinoa.
Pro Tips/Recipe Notes
- Don’t skip the rinsing step! The outer layer of quinoa contains saponin, which can make quinoa taste bitter and/or soapy.
- You can skip the toasting step if you’re short on time. It adds a great flavor but it’s not necessary.
- You can toast the rinsed quinoa. It takes an extra minute for it to dry out before the toasting process starts.
- If you want to double or even triple the batch, the cooking time remains the same.
HOW TO STORE AND REHEAT
Storing Leftovers: Allow the quinoa to cool and store covered leftovers in the fridge for 4-5 days.
Reheating Leftovers: Quinoa can be enjoyed cold, at room temperature, or heated. To reheat, cover and microwave individual servings for 35 seconds.
Freezing Leftovers: Quinoa freezes really well. Allow it to fully cool and then transfer to freezer-safe storage.
I love freezing leftover quinoa in these reusable silicone bags because you can actually microwave the frozen quinoa directly in the bag!
Instant Pot Quinoa Recipe
Equipment
Ingredients
Salad Fixin’s
Instructions
- In a fine-mesh sieve, rinse the quinoa under cool running water until the water runs clear (~2-3 minutes).2 cups quinoa
- {Optional step} Turn the Instant Pot to saute.
- {Optional step} Add the olive oil and quinoa. Stir to toast for 5-8 minutes, or until you can smell the nutty undertones.2 tbsp olive oil
- Add the broth, and use a wooden spoon to scrape any stuck on quinoa off the bottom of the insert.2 cups vegetable broth
- Lock the lid into place and set the steam release handle (valve on top) to “Sealing”. Press Manual>High Pressure>1 minute.
- When the cooking time is up, do a natural release for 10 minutes, and then flip the vent to "venting" and perform a quick release.
- Remove the lid and fluff the quinoa with a fork or wooden spoon.
Notes
- Skip the toasting step if you’re short on time.
- If you want to double or triple the batch, the cooking time remains the same.
- Canadian Golden Quinoa will not produce good results in the instant pot. It is much too mushy to use in a pressure cooker.
- In a heavy saucepan, add the olive oil over medium heat. Add the quinoa and toast for 5-8 minutes, or until you can smell the nutty undertones from the pan.
- Add the broth and stir to combine. Bring to a boil for 1 minute, and then reduce to a lower heat. Put the lid on, and cook for 15 minutes, or until the liquid is completely absorbed. Let cool.
Nutrition
Nutrition information is automatically calculated, so should only be used as an approximation.


Phenomenal! I didn’t know what I was doing wrong with quinoa and between the rinsing and the sauteeing my quinoa is so much better (and I was already happy with it). Thanks for all the tips-trying to get as much protein in my vegetarian meals as possible and this makes it even more delicious 🙂
So glad you found it helpful, Sarah!
Toasting is absolutely the way to go with certain grains! Now that you’ve tried it with quinoa, you should try it with rice too. It develops such an interesting flavor.
Amazing and so easy! Thanks Sarah 🙂
AWESOME!!! I love quinoa, and thanks to this recipe, I leveled up my quinoa taste-I didn’t know I needed to strain it first (and also was using a bit too much water)! I love quinoa even more, and I make this recipe every few weeks as the base for my lunch bowls. FYI, I add beans and roasted veggies to my veggie bowls-check out Sarah’s recommendations for roasted veggies as they are super helpful as well as how to cook beans in the Instapot!).
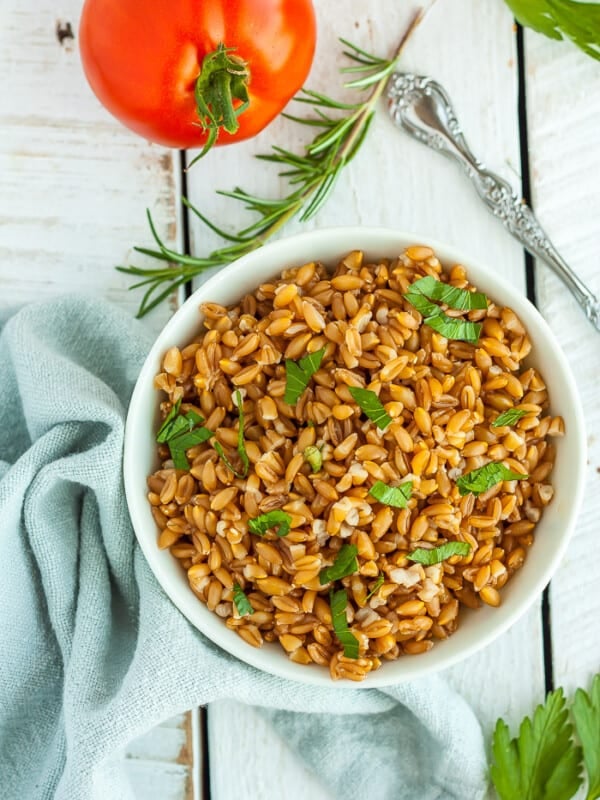
This really was easy! Quinoa is a grain I always mess up, usually because I’m multitasking and not paying attention enough to the stove. But throwing this in the IP was a cinch and it came out nice and fluffy! I even had enough extra to make Tabbouleh for myself for the week 👍
I love a “no-brainer” recipe, and I’m so thrilled you enjoyed this one, Kim!