As an Amazon Associate, I earn from qualifying purchases.
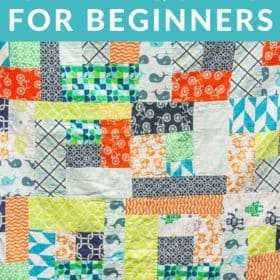

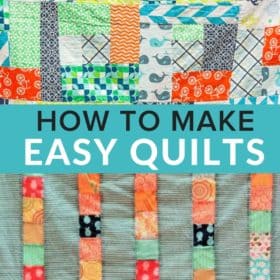
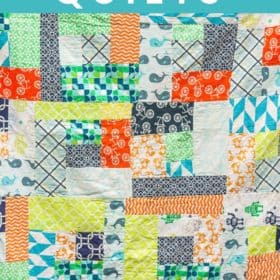
An easy to follow step by step tutorial on making simple Beginner Quilts. These quilt projects can be made on any sewing machine or sewn by hand.

Learning to quilt can be super overwhelming. But it doesn’t have to be. That’s where “cheater quilts” come in! These are the kinds of quilts that any beginner can tackle. If trying to thread a bobbin on a sewing machine leaves you in tears, THIS is the project for you.
Beginner Quilts/Cheater Quilts Supply List
If you’re interested, here are supplies that I’ve accumulated over time that make this project easier. They’re optional, but helpful:
You’re going to need some fabric for this. Newsflash! The amount depends on what size quilt you’re going to be making. I always start with multiple kinds of fabric that is 1/4th of a yard. It’s cheap to buy 1/4th of a yard, and it allows you to use tons of different choices. Plus, it’s a great way to use up any scraps you might already have on hand.
How to Make Beginner Quilts/Cheater Quilts – Step by Step:
So, here’s what we’re gonna do. First, wash, dry, and iron all your fabric.
Next, figure out how large you want your individual strips to be. I typically make mine about 2-3 inches wide. Using some sort of guide (like this cutting ruler), cut the fabric in a strip. Then, make like 2-4 more strips of the same fabric. Repeat with all the other fabrics. Mix and match. Again, this is quilting for cheaters. I ain’t gonna judge.
Now you have a big ole pile of strips.


Then, take another strip, and add it “pretty” side to “pretty” side to one of the strips you just connected, and sew it together.


Then, cut off the non-equal edges from your strips. This is where the rotary cutter and rulers come in handy!


Take two of the strips, and place them “pretty” side to “pretty” side. Sew. Repeat until you have strips that are your desired length. Connect other strips until you have 5-6 that are of the same length.


Take the fabric you want for your “filler” in-between the strips, and cut 4-6 of the same width and length.

Take the “pretty” side of your quilted strips, and put it on the “pretty” side of your filler fabric. Sew. Add another piece of the filler to the other side of the quilted strip. You’re adding pieces as you did above to connect the solid strips.

Once the quilt top is at your desired size, stop adding strips. Cut a piece of fabric that is the same size as the top. This will be your quilt back. Put the “pretty” side of your quilt top on the “pretty” side of the quilt back. Sew the two pieces together around the edges, leaving about 6 inches of the outside unstitched.
When you only have those 6 inches left to connect, remove the quilt from the sewing machine. Turn the fabric inside out. You should now see the right side of the quilt top and the back.
Fold in the unfinished edges (the one you used for turning the quilt right side out), and pin it together. Topstitch over the pinned edges to finish the quilt.
And voila, you’ve just completed a “cheater’s” quilt, better known as an easy quilt!
More Easy Sewing Projects
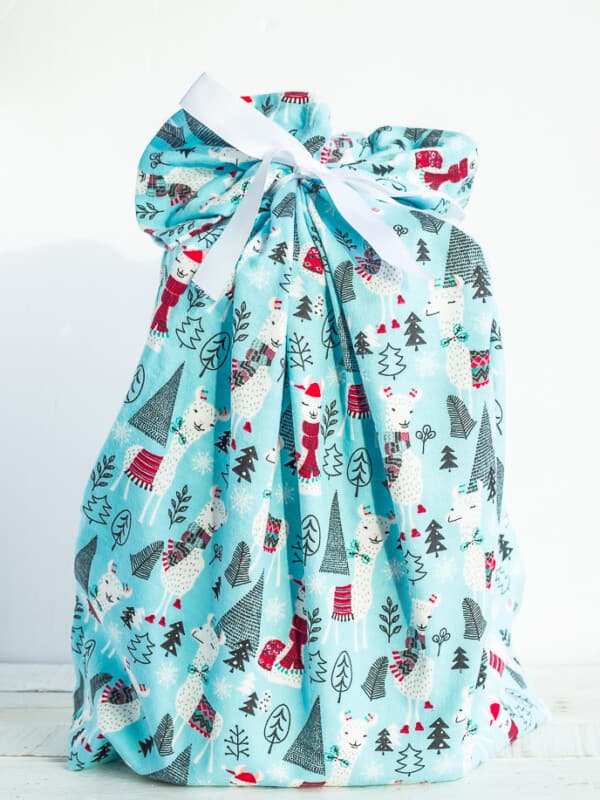
- How to Make Fabric Gift Bags
- Zero Waste Produce and Bulk Bin Shopping Bags
- How to Make Rice Heating Pads
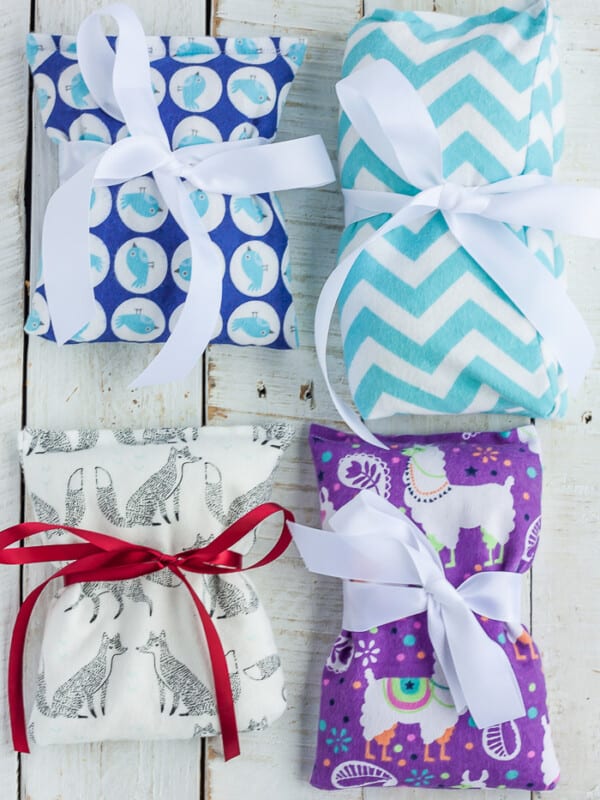
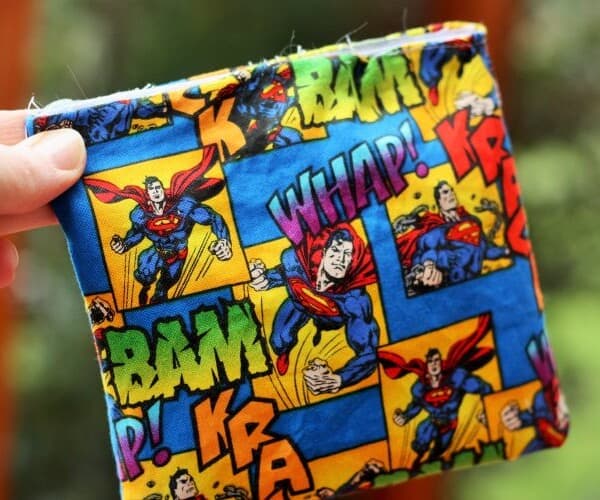
- Reusable Snack Bags


This looks like so much fun. I can’t wait to get to my sewing room and make several of these. Thanks for your great instructions. Lola
You’re so welcome and happy sewing!
So I’ve been “working on” my first quilt since last summer. I think it may have been too ambitious an undertaking for a beginner. I am trying to complete a t-shirt quilt. I think I would have been fine if I didn’t try and sew in a border. I didn’t just sew the t-shirts together but cut strips of fabric to act as a border between each row and column of t-shirt. I haven’t figured out how to best sew them where the two overlap. Also, I watched a couple of youtube videos on how to bind a quilt but now I’m thinking that I may want to just try your method. You think it will still work if I use batting and a fleece back?
It *should* work. But tshirt material is knit so very stretchy. You’ll likely need a special needle for the sewing machine so the fabric doesn’t get bunchy.
This seems so simple!!! Thank you Sara!
They are. I promise!