As an Amazon Associate, I earn from qualifying purchases.
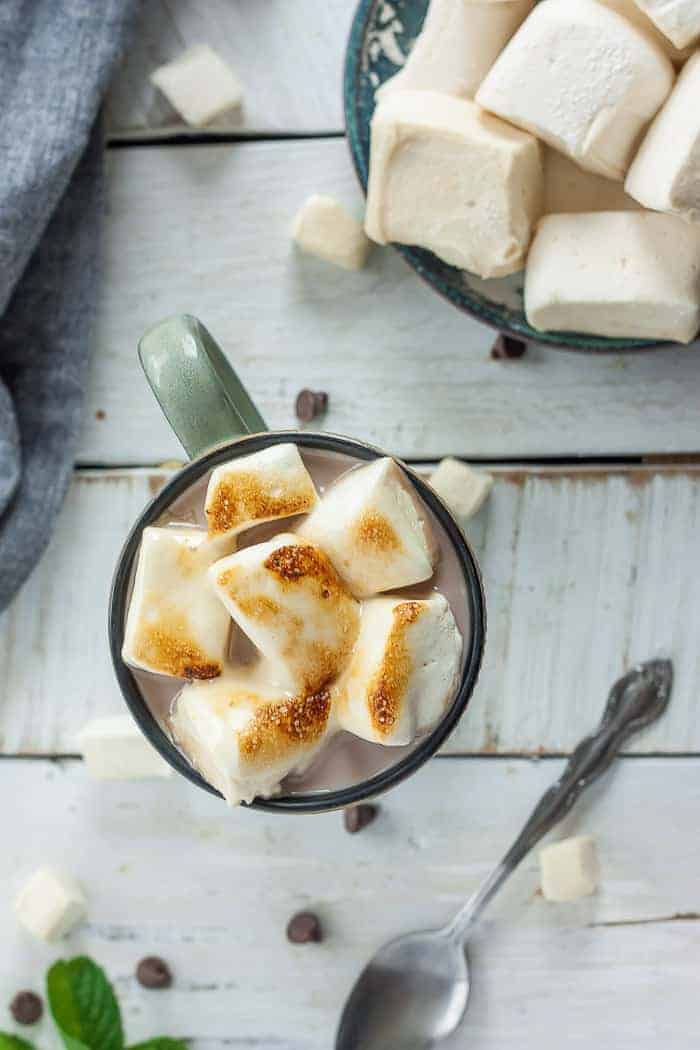
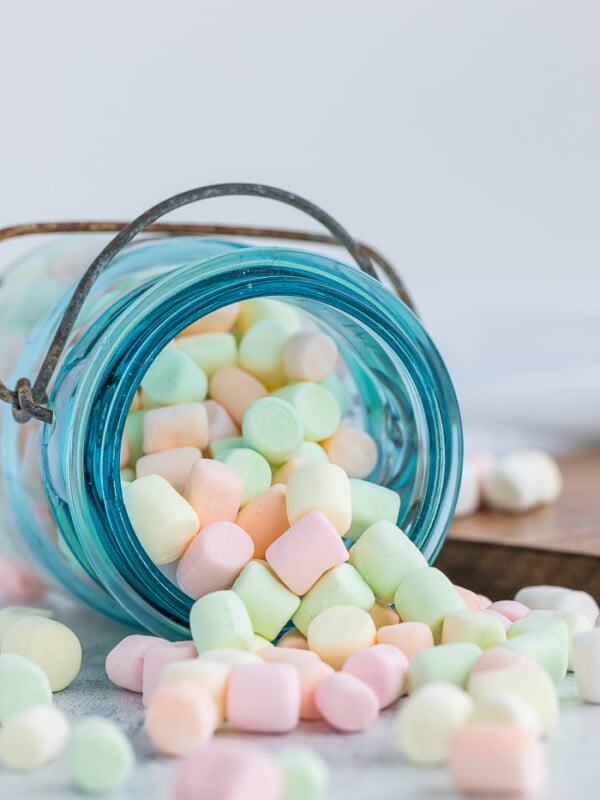
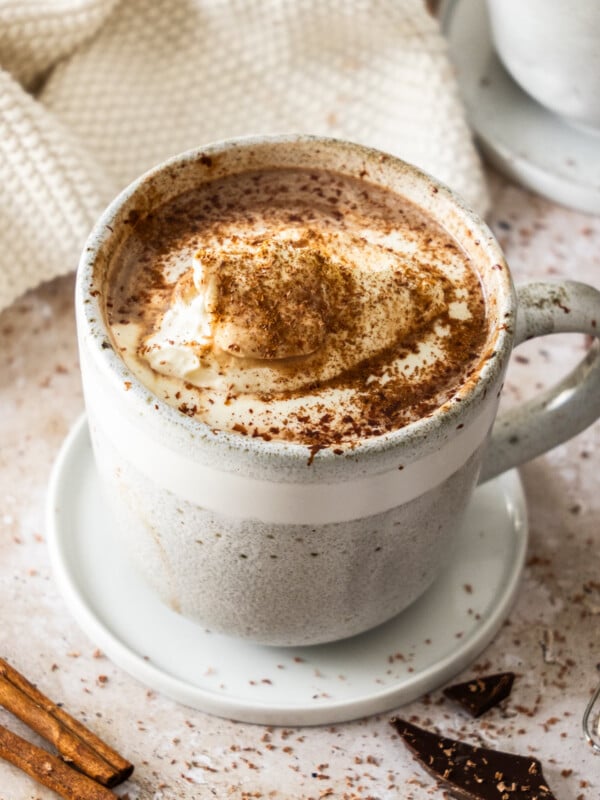
Learn how easy it is to make honey-sweetened Marshmallows Without Corn Syrup. They are perfect for gifts, roasting, baking, or in a cozy cup of cocoa.
Making homemade marshmallows are surprisingly easy to make! Even better, they taste amazing and these are 100% free of corn syrup.
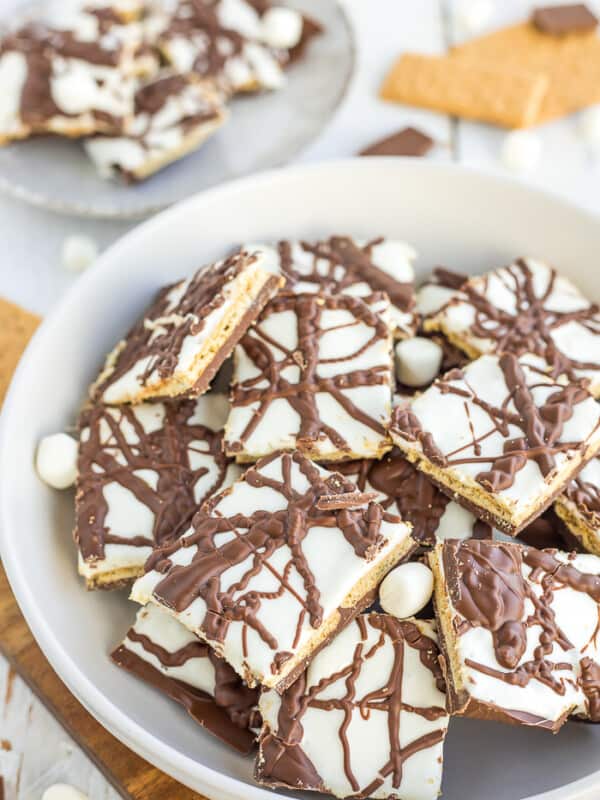
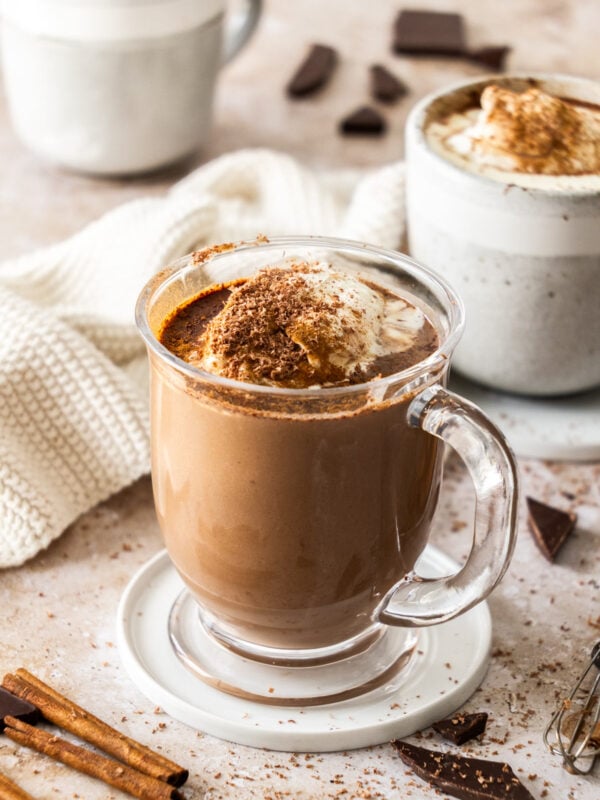
Try these homemade marshmallows in this old fashioned chocolate fudge, Instant Pot hot chocolate, or Nordy bars. Or, for a totally fun twist, try your hand at dehydrating marshmallows for a crispy DIY version of Lucky Charms.
#1 Tip For Homemade Marshmallows
Have everything prepared before you start the honey mixture cooking on the stove. Once the honey and water are heated and ready to go, you need to start mixing everything right away.
How to Make Marshmallows
*You’ll find a printable version of this recipe with measurements at the bottom of the post.
You’re going to start by combining water, salt, and honey in a medium-sized pot over medium heat without stirring (see printable recipe card for exact measurements). Pro tip: don’t pick a huge or heavy saucepan because you won’t be able to get an accurate temperature reading if the syrup is too shallow. But you also need something deep enough where the syrup won’t boil over as it heats.
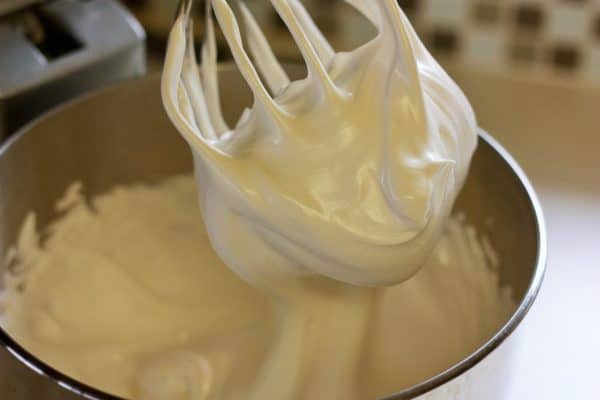
While the honey is heating up, you’re going to add water to the bowl of a stand mixer and sprinkle unflavored gelatin over the top of that. Again, you’ll find the exact measurements in the recipe card below! Place a whisk attachment on the stand mixer.
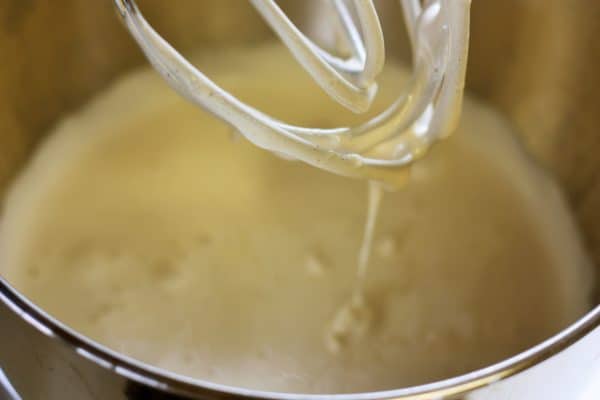
When the honey mixture has reached 230˚F (use a candy thermometer for exact temps), turn your stand mixer to the lowest setting and slowly pour the honey into the bowl of the stand mixer. Add vanilla extract.
Slowly increase the speed of the stand mixture every few minutes until the last few minutes the mixer is going at the highest speed.
After two minutes:
After six minutes:

After eight minutes:
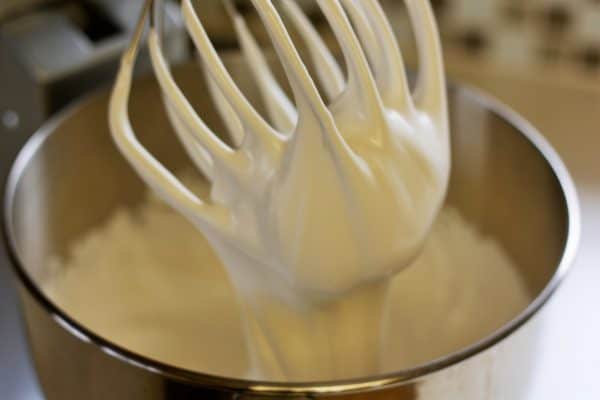
After 10 minutes:
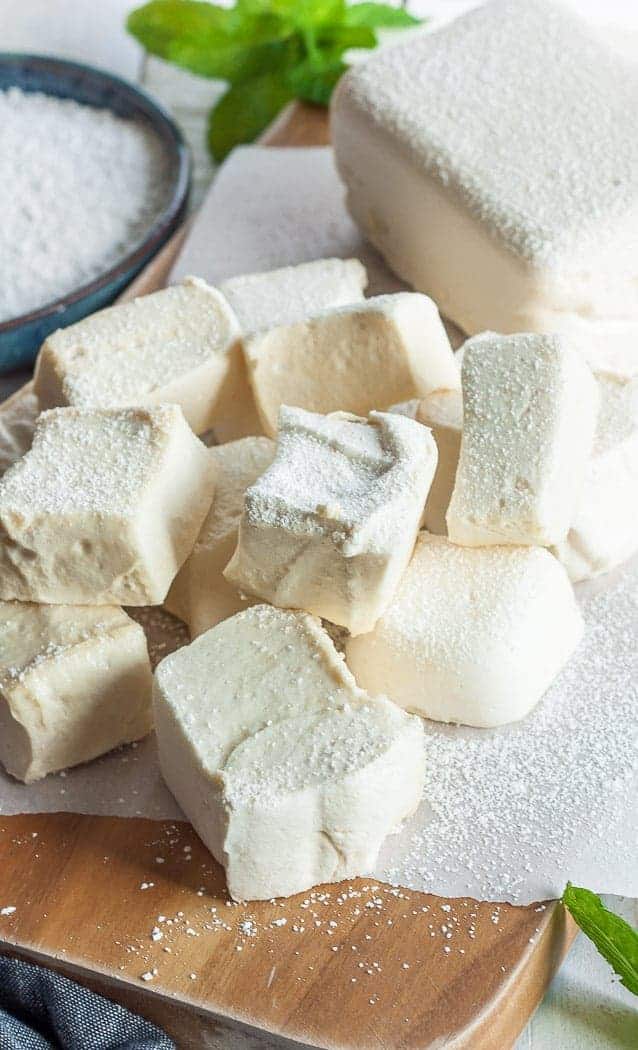
Pour the mixture into a buttered 9×13 baking dish.
And now…you have to wait. Keep them uncovered for 6-12 hours at room temperature.
How to Know When Marshmallows Are Done Mixing
Stop the mixer and lift up the arm to elevate the whisk into the air. If the marshmallow mixture holds its shape for about 5 seconds, then congrats, they are ready to be poured into the baking dish!
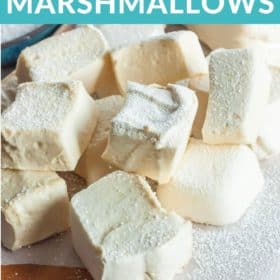
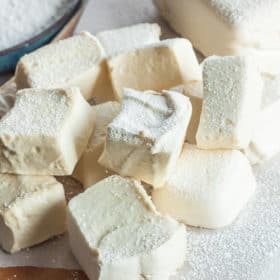
How to Cut Marshmallows
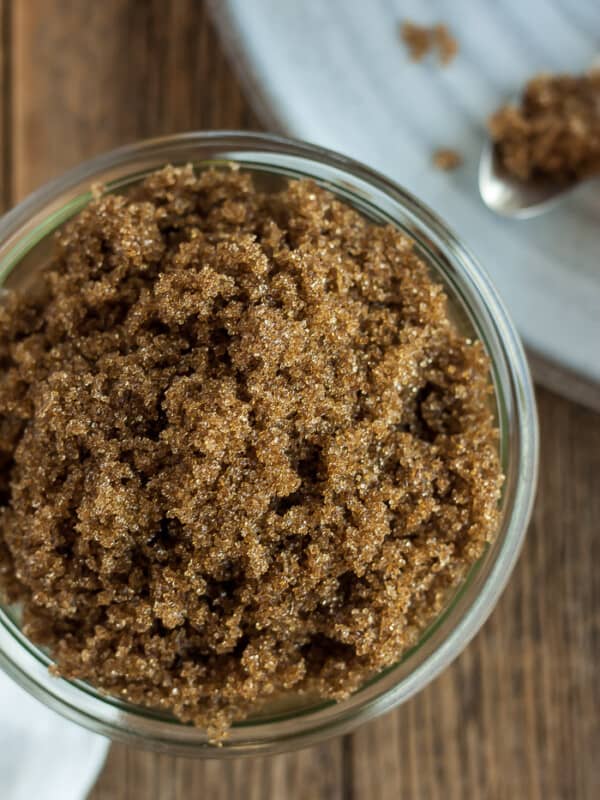
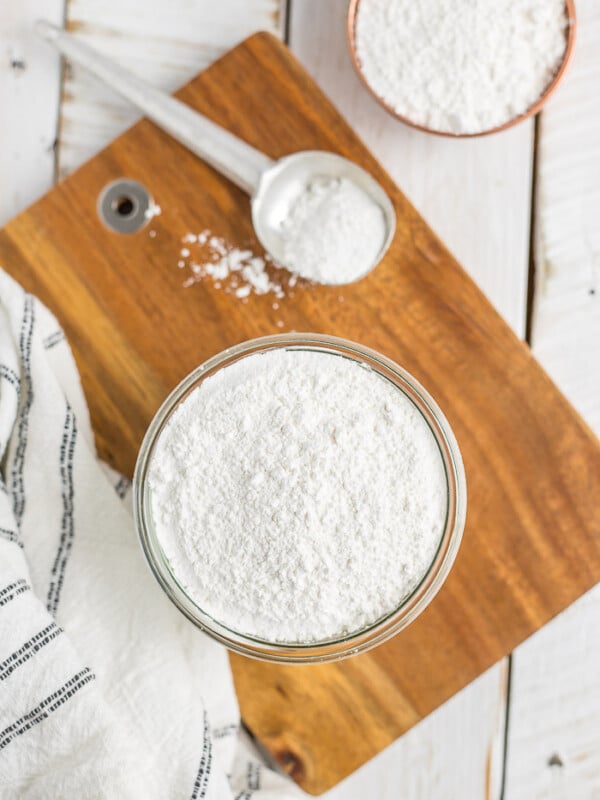
Homemade marshmallows are notoriously a PITA to cut. A knife seems logical but I prefer using kitchen shears instead. Pro tip: dust the marshmallows and shears with powdered sugar (related: How to Make Powdered Sugar) to keep things from sticking together.
Pro tips/recipe notes
- If the marshmallows too firm or chewy it means your honey mixture was too hot when it was added to the gelatin in the stand mixer.
- If they seem a bit soggy even after they have dried, it is because everything was not mixed at a high enough speed for long enough.
- Homemade marshmallows will keep at room temperature for 2-3 weeks. Dust them with powdered sugar before storing in an air-tight container.
Marshmallows Without Corn Syrup
Equipment
- Candy thermometer
Ingredients
- 1/2 cup water
- 6 tbsp unflavored gelatin (the equivalent of 3 small packets)
- 2/3 cup water
- 1 1/4 cup honey
- 1/8 tsp sea salt
- 2 tsp pure vanilla extract
Instructions
- Pour 1/2 cup of water in the bowl of a stand mixer fitted with a whisk attachment, and sprinkle the gelatin over it. Let sit for five minutes.1/2 cup water, 6 tbsp unflavored gelatin
- Place 2/3 cup of water in a deep saucepan. Add the honey and salt, and cook without stirring until the temp reaches 230˚F.2/3 cup water, 1 1/4 cup honey, 1/8 tsp sea salt
- Turn the mixer to the lowest setting and slowly pour the hot liquid mixture in. Add the vanilla and continue to mix on low for a few minutes.2 tsp pure vanilla extract
- Slowly increase your mixer speed incrementally, and mix for a total of 10-15 minutes.
- While the mixer is running, butter a 9×13 baking dish.
- The marshmallows are done when you lift up the mixer arm to elevate the whisk into the air and the mixture holds for 5 seconds.
- Pour the thickened mixture in, and push it down with your hands. Leave it uncovered for 12 hours.
- After at least 12 hours, remove the solid marshmallow rectangle and cut through it using kitchen shears to create individual marshmallows.
Notes
- If marshmallows are too firm or chewy it means your honey mixture was too hot when it was added to the gelatin in the stand mixer.
- If the marshmallows seem a bit soggy even after they have dried, it is because everything was not mixed at a high enough speed for long enough.
Nutrition
Nutrition information is automatically calculated, so should only be used as an approximation.


Do you leave them at room temp or in the refrigerator to rest for the 12 hours?
Room temp, Kiki.
Mine look terrible 😅 they did not pour in smoothly. They taste great! Did I over blend them or ? They resemble cheese curds! 😂
Judy, without being there or seeing them for myself, it’s hard to say what happened to the texture. Would you be able to email me a picture? Or, you can send them to me as a DM on Instagram if that is easier.
Could I use coconut sugar for the powdered sugar? My daughter is v sensitive to sugar and often upsets her tummy, but she is ok with coconut sugar. Thanks so much my daughter is going to be so happy to have these while camping. She is allergic to corn so honestly this will save me mum guilt and make her so happy- so grateful . Thank you.
Hi Claire, do you have a blender that you could blitz the coconut sugar in? That would help keep the marshmallows from being crunchy.
Hi I do thanks will try it.
Do i have to use butter if I use parchment paper may daughter is dairy free? Thanks
You can skip that if needed.
Thanks for sharing! Does it keep long?
At room temp for 2-3 weeks under normal conditions.
This looks so good! What a great way to still enjoy a treat while sticking to the good stuff!