As an Amazon Associate, I earn from qualifying purchases.


This delicious Instant Pot Pea and Bacon Risotto is a one-pot weeknight dinner that is packed with amazing flavors. Ready in a flash, this pressure cooker risotto eliminates the long cook time and constant stirring of a stovetop version.
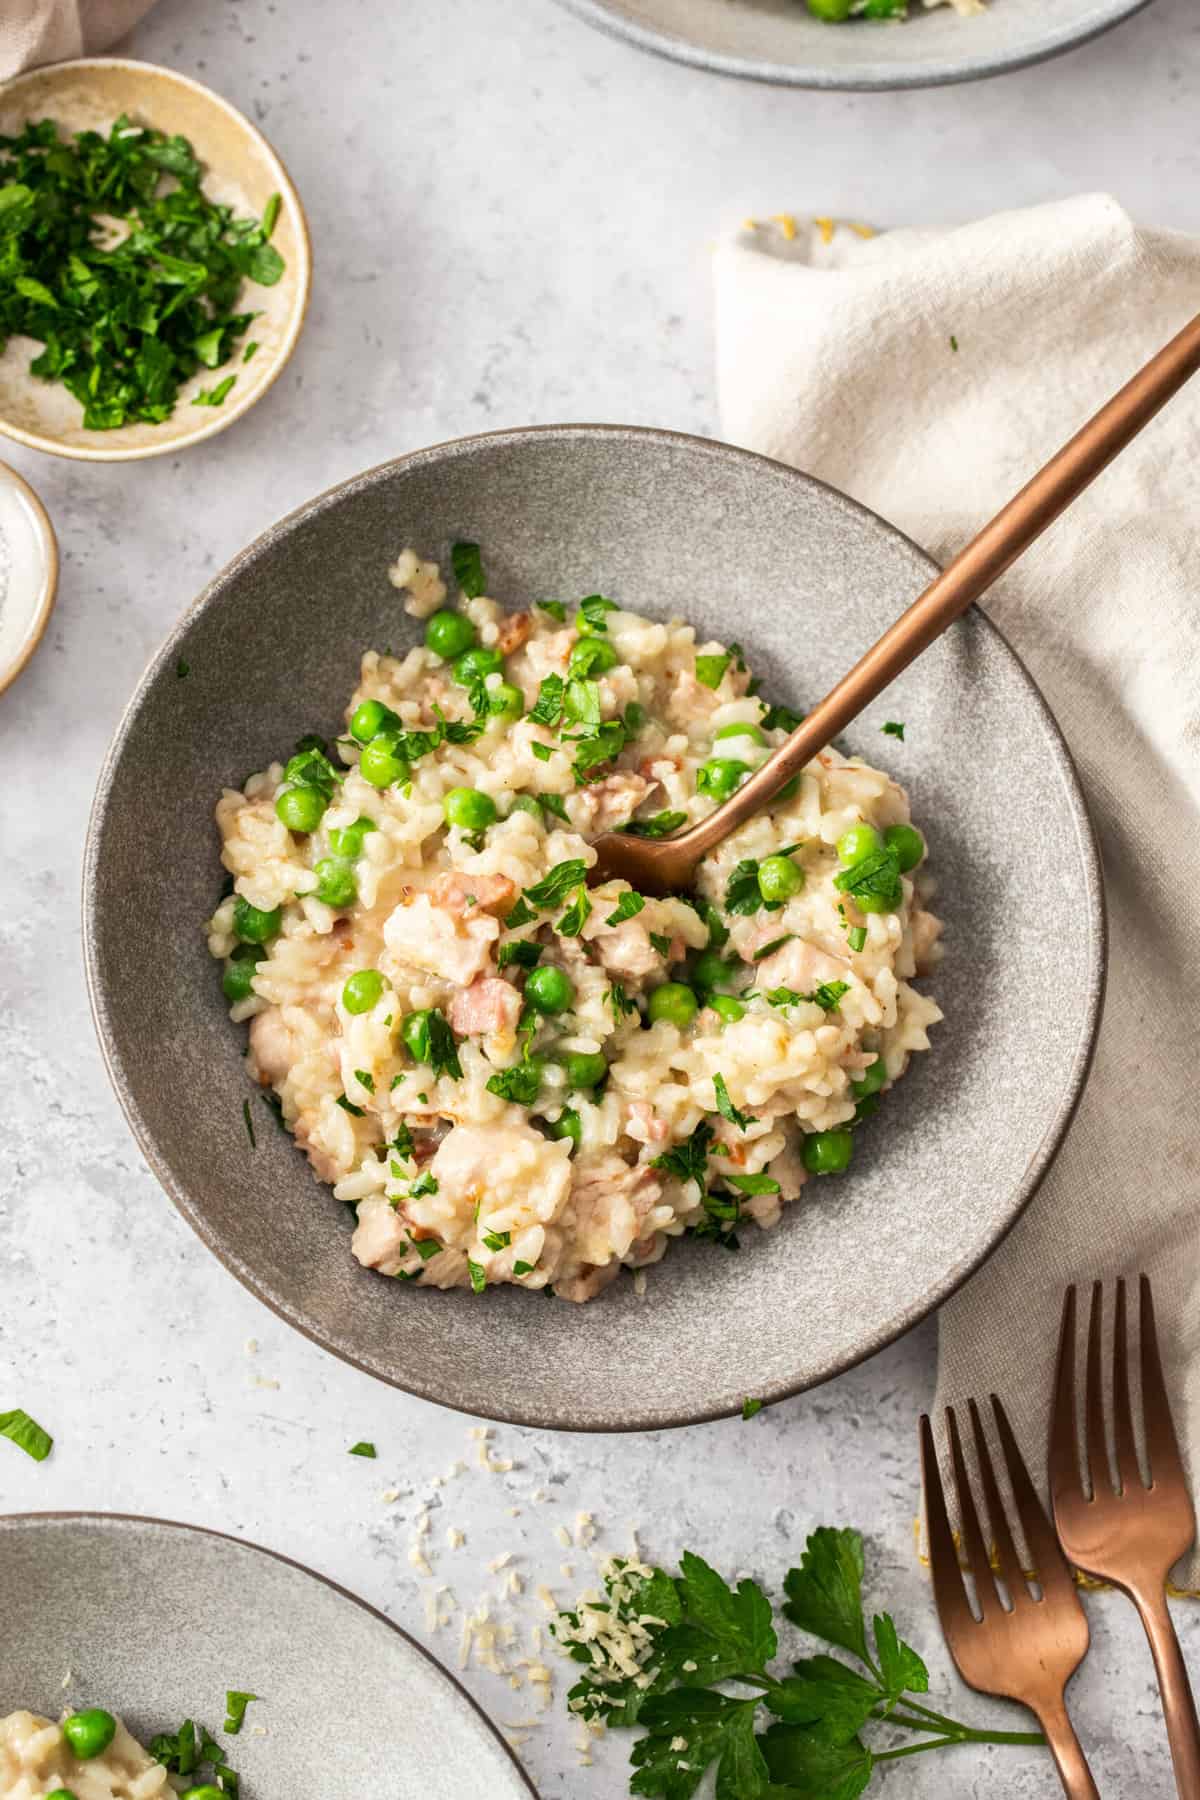
If you’re thinking that bacon is the candy of meats, you’re correct. It’s hard to improve on bacon, but combine it with some delicious peas, Parmesan, and arborio rice, and you get your new favorite dinner.
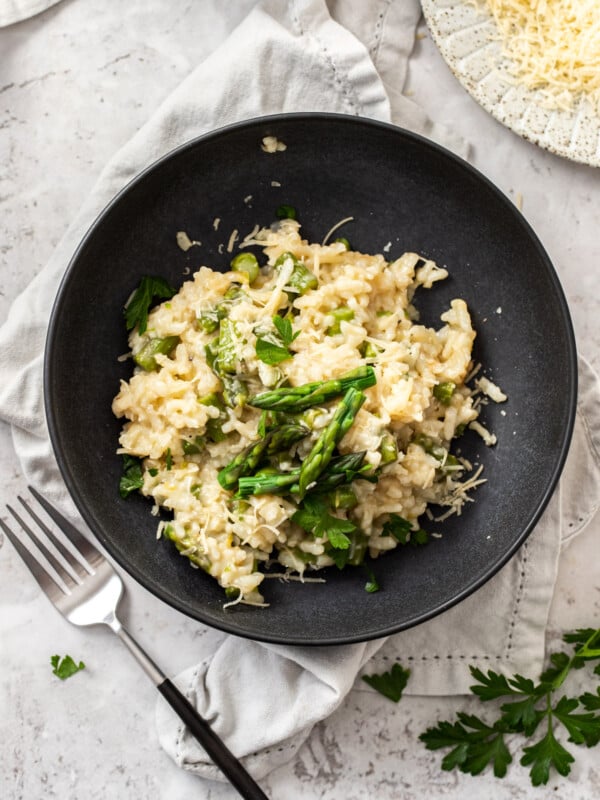
This pea and bacon risotto comes together in just a few minutes thanks to the magical Instant Pot. Seriously, you’re going to love this as much as you loved our Instant Pot Asparagus Risotto and Chicken and Bacon Risotto.
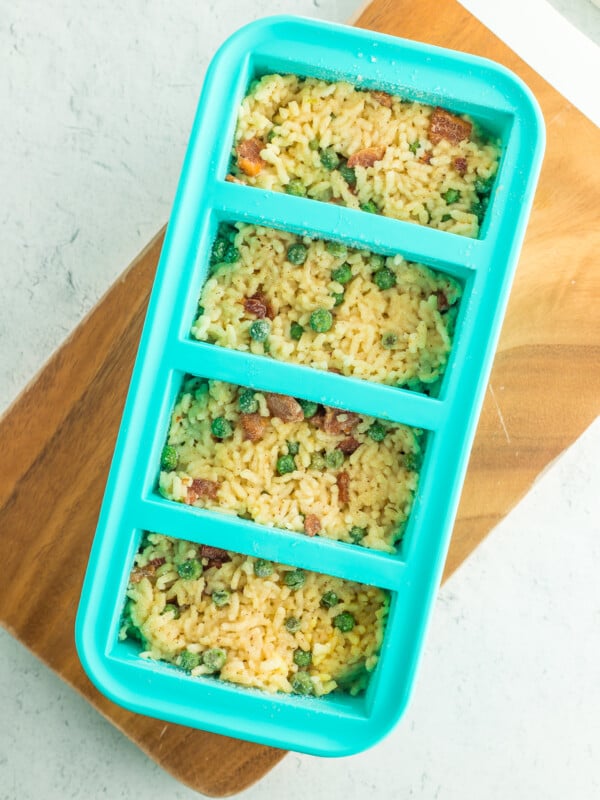
If you have leftovers, check out our post on Freezing Risotto.
Is there a Fast Way to Cook Risotto?
Yes! The traditional method involves a lot of slow stirring of a pot on the stovetop. The Instant Pot takes all the guesswork and stirring out of the process. You push a few buttons, walk away, and here comes dinner!
Want to save even more time on this recipe? Use prepped frozen garlic and frozen peas to make this a meal prep dream dish.
WHAT TO SERVE WITH RISOTTO
This recipe makes enough to be the main dish, so I like to pair it with a Chopped Cabbage Salad, Air Fryer Asparagus, Roasted Frozen Broccoli, or Air Fryer Roasted Beets.
If you want to include additional/different protein, throw in some leftover
dry brined chicken, breading-free air fryer chicken tenders, or air fryer frozen shrimp. You could also add in leftover cubed Instant Pot Ham.
If you are adding leftover protein that has already been cooked, add it with the peas in step 9.
Bacon and Pea Risotto Variations
This instant pot risotto can easily be made plant-based by subbing in vegetable stock for the chicken stock. Use your favorite dairy-free butter, leave out the parmesan cheese, and sub in your favorite plant-based bacon or sausage crumbles.

Pro Tips/Recipe Notes
- For best results, use thick-cut bacon.
- If you double the recipe the cooking time will remain the same, but it may take longer to come to pressure.
- Low-sodium chicken stock is recommended.
- If you like your risotto a bit “soupier”, add an additional 1/2-1 cup of chicken stock in step 5 in the recipe card below.
- In step 5, you’ll use a wooden spoon to scrape the bottom of the Instant Pot insert to “deglaze” it. Deglaze is just a fancy term for “remove all the crispy bits and pieces of food”. Anything stuck to the bottom of the insert can prevent it from coming up to pressure when cooking the risotto.
- The recipe calls for 1/2 cup of Parmesan cheese, but you and I both know that cheese needs to be measured with your heart. Feel free to add (a lot) more to taste!
- If you have leftover shallots, make some Quick Pickled Shallots or use them in Lemon Garlic Pasta.

Pea and Bacon Risotto

Equipment
Ingredients
- 8 strips uncooked bacon {chopped}
- 4 tbsp unsalted butter
- 3 tbsp shallot {minced}
- 3 cloves garlic {minced}
- 4 cups low sodium chicken stock
- 2 cups arborio rice
- 1/2 cup white wine
- 1/2 tsp black pepper
- 2 cups frozen peas
- 1/2 cup shredded Parmesan
Instructions
- Set the Instant Pot to sauté.
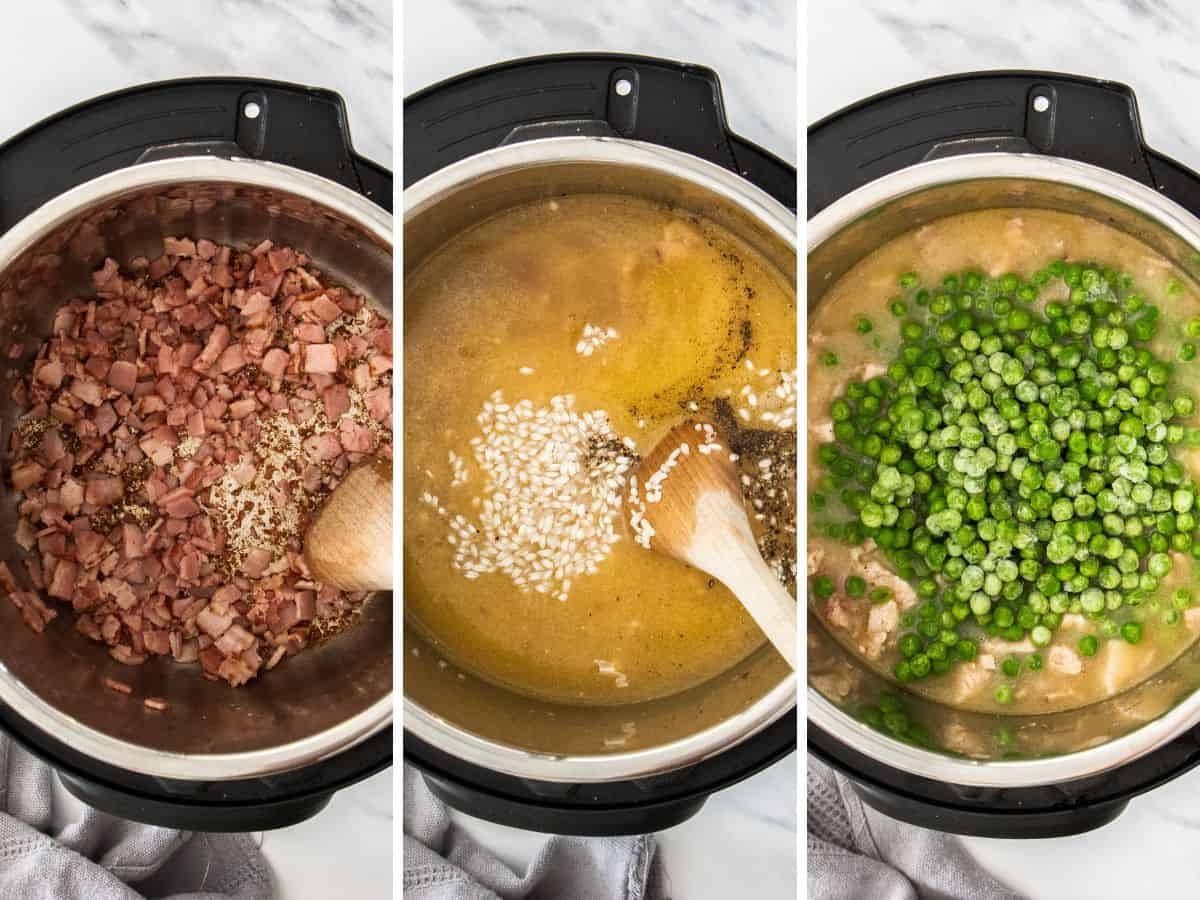
- Cook chopped bacon, stirring often until it is cooked through and crispy. Drain excess grease if necessary.8 strips uncooked bacon
- Add butter, shallot, and garlic.4 tbsp unsalted butter, 3 cloves garlic, 3 tbsp shallot
- Cook on sauté for ~1 minute, or until shallots are starting to soften and butter has melted.
- Turn the Instant Pot off and add chicken stock. Scrape the bottom of the Instant Pot insert with a wooden spoon to deglaze.4 cups low sodium chicken stock
- Add rice, white wine, and black pepper. Stir to combine.2 cups arborio rice, 1/2 cup white wine, 1/2 tsp black pepper
- Lock the lid into place and set the steam release handle (valve on top) to “Sealing”. Press Manual>High Pressure>5 minutes.
- When the IP beeps, turn to "off". Allow it to sit for 2 minutes and then do a quick release with the nozzle set to venting.
- When the vent has dropped, remove the lid and add the frozen peas. Place the lid back on the Instant Pot for 3 minutes. You do not need it lock the lid or do anything with the vent.2 cups frozen peas
- Remove the lid, add the Parmesan and stir to distribute the peas.1/2 cup shredded Parmesan
Notes
- For best results, use thick-cut bacon.
- Low-sodium chicken stock is recommended.
- If you like your risotto a bit “soupier”, add an additional 1/2 – 1 cup of chicken stock in step 5 in the recipe card above.
- If you are adding leftover protein that has already been cooked, add it with the peas in step 9.
- If you double the recipe the cooking time will remain the same, but it may take longer to come to pressure.
Nutrition
Nutrition information is automatically calculated, so should only be used as an approximation.


This recipe can’t be easier to make and is SO GOOD!! I love that Sarah also puts the quantities of ingredients in the actual recipe steps so I don’t have to keep scrolling back and forth. As always, Sarah delivered with this super fast, easy, delicious dinner recipe! Like Sarah says, measure the cheese with your heart, or in our case, as much as falls out of the container when you go to pour it in.
Ruth, I love your “official” way of measuring cheese. HA!!!
So glad you enjoyed this recipe. I have some in the freezer and should defrost some for lunch today.
I finally got the opportunity to try this recipe, however when the opportunity presented itself I was not fully prepared. I had no peas but I did have leftover steamed broccoli (which I prefer) and no shallot so I used sweet onion. And why discriminate? If cheese should be measured with the heart shouldn’t bacon? My package had 10 slices but I would have happily used 12. Another home run Sarah.
I love the adjustments you made! And I’m so glad you enjoyed the dish. 🙂
Made this last night and it was great! I added closer to a cup of cheese 🙂 Went well with chicken thighs but I could see this as a stand alone meal as well. Thanks for the recipe!
Cheese needs to be measured with your heart, so I am thrilled you made this your own! 🙂
Glad you enjoyed it!