As an Amazon Associate, I earn from qualifying purchases.
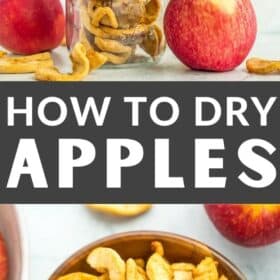

Learn all about dehydrating apples in a food dehydrator or in an oven. Drying apples is a simple project for adults and kids and makes amazing healthy snacks.

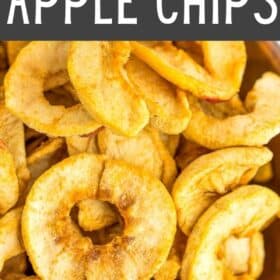
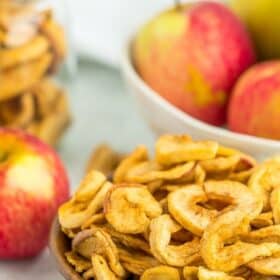
Dried apples are a favorite snack in our house. The best part of drying apples yourself? The process is so simple, and you only need two ingredients – apples and lemon juice.
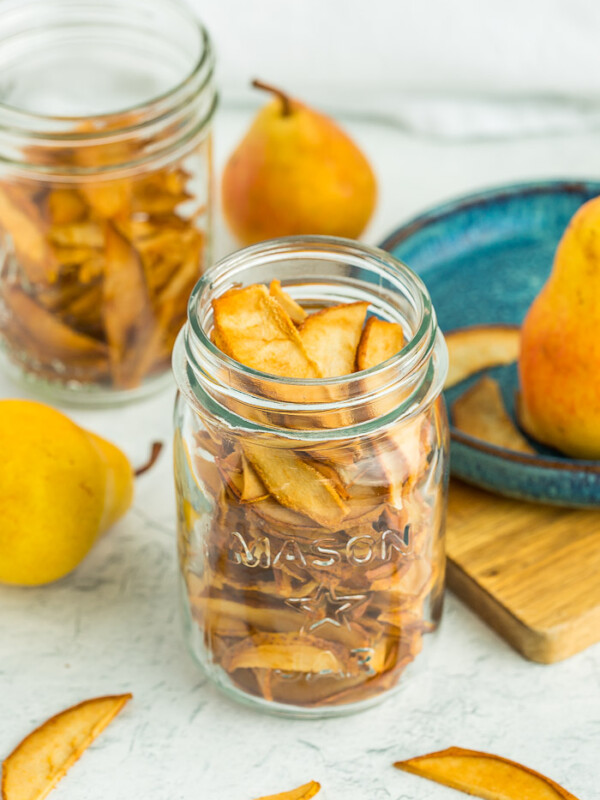
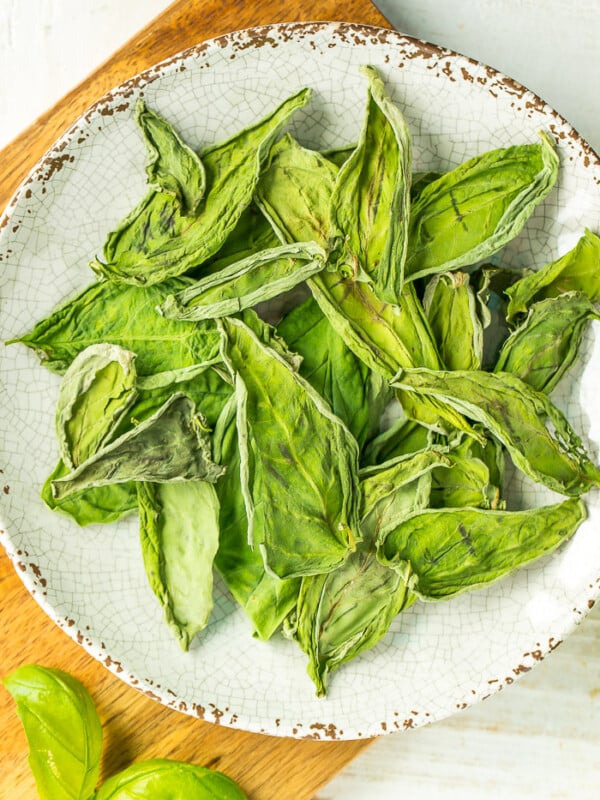
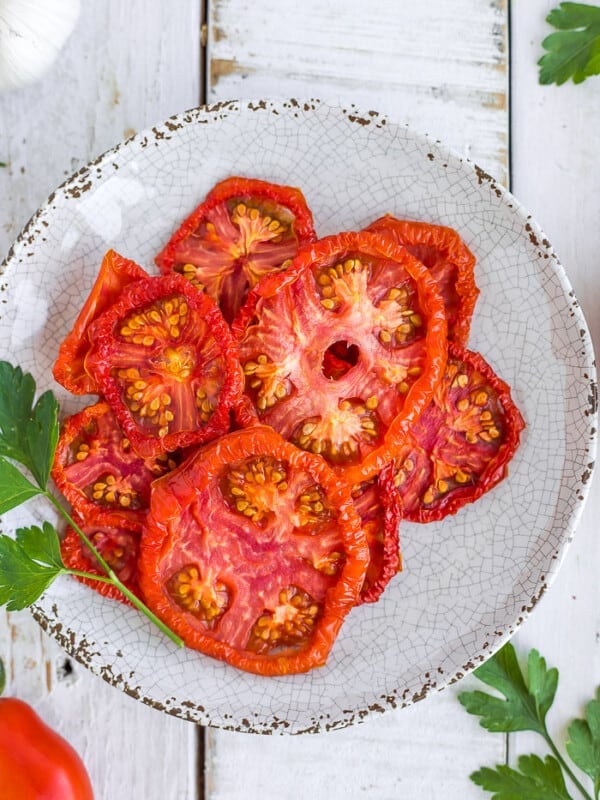
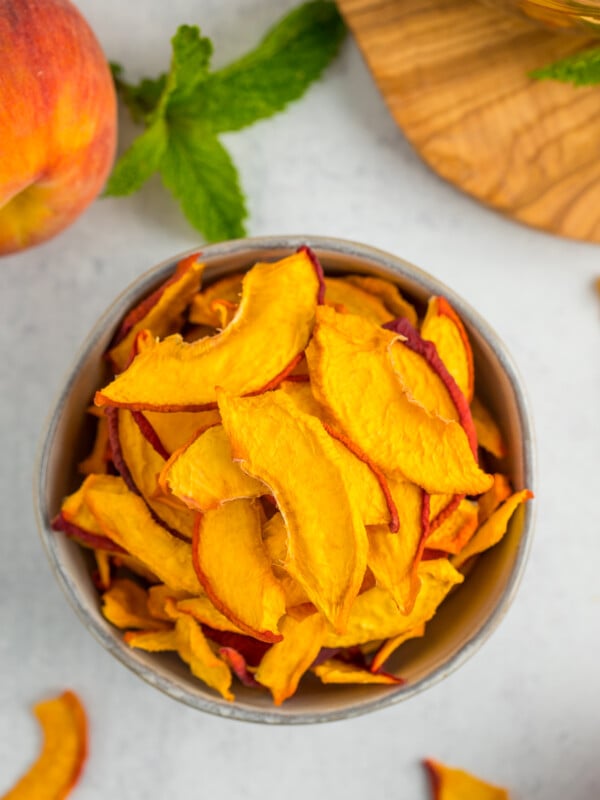
Looking for more dehydrator tutorials? Check out our posts on: Dehydrating Oregano, Drying Peppers, Dehydrating Mint, Drying Limes, Dehydrating Marshmallows, Dehydrated Orange Slices, Drying Peaches, Dehydrating Onions, Drying Rosemary, Drying Pears, Dehydrating Garlic, Homemade Tomato Powder, Drying Chives, How to Dry Basil, and Dehydrating Tomatoes.
What Are The Best Apples For Drying?
Easy to find varieties such as Gala, Fuji, Gravenstein, and Honeycrisp are all great. Look for firm and flavorful apples that you would enjoy for fresh eating. Even though the drying process concentrates the sweetness of the apples, sour apples will still make sour dried apples.
How Long Does it Take to Dry Apples?
The length of time they will need to dry out will vary based on how many trays you have going at once, and how thick your apple slices are. On average, it takes 4-8 hours for up to nine trays of apples.
Helpful Dried Apples Supply List
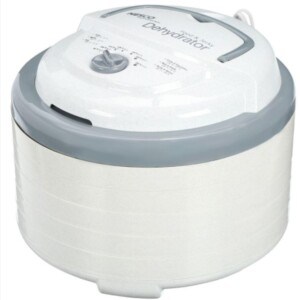
- Dehydrator (I have this one)
- Lemon juice or citric acid
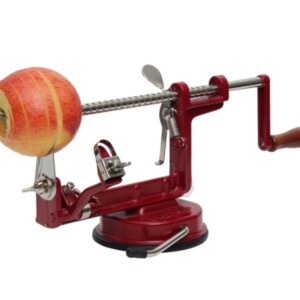
- Vegetable peeler and a sharp knife, or be
lazyefficient like I am and use this peeler/corer - Large bowl for soaking the apples
- Refuse bowl for skins and apple cores


How Do You Dry Apples in the Oven?
Follow the peeling and soaking instructions above and then place apple slices on baking drying racks. Place in the oven at the lowest temperature possible (usually 140-170 degrees F) and prop open the door with the handle of a wooden spoon. This allows condensation to escape instead of just settle back onto the apples. Bake for 5-8 hours.
How Do I Know if Dried Apples are Done?
Apples are done when they don’t feel wet anymore (4-8 hours). Some apples will finish before the others on the same tray. Remove those that are done and set them aside.
Even finished apples might feel a bit sticky when warm. Allow the apples to cool for an hour and then fold a slice between two fingers. If the apples aren’t sticky/tacky and there is some give when you fold it, it’s done. If the apples fold in half like a piece of paper, they are overly dried. Still edible and delicious, but likely a little tougher.

Store them in an air-tight container like a mason jar. If you see any condensation inside the container after a day or so, the apples were not dried long enough. It would be best to store them in the fridge or freezer at this point.
Pro Tips/Recipe Notes
- Avoid the temptation to increase the heat on the dehydrator or oven to speed up the process. Low and slow wins in the race on this one.
- Dried apples will last for up to a year if stored in a cool dry place.
- You do not have to peel the apples, but the peels may get very hard during the drying process and could detract from the taste.

Dehydrating Apples

Ingredients
- 10 Apples {choose firm apples like Fuji}
- 1/4 cup bottled lemon juice
Instructions
- Fill a bowl with cold water and 1/4 cup of lemon juice.
- Set up a workstation with a peeler, cutting board, sharp knife, and a bowl for the peels and cores.
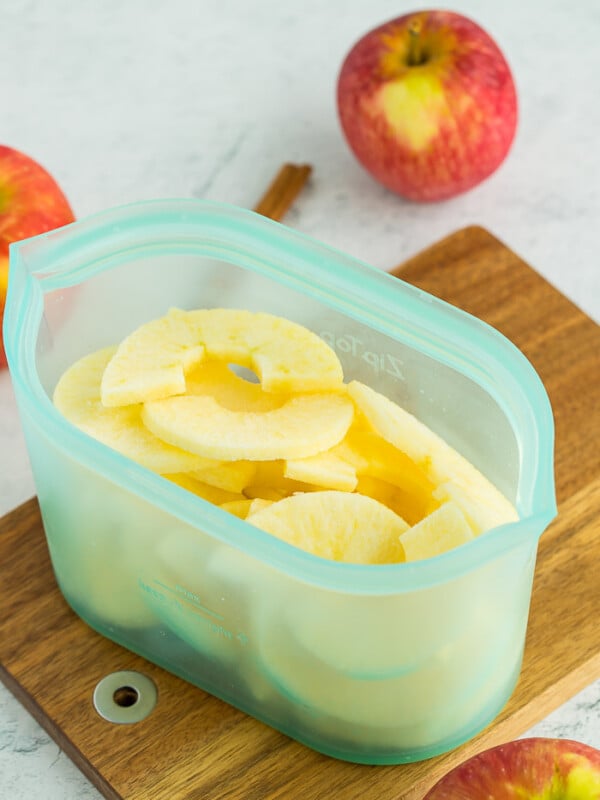
- Clean apples, peel, core, and slice the apples thinly.
- Place the slices in the water/juice mixture.
- Arrange the slices on dehydrator trays so that there is space around each slice, and the slices are not touching.
- Set dehydrator to the "fruit/vegetables" setting (135 degrees F) and dry for 4-8 hours. Rotate trays every few hours.
- The length of time they need to dry out will vary based on how many trays you have going on at once, and how thick the apple slices are.
- Apples are done when they don’t feel wet anymore. Some apples will finish before the others on the same tray. Remove those that are done and set aside.
Notes
Nutrition
Nutrition information is automatically calculated, so should only be used as an approximation.


Delish!! Making these for the third time so we will have a healthy after-dinner snack around!
So glad you’re enjoying them, Lana! They’re one of our favorite healthy snacks too.
I can’t wait to try this. I just bought the peeler / corer you recommend and it does a wonderful job. My son asked if we could try drying apples, so this post is very timely.
Have you ever tried dusting them with cinnamon before drying them? It sounds good, but I am not sure if it would impact how they come out.
Kids loooooove the peeler!
I’ve heard of people doing cinnamon and it would be delicious. Shouldn’t impact the process at all.
I don’t know if they keep zombies away, but they keep my 5 year old happy! Thanks!
A friend shared a treat this weekend that I cannot believe I never thought of! She took all her apple peels and tossed into a large bowl with cinnamon and sugar… then she spread on parchment lined trays and dried in the oven on 250… OH they are like CRACK! Crispy and sweet!
I have the same peeler, but it does not stick well to the table. I do better with the old style clamp. No tips for you except these apples slices are great !
I wonder if it depends on the type of counter? We have horrible laminate. But I find that the peeler sticks better if I get the suction cup on the bottom of the peeler a little damp before flipping the lever.
Good to know about leaving the door open. I don’t have a dehydrator so I would go the oven route.
I worked on the committee for our 3rd graders to present Colonial Day at school. There was so much friggin prep. Each child did about 7 Colonial Day craft projects, including sewing his/her initial onto cloth, tin punch, making butter, baking muffins, cooking preserves, dipping a candle, and making dried-apple wreaths. The moms had to cut out one million cardboard circles (no mean feat), and then dry 8 million apple pieces to be glued onto said circle, said glue being runny which made the apples soft as it dried, thus creating a bug feast. I ruined the window in the door of my oven because I had no idea you’re supposed to leave the door ajar when you dry apples. The moisture couldn’t escape so it went between the glass. So I say “fie” on dried apples and purchase them at Target when I wish to eat them!
My mom and I dry apples by covering the floor of large shallow boxes with foil, laying out the prepared apples, covering with tulle or and old sheer that we clip in place with clothespins, and setting out in the sun to dry. If the weather is uncooperative, transfer foil to large baking sheets and dry in a low oven (though this is a last resort for us).
We make dried apple stack cakes and fried apple pies with ours.
Good idea! I’m always on the hunt for extra dehydrator trays at the thrift store. And apples are such a good value this time of year!
Those look awesome! I really need to use my dehydrator more. I made some green powder over the summer that I put in everything, but I never ended up making any dried fruit. Might have to get on that next week.