As an Amazon Associate, I earn from qualifying purchases.
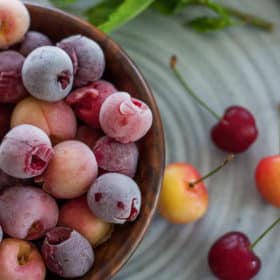
Learn all the tips and tricks for Freezing Cherries to stock your freezer with this amazing fruit. Learning how to freeze cherries is a great way to preserve this delicious summertime crop without needing any special equipment.

I’m not sure about you, but I’m not ok with just eating cherries for six weeks every summer. So, what’s a girl to do? Freeze them!
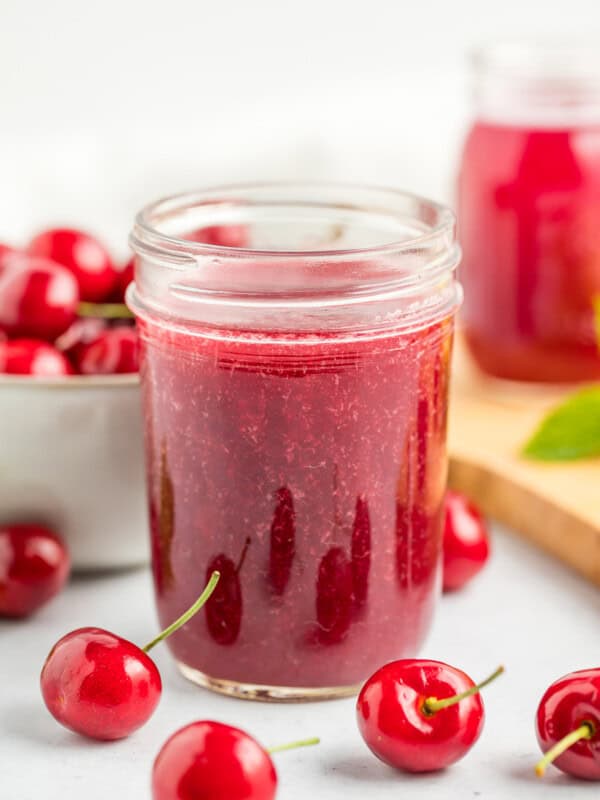
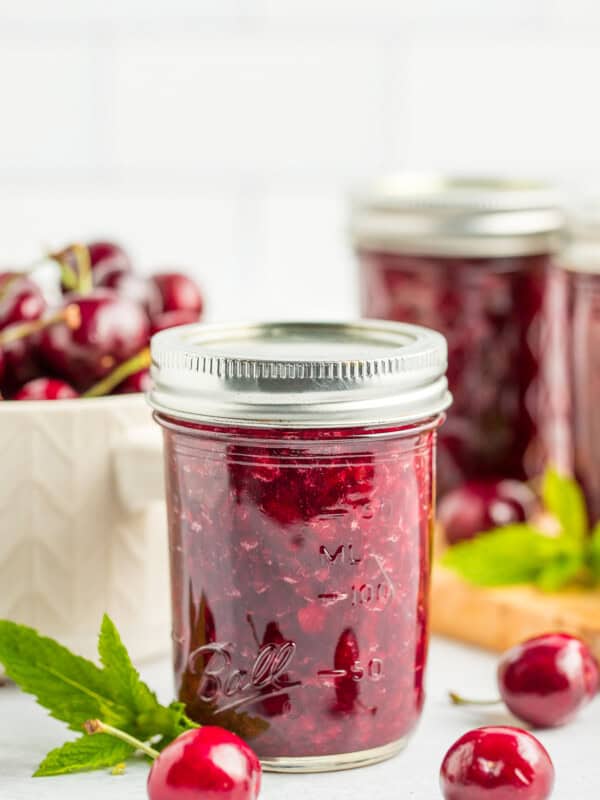
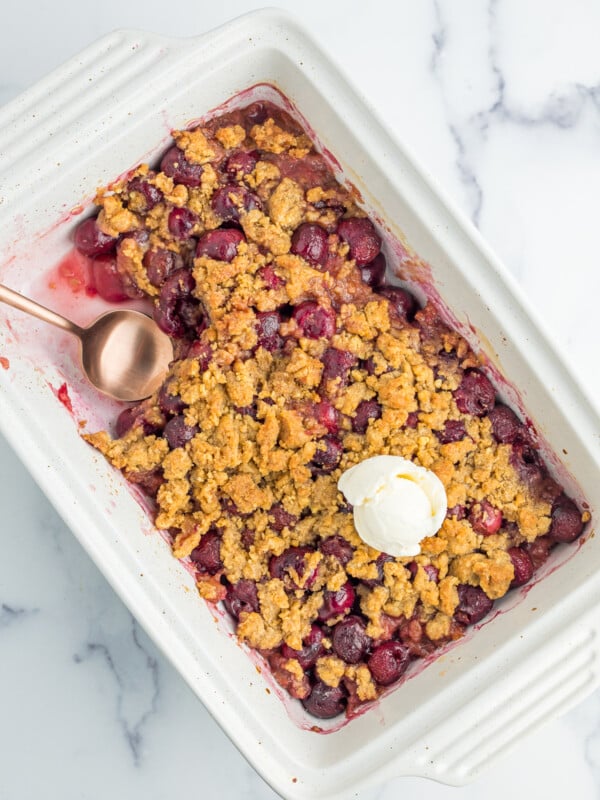
Check out more cherry posts like our cherry puff pastry turnovers, cherry crumble, cherry jam, cherry syrup, and canning cherries tutorial.
How to Pit Cherries
Pro tip: keep the stems on the cherries until right before you pit them. This helps maintain their freshness.
There are so many different ways to pit cherries, and you can absolutely do it without any special equipment. Three (free) ways to pit cherries are:
- Use a small paring knife and cut the cherry in half around the pit (like you’re cutting an avocado) and pop out the pit. This can be time-consuming, messy, and your hands are going to look like a hot mess at the end of it, but it works.
- Use a large reusable plastic straw to pop the pit out.
- Use a rounded icing piping tip to push the pit out. Also messy!
If you’re processing a lot of cherries, a hand-held cherry pitter can be a true time-saver. When I have a metric butt-ton of cherries that I need to pit, I bust out my Norpro Cherry Pitter. It’s how cool kids pit cherries. I mean, cool kids pit cherries, right? Right? Just lie to me about this.
Do You Have to Pit Cherries Before Freezing?
You don’t have to, but I highly recommend it. I mean, who wants to pit messy thawed cherries? Not me.
If you’re freezing any Rainier cherries, soak them in a bowl of water and 1/4 cup of lemon juice for 10 minutes before straining. Rainier can oxidize (brown) when cut and they’re exposed to air.
Pro tip: If you have a lot of cherries to freeze at once, lay another piece of parchment on top of the cherries and top with an additional layer of fruit.

If you had to cut your cherries to remove the pit, lay the halves cut-side down on the baking sheet to prevent rolling. Freeze for about six hours.
Break apart any clumps that have formed on the baking sheet and transfer the cherries to freezer-proof storage.


Get my Canning e-book!
It’s 51 pages of every helpful tip and trick you could want as a brand new canner, AND it includes 13 ad-free canning recipes that are designed to take you from novice to pro.
Freezing Cherries {How to Freeze Cherries}
Equipment
- Cherry pitter
Ingredients
Instructions
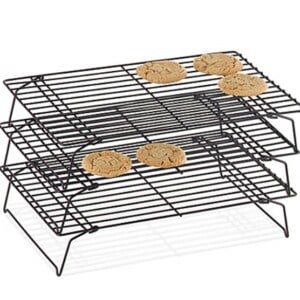
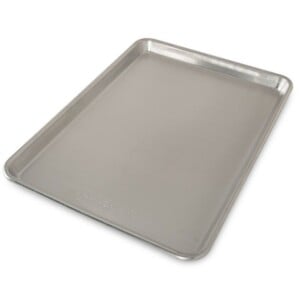
- Line a rimmed baking sheet with parchment or a silpat. Pro tip: place a baking rack under the parchment to keep the cherries from rolling around while you're transferring the baking sheeting to the freezer.
- Pit your cherries.
- If you're freezing any Rainier cherries, soak them in a bowl of water and 1/4 cup of lemon juice for 10 minutes before straining.
- Add the cherries to the baking sheet and place the tray in the freezer. Pro tip: If you have a lot of cherries to freeze at once, lay another piece of parchment on top of the cherries and top with an additional layer of fruit.
- If you had to cut your cherries to remove the pit, lay them halves cut-side down on the baking sheet to prevent rolling.
- Freeze for about six hours.
- Break apart any clumps that have formed on the baking sheet and transfer the cherries to freezer-proof storage.


My fingers are still stained from pitying cherries Friday. Now ya tell me there’s such a contraption as this!? Must have one now!
I posted this last year so I promise I haven’t been hiding it from you! 🙂
Good luck with the rest of cherry season!
This isn’t exactly a “recipe”, so I’m not entirely sure that it is worthy of a review, but it is to me, so here goes.
I bought cherries on a whim a short while ago and told my family to enjoy them, but don’t waste them because they ended up costing much more than I expected. Well, that resulted in them having about a half a dozen each. I had a recipe I wanted to use a few for, but I procrastinated and now we are leaving tomorrow to go on vacation and I need to do something with them NOW.
I have never dealt with cherries aside from eating them fresh so I had NO idea what to do with them or even how to pit them. Then I remembered that you posted about that very thing! I tried cutting the cherries in half to remove the pits and quickly realized that I would be working on that for a very, very long time, so I got out one of my reusable straws.
Those work GREAT!
My only suggestions would be to use your least favourite straw because mine cracked part way through my cherries. (I flipped it and used the other end for the rest) After the straw broke, I started cutting a little slit in the bottom of the cherry. That made the pit pop out easier and was a smidge less messy.
Speaking of messy….. I have to get on a plane tomorrow and I was worried that the staining on my hands and around my fingernails wouldn’t wash off!!!!! After three good scrubs, it is mostly gone. *phew* A shower and a hair wash should remove the last of it.
So, even though my straw broke, I give this 5 stars because it worked SO well, didn’t take terribly long and now I can move on to other things that need to be done before I leave.
Thank you!
Also, side note: I read the other comment, and I call them ‘cookie sheets’ too. When I first started reading recipes online, I wasn’t sure what a “baking sheet” was!!!
So glad this post was timely for you and your cherries Ange! Hoping all the cherry juice washed off and security didn’t have to do any special baggage checks. 🙂
My mom used to tell me to never trust anyone with spotless cookie sheets. Your look well loved and brought a smile to my face. Also, that rack suggestion is genius!!
Awww, I love your mom! And I love that you guys called them cookie sheets growing up; we did too! I have to call them “baking sheets” on the blog because no one knows what I mean when I say “cookie sheets”.